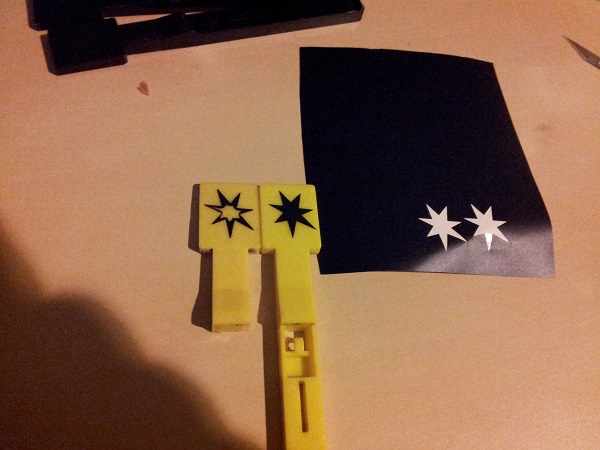
A very minor update this one – there should be a bigger one ready on Monday or Tuesday next week. I’ve been looking at recreating the decals for the drop targets and stand up targets. Thanks to a fancy printer my mother in law uses for craft and scrap booking, I’ve been able to come up with an excellent result. The decals are cut into vinyl then peeled and stuck on. Here is one of the orignal (broken) targets that was at the base of the Counterforce cabinet, along side a second hand yellow target with a new decal installed.
repair
All posts tagged repair
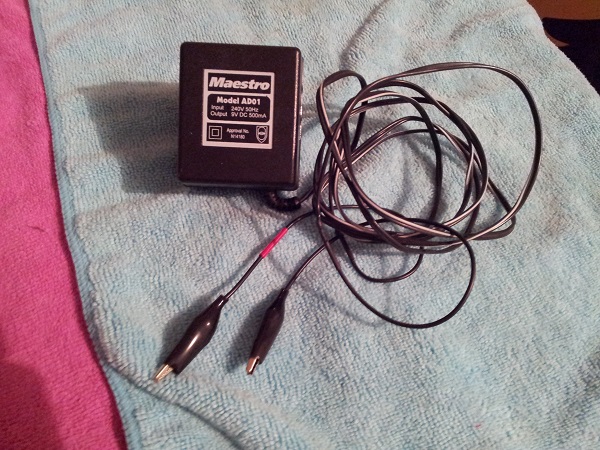
Continuing on from my previous update, the non working display is first on my hit list for this post. I’ve checked the cables and swapped the displays around to verify that the issue is indeed with the display itself. Last time, I tested the two UDN6118 chips on the display and they were OK. I did this on the chip pins however and not the solder joins on the rear of the board. This time, I flipped the display over and tested the chips using the joins. Both tested OK again. After some further research I decided to modify an old power pack that can refresh the displays by burning off the crap that becomes attached to the filaments. I was hopeful that the issue was simply a very faded display. For this, I found an old powerpack for a 28.8K modem I purchased back in 1995 or something. I’m amazed I still have it. It’s rated at 9V and 500ma. I replaced the connector with two alligator clips. I put some red tape around the positive lead.
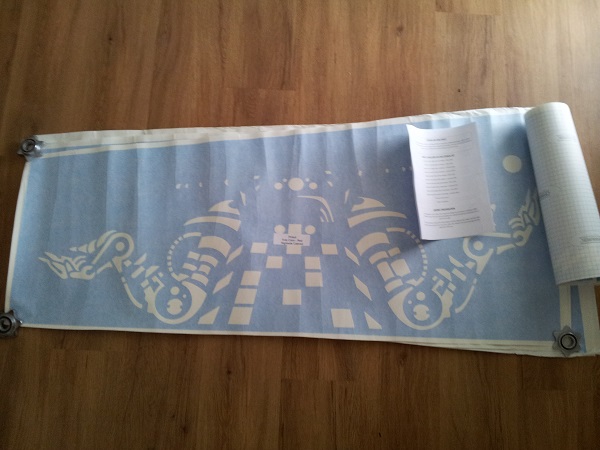
This update took much longer than I expected it would, but finally the headbox has been patched and repainted. Outside of some cosmetic damage, the headbox is in good condition. While the artwork was faded in parts and there was some minor damage to the wood, it was at least strong and stable. Unlike the Fireball Classic I recently restored, the Pinbot cabinet artwork is painted on with the use of stencils. A full set are available at TwistedPins and Santa managed to deliver a set to me during the Xmas period and it was time to put them to use.
I’m going to break the process up into two parts. Firstly i’ll do the headbox, which will then be followed by the cabinet. To begin with, I removed the stencils from the packaging and flattened them out. There are two stencils per side – one for the red/orange colour and the second for the yellow. It also comes with a set of instructions which are not complicated – just common sense really.
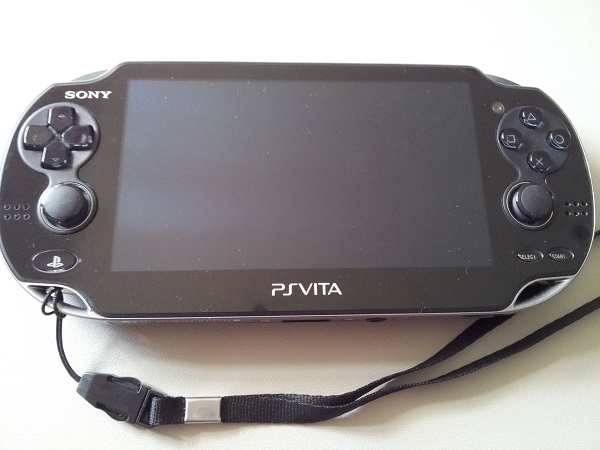
Time to take a short break from posting about pinball machine repairs and restoration and instead write a short post on replacing the battery in a Playstation Vita console. Fixing my Vita has been on the to do list for quite some months and finally the replacement battery arrived last week. Time to see if I can fix this. What lead me to this point? One day I noticed my Vita no longer charged when plugged in. When the Vita is switched off, the Playstation button should glow orange when it is charging – this no longer happened. When the Vita is running, the battery icon should change to a charging battery icon and this no longer occurred either. When trying to charge it, the orange light would come on for about a second and then turn off again. The battery ended up running out and I could no longer play it 🙁
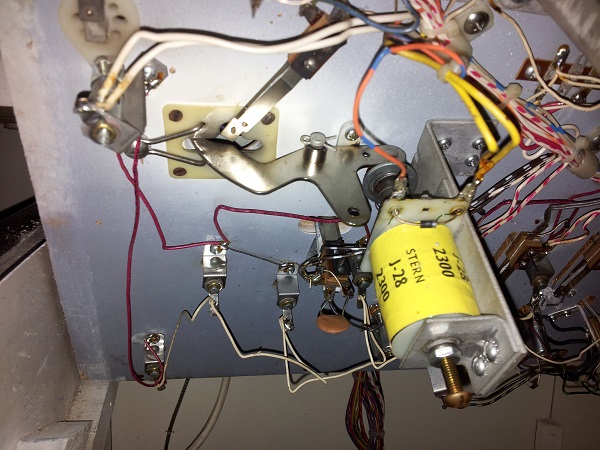
On the home stretch now – the last part of the game under the hood to receive some attention is the saucer kicker. I haven’t really had to worry about this at all since it’s working fine from day one. But like everything else, it can do with a clean and this is a chance to learn some more about it.

