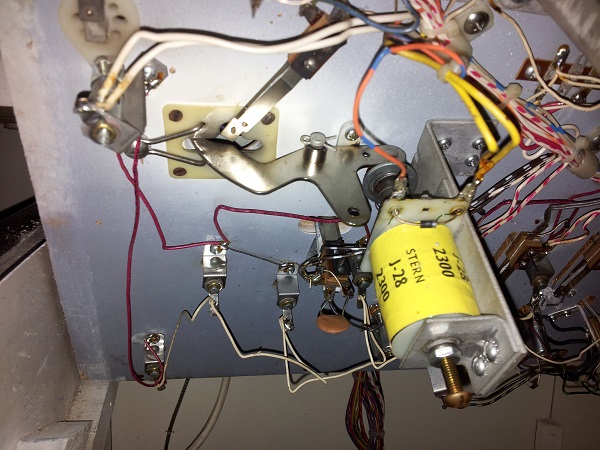
On the home stretch now – the last part of the game under the hood to receive some attention is the saucer kicker. I haven’t really had to worry about this at all since it’s working fine from day one. But like everything else, it can do with a clean and this is a chance to learn some more about it.
Archives
All posts for the month February, 2014
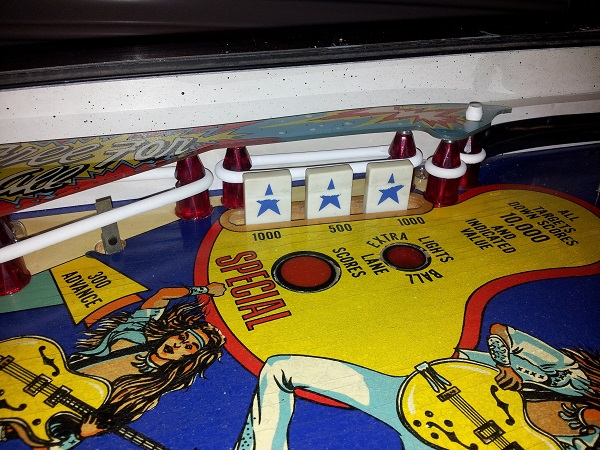
The drop targets – one of the final elements of the game to receive my attention. The Nugent playfield has two banks of 3 drop targets. The first set (located on the left of the playfield) control the special bonus (which is an extra ball & 100,000 points). The second is located on the upper right and controls the bonus multiplier (x2, x3 and x5). Both sets are functional, although sometimes it does not detect when all 3 targets have been dropped (more on this later). The blue star decal on all 6 targets is worn and the white has faded over time. There is also some dirt build up on the targets and the assembly under the playfield.
This is how the drop targets looked to start with:
I’m beginning to run out of things to do on the Nugent now. I’ve gotten into most corners of the machine and sorted out many issues as I’ve gone along. There are two main things left to look at – the drop targets and 3 pop bumpers. I’m going to focus on the pop bumpers and get them serviced.
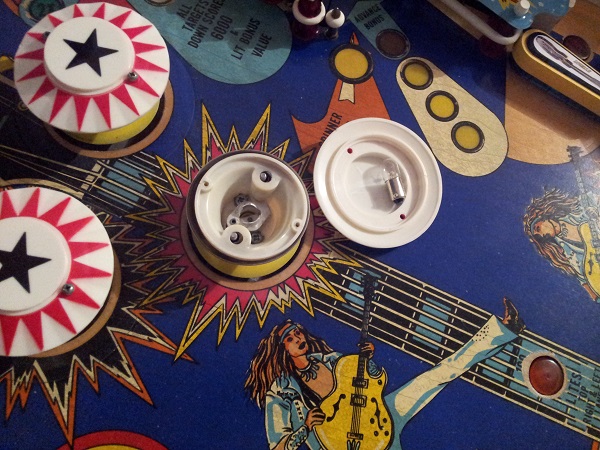
Awhile ago I replaced the 3 caps on the pop bumpers (seen in an earlier post). Now it’s time to actually remove all three pop bumper assemblies to clean and service them. At this point the only real complaint I could make about the pop bumpers is sometimes they don’t activate when they should. Most likely solved by cleaning and/or adjusting the switch.
There is a bit of work to actually get them out as I found, but once I had managed to do one, the others were much easier. I decided to do one at a time. That way I had two working pop bumpers to use as reference in case I mucked up.
To begin with, I need to remove the cap and also undo two screws that sit inside pop bumper. The two screws attached the pop bumper body to the playfield. But I can’t simply lift it up as the bulb socket is soldered under the playfield and the metal ring is attached to the plunger.
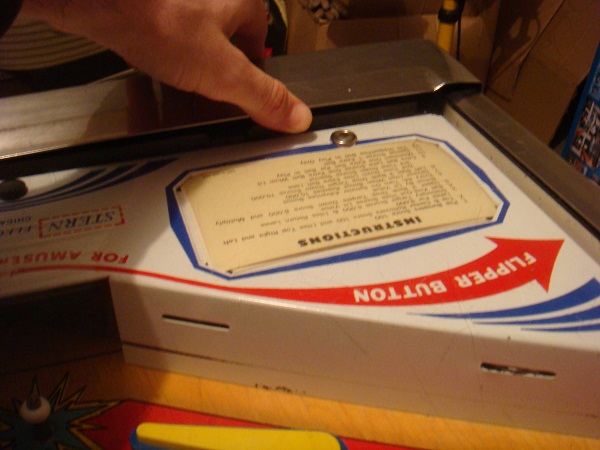
First up for this update is the lock down bar. The condition of the bar itself is OK. It’s a little worn and has a few scratches, but is solid and doesn’t need replacing. The issue it does has however is it’s loose on the left side and does not lock down properly. I can lift the left side up with my hand.
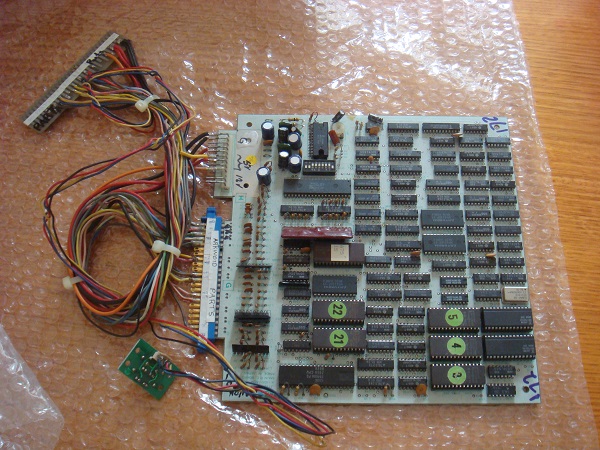
While I’ve been enjoying my Pole Position restoration, I have been getting the urge to construct a new machine again. I recently acquired a few different PCB’s that would go great in a new cab. I posted about the Mortal Kombat 1 set a few weeks back, but I’ve put that on hold for the moment as I’m undecided on what sort of machine it will go into (a replica upright, or a custom themed lowboy). Meanwhile, another PCB was screaming out to me to go into a machine – Arkanoid.
While I don’t find Arkanoid to be overly exciting as a game, the fact it uses a spinner makes it different to other cabs I’ve build, and some of the original Taito cabs are pleasing to look at.
