I’m beginning to run out of things to do on the Nugent now. I’ve gotten into most corners of the machine and sorted out many issues as I’ve gone along. There are two main things left to look at – the drop targets and 3 pop bumpers. I’m going to focus on the pop bumpers and get them serviced.
Awhile ago I replaced the 3 caps on the pop bumpers (seen in an earlier post). Now it’s time to actually remove all three pop bumper assemblies to clean and service them. At this point the only real complaint I could make about the pop bumpers is sometimes they don’t activate when they should. Most likely solved by cleaning and/or adjusting the switch.
There is a bit of work to actually get them out as I found, but once I had managed to do one, the others were much easier. I decided to do one at a time. That way I had two working pop bumpers to use as reference in case I mucked up.
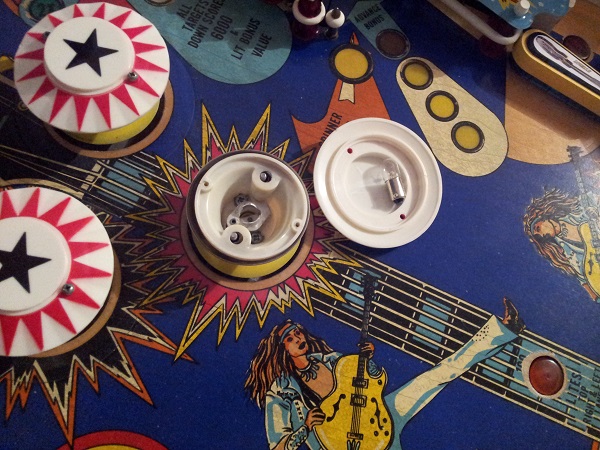
To begin with, I need to remove the cap and also undo two screws that sit inside pop bumper. The two screws attached the pop bumper body to the playfield. But I can’t simply lift it up as the bulb socket is soldered under the playfield and the metal ring is attached to the plunger.
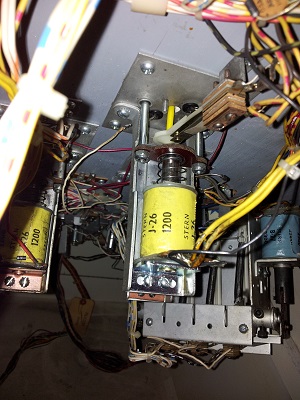
Next up I needed to get under the playfield. There are two nuts that connect the metal ring to the plunger. As you can see in the photo there is HEAPS of crap attached to the spoon, sping, yoke and, well everything. It’s quite sticky to touch.
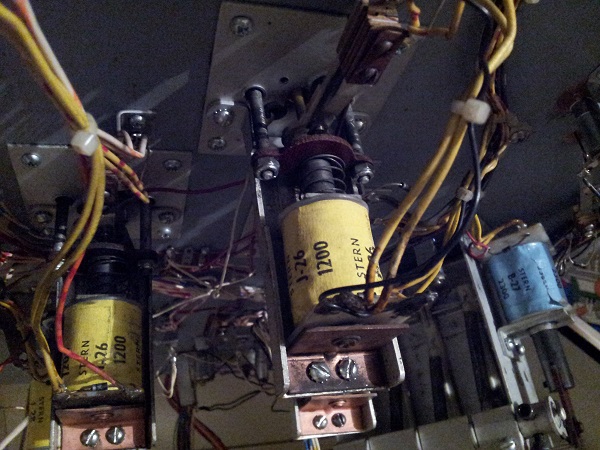
First step was to remove those two nuts, along with the coil, soil stop and frame. This gave me much better access bulb socket so I could remove the wires. With a soldering iron I carefully removed the two wires. I could now lift the pop bumper off the play field.
I put everything down to have a good look at it and take photos. Here you can see the crap that’s built up on top of the plunger and under the yellow skirt. I also captured the new coil stop and sleeve I had on hand to use. But before I go any further, this lot is going to need some serious clean up.
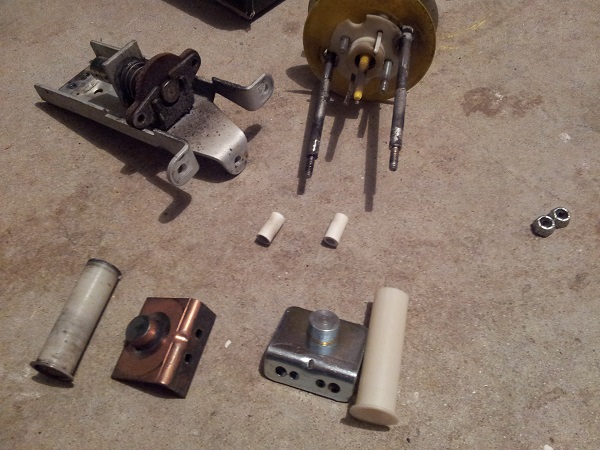
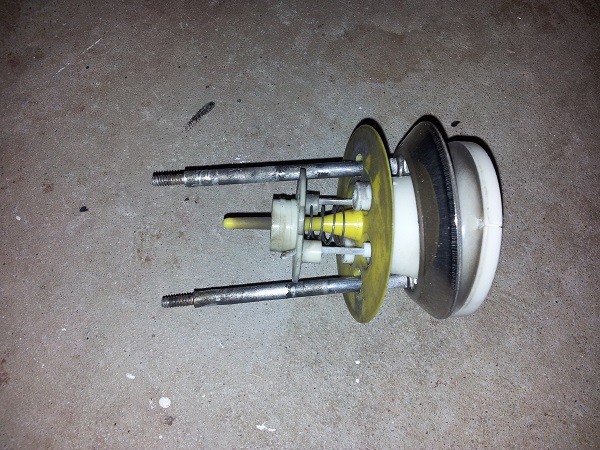
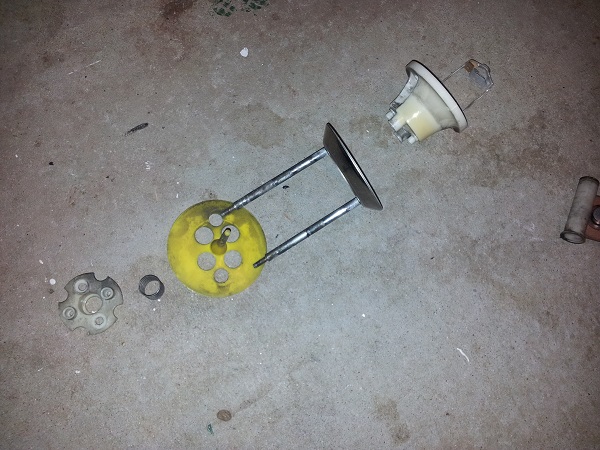
After some cleaning you can really see the difference on the plunger. I’m kicking myself for not getting a photo of the rebuilt pop bumper at this point.
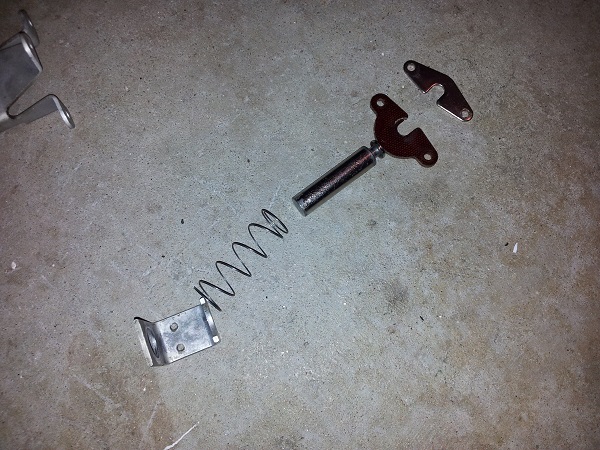
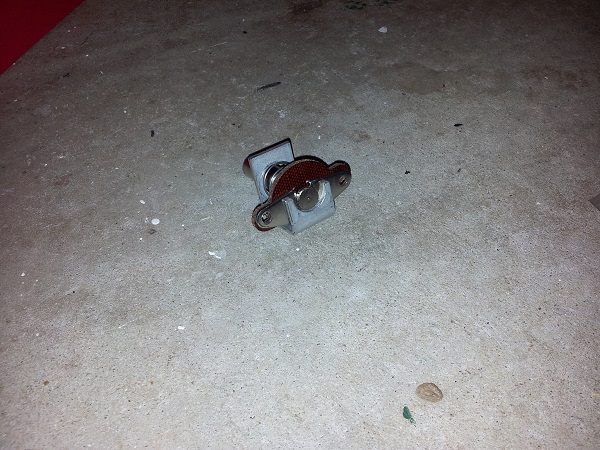
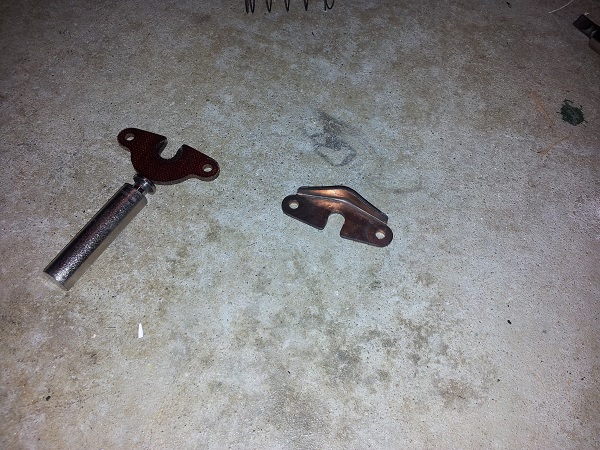
On the third pop bumper I did, I found a slightly different yoke. Each one has a fiber yoke and metal yoke. The metal yoke on this one had a lip, which the others didn’t. It still seemed to fit OK though, so I’ve left it. One of the fibre yokes has started to develop a crack, so I’ll be ordering a new one. It works fine now, but will replace it sooner rather than later.
With everything cleaned, I reassembled the different parts of the pop bumper. I basically had to work in reverse from how I removed everything. It was a little fiddly, but by the third pop bumper, I had the routine worked out nicely. I also replaced the plastic spoon that sits below the skirt which connects the switch. The new spoon has an extra lip which helps prevent the skirt from getting stuck. The switch was also cleaned and adjusted to improve the sensitivity.
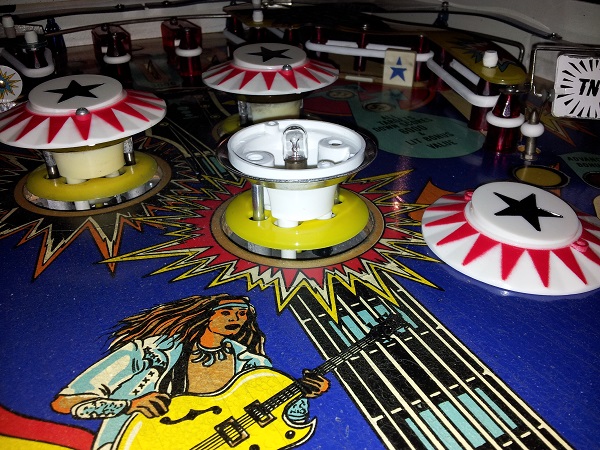
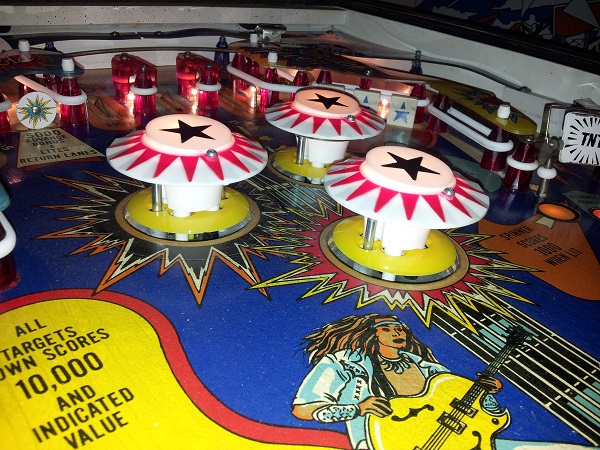
The process for each pop bumper was the same, although the back two were a bit tougher to deal with due to other components in the area. In the end though, they have come up looking awesome and function MUCH better during gameplay.
Next up will be the drop targets. There are also a few globes that are not working correctly which I suspect is the socket as the bulbs are fine. Could be the lamp driver board, but i’ll start with the socket first as it most likely will just need a clean.
The player 1 score has been running flawlessly since my work on it in my last update. The player 4 score has not had any further issues in a long time, although I anticipate that bottom segment will fail again as I didn’t actually do anything to fix it.
The sound issue also seems to have been resolved and Ill do a write up on that shortly too.
