First up for this update is the lock down bar. The condition of the bar itself is OK. It’s a little worn and has a few scratches, but is solid and doesn’t need replacing. The issue it does has however is it’s loose on the left side and does not lock down properly. I can lift the left side up with my hand.
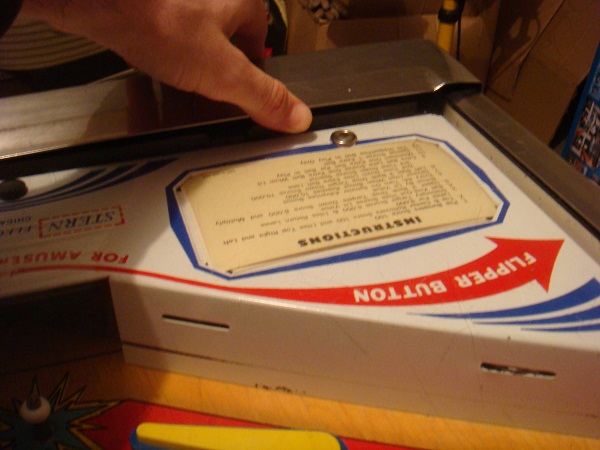
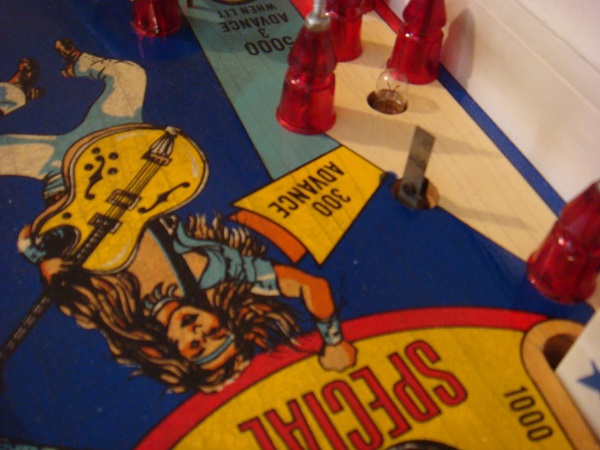
First thing I did was remove the bar itself, lift the playfield and have a look at what was occurring when the bar was supposed to be locked. I could see that the metal plate that should be locking it in place has sagged. I’m actually wondering if there should be some sort of hole/loop on the far left that the metal plate shown would slide into to ensure it does not sag? There didn’t seem to be a way to actually remove this to bend it back the other way, so it may have to stay like this.
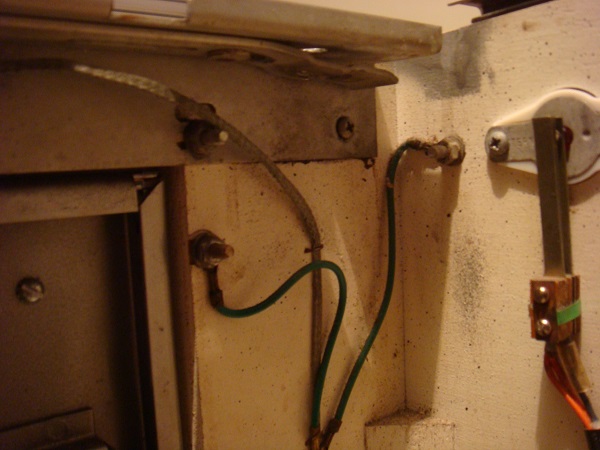
Next up I wanted to have a look under the lockdown bar to see if I could adjust anything which would allow it to work. Turns out I can. There are two screws that can be adjusted – one on each side. I removed the one on the left, set it to an level that would allow the lockdown bar to actually be locked into place and problem solved.
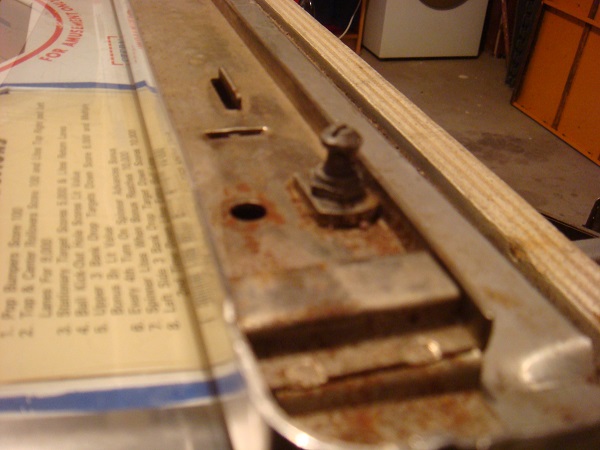
If I can find a way to straighten out that sliding metal plate under the lockdown bar on the cabinet, then I will do that as that will properly fix the issue.
Another issue that cropped up in the last week was the first digit on the player 1 score display. I had seen this digit show signs of flickering about a month ago, but it never really went much further and was only a rare occurrence. This week though it decided to play up regularly.
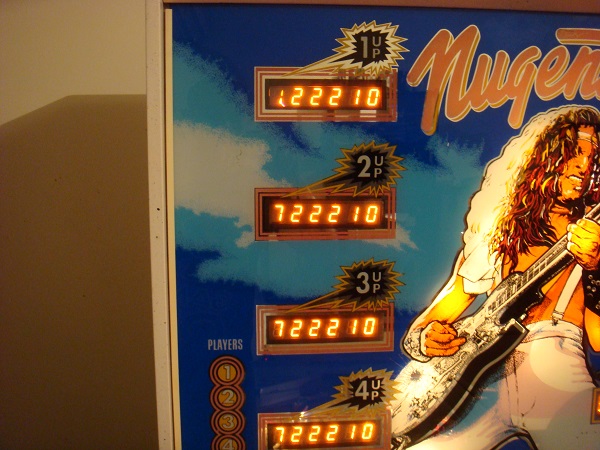
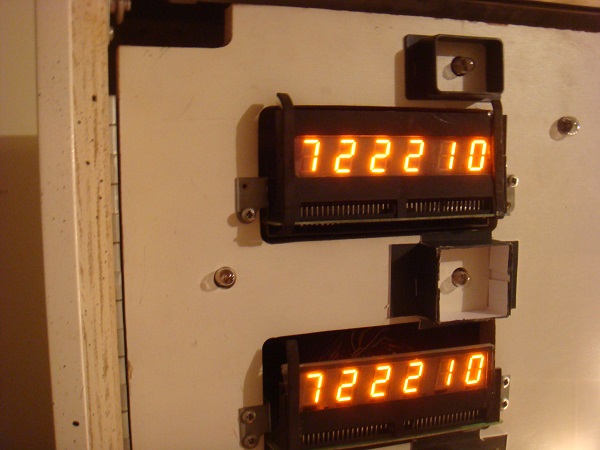
First it started as shown in the image. The first digit should be a 7. Instead there are missing segments and you might notice the lit up part at the base of the digit which should not be there. After being like this for a few minutes, the digit became worse with more segments missing until nothing was displayed. The other 5 digits on that display were fine however.
I opened up the back box and swapped the player 1 and 2 cables over to try and isolate the issue. This test showed it was not the cables or MPU as the player 1 score displayed fine on the second display. So it was the display board. I pulled it out and opened up Clays guide to see what I could find out about the displays. Thankfully it seemed like my issue was fixable. I first tested the resistors and they came back ok. I had a look at the solder side of the PCB and noticed a few points where the solder could do with reflowing. I got my soldering iron out and reflowed the solder along each pin on the connectors cables and the few points where it looked like the solder had become loose.
I do have spare resistors and transistors I could put into the pcb (I purchased a batch of parts back when I noticed the issue just in case), but I wanted to go over the basics first. I put the display back into the machine and fired it up. All good 🙂 First digit was back displaying correctly again and without any issues. I left it to run for 30 minutes while I did some other things and the issue did not return. It’s something I’ll be monitoring over the coming weeks, so if it does flare up again, I’ll try replacing the resistors and transistors outlined by Clay.
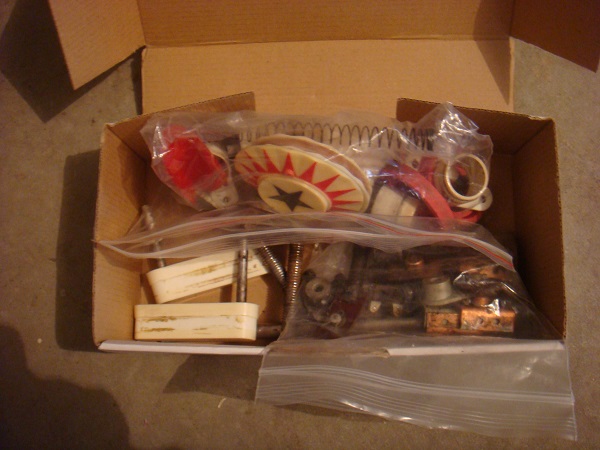
A few things I wanted to touch on before I continue. I sometimes talk about keeping all the parts I replace on the machine. Here is the box they are currently fitting into. If I ever sell the machine, I want to be able to pass on all the original pieces I’ve pulled out in case the future owner wants to use them again. Anything that’s actually broken gets throw out, but otherwise it’s kept.
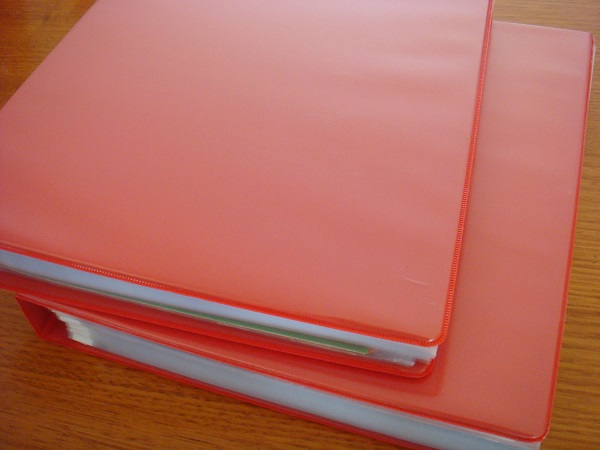
I’ve also taken the time to print out a lot of information and put them in folders I keep handy in the garage. Anything I think will be useful when working on various aspects of the Nugent goes in here. I don’t have a computer in the garage, so having information at hand where I need it comes in handy. Plus it’s sometimes interesting just to read 🙂 I’ve got information specific to the Nugent, bally and stern machines, similar machines, parts, assemblies, soundboard info, etc. Lots of good information.
Anyway, back to the interesting stuff…
I wanted to take a look at the Knocker next. It works – and fires off every time I’m awarded a free game. Makes a loud, horrible sound – but that’s how it’s supposed to be – I have to admit though there is something rewarding about hearing it go off 🙂 I decided to give the assembly a clean, replace the coil sleeve and check over the wiring. One issue I have noticed is that when it does fire, parts of the game seem to “pause”. The score still ticks over, but things like the pop bumpers go inactive for a few moments. Not sure why this is – any ideas?
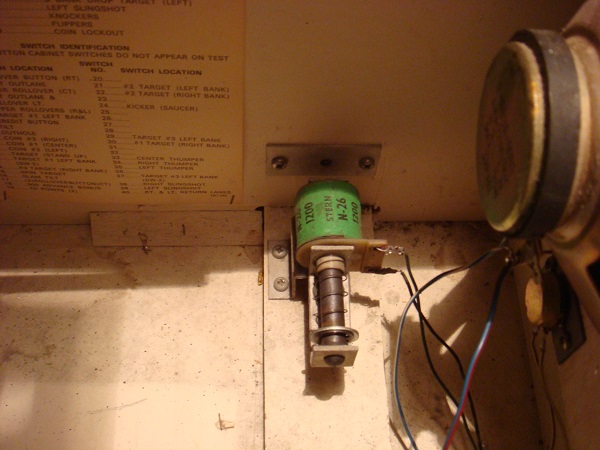
I disassembled the knocker to give its components a good clean.
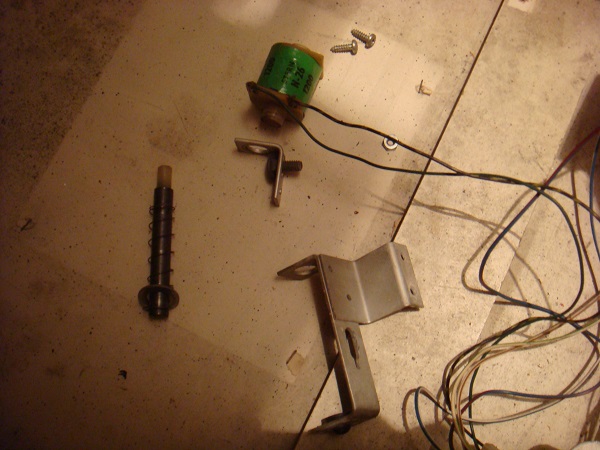
The sleeve was very dirty, as was the plunger. I cleaned it all up and then reassembled. The pausing issue is still present, so not sure what to do about that other than hit google and research. I know there are some components in the machine to deter rough play by making the game inactive if players are violent with it, but I’m not sure that’s what this is.
I recently noticed a few crappy looking white posts on the playfield. This is how the machine shipped, but they look crap compared to the other posts dotted around the playfield.
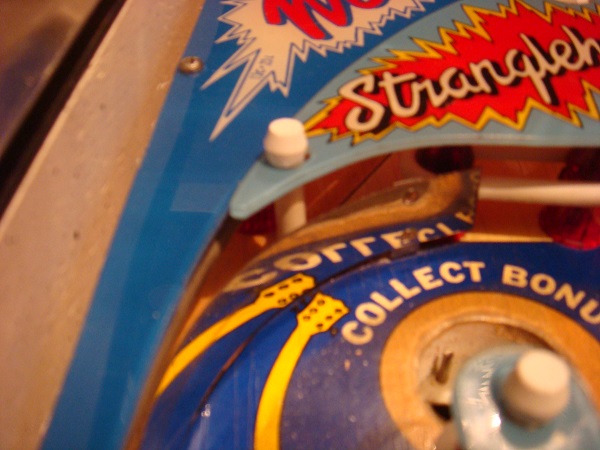
I wanted to replace these with more attractive posts, so purchased some thin red posts to swap them with. It’s a minor cosmetic thing, but the posts look like cheap spacers, and given their age look unattractive – so they are now off the playfield and into the old parts box 😉
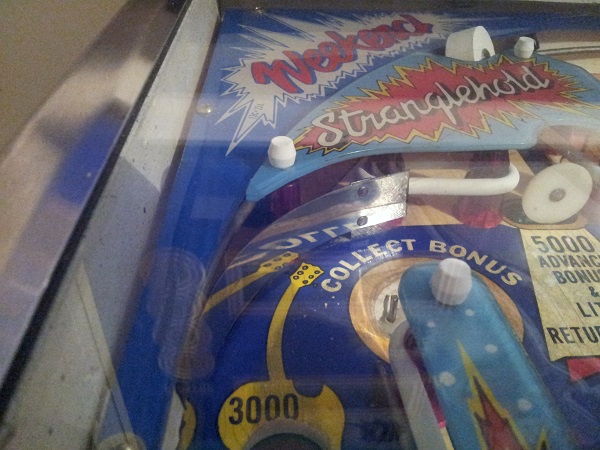
After doing some work under the apron the other week, I decided to revisit it again this week to finish off a few things that I had left incomplete.
On the vertical face of the apron (where the ball drains out of play), some paint has worn away where the ball has constantly rubbed against it over the years. To minimise any future wear, I purchased some quick laminate sheets to cut up and place over the affected area. I cut up two small slices to run the length of the wall and placed them on the vertical face of the apron. This should prevent further damage being done.
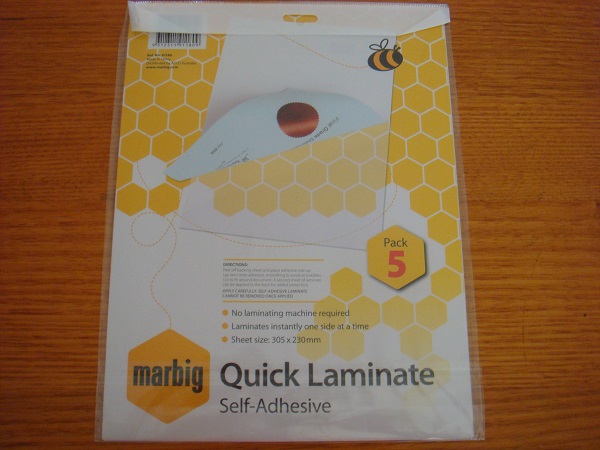
When I had a look over the apron last time, I looked at the state of the instruction cards and plastic sheeting over them. The plastic had started to yellow with age, along with the cards. I decided to print up some replacement instruction cards and get some new plastic to sit over the top of them. I had some left over card stock from somewhere and I purchased some overhead transparencies to cut up.
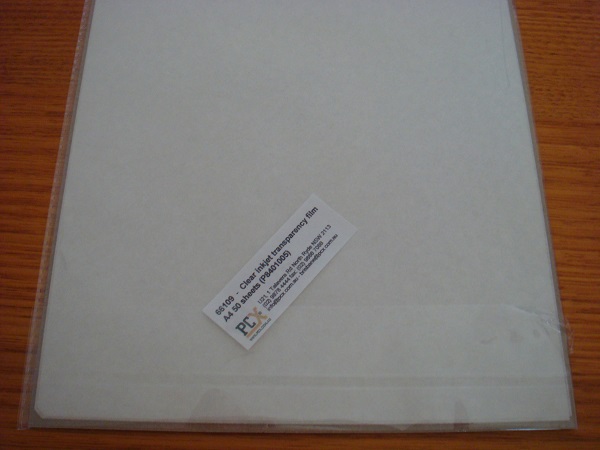
Using the transparencies was OK, but the thickness didn’t match the original. This left it feeling a little cheap. It does the job and protects the instruction cards, but I wouldn’t mind keeping an eye out for a better replacement. Another alternative (suggested earlier also) would be to laminate the cards. I will give this some consideration too. The old instruction cards and plastic covers have gone into my binders (mentioned earlier). Here are the new instruction cards in place:
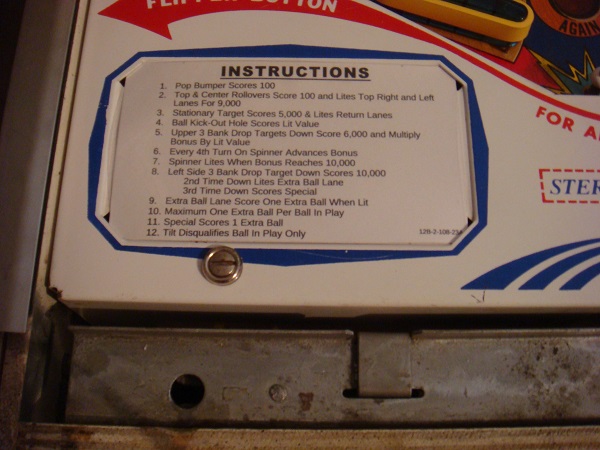
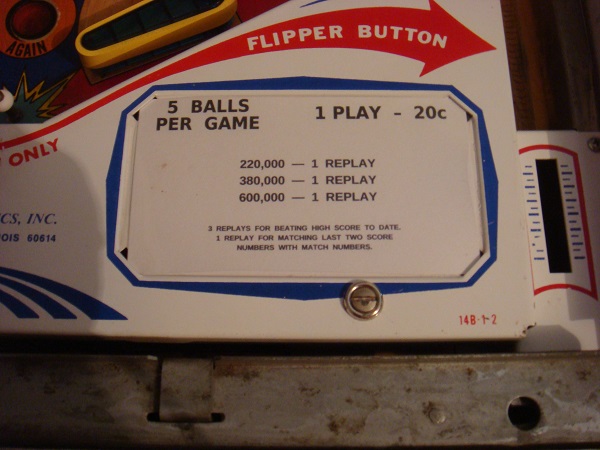
I ordered some replacement coil sleeves since I last looked under the apron and wanted to replace the metal sleeve used by the ball kicker. It’s the only metal one I’ve seen on the machine so far thankfully. I completely removed the kicker assembly this time from the playfield, so I could give it all a really good clean.
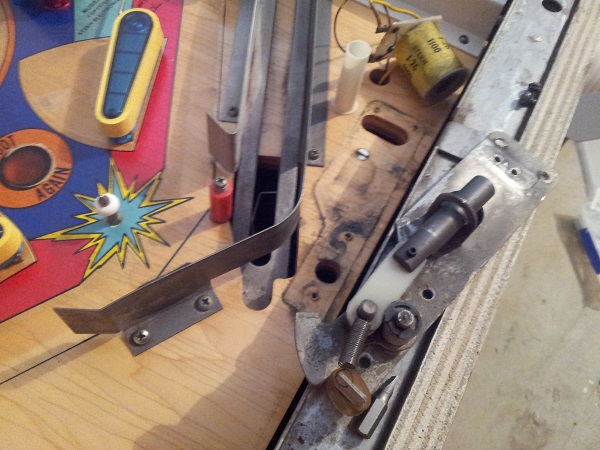
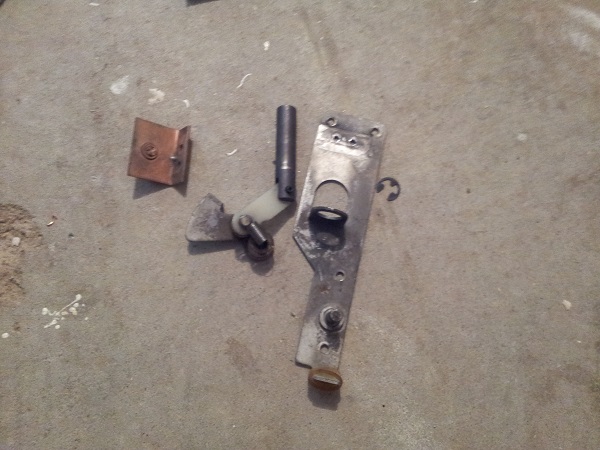
I’ve been having a small issue with the kicker. It works fine, but I’ve noticed it seems to stick once it kicks the ball out before returning back to it’s normal position. I figured a good clean might fix this, but sadly it hasn’t. I’m going to have to watch it in action to see exactly what is going on. It has no impact on the game, but it’s not behaving exactly as it should – so it’s marked for further investigation 🙂
I also added a small piece of rubber around the metal foot that kicks the ball out to protect the ball from damage.
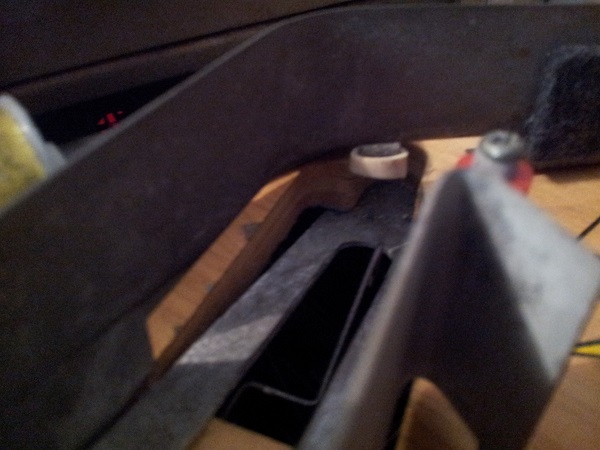
I have been meaning to give the slinghots a good clean for awhile and there was no time like the present. I removed the coil and frame for cleaning from both sides.

After removing the assemblies from both slingshots, I cleaned the parts down and replaced the old coil sleeves. I didn’t bother replacing the coil stops.
Since I was working on the slingshots, I decided it would be a good time to adjust the contact switches on them and the rest of the playfield. I took the plastics off the other areas of the playfield, cleaning and adjusting the switches for each to make them a little more sensitive. It took a few goes adjusting the slingshot switches to ensure they were not too sensitive, but all the switches are now cleaned and in a reasonable position to award points during gameplay without triggering unexpectedly
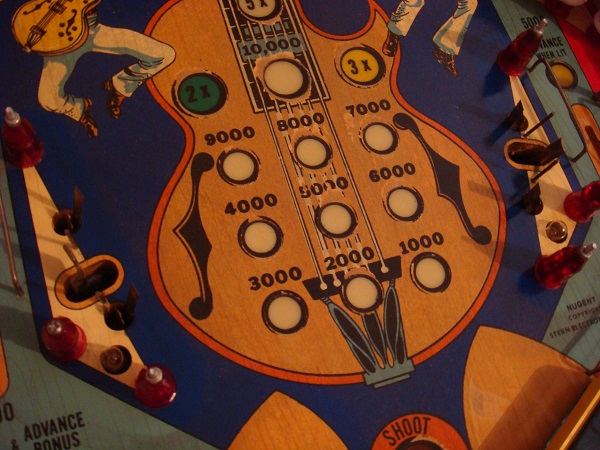
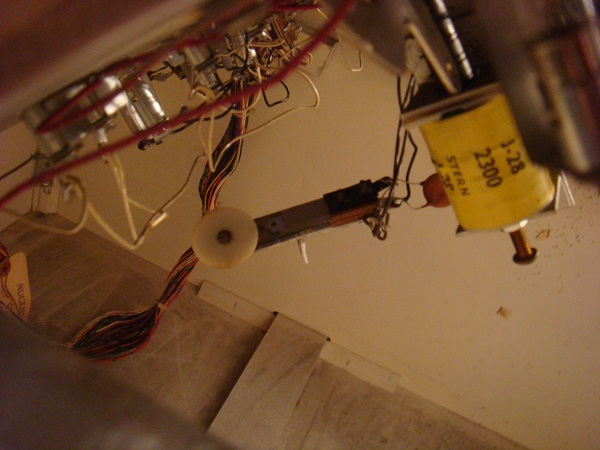
With the playfield up, I wanted to give some attention to the flipper button switches also. I used a fine file on the flipper button switches as the left flipper still felt a little soft, even after the rebuild. I suspected it was not getting a clean connection. Checking the connection showed some caked on crap, so I gave both left and right switches a clean and file. I’ll monitor this over the coming week as I play to see what sort of difference it’s made.
You will have seen the new flipper bats in some of the photos above – but I’ll mention them specifically here.
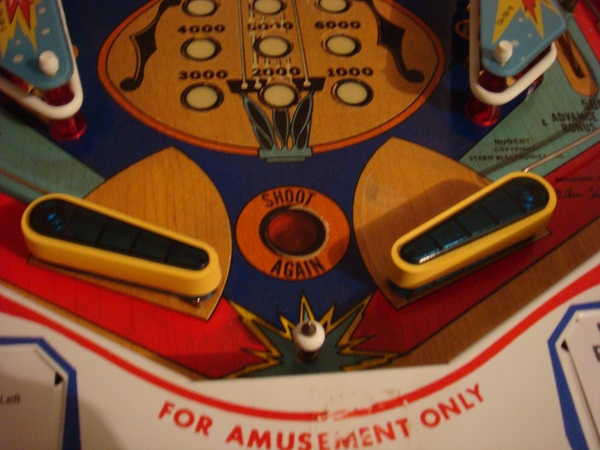
Seriously though – I didn’t realise how much the game play would change due to the shape of the bat. It’s obvious this machine was build for the old bats, and these are the only kind that should be used on it. The thin bats work against the playfield design and it’s a good lesson for me to be aware of such things moving forward 🙂
and lastly…
I’ve wanted to add some customised features to my Nugent to make it stand out from other machines. Changing the colours on flipper bats and rubbers is OK, but anyone can do that. I wanted to give my machine a little personal touch without causing damage to it (in otherwise – make it completely reversible). So I contacted a good mate of mine for some help (the same guy who reproduced the Pole Position bezen artwork). I wanted to add some custom decals to my machine.
First up – the stationary target.
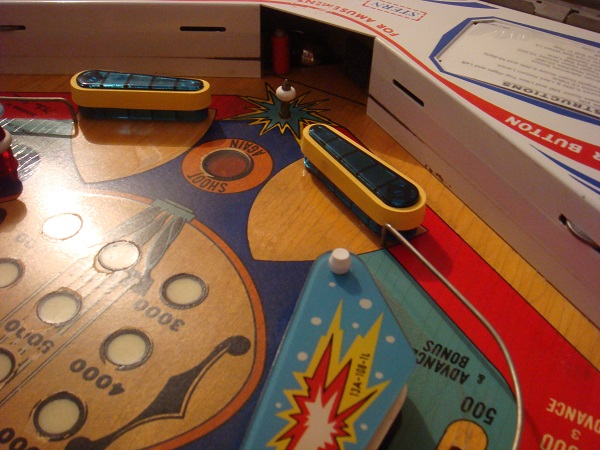
At the top of the playfield there is a lone stationary target that nets you a cool 5000 points and increases the bonus for hitting certain roll over switches. In it’s pure form – it’s just a white target. Taking the blue and yellow explosion from the ball drain artwork, Mike produced a small decal to match. The blue and yellow pattern appears along the plastic set too, so it made sense to model the decal off the existing artwork. I purchased some glossy white peal and stick paper and printed up a few versions of the decal. I then got some steel wool and cleaned up the metal pin in the middle of the target. Using a hole punch, cut a perfect hole out of the middle of the decal and then applied it to the target. The result:
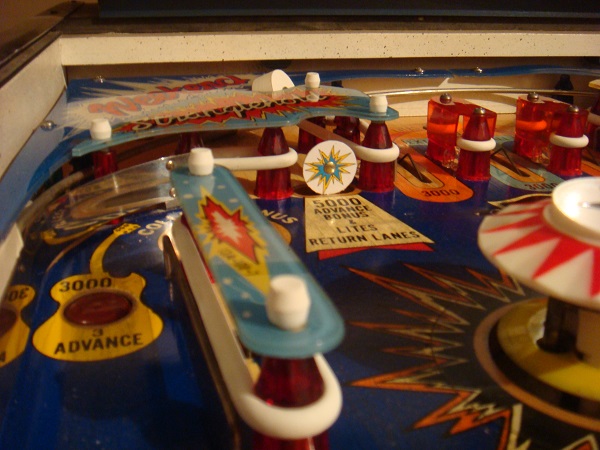
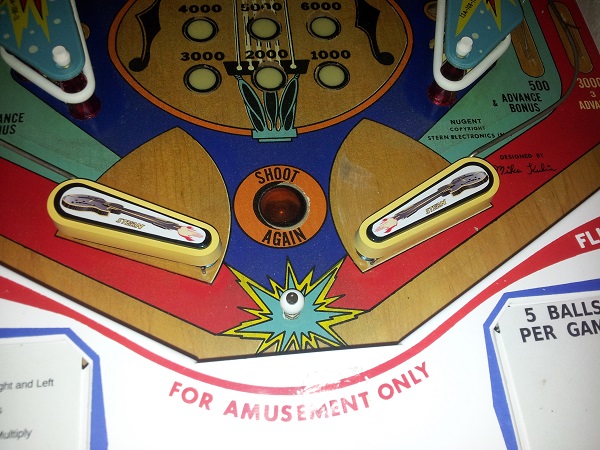
But I didn’t want to stop there. I love custom flipper bats. While I couldn’t create some custom molded flippers, I figured a custom decal on top might be enough. There was only one choice in decal for the flipper – the shotgun guitar. This looks awesome on the backglass, so why not duplicate it onto the flippers (I imagine the shotty firing with every shot made). Mike excelled himself here. The original plan was to print them onto peal and stick transparent sheets. This sadly didn’t work out how I had thought it would. The transparent blue of the flipper bats made the guitar decal almost invisible when applied.
Next idea was to try the same glossy white paper used for the target decal. We did two versions – the difference being the gradient on the guitar. There were also red and blue versions, but we felt yellow suited the bats best.
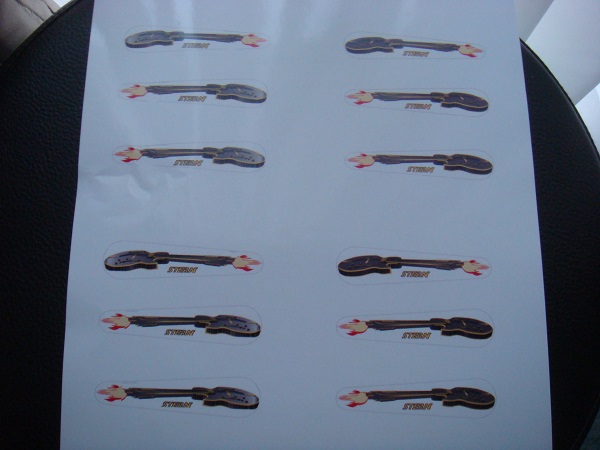
I cut the decal out slightly smaller than the size of the bat to allow some of the blue to show through. The stern logo on the decal was done to match the one shown on the backglass.
That’s all for now. This post turned out longer than I had expected. I had planned to pull apart the drop targets and pop bumpers and give them a solid service – but that will be next time. I’ll probably start with the drop targets and then move onto the pop bumpers. I’ve just about worked my way through the entire machine. There is still a lot to learn about it though, but that will only come when things break or begin failing and I need to address them. Two months ago I didn’t know how to get the playfield lifted up or even open the back box – let alone service any of the parts. It’s been a thoroughly enjoyable addiction since getting my machine to have my head inside looking at how it works and fixing/improving things along the way. I’m wanting to pick up another machine from the 79-85 era I think as I love the playfield designs on these. I do plan to level the inserts, touch up some paint and fix the playfield surface up as best I can, but that will be once I have another machine in the house to play while this one goes offline.
Until next time 🙂

I just bought the “Nugent” , I like following your posts , i also have a damaged lockdown bar (left side)……..glenn
Thanks for the feedback mate, glad you’re enjoying the posts. The Nugent is an awesome machine and has an incredibly fun playfield. There were a few adjustments I made to the lock down bar receiver which have helped to secure it in place, but even so, one side can be loosened without too much hassle. Not really a problem for home use though, but an occasional accidental knock to the right spot can bring it loose.