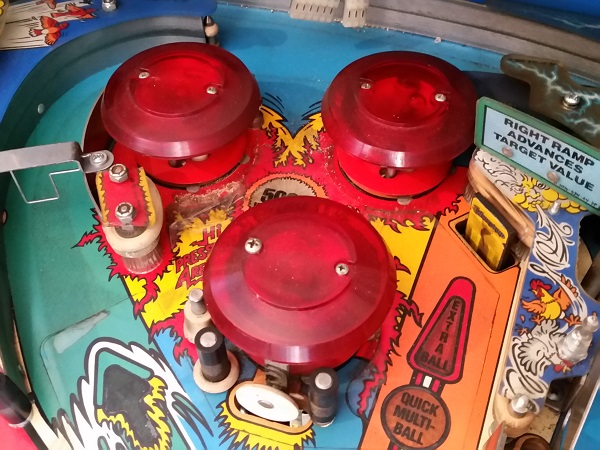
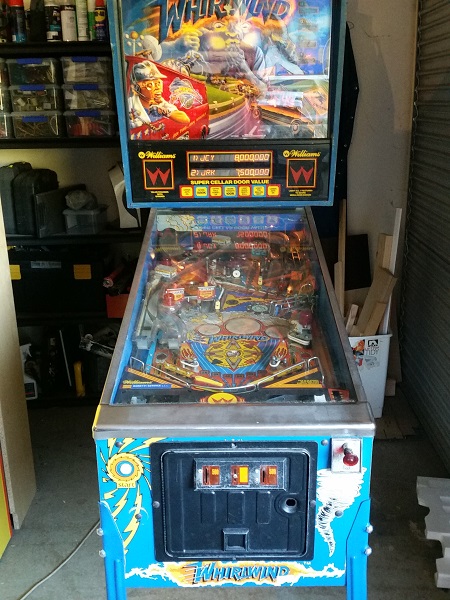
Having a set of pop bumpers on the playfield is almost mandatory for me when looking at pinball machines to play. The designers of Whirlwind must really have loved pop bumpers. Why have just one set on the playfield when you can have two? The only down side to pop bumpers is disassembling them as it cam be fiddly, especially those lamp sockets. The end result though after working on them really improves their performance, along with the presentation of a machine. It also makes them sound great too. The set I did in my previous update came up really nice and now it’s time to rebuild the second set. This update will be covering the final assemblies in the machine I need to look at, all of which are located at the top of the playfield. I’ll be starting first with the pop bumpers though.
Archives
All posts for the month March, 2017
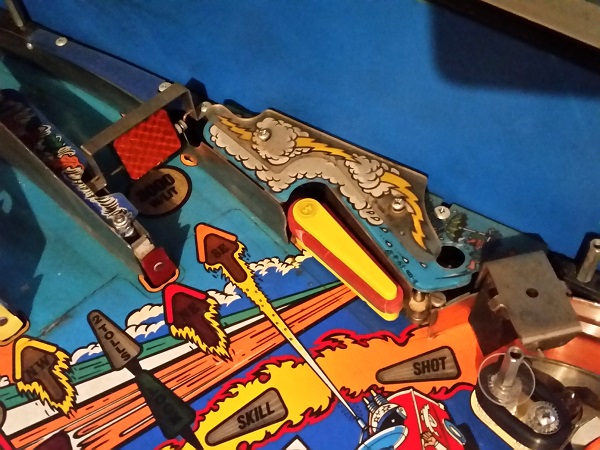
Progress on the Whirlwind service has been quite good so far and it’s cleaning up nicely. There have been a few small surprises along the way, but nothing scary or too troublesome. On the bright side, the surprises keep things interesting and is a constant reminder that no two machines are the same. There is always something different to solve, making it a rewarding feeling to work on each machine. I’ll continue to work my way up the playfield in this update, performing some general cleaning and servicing more assemblies along the way. The first one to receive attention in this update is the top right flipper.
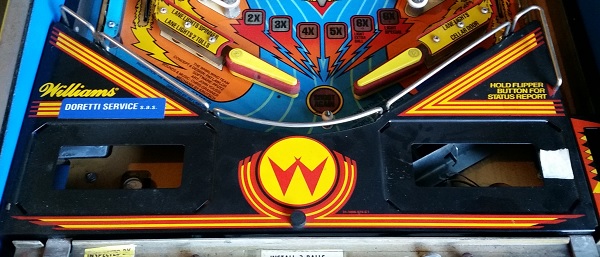
Time for another progress update on the Whirlwind repair & service I’m currently carrying out. This time I’m looking at the apron and all the assemblies contained within. I managed to work through this area pretty quickly, which is why this update is so soon after the last one. I forgot to take a photo of the apron before starting, so the one shown below is from the day the machine was dropped off to me (you’ll notice the old flippers, rubber, etc which were taken care of in the last update). The apron itself is in really good condition. The paint is mostly unscratched and no rust showing or paint flaking. There is an old operator sticker that needs to come off on the left side and some old white sticker on the right which also needs to be removed. It’s a bit dirty, but with a clean, I think it’s going to come up really nice.
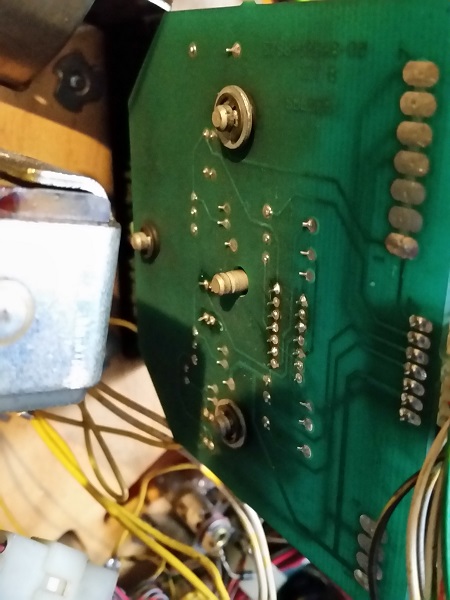
First target on my hit list for this update was the broken opto on the 3 bank drop target PCB. As mentioned in my previous update, the opto component had been ripped off the board. I had originally thought the whole drop target assembly needed to be removed from the machine to work on the PCB, but on closer inspection I found the board is attached to the drop target frame with a set of e-clips. Removing these allows you to slide the board off the back of the assembly – nice! Now that I was aware of this, I decided to push this up my priority list and repair it. A replacement opto was ordered so this issue could (hopefully) be resolved sooner than I expected.
A good way to continue working on pinball machines (without going broke buying them), is to work on other peoples machines and bestow to them the same love I give mine (the machines that is, not the owners..). I’m always on the look out for a new Pinball project to work on as I love giving them a new lease on life, but pickings have been slim lately. The universe has other ideas though and through a chance message, I was asked if I could work on some machines that needed a bit of TLC, with Whirlwind being first on the list. How could I refuse? 🙂 This isn’t a restore but also not a simple service either. I’ll be doing my usual rebuilding and cleaning of all assemblies, along with fixing any game play issues and giving the machine a bit of a face lift along the way. I don’t have plans to do any board work and the owner has a few requests on specific things he wants addressed, which i’ll be following. Whirlwind is a great game and I’m very excited to be working on it. Once complete, it’s going to be hard to let the owner take it home.

