Time for another progress update on the Whirlwind repair & service I’m currently carrying out. This time I’m looking at the apron and all the assemblies contained within. I managed to work through this area pretty quickly, which is why this update is so soon after the last one. I forgot to take a photo of the apron before starting, so the one shown below is from the day the machine was dropped off to me (you’ll notice the old flippers, rubber, etc which were taken care of in the last update). The apron itself is in really good condition. The paint is mostly unscratched and no rust showing or paint flaking. There is an old operator sticker that needs to come off on the left side and some old white sticker on the right which also needs to be removed. It’s a bit dirty, but with a clean, I think it’s going to come up really nice.
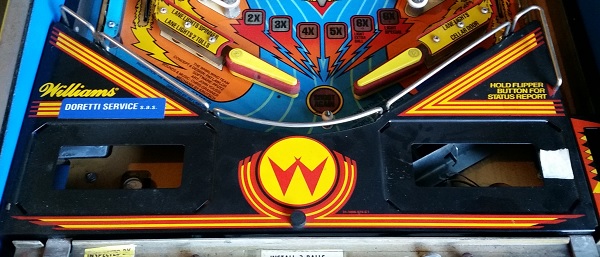
Before I removed the apron to clean the playfield and rebuild assemblies, I wanted to do a little cleaning on the apron itself. Using eucalyptus oil, I gently cleaned the thin layer of dust and filth, along with removing both stickers. You need to be careful when cleaning these as the yellow and red paint can easily wipe off if you’re too rough. I managed to remove just about all small black marks across the yellow and red paint too without any paint loss. Already the apron is shining and looking better when compared with the previous photo. I plan to print up new apron cards before this update is complete and also give the metal bar a clean. I’ll come for those things later though.
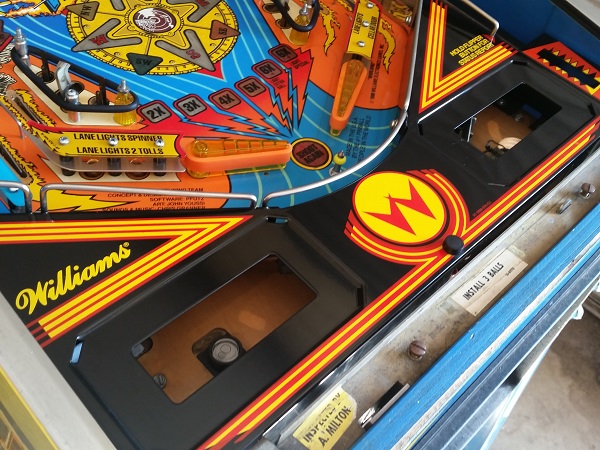
The apron was removed, revealing a playfield in much need of a clean. I’ve seen worse (far worse actually), so it’s not all bad. You can make out two spots on the playfield area under the apron where I have wiped my finger to get an idea of the difference a clean will make.
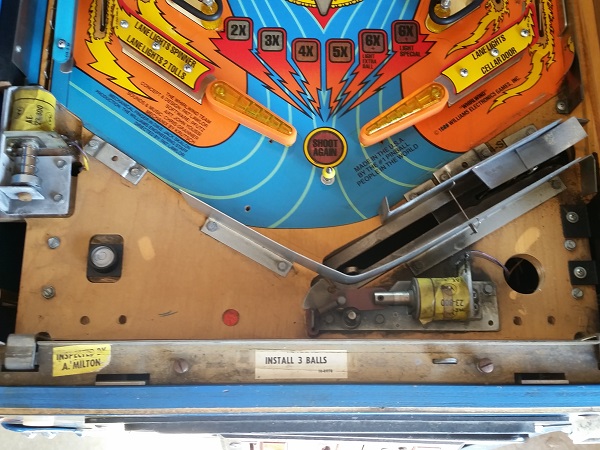
As expected, the area around the out hole kicker is covered in the usual black dust. The assembly and playfield will clean up nicely though. There is a lot of crap built up on the trough ramp too. It will be gone by the time I’m done with it.
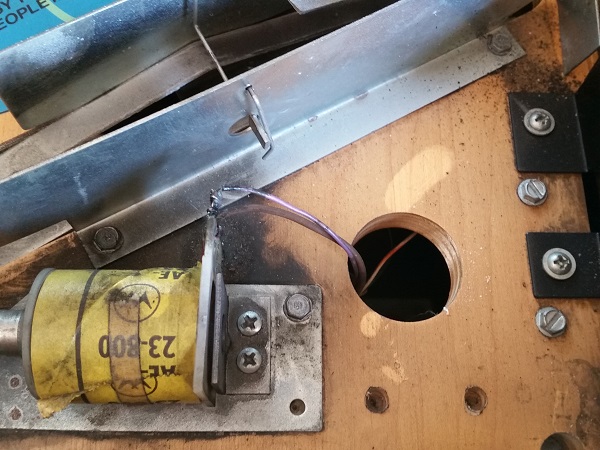
The kick back assembly has also developed an area around it in need of a good clean.
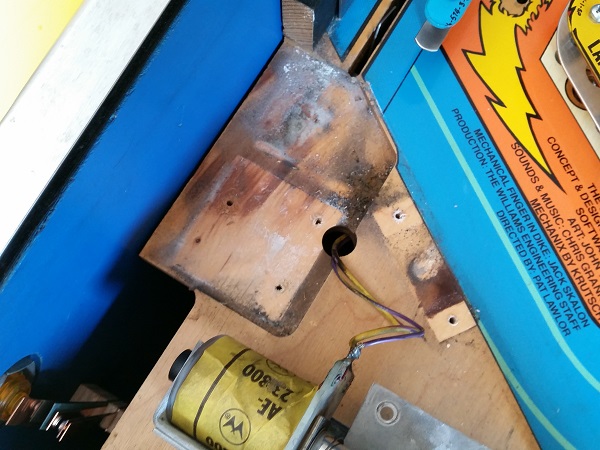
The next step was to strip everything from the top of the playfield in this area and kick off some cleaning. Anything loose was vacuumed up and the rest taken care of with eucalyptus coil and a soft cloth. The playfield was then polished with Novus, which left the playfield looking so much better now. I like the inclusion of a small spirit level here to help level the machine. For those with good eye sight, you’ll notice I’ve not bothered to level the machine for cleaning 😉 The ball ramp and trough plate still need to be removed and cleaned. For now though, time to focus on cleaning and rebuilding the assemblies.
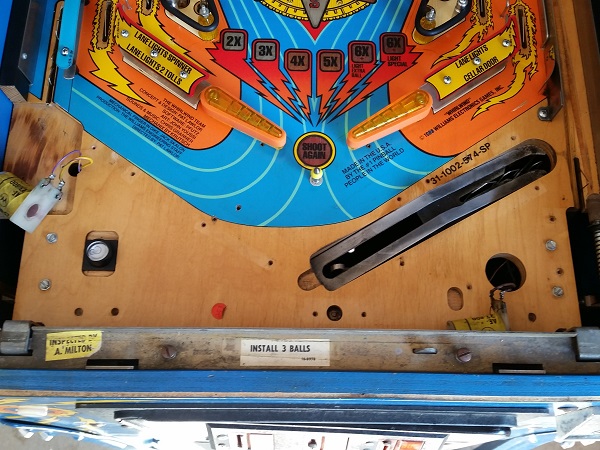
First assembly to look at was the kick back, which is responsible for firing the balls from the lock lane into play. It’s a really simple assembly and in fine condition, only needing a clean.
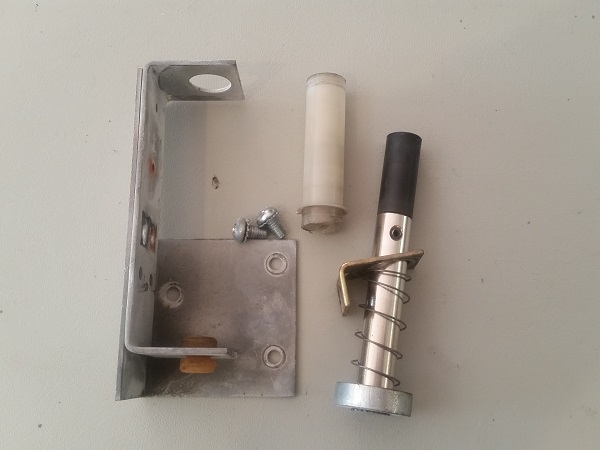
A new rubber grommet was purchased and new coil sleeve. The other bits of the assembly were cleaned up and it was now ready to go back in to the machine.
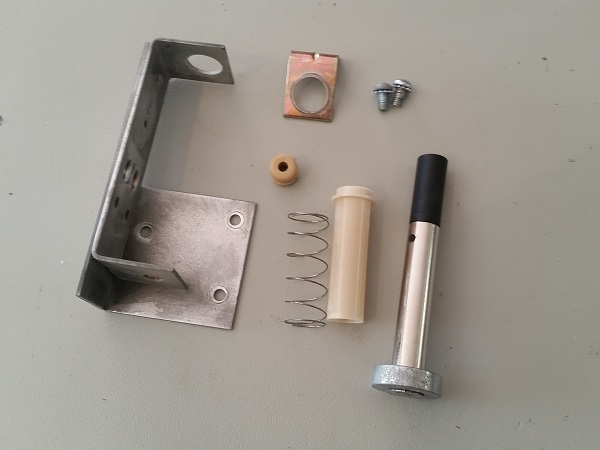
Next up is the outhole kicker assembly. This one kicks the ball from the outhole into the ball trough. Understandably it has had a fair bit of use over the years, so in need of a really thorough clean.
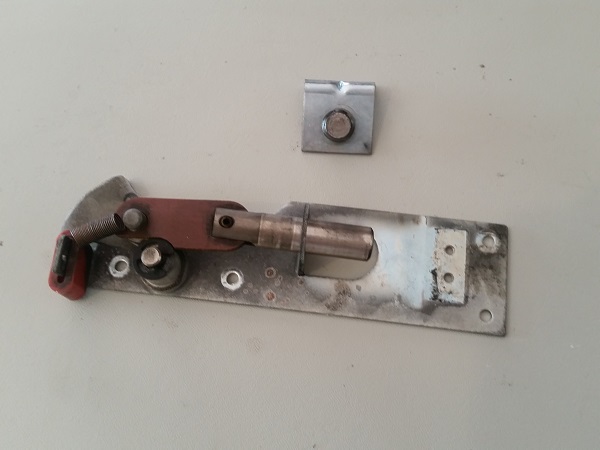
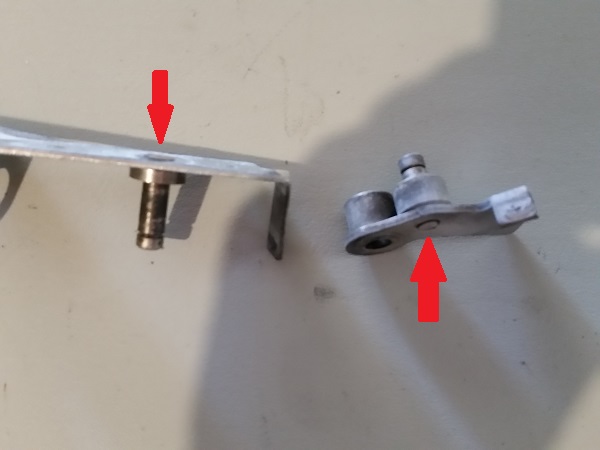
While cleaning the out hole kicker, I noticed that parts of the assembly were starting to fail. The pins in both the base panel and arm should be firm and not move. But I was able to wobble them with my finger. Replacing them isn’t cheap if you have to buy new ones (the base panel alone will set you back around $25 – $30AU), but thankfully I had spare secondhand pieces which were fine to use and saved the owner some money. The ones there would be fine to use for a bit longer, but since I’m here with the assembly in pieces and have the spare parts, it’s worth switching in the the better parts now.
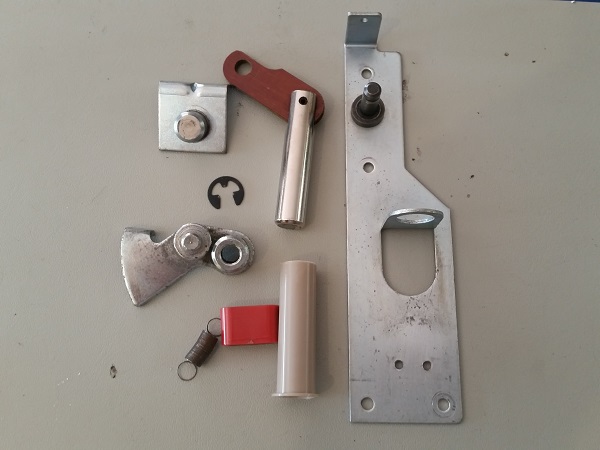
The rest of the assembly was cleaned and ready to be rebuilt and installed.
The last assembly from the apron area to rebuild was the ball serve.
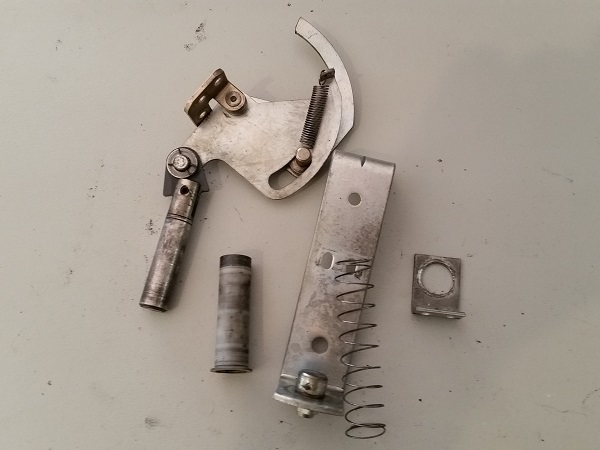
As with all the other assemblies, the ball serve was stripped down to its individual parts and cleaned, ready to go back into the machine. No parts required replacing (except for the coil sleeve).
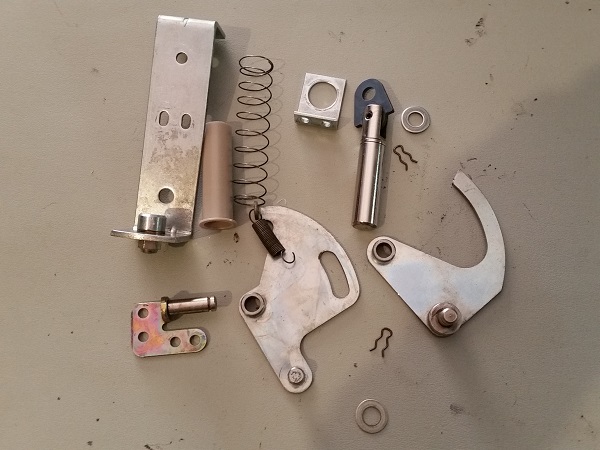
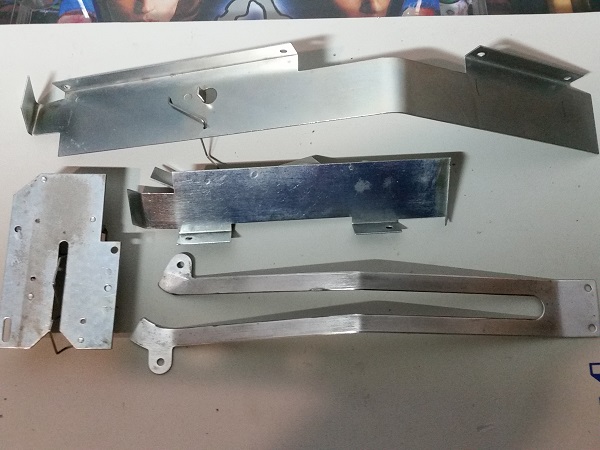
The final parts to clean up were the ones making up the ball trough and ramp. Steel wool and isopropyl alcohol worked great to get them cleaned up for their new lease on life.
With all the assemblies now cleaned and rebuild, it was time to get everything back onto the playfield. Comparing this photo to the starting point, it’s looking much nicer now.
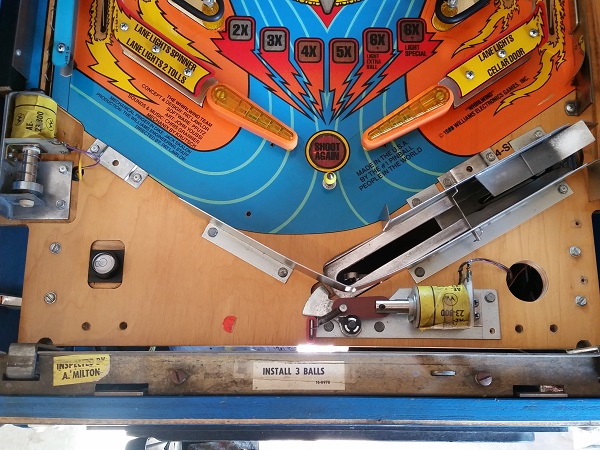
The ramp and trough area are so much cleaner now. It should be awhile before it needs another clean like this. Giving your machine a general clean a few times each year should help prolong this even further. We’re not quite done with the apron area yet though – still one more assembly to address.
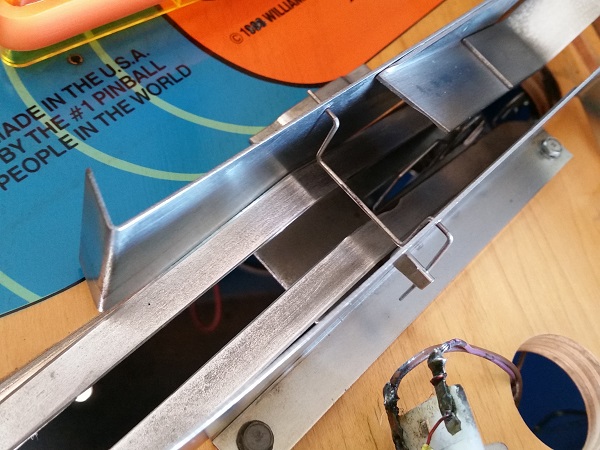
The last assembly I wanted to look at as part of this update was the ball shooter. This one is a bit roughed up from use, but at least still has the rubber and not the bent back metal tip you see on some Euro machines.
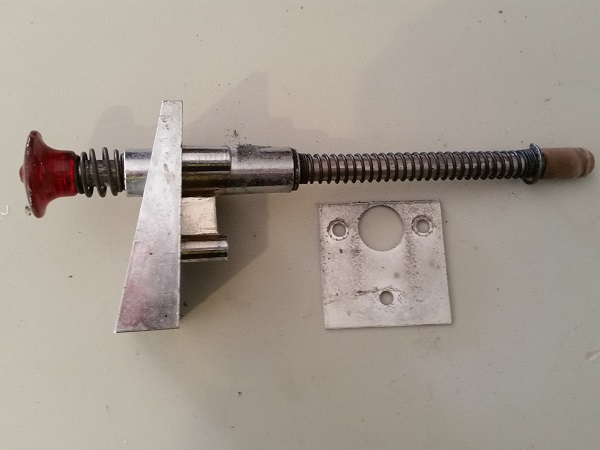
The assembly was stripped down to it’s individual pieces. The housing was cleaned up and polished ready for reuse. The old shooter rod was replaced with a new one that has a transparent blue handle. Originally I was just going to use a black handled rod, but for only $4 more I could get the blue one, which suits the Whirlwind machine nicely! A new coil sleeve, spring a shooter tip were also purchased to replace the worn parts on the old assembly. The blue spring and tip were chosen to compliment the new rod handle. Small, cheap things but offer a great presentation improvement on the machine.
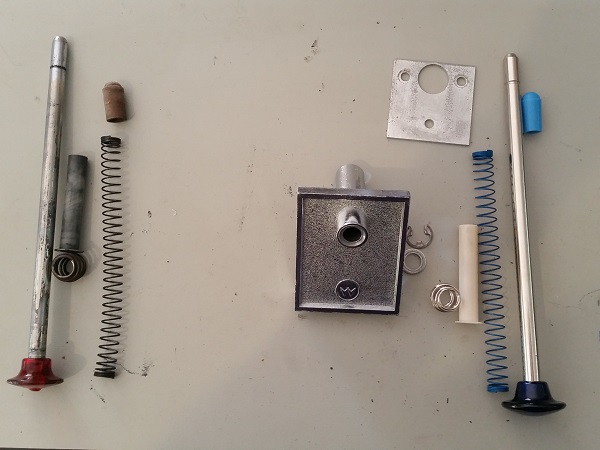
The rebuilt shooter assembly was rebuilt and now ready to go back in to the machine.
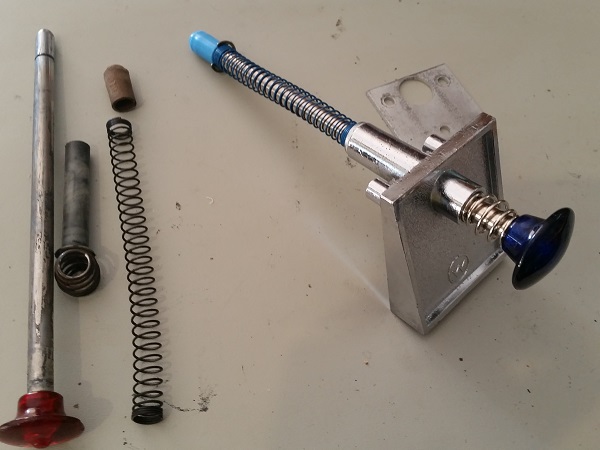
Finally it was installed back into the cabinet and the apron area was just about complete.
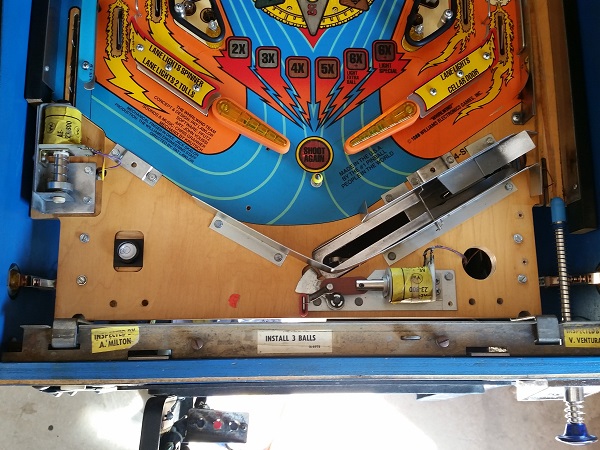
The shooter housing was cleaned up using eucalyptus spray and a soft cloth (same process as the apron – again being careful with the paint). The metal bar (the one that runs along the front of the apron) was removed and cleaned up too. New apron cards were printed off (courtesy of www.pinballcards.com) and the apron installed back onto the playfield to complete the apron service.
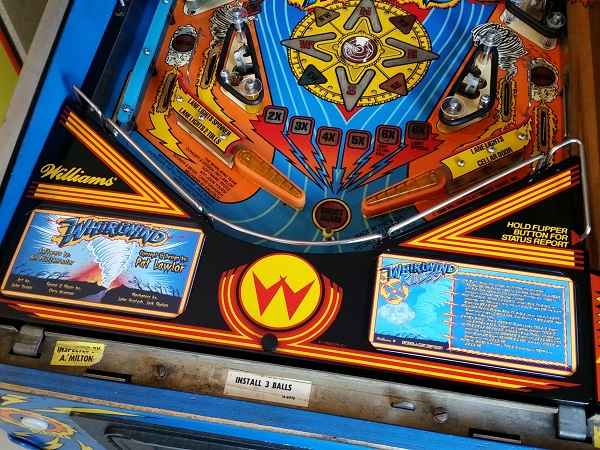
Getting the apron area (especially the ball trough) cleaned is important as so much crap collects there over the years. It becomes a bit of a filth pit the balls rest in before being served up for play, which then spreads around the machine. Presentation wise the apron looks much nicer now too and the lower playfield area has really scrubbed up nicely. Now I plan to continue working up the playfield, cleaning and rebuilding as I go. I still want to spend time on improving the coin door, but that will have to wait until towards the end. The replacement plastics will arrive soon, so I can 100% tick off the lower playfield area when they do. Still lots more interesting things to come, so stay tuned 🙂
