
First target on my hit list for this update was the broken opto on the 3 bank drop target PCB. As mentioned in my previous update, the opto component had been ripped off the board. I had originally thought the whole drop target assembly needed to be removed from the machine to work on the PCB, but on closer inspection I found the board is attached to the drop target frame with a set of e-clips. Removing these allows you to slide the board off the back of the assembly – nice! Now that I was aware of this, I decided to push this up my priority list and repair it. A replacement opto was ordered so this issue could (hopefully) be resolved sooner than I expected.
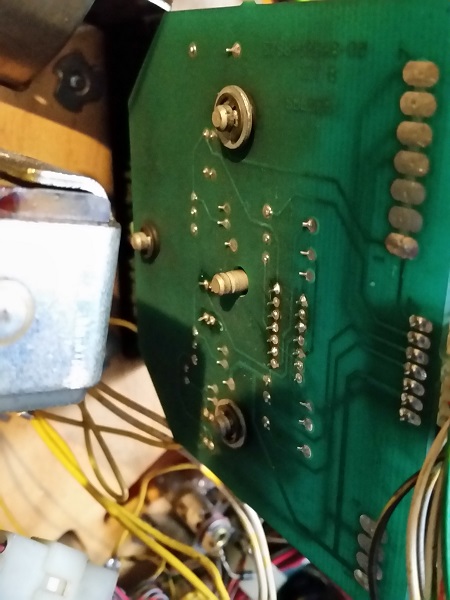
With the board removed, I could more clearly see what was left of the original opto. The board itself is a little dirty too, so i’ll wipe that clean once done. I have read that these components are known to be knocked off the pcb by the constant dropping and resetting of targets over time.
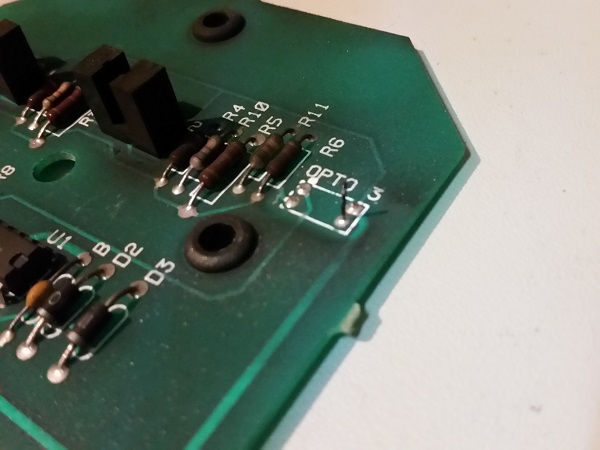
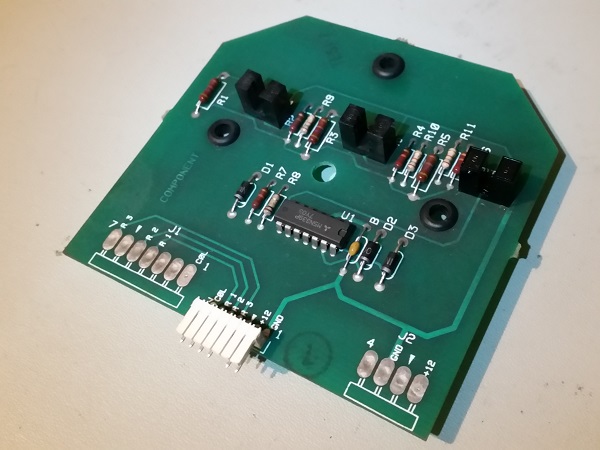
The new opto arrived and was installed. The board was given a light clean to remove the built up black dust. The board is missing one of the grommets (and e-clip) that are used to attach it to the drop target assembly. I will have a hunt through my parts boxes to see if I have any of them.
The PCB was installed back onto the drop target assembly and the game fired up into switch test mode. The top drop target now correctly registered, meaning I could mark off the final switch issue as fixed. These opto components aren’t cheap to replace ($10 each), so thankfully it’s just the one that had to be done. Now it’s time to move on to rebuilding some assemblies and playfield cleaning. Rebuilding the assemblies is one of the bits I love the most as it -really- transforms how the game performs and is very noticeable in how it plays and sounds.
I’m going to start with the sling shots and flippers. Before I get to the actual assemblies though, I’ll start by removing components from the top side of the playfield. The sling shot plastics are broken in the lower corners and I’ll be looking to replace these. I also plan to put clear lexan washers under them once reassembled to try and prevent it happening in the future.
The plastics were removed and I was interested to see the right slingshot rubber not sitting properly. These rubbers are so old now they will be headed straight to the bin. I plan to try and clean up the star posts, but will probably replace the most visible posts with brand new ones and put the best of the cleaned up set in the out of eye sights positions.
The rest of the playfield bits around the sling shots and return lanes were removed. The playfield is dirty and will get a good clean. You can feel it when wiping a finger across the surface of the playfield. The game has the original mylar on it, which covers quite a bit of the playfield area and no doubt protected it through the years. There are some spots without the mylar and some small amounts of wear can be seen. All things considered though it’s really not bad.
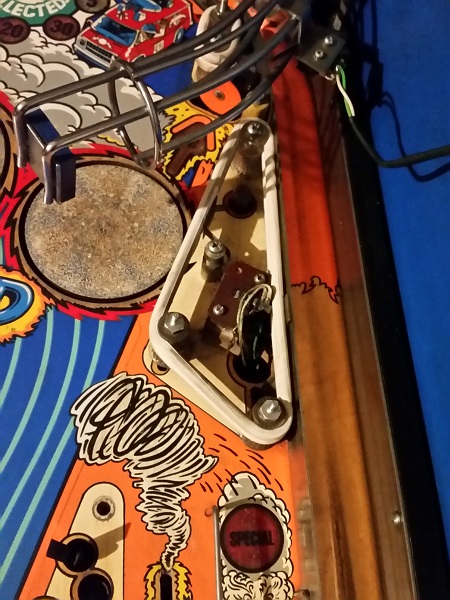
The plastic on the right side of the playfield was also removed, so I could clean this area up too at the same time. I find it interesting they used a microswitch here instead of the normal leaf switches sticking up from below the playfield.
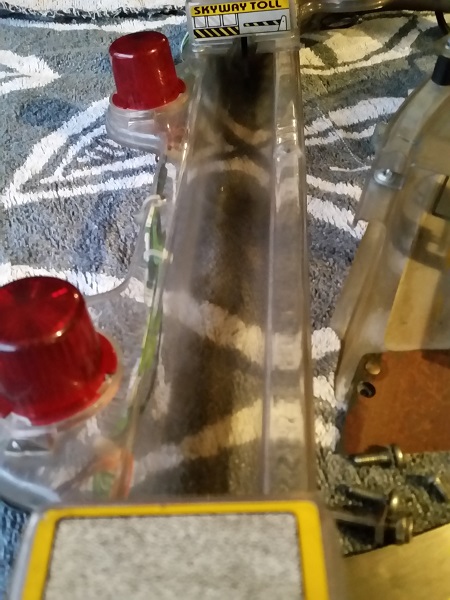
At this point I found the ramps were in the way and really needed to come off so I could easily clean around the edges of the playfield. The ramps are held in place by a few screws each and not too difficult to remove. They were set aside and I’ll give them attention at a later time.
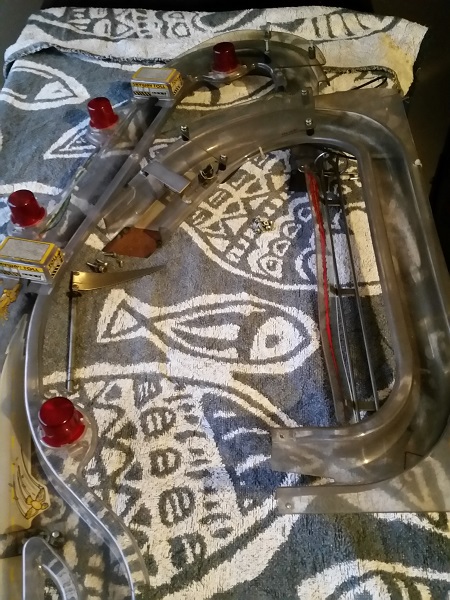
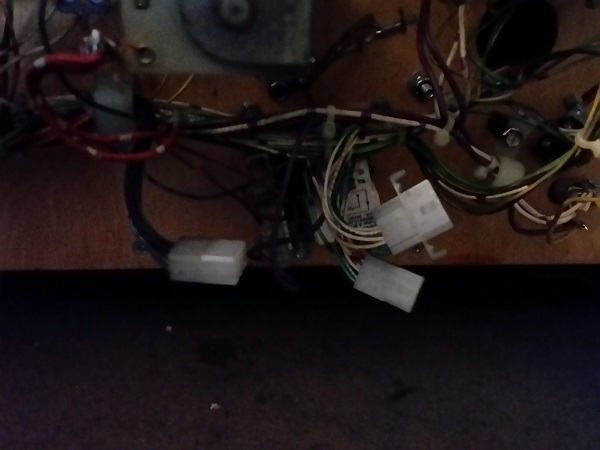
You also need to disconnect a couple of plugs under the playfield, before removing the ramps. So keep that in mind before you go trying to pull the ramps off the playfield.
The ramps are absolutely filthy. My fingers were covered in black dust while removing them. I’m confident they will clean up nicely though. I’m looking forward to that part!
With everything off the lower playfield area, I set about giving it a good clean. The old operator sticker on the playfield was safely removed and the left over goo taken care of. Once the lower playfield area was cleaned, I figured it was a good time to service the sling shots before I started reassembling the playfield parts. The two sling shot assemblies sit on either side of the compass lamp PCB, which explains why there was so much of the black dust covering it (see the previous update for photos of this).
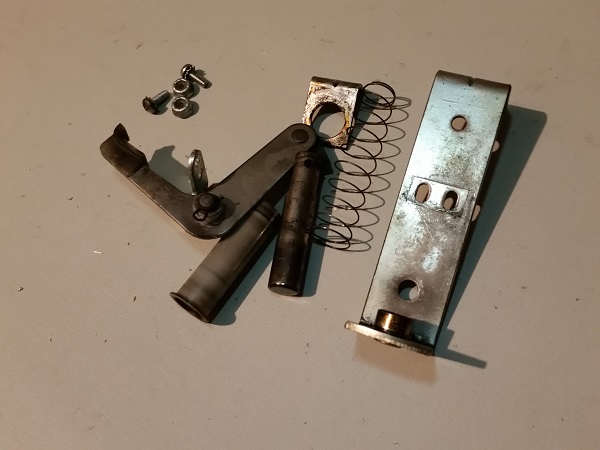
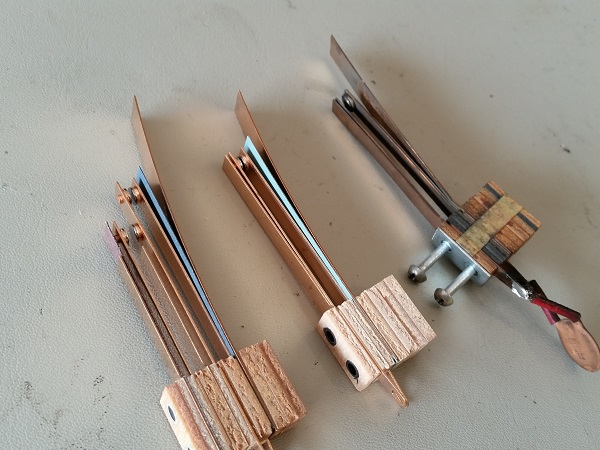
The sling shot assemblies are made up of two parts – the coil bracket and the arm & plunger. Everything was removed from under the playfield for cleaning. The bits were filthy and have probably never been cleaned. The coil sleeve will be thrown straight in the bin and replaced with a new one.
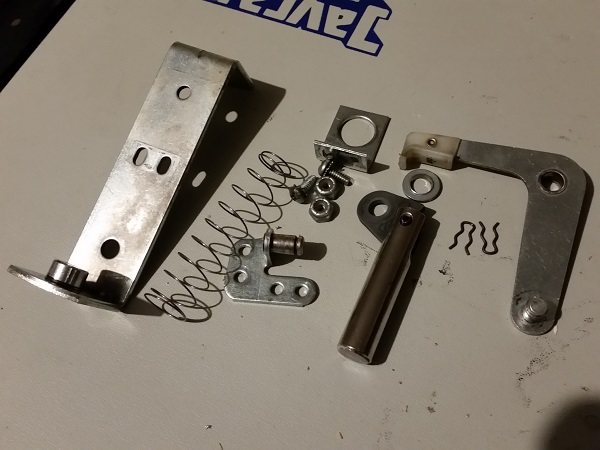
Each part of the sling shot assembly was cleaned up, ready to go back into the machine again. Both sling shots were rebuilt at the same time and in the exact same condition. No parts required replacing, except for the coil sleeves. The coils themselves were wiped down to remove the build up of black dust and then everything put back into the machine again. Manually moving the cleaned slingshot assembly with my finger, I could hear and feel the difference the cleaning has made.
I also made a few small adjustments to the lower switches on both sling shots to increase their sensitivity. I found that there were a number of instances where the ball would hit the lower section of the rubber, but the size of the switch gap prevented the sling shot from firing.
With the sling shots out of the way, it was time to focus on rebuilding the flippers. The flippers are well over due for a rebuild as they are filthy and weak (especially the right lower flipper). I’m going to start with the left flipper.
The flipper assembly was removed from the playfield, revealing an old operator / tech hack from a time long gone. The base plate has had the piece snapped off which the coil stop attached to.

The hack uses very long screws, and so who ever did it drilled through the playfield to accommodate them and give some strength for keeping the coil stop in place.
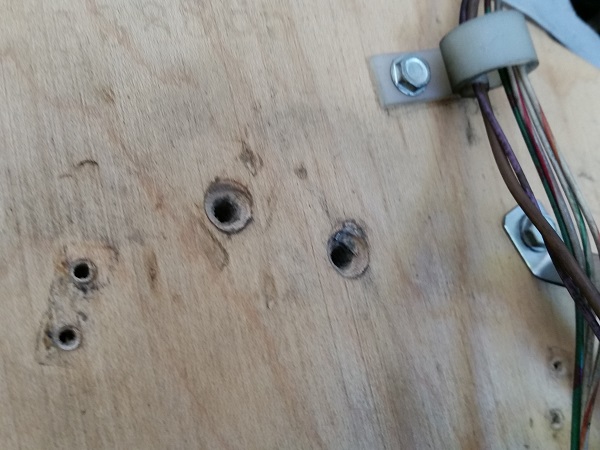
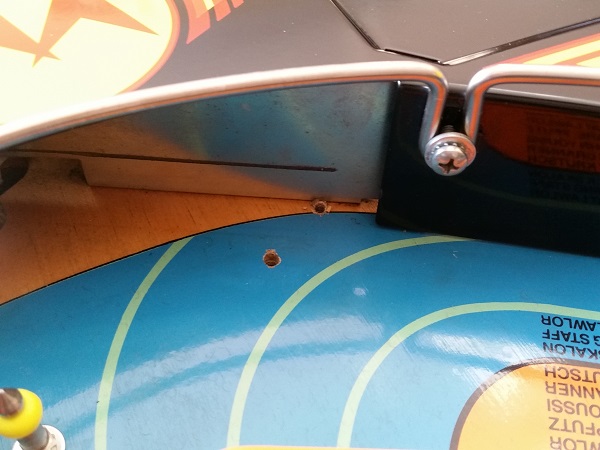
Sadly the holes they drilled from under the playfield for this hack went all the way through to the top of the playfield. I had noticed them while cleaning the lower playfield area and wondered what it was about. A shame it wasn’t fixed properly, but I guess back in the day, having the machine running was the priority over replacing a part.
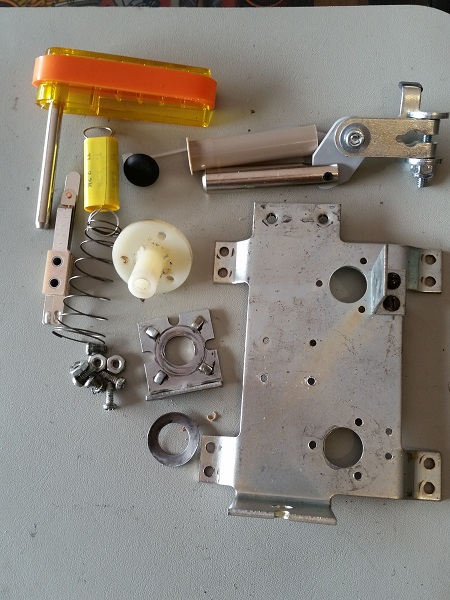
I had a hunt through my spare parts and was lucky enough to find a replacement base panel for the left flipper. These base plates cost around $20 to buy new, so the owner will be happy I could dig one up for a fraction of the cost. A new rubber plug was also ordered and the old hardened one tossed out. A flipper rebuild kit was purchased to bring this flipper assembly back to life. Any parts not replaced by the flipper rebuild kit were cleaned up and I now had everything needed to complete the flipper rebuild. I’ve decided to go with transparent yellow flipper bats and orange Titan rubber to lift the presentation of the machine. The existing yellow bats were looking worse for wear, so I needed to buy some new ones anyway. The transparent ones look better and are slightly cheaper (they have the W logo too!).
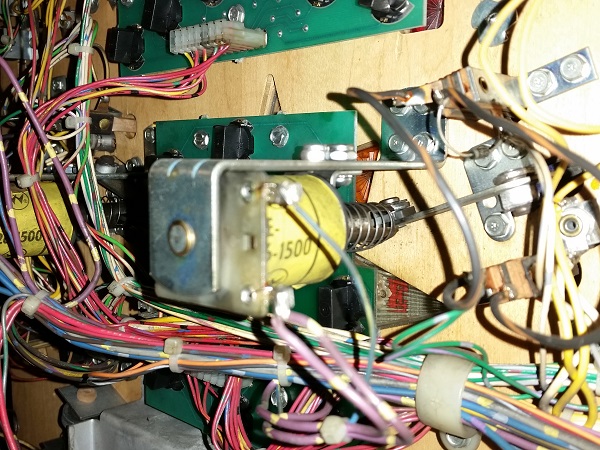
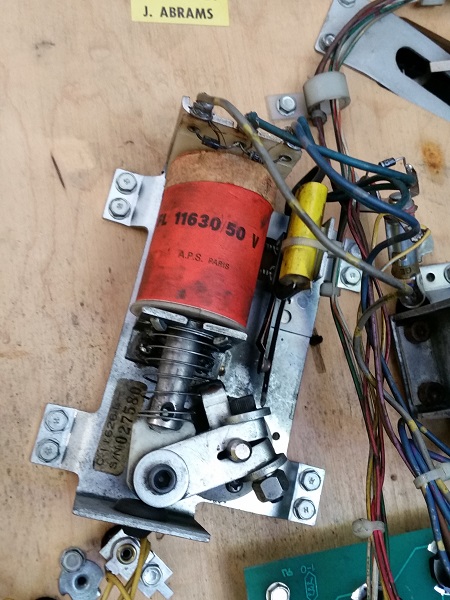
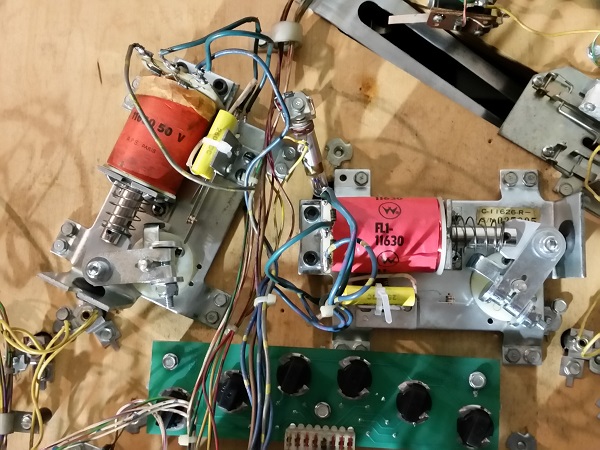
The left flipper assembly was reassembled back into the machine. I moved on to the lower right flipper next. The coil currently installed is not the correct one. It should be a FL-11630, but instead a FL-11629 coil was currently in the machine. This is actually a more powerful coil than what’s required and could possibly have contributed to the number of broken plastics around the playfield.
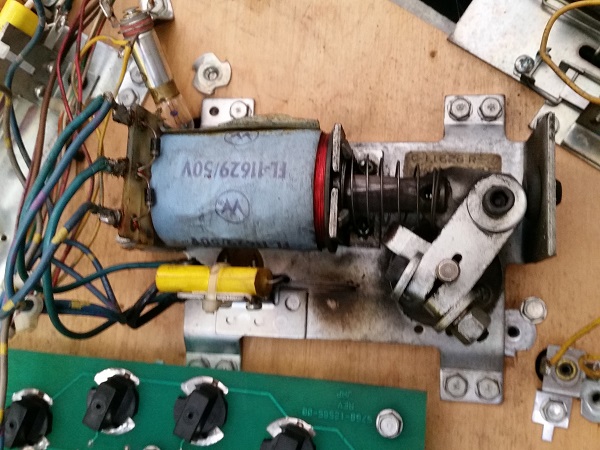
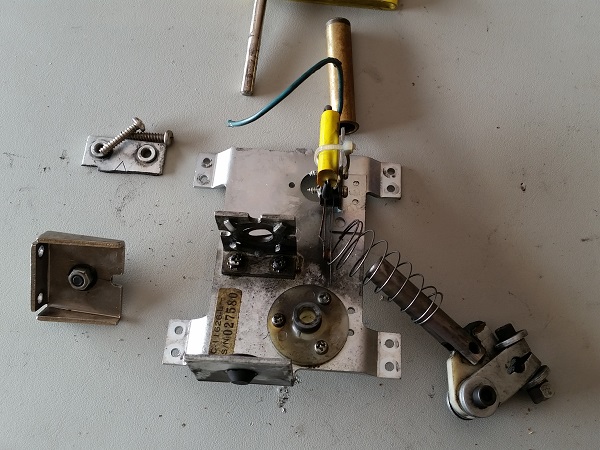
A replacement FL-11630 coil was ordered and installed as part of the rebuild process. Ironically, despite this flipper coil being overpowered, this flipper was unbelievably weak and completely useless in play. But that’s more to do with the EOS and cabinet switch that the coil itself. Still, I found it somewhat amusing. The right flipper didn’t have any hacks or surprises. It received the same cleaning and rebuild kit parts. Both lower flippers were now rebuilt.
As part of the flipper rebuild process, new cabinet switches were also installed. Given the flippers are a players primary control over the ball, it’s worth replacing the old and tired cabinet switches to ensure the flippers are able to perform at full strength. They are getting on to 27 years old, so it’s time to retire them. It’s important to remember the right cabinet switch needs the double switch since it’s responsible for controlling the upper flipper too.
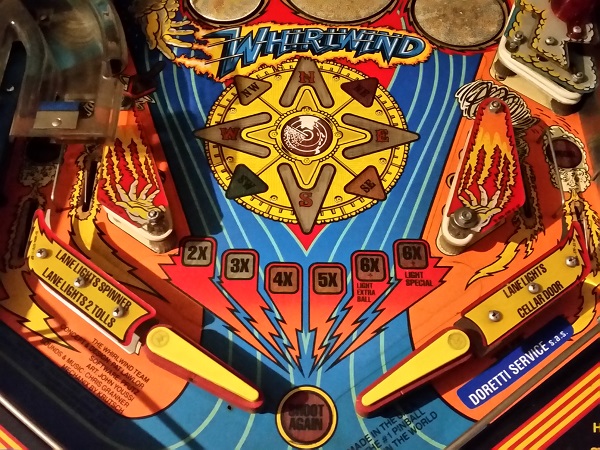
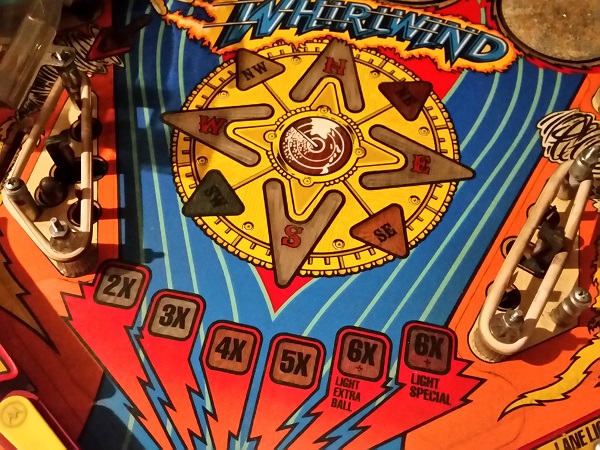
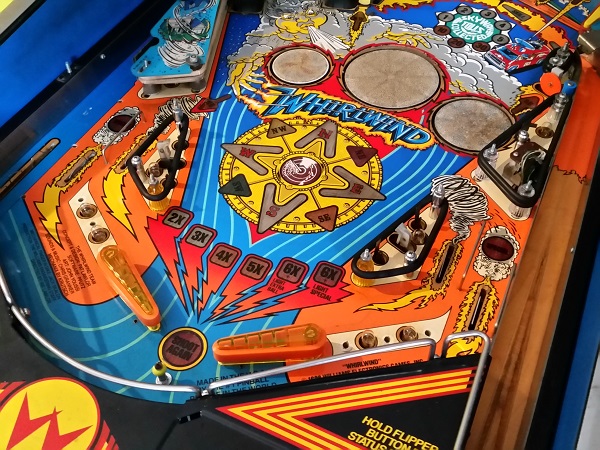
Now that the sling shots and flippers were done, my focus shifted back to the top side of the playfield. It was time to start putting parts back onto the playfield. I decided to replace the 2 clear star posts with yellow – which I think works really well with the new flipper bats. The metal posts were cleaned and polished and new #47’s installed into the GI sockets. The owner had requested black rubber to be installed, which were also added. I’ve become a big fan of the Titan “rubbers”. I like them way more that super bands, although for performance I find white rubber the best (although it gradually leaves a white powered around the playfield, which you don’t get with the Titans). The middle post between the flippers was also polished up and installed back into the machine, although I decided to go with a yellow post rubber (from Titan) here instead of black.
The plastics and black stand off posts were cleaned up and then polished with Novus. The metal pieces were also cleaned and polished.
The return lane plastics were installed back onto the machine. I’ve left the sling shots and right side plastic off for now. Pinball Center in Germany have a number of the broken plastic pieces the game needs (still trying to track 3 bits down though). The bits I could get have been ordered and will be installed once they arrive.
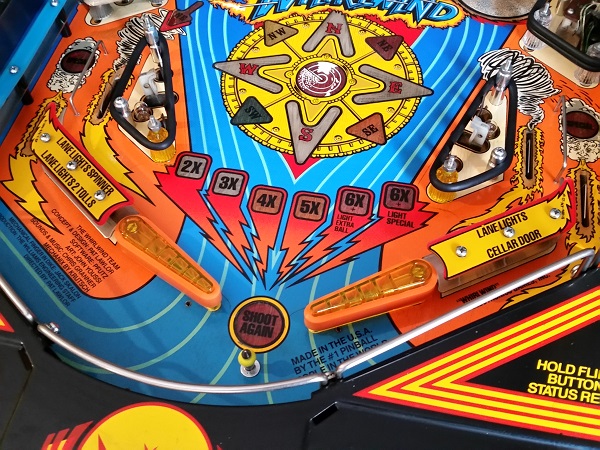
A blue Cliffy post was installed next to the orange target on the right side of the playfield, along with a fresh target pad. The target face was cleaned up and polished.

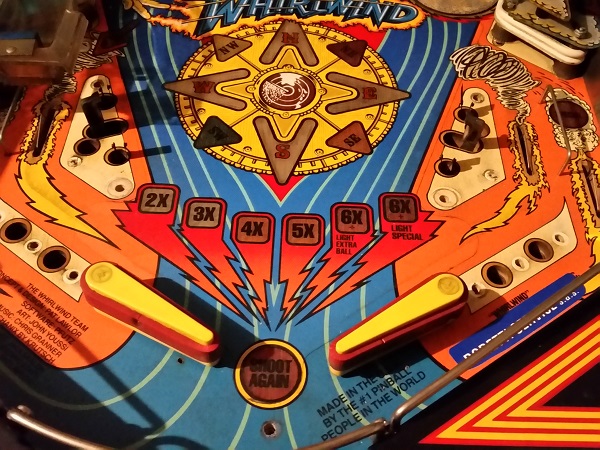
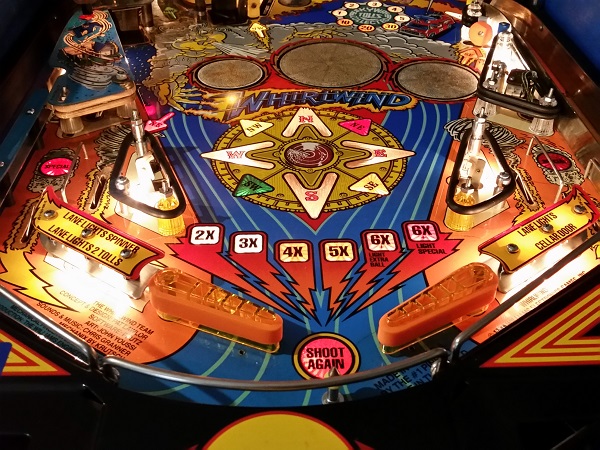
A quick check to see how it looked lit up and I was happy. The sling shots and flippers were tested and they performed nicely.
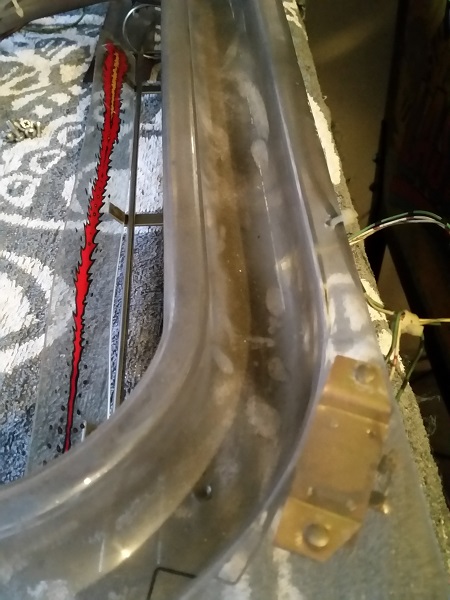
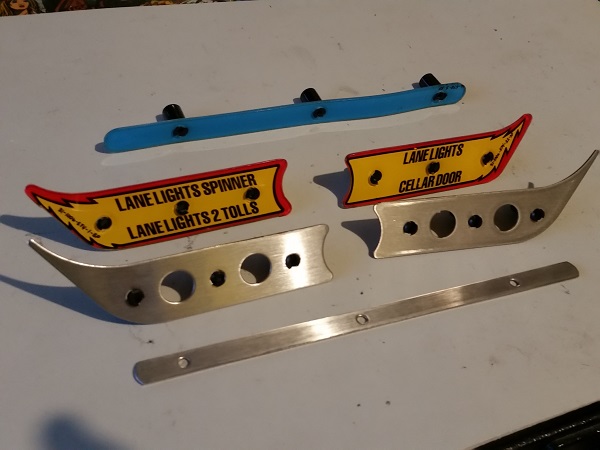
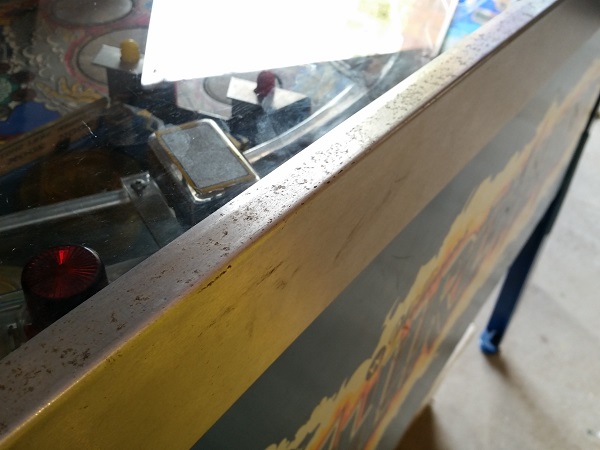
With the flippers rebuilt, new flipper bats added and also new flipper cabinet switches installed, I wanted to finish off the update by addressing the side rails and also the old flipper buttons. The side rails have quite a few rust spots that have formed all the way down the top face. The cabinet sides of the rails are not too bad and will only require a gentle clean.
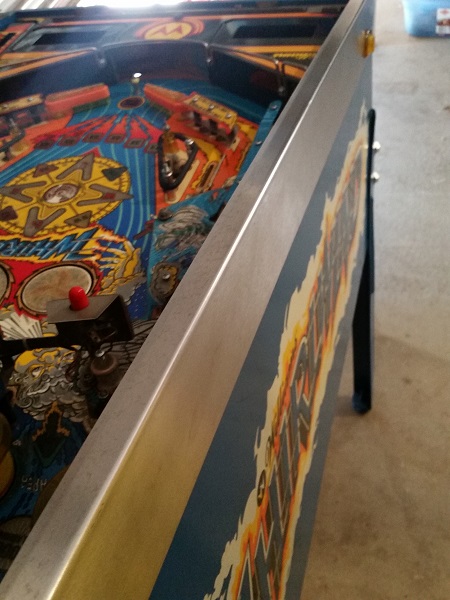
Some steel wool and isopropyl alcohol worked wonders to clear it off.
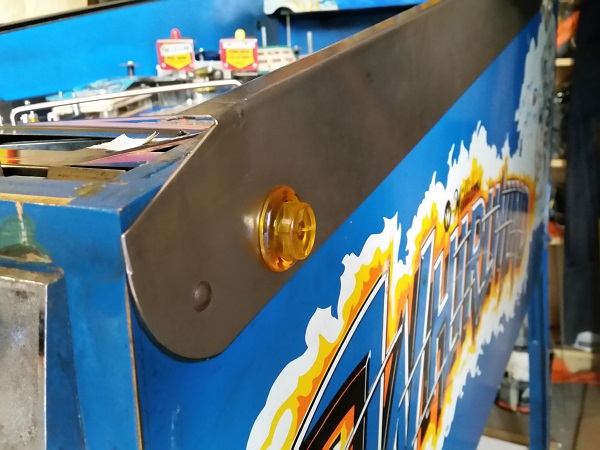
The old buttons were dirty and tired looking. These could be cleaned up, but I wanted to replace them to help lift the presentation of the machine.
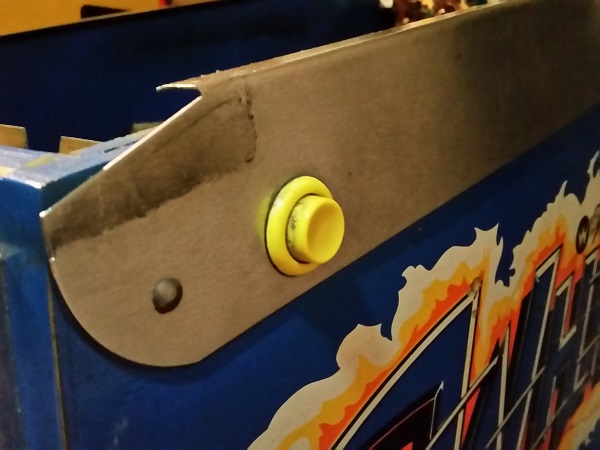
Flipper buttons are relatively inexpensive and a set of transparent yellow flipper buttons really complement the new flipper bats and star posts on the sling shots. Whirlwind is a such a great game and deserves to shine!
That’s all for this update. I had planned to cover the apron area in this update, but that will be coming up next. There are a number of assemblies around the apron that I need to look at (kick back, out hole, ball serve, shooter and ball trough). So that should fill up the next update nicely. After that, I’ll continue working my way up the playfield, with the pop bumpers, 3 bank drop targets and cellar to follow. I managed to source 4 replacement plastics (5 if you count the sling shots as 2), which will arrive here in a week or so. Still lots to do, but already the machine is scrubbing up nicely.