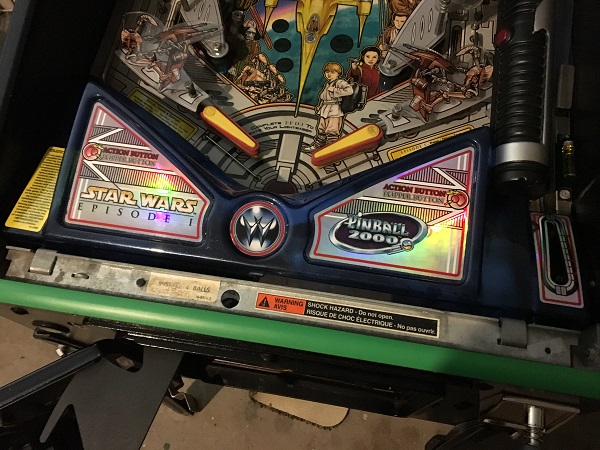
I managed to locate some extra pockets of time (from somewhere) over the last couple of weeks to continue making progress with my SWEP1 service. In this update, I wanted to focus on the apron and lower playfield areas. That way I wouldn’t need the game to be offline for long periods, allowing me to continue playing. First up will be the apron area. SWEP1 has an awesome transparent blue apron. The decals are in excellent condition except for one small spot on the shooter power gauge.
ball trough
All posts tagged ball trough
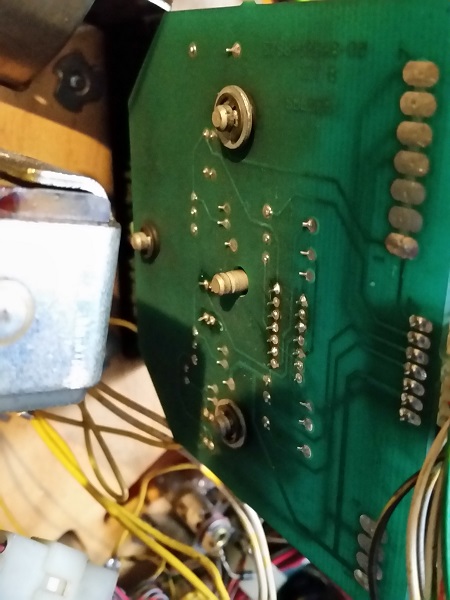
First target on my hit list for this update was the broken opto on the 3 bank drop target PCB. As mentioned in my previous update, the opto component had been ripped off the board. I had originally thought the whole drop target assembly needed to be removed from the machine to work on the PCB, but on closer inspection I found the board is attached to the drop target frame with a set of e-clips. Removing these allows you to slide the board off the back of the assembly – nice! Now that I was aware of this, I decided to push this up my priority list and repair it. A replacement opto was ordered so this issue could (hopefully) be resolved sooner than I expected.
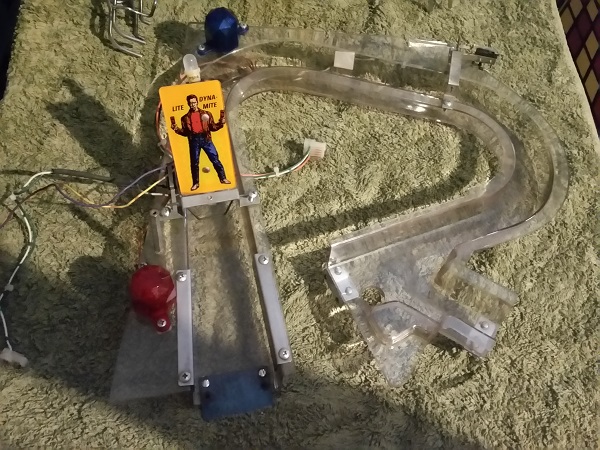
Following on from where my previous update finished, I want to get the remainder of the playfield components cleaned and installed once again. I got through a lot in the last update, with just the ramps, rails, crane and tar pit to go. First thing to look at in this update is the large clear ramp at the top of the playfield. It makes sense to get this on first, as the rest can then be installed around it. The ramp had been set aside a few days ago, waiting for it’s turn to be cleaned. There are a few things attached to it and I plan to remove and clean also. Thankfully the plastic has not broken and it simply needs a good clean.
Time to get my hands dirty and do some rebuilding on Pinbot. Funds have dried up a little for now with the recent purchase of a CPR gold Pinbot playfield. I had not planned to purchase a new playfield, but couldn’t resist. Pinbot is a keeper so I will have it for a long time to come, making the extra outlay worth it in the long run.
Since I had the machine powered up successfully, the language sorted out and battery save mod completed – it was time to start pulling a section of the machine to bits and rebuilding it. I decided to work in a similar fashion to how I did on my Fireball Classic – start from the bottom up and work through areas of the machine until complete. So, time to lift the apron and see what lurks beneath.
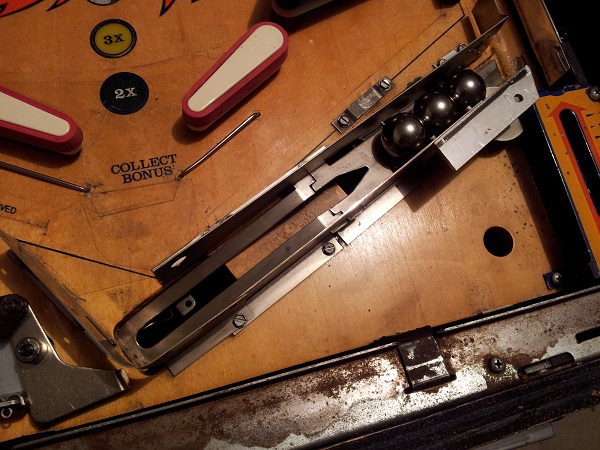
Still working my way through the assemblies located under the apron. This time I’ll be focusing on the ball trough and ball eject assemblies. I also need to sort out an issue with the ball trough where the ball bounces back down into the drain hole.
First up though, time to pull the ball trough apart and give it a really good clean. Even at a first glance, you can see how much dirt has built up.


