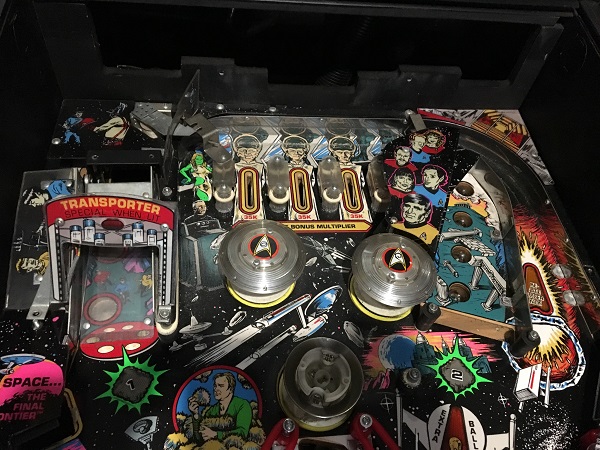
It’s time to wrap up the work on my Star Trek 25th Anniversary so I can have it back together and playable. The last section of playfield to look at is the top. This area is home to a set of three pop bumpers and also the ramp raise/lower assembly. The lower pop bumper was missing its cap, but I located this a few weeks earlier at the back of the cabinet. It was quite filthy, so can assume that it’s been lost there for awhile. The ramp is missing the small blue metal flap, which I want to replace.
leds
All posts tagged leds
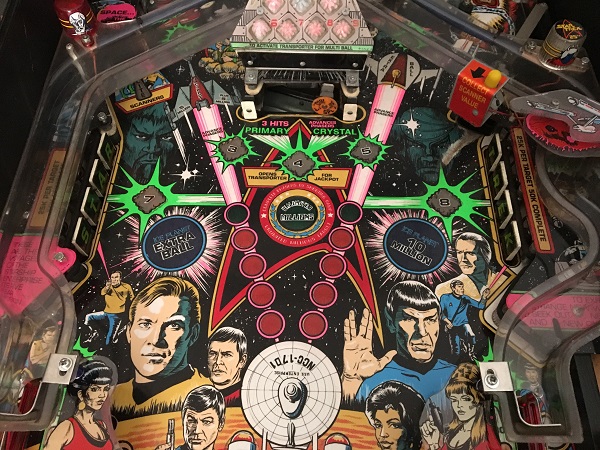
Time to dig deeper into the Star Trek overhaul and look at the middle playfield section. This area is home to two banks of drop targets, a VUK and also a swinging target that moves during play. There is a large ramp that covers the sections of playfield I need to get to though, which will need to be removed. Once that’s off, it will remain off until I’ve finished working on the playfield as it’s a pain to get on and off again. There is also a subway ramp below the playfield that links up the top left and middle scoops to the VUK which can be removed in this update too.
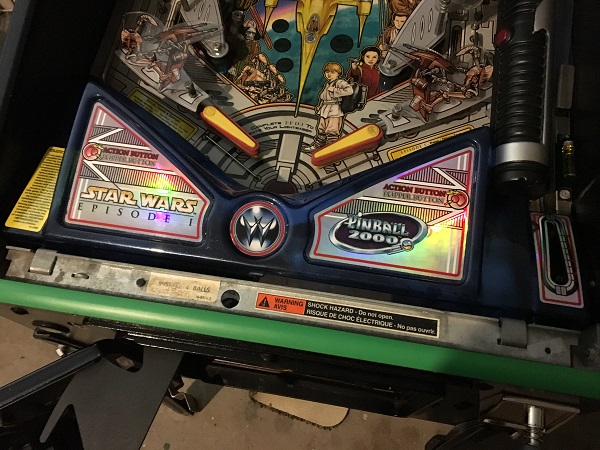
I managed to locate some extra pockets of time (from somewhere) over the last couple of weeks to continue making progress with my SWEP1 service. In this update, I wanted to focus on the apron and lower playfield areas. That way I wouldn’t need the game to be offline for long periods, allowing me to continue playing. First up will be the apron area. SWEP1 has an awesome transparent blue apron. The decals are in excellent condition except for one small spot on the shooter power gauge.
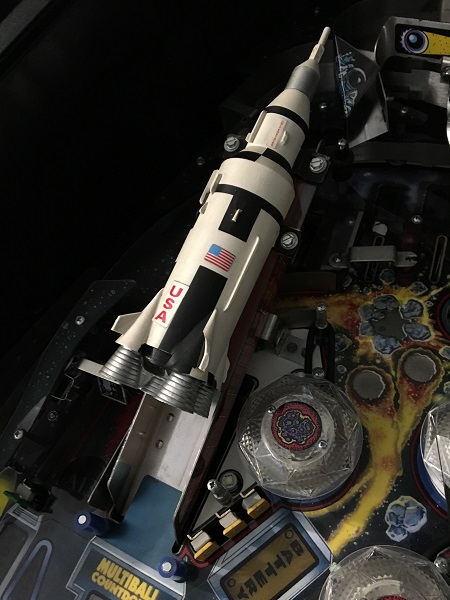
Time to wrap up the work on Apollo 13 and get it back into one piece for testing. First item on my to do list in this update is the rocket assembly, as it’s the last outstanding part of the playfield to get a clean. Then I can go through the process of getting everything back together (which is mostly the rails) and test the game. The end is in sight, which is exciting as I’m keen to play (…test) it. Time to get started! The rocket ship is the shot responsible for working towards the 13 ball multi ball mode. There is a ramp you shoot the ball up and a small assembly at the top which traps the ball, updates the countdown and then returns the ball back to the player. It is connected to a motor below the playfield, which performs a lift off and drops the ball into the large red ramp below the playfield.
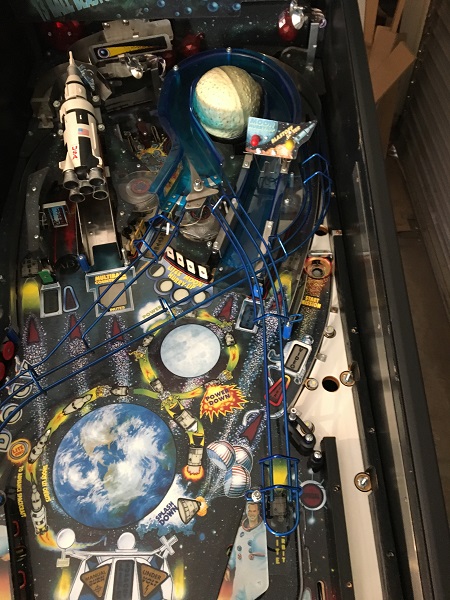
Having worked through the lower and middle sections of the Apollo 13 playfield in previous updates, it’s time to turn my attention to the upper section. There aren’t that many assemblies to get through, but quite a lot of parts to remove, clean and then install again. So it’s still a time consuming process. My first area of interest in this update will be the pop bumpers. But before I can get there, I have a few things to remove. In previous updates I had already removed a couple of the blue rails, but now it’s time to remove the rest so I can get to the pop bumpers.

