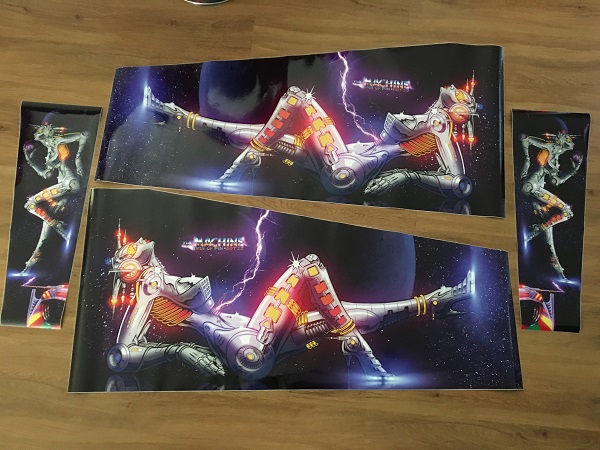
My Bride of Pinbot has received a lot of loving attention since I purchased it. Now, I’m facing the final mountain before I can say – It’s complete!. Doing up the cabinet was always going to be one of the final two things to be done. It was a bit of a race to see if the final challenge would be the playfield or the cabinet, with the cabinet winning (or is it losing?) that race. The plan had always been to do it around late December last year or early January this year, but that got pushed back to February – and here we are! I spent quite a bit of time last year deciding what path to take with the new decals. Do I keep it original with new BoP decals from PPS? Or now that it’s a 2.0 machine, go with 2.0 decals from Retro Refurbs. In the end, after much deliberation and weighing pros and cons, I went with a 2.0 make over. Some may hold back tears while proclaiming – “But it’s not original anymore!”. Meh. This is a 2.0 machine now. It will remain a 2.0 machine. I love 2.0. There are not many 2.0 machines in the world and very few that are done up in this manor. So new 2.0 decals were purchased to bring this cabinet back to life. Naturally they arrived the day I started back at work (after 4 weeks of leave), which means the process will take longer to get done. The decal set includes the head box, cabinet sides, coin door and a 2.0 translite. The art is heavily based on the original, but with a more modern look (and some 2.0 branding).
artwork
All posts tagged artwork
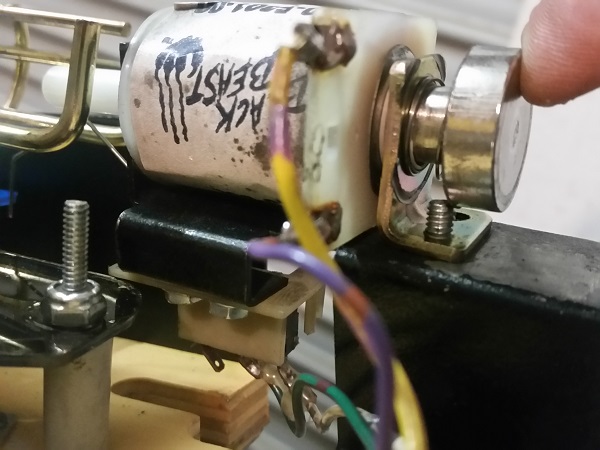
Time has gotten away from me lately, with my attention being drawn to family, along with a string of projects all wanting my attention at once. I managed to finish off the final few things on Baywatch a few weeks back, so want to close off the work with a short update. In the last update, the playfield had been put back together after a full strip and clean, ready for testing. One issue I noticed when the machine first arrived was the auto launcher. Sometimes it would not shoot the ball all the way into play, and the ball would roll back to the shooter lane (this isn’t to be confused with the ball serve I issue I reported on and fixed in an earlier update). I thought perhaps cleaning the assembly would be enough, but after testing with the playfield rebuilt, I was convinced it was more of a mechanical issue. So I lifted the apron off the playfield to take a look.
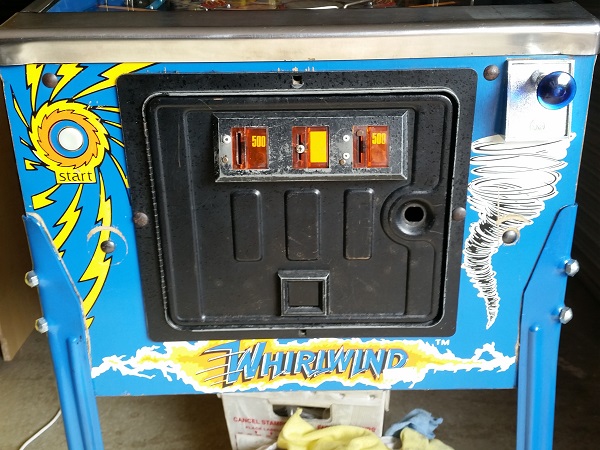
I had planned for this to be the final update on the Whirlwind repair & service, but before I give my focus to testing the game, there were two more presentation things to look at first. One of the final items to address on Whirlwind is the coin door. I had mentioned in previous updates I was going to look at it, but kept putting it off. No longer though. When dropping the machine off, the owner asked me to give the coin door a face lift. He wanted the rivets removed and the holes filled from the coin entry housing. No problem, can do. I wanted to go a little bit further though and replace the pricing plates with something nicer and also replace the two missing bolts from the coin door.
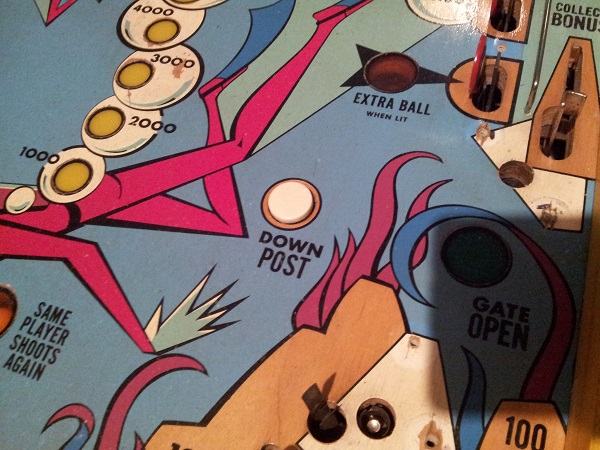
It’s Mariner update time again and this for this post I’ll be starting out with some small stuff and then moving onto larger, more interesting things. I’m really looking forward to getting the machine into a state where it’s read for play. That’s still a little while off yet, but I am getting there 🙂 To begin this update, I wanted to look at the two small roll over buttons in the lower third of the playfield. These two buttons control the post down feature.
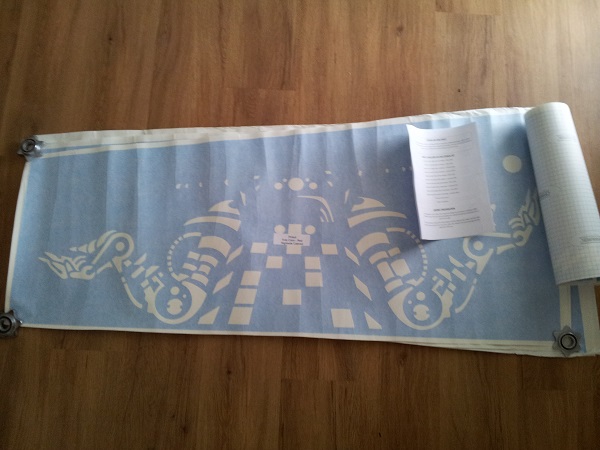
This update took much longer than I expected it would, but finally the headbox has been patched and repainted. Outside of some cosmetic damage, the headbox is in good condition. While the artwork was faded in parts and there was some minor damage to the wood, it was at least strong and stable. Unlike the Fireball Classic I recently restored, the Pinbot cabinet artwork is painted on with the use of stencils. A full set are available at TwistedPins and Santa managed to deliver a set to me during the Xmas period and it was time to put them to use.
I’m going to break the process up into two parts. Firstly i’ll do the headbox, which will then be followed by the cabinet. To begin with, I removed the stencils from the packaging and flattened them out. There are two stencils per side – one for the red/orange colour and the second for the yellow. It also comes with a set of instructions which are not complicated – just common sense really.