It’s Mariner update time again and this for this post I’ll be starting out with some small stuff and then moving onto larger, more interesting things. I’m really looking forward to getting the machine into a state where it’s read for play. That’s still a little while off yet, but I am getting there 🙂 To begin this update, I wanted to look at the two small roll over buttons in the lower third of the playfield. These two buttons control the post down feature.
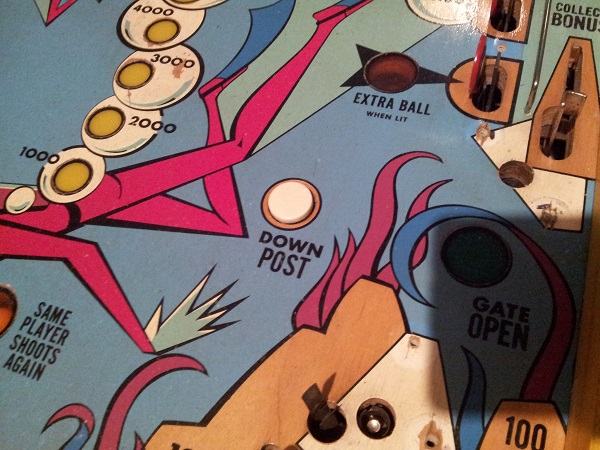
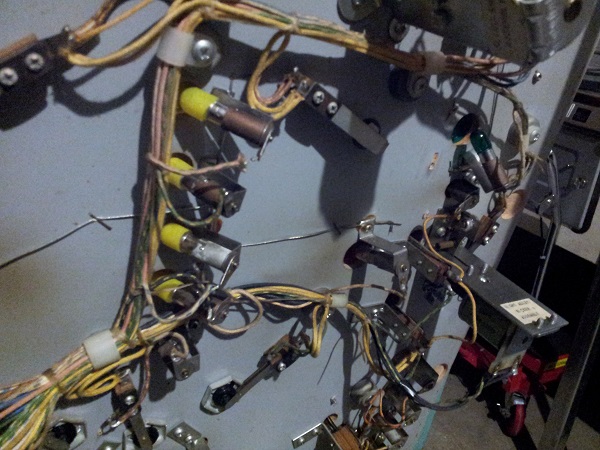
I want to remove the buttons so they can be cleaned. It will also allow me to remove any crap that has collected below them over the years. Before I can remove them though, there is a large relay bank installed above (or is that technically below?) them. This also blocks access to the bulbs in the five yellow reward inserts. I want to clean the base of these inserts and replace the globes too. The only way past this is to remove it.
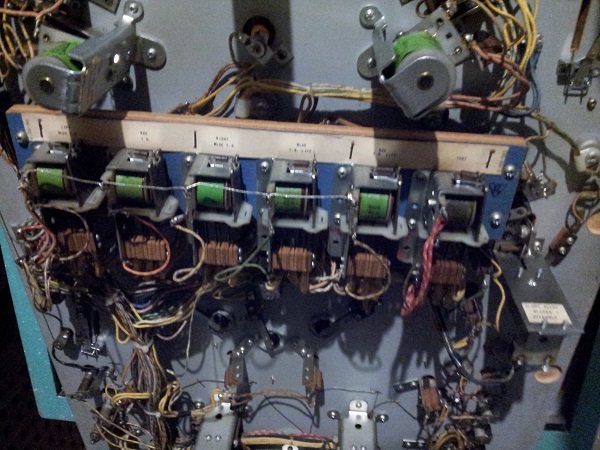
It’s attached by 4 screws and is kept off the playfield via two large metal stand offs to lift it off the base of the playfield. Quite a bit of dust has collected on the reverse side of this panel and I’ll clean that off before I put it back into place.
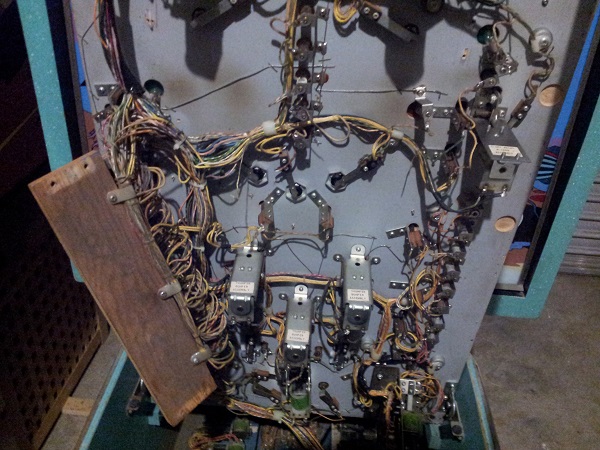
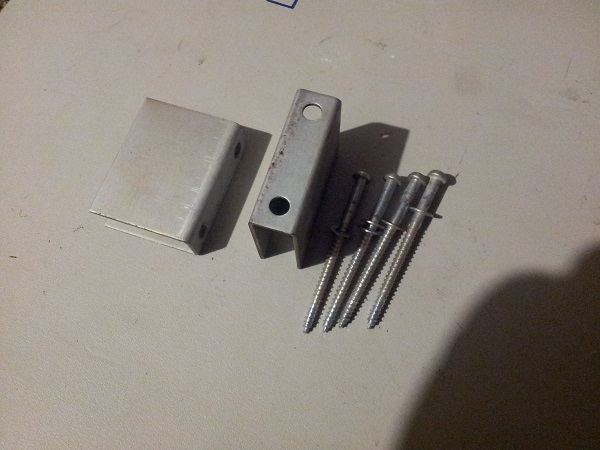
The metal stand offs are removed from the playfield – getting these back on will be more difficult than removing as I’ll have to balance the playfield, relay board, screws and a screw driver. I’ll manage though. I’ll give them a quick wipe down shortly too, removing any lose crap on them.
I now had access to the switches for the roll over buttons. They are both the same, so I’ll only bother showing photos for one. They are a very similar set up to the small roll over buttons I cleaned up on the Fireball Classic.
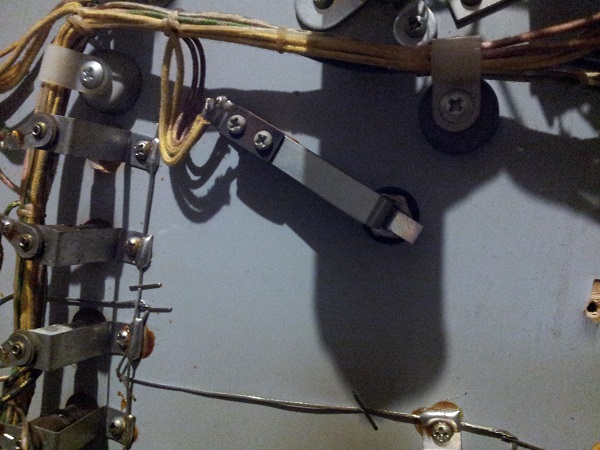
Moving the switch out of the way allows access to unscrew and remove the button from the playfield.
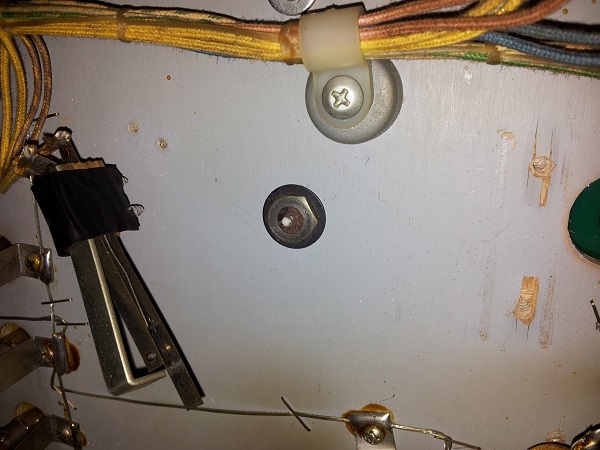
With the button removed, I could see some lose crap collected in the hole. This will be vacuumed out and the surrounding area cleaned up before installing it again.
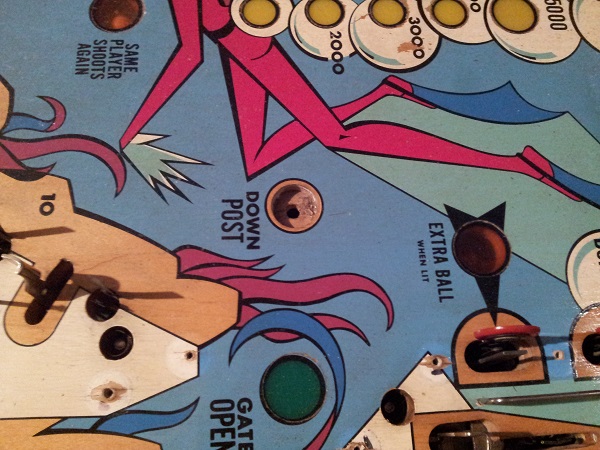
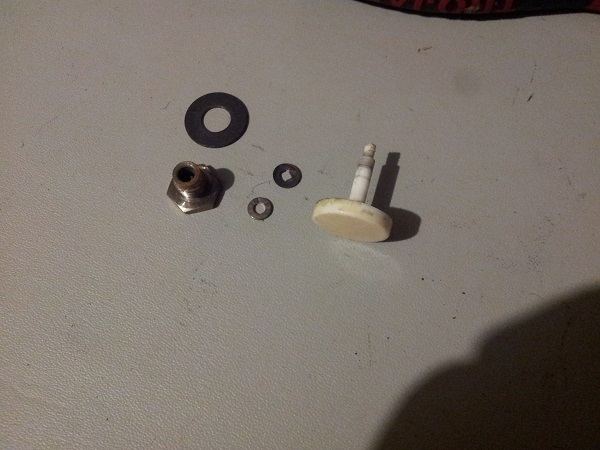
The button is a simple set up. I’ll wipe the metal parts down with some isopropyl alcohol and a cloth. The button will be cleaned and then polished up with some novus.
The cleaning process was repeated for the second roll over button. The switches were given a clean and the switch blades a slight adjustment. I wanted to be careful with the adjustment as getting back in to work on them will be a pain, having to remove the relay bank again – so best get it right the first time.
While working on the roll over buttons, I wanted to replace the globes in the area. Because they are yellow inserts, I decided to install yellow covers over the new globes to improve the yellow glow produced by the inserts.
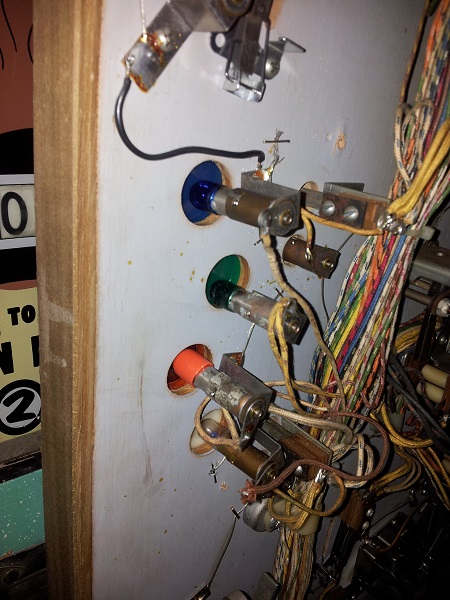
Elsewhere I decided to use orange covers on the bulbs below orange inserts, and blue / green globes for their respective inserts. The only reason I didn’t use covers here was because I had these coloured globes on hand. I’m not a fan of LEDs on these older EM machines and think coloured globes can give nice results – but that’s just my personal preference. The underside of each insert is always cleaned as I often find dust and crap has attached itself there over the years.
At this point, I wanted to move further up the playfield to look at the 3 small mushroom bumpers. Instead, I decided to actually remove all the plastics and star posts (including the small mushroom bumpers) all the way up the playfield. I want to give the playfield a really good wipe down and clean. The best way to do that will be to have as much stuff off the surface as possible.
Before I give the playfield a clean though, there are two more roll over button targets at the top and a saucer. The buttons were removed and cleaned with the same process as the other two – although this time around there was no relay bank to remove, so were easier to get access to. So next up will be the saucer.
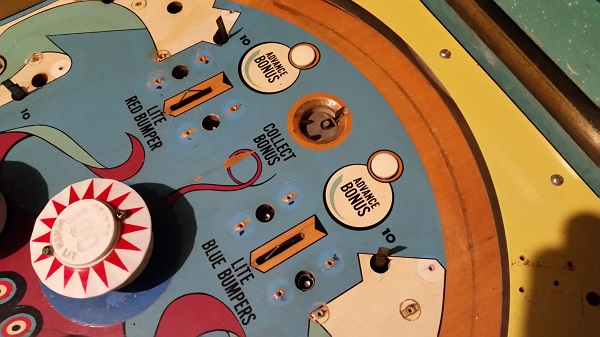
Very similar to the ball serve saucer I covered in an earlier update. Dirt and crap has collected on the circular area where the ball is captured. Another metal coil sleeve to replace and the coil stop here is in good condition, so after a clean can be reused.
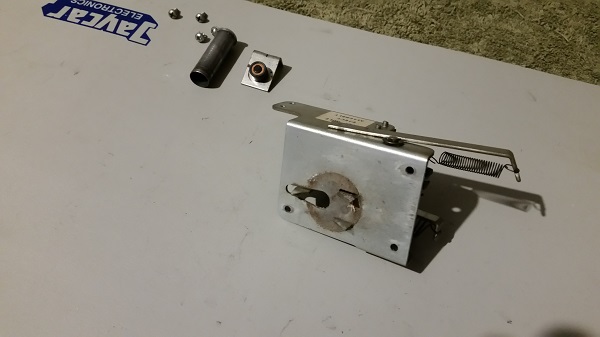
The saucer assembly was completely stripped down to it’s individual pieces and everything cleaned.
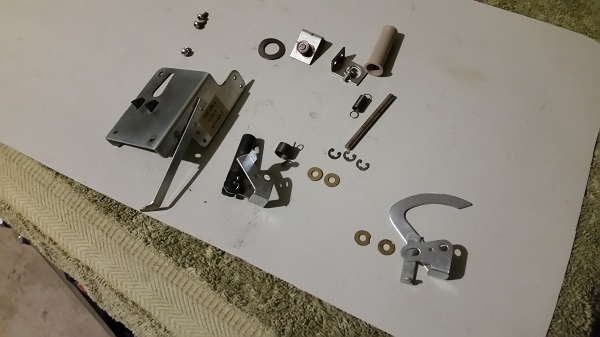
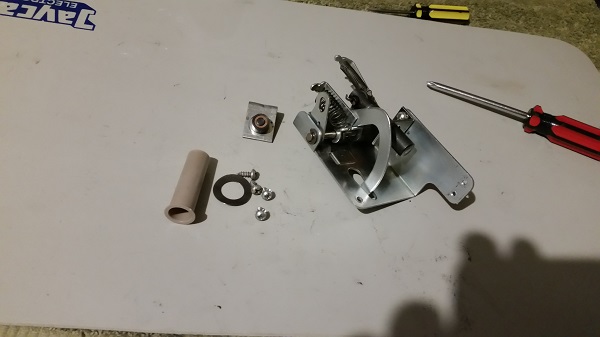
Finally the parts were put back together again and it was ready to go back into the machine. A lot of crap had collected on the joints of this one, so it was good to get it cleaned up.
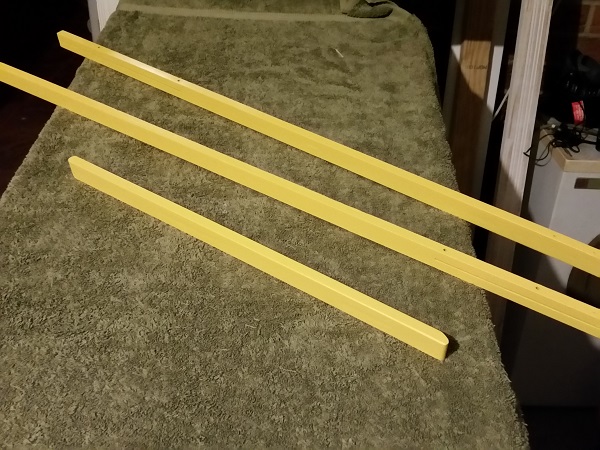
Next up, I decided I wanted to clean up and repaint the wooden rails attached to the playfield. It looked like someone had tried to remove them in the past as they were slightly lifted off the playfield in some sections. The three rails were carefully removed and their nails tapped back through the playfield. The metal arch at the top of the playfield was also set aside for cleaning. The rails were patched up, sanded and then repainted. They were then set aside again until ready to install.
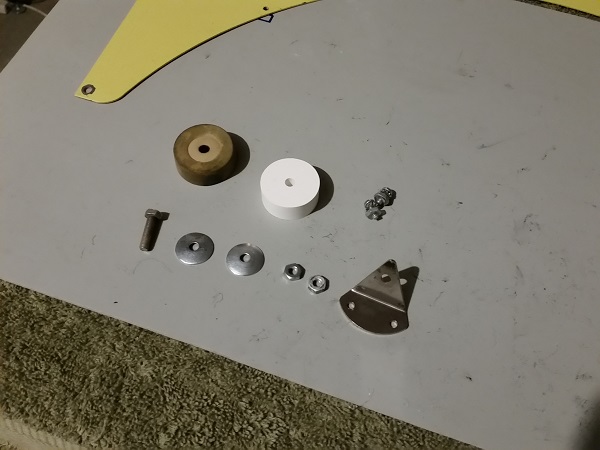
The old rebound rubber looks older than I am, so time to replace it. The small metal frame was disassembled for cleaning and a new white rebound rubber purchased. The parts were cleaned up and the assembly rebuilt. The gate that sits on the left side of the arch was also cleaned up and installed once again.
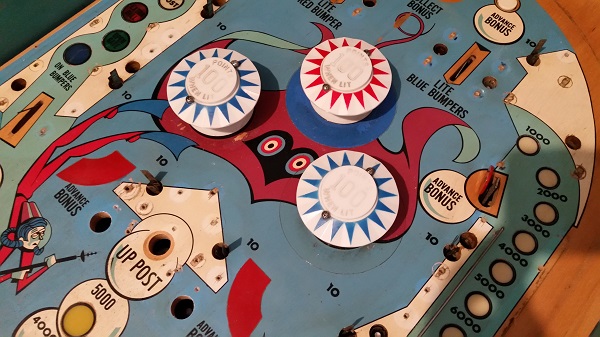
Next on my hit list were the three pop bumpers. I love pop bumpers and a group of three is always a nice set up for some decent pop bumper action. The caps were not too bad, although the gold lettering on the text was mostly faded. The red and blue colours were still OK. However, I’d like to replace these as I love fresh looking pop bumpers. The top pop bumper has had a blue mylar ring installed at some point in the past. I won’t be removing this. The right one has had a clear ring installed in the past, over some minor playfield damage. I won’t be removing this one either. The left pop bumper has no mylar ring, so i’ll be adding one here. First though, I want to remove and service them.
Something to note too is the two quarter circle red mylar patches to the left and right of the mushroom bumpers. These were added at some point in the past to cover up wear patches on the playfield.
Under the playfield it’s a pretty standard set up with the coil stops as part of the frame.
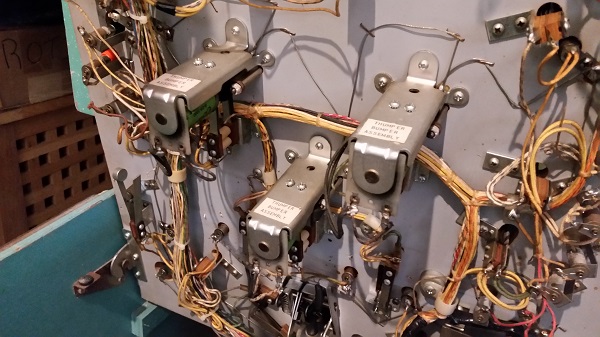
To begin, I removed the frame for each of the pop bumpers. This gives me clear access to the lamp sockets to desolder and also the metal spoons, which I plan to replace. Normally I would do one at a time, but I was keen to get all three off the playfield to make cleaning and polishing the area easier.
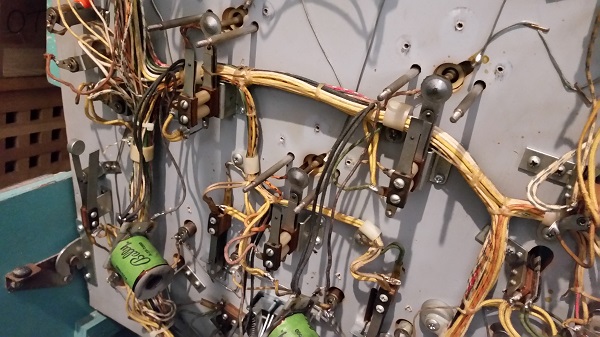
With the lamp legs desoldered and pop bumpers removed, I was left with a dirty playfield to clean.
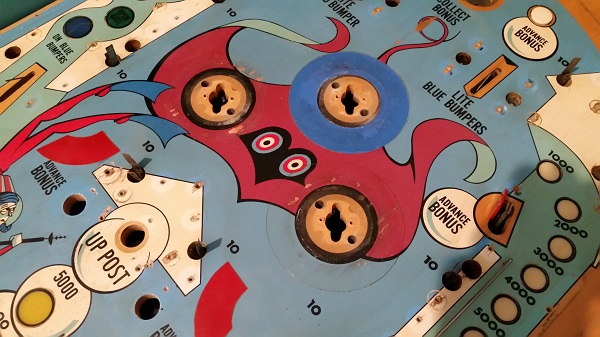
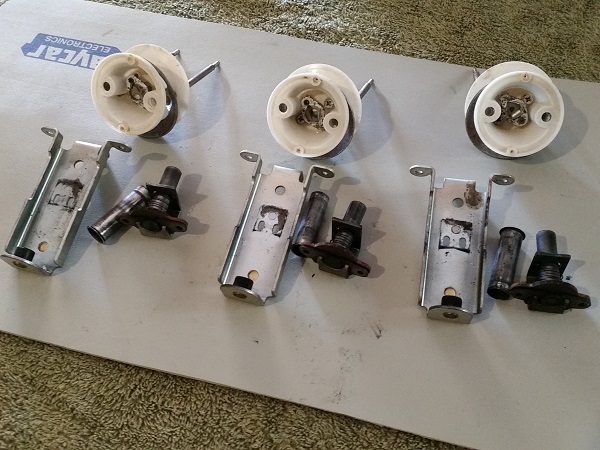
The pop bumpers were set aside for cleaning. The metal coil sleeves will be replaced with new nylon ones. The worn yokes will also be replaced.
To give you an idea of the yellowing that occurs, here is one of the new pop bumpers bodies beside one of the old bases. I’ll be replacing the old bodies with new ones. The bases however are still good to use. Even though they have yellowed, they sit hidden by the skirts and playfield, so it’s not necessary here to purchase new ones here.
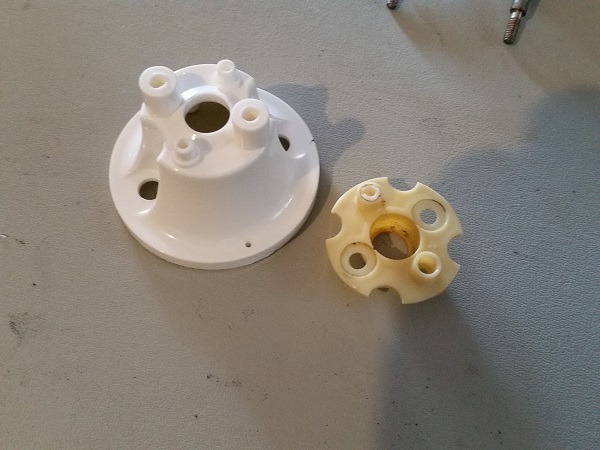
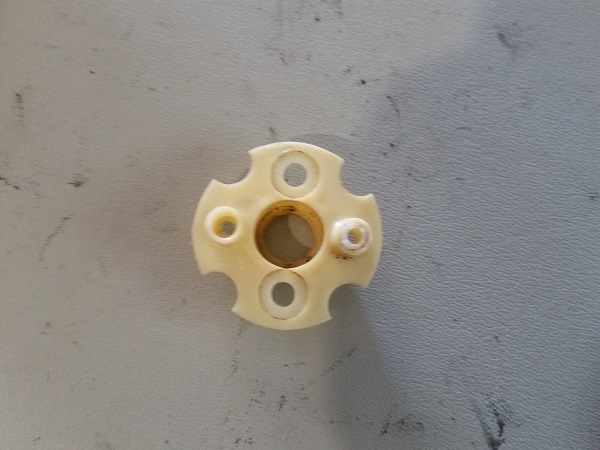
However I found that two of the bases had broken one of the legs off the old pop bumper body (note the leg sitting inside the right hole). I have spares which I pulled off the Fireball Classic that will suit here to replace them.
The frames, plungers and springs were all cleaned and worn parts like the yokes (fiber and metal) replaced. The metal rings were saved from other machines (after a visit through the tumbler) and look as good as new. Two of the metal rings from this machine were kept and will go through my next tumbler load to reuse in a future project.
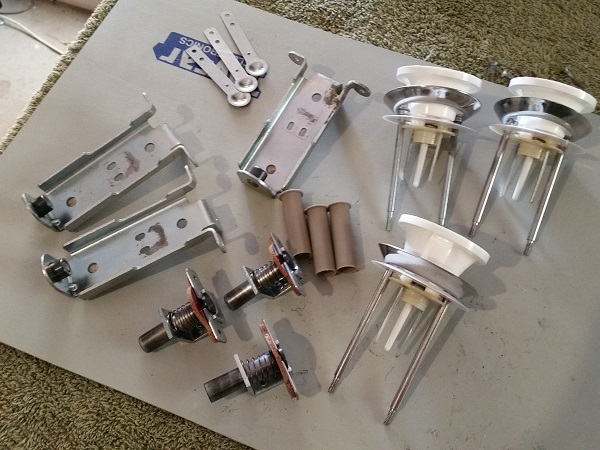
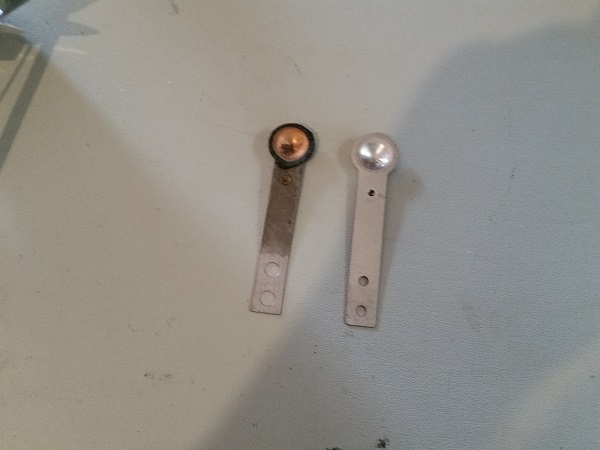
I also wanted to replace the metal spoons that make up the activation for the pop bumpers. I couldn’t find specific Bally ones, so these are gottlieb. They are -mostly- identical, although the two holes are smaller and I will have to drill these bigger. The contact point is also slightly lower, but they should be fine to make contact.
After some minor playfield touch up, the playfield was cleaned, polished and waxed. The wooden rails were installed once again. This time they were attached using screws. I had to carefully drill some holes where the nails were previously. This will make removing them in the future easy. The middle layer of the upper arch was also installed, along with new #47 globes.
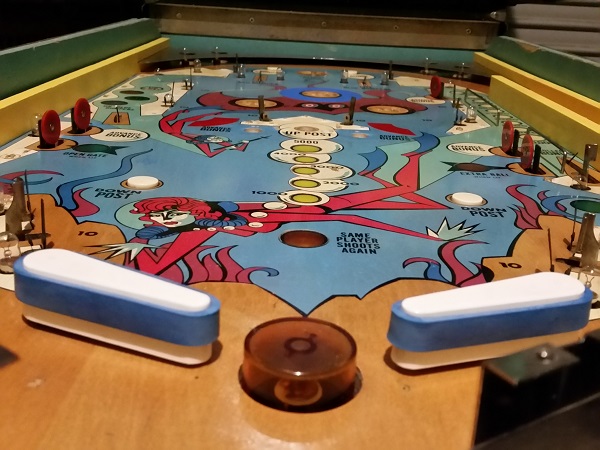
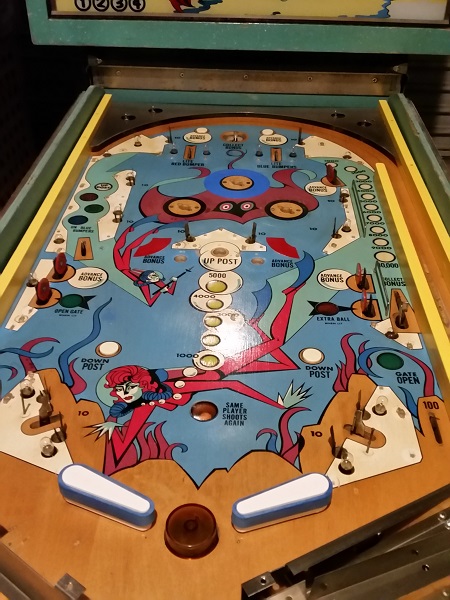
The upper arch was installed back onto the playfield again. Anyone notice the mistake here?
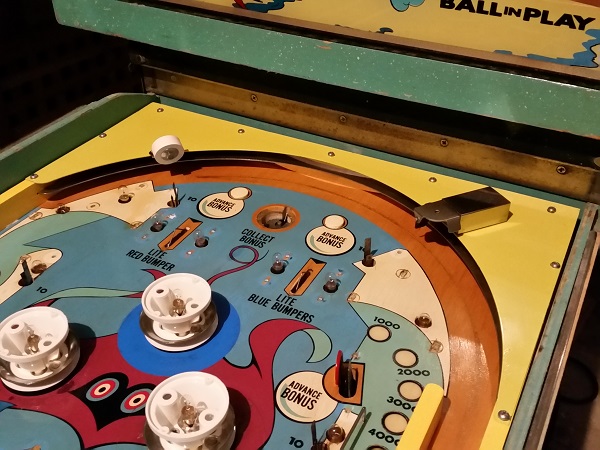
When I took the above photo, I knew something was odd, but couldn’t put my finger on it. Then it dawned on me that the rebound rubber was installed incorrectly. It should be leaning down towards the playfield – not up. This was fixed and the new pop bumper caps installed.
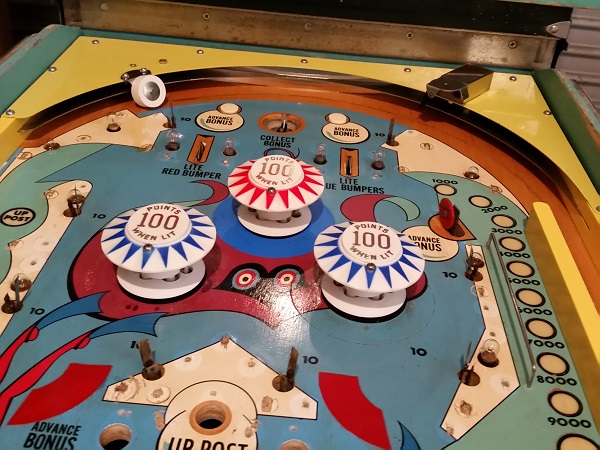
Last thing to look at for this update is the three small mushroom bumpers. I first encountered these when restoring my Fireball Classic, but they had been around for many years before on Bally em machines. They’re a simple passive bumper style target. The ball lifts the cap, which allows a switch below the playfield to close and points (or feature) to be activated. These are all working fine, but could do with a clean.
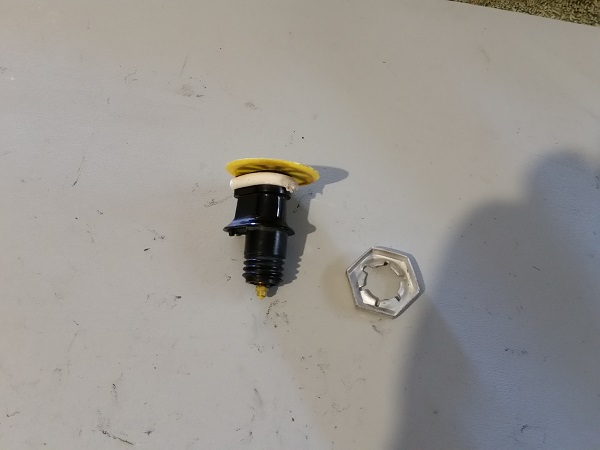
Below the playfield, they are attached via a pal nut. Removing them is quite simple. I prefer to move the switches out of the way first though to avoid bending / adjusting them while removing the bumper.
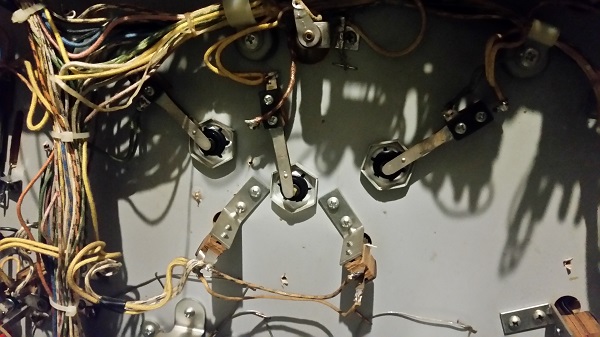
The parts are held in place by a single e clip. Once removed, everything comes apart.
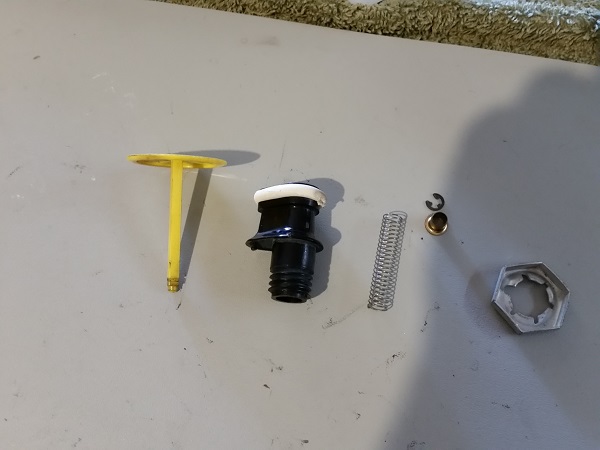
All three were cleaned up and then some novus 1 applied to polish. I plan to replace the 3 caps as the art is a bit scratched. The worst is the one facing backwards – and if I replace that, I may as well do the other two so it doesn’t look odd. I’ll keep the old caps though – never know when they’ll come in handy.
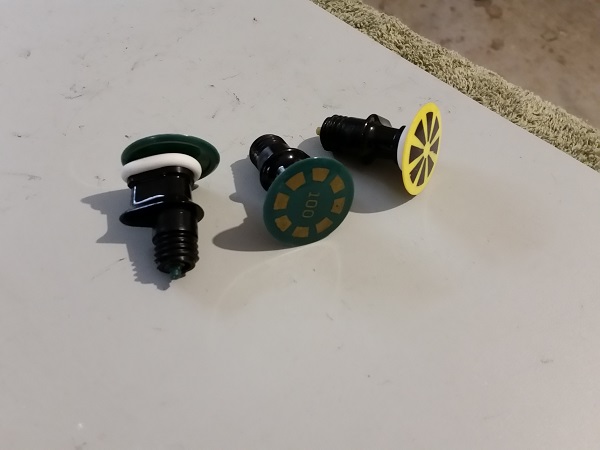
The mushroom bumpers were installed back onto the playfield and the game switched on to ensure the GI lamps were all working. It’s coming along nicely! I’ll test all the playfield insert lamps a bit later on – they were working before I swapped the globes, so I’m not anticipating any issues.
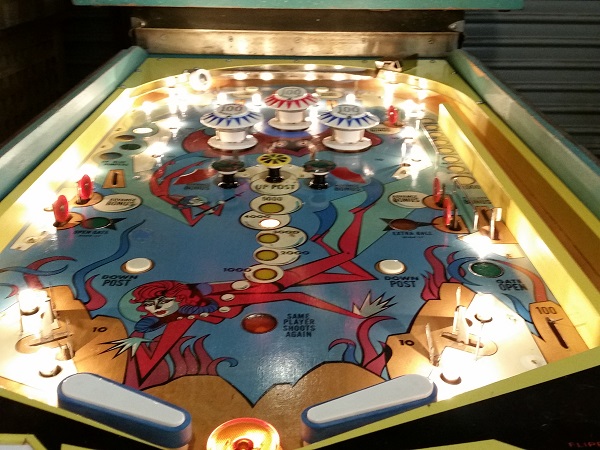
That’s it for this update. The next thing to do is get everything back onto the playfield with new rubber and cleaned plastics. At that point i’ll run the machine through some testing to ensure I haven’t stuffed anything up with my work around the pop bumpers, roll over targets and mushroom bumpers. I want to get behind the backglass soon to and replace most of the #44 globes and the burnt out #455. The inside of the cabinet could do with another good vacuum after all my recent work too. Mariner is getting closer to being in a state where I’m ready to play and enjoy it. A few more things to do first, so stay tuned.
