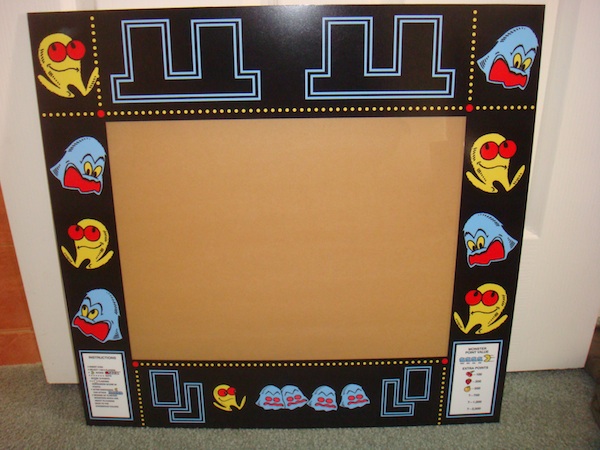
After many months of postponing the completion of this project – it finally comes to a close 🙂 Last friday I went to the printers with the bezel artwork and acrylic and then returned yesterday to pick up the final piece of the arcade machine.
Pac Man Arcade Cabinet
Building a second arcade cabinet from scratch – this time it’s Pac Man
This has been a very busy week working on the cab. Firstly, my new monitor arrived Many, many thanks to a friend on Aussie Arcade for his assistance in getting it to my door!
I was not going to continue the quest with sorting out the jumping on the VGA monitor. The solution set me back around $240 for the monitor and chassis (with postage) but it puts an end to the problem and I can get the cab complete Plus it means I can play Wonderboy (and now Bubble Bobble too) with an awesome display Since the monitor had arrived, I organised a mate to lend a hand with it’s installation the following saturday (and any issues that were to be encountered).
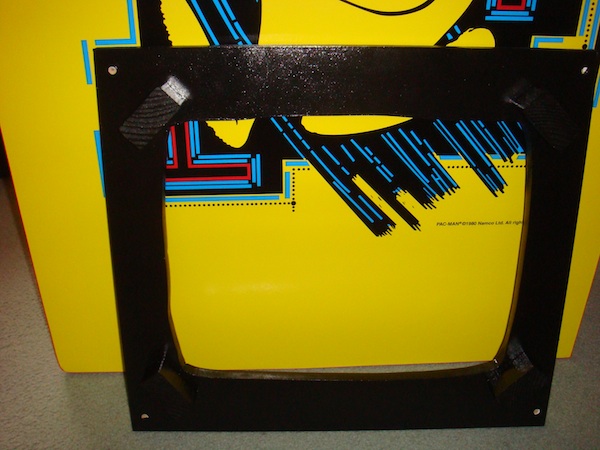
So first up was to pull the VGA monitor and frame out, and put in a new one. I spent the first night building a new frame. It was done the same way as the first – a flat panel, with a huge hole cut in the middle. I added some raised parts for the actual monitor frame to attach to. Primed and painted with a few coats (over the rest of the week).
It’s been awhile since the last update. After much testing and diagnosing around the video issues, it does looks like it’s the monitor at fault. I won’t rehash much since there is a thread posted on AussieArcade with a lot of detail, but I will say it’s almost certain to be the monitor(s). There is a CGA monitor + chassis + stepdown converter in the mail now, and will hopefully arrive next week. The thread can be found here
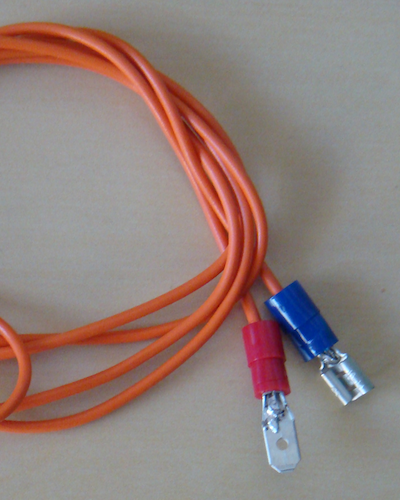
I decided to install marquee artwork today. I had been holding off doing it since I have not yet re-installed the JAMMA harness (I have kept it out for when andykmv comes to visit). Then I figured I could just make up some extension wires for the speaker and run them down the back of the cab. That way, I could connect / disconnect the JAMMA harness without having to take the marquee apart. The extension wires looks a little like this (although white):
Another minor update, mainly because there just isnt much left to do on the cab. All the exciting stuff is done and it’s now really just about wrapping it up and sorting out any final issues.
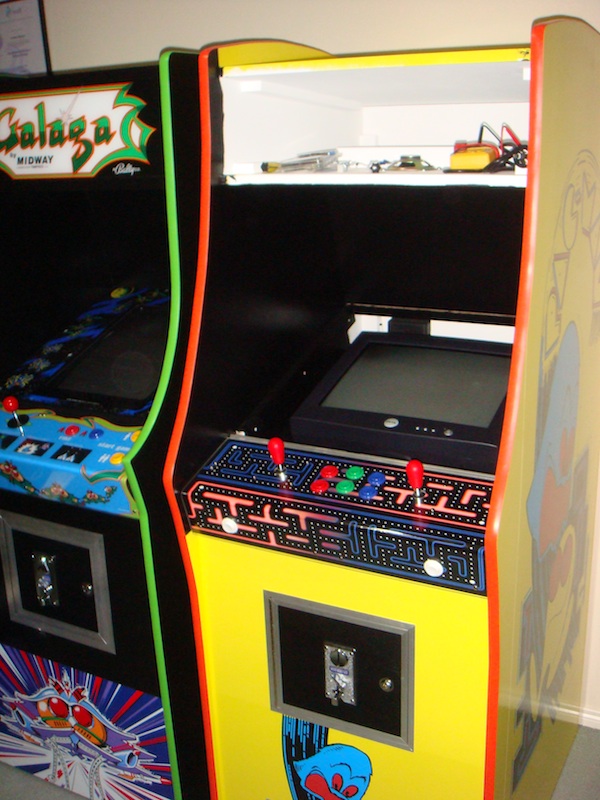
The main new thing to show off is the coin door attached. I decided to go with doing a similar coin door to my last cab, this time using smaller aluminium angle, and I like the effect better. Originally I planned to purchase a full complete coin door, similiar to the original pac man cab, but it was going to be too costly to get something of a decent size. After stuffing around with getting the hinge attached correctly to the door and then the cab frame, not to mention having the door complete, only to find it was 2mm too big and had to be scraped and started again – I will outlay the cash next time – it was more trouble than it was worth.
I added the red t molding tonight:
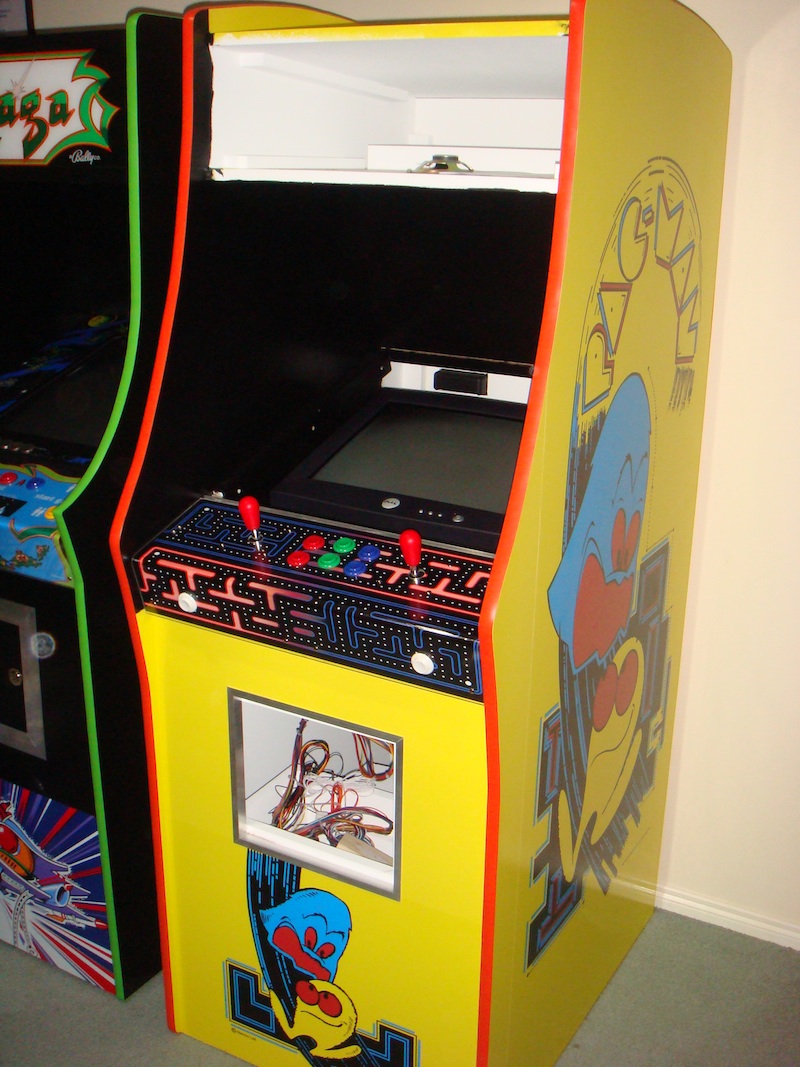
Now it’s onto the wiring 🙂

