Pac Man Arcade Cabinet

Building a second arcade cabinet from scratch – this time it’s Pac Man

Another minor update.

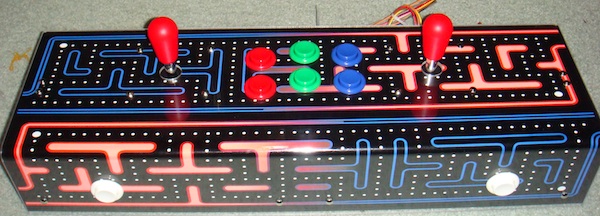
I got the acrylic from AB Plastics – the same place I went with on my last cab. My experience this time was not as positive. I let them have the control panel itself to get a good idea of the bend required for the acrylic overlay and try to get the measurements as close as possible. What I got back was damaged artwork as they bent the hot acrylic over it. I also decided to spend a little extra at the time and get them to cut all the holes for me, saving me a few nights worth of work. Several holes were not cut correctly, and the ones on the front panel (P1, P2 start and 4 bolt holes) did not line up correctly. I was able to fix it myself with some small files, but honestly, I’ve paid extra for the labor, I expect the job to be done correctly.

With the fixed up acrylic overlay, I set up the control panel:


Continue Reading

A minor update – although quite a few things done.

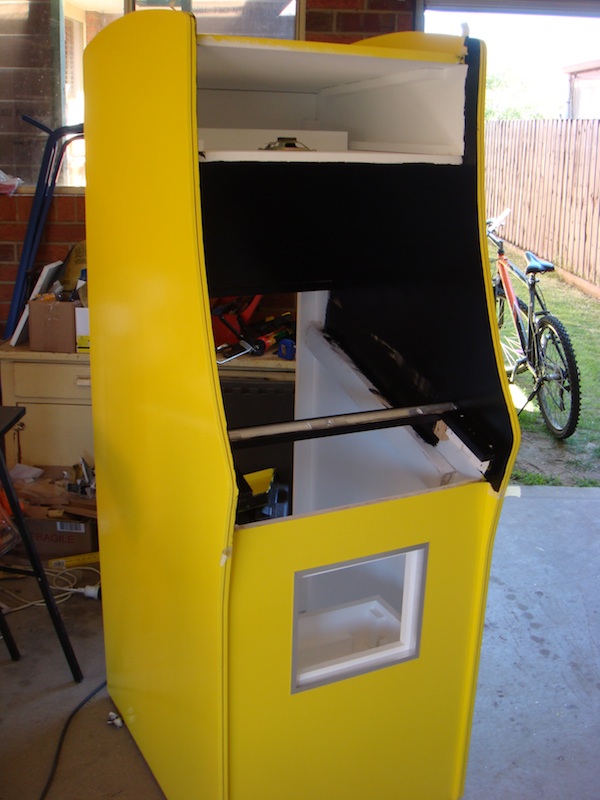
First up was finishing the yellow paint. I ended up going 5 coats in the end, with enough paint left over in the tin to touch up plenty of spots should anything go wrong in the near future. Once the yellow was done, I pulled out the left over black high gloss from my Galaga cab and found there was enough to get several coats onto the display area. I ended up going 3 coats here – it seemed to be fine.


Continue Reading

I’ve been a bit slack with photos and updates over the past 3 weeks, although have been busy most nights and weekends getting in a hour or two here and there to move the project along.

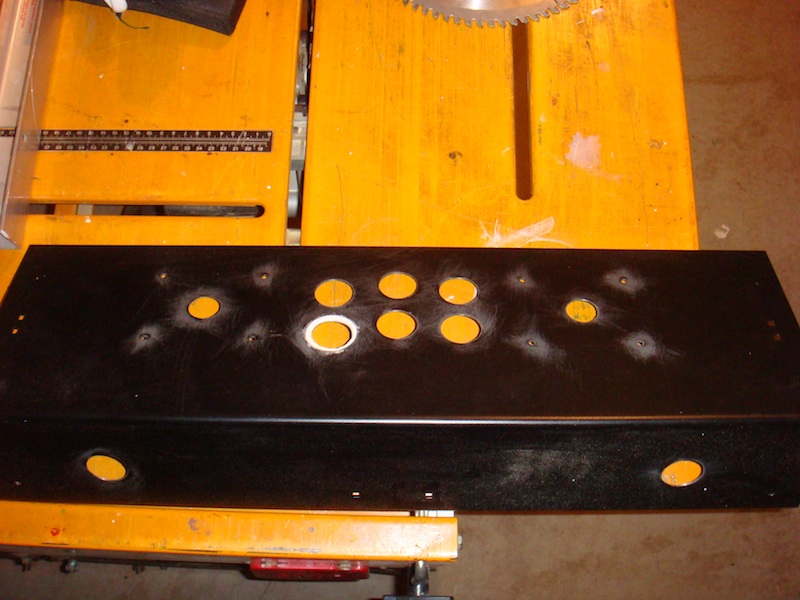
The control panel was something I really enjoyed doing on my last project, and I am looking forward to getting it completed for this one also. The artwork has been ordered, and the acrylic is still to be purchased. Meanwhile, I decided to cut out the joystick, button and bolt holes to be ready for the next stage. A hole saw here was very useful – as was a 240V drill. I cut the first two button holes with my 14V cordless – never again – too weak, too slow, too annoying. 240V all the way. The control panel will support dual joysticks – for use with Robotron on the 19 in 1 board, along with 6 player 1 buttons to support most horizontal games. The P1 and P2 start buttons are located on the small front face of the control panel.


Continue Reading

It’s been a few weeks since my last update. I’ve been getting small chunks of time here and there and progressing.

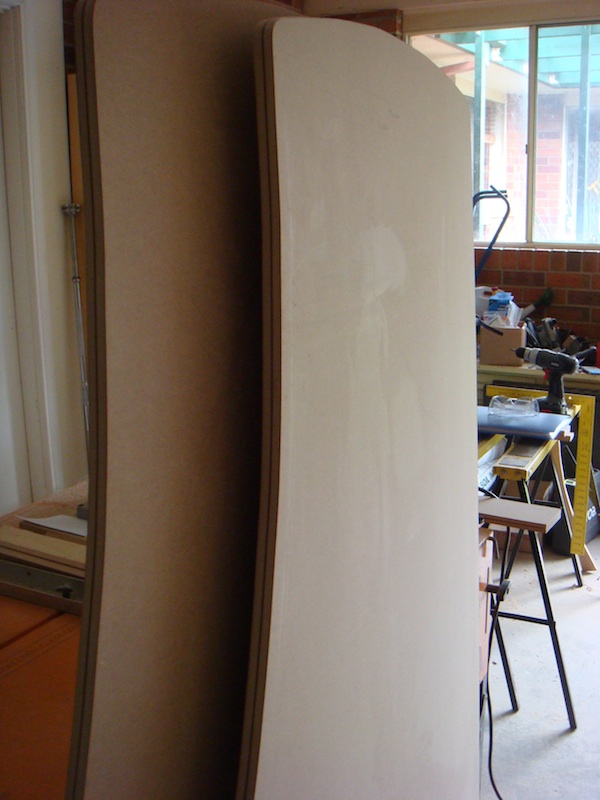
First on the to do list was cut the slot for the t molding. Thanks to a friend and the loan of his router bit, it was easy done. After making a few attempts on some scrap to get the right height, I attacked the side panels and got the groove cut in no time.

Continue Reading

Work has continued on construction over the last week and a half – although a little slower than I had hoped.

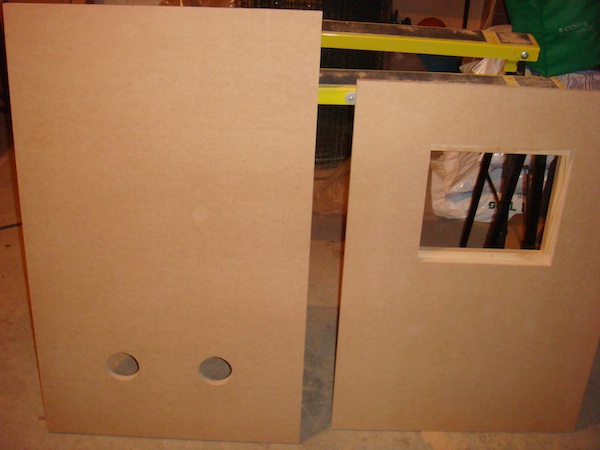
Firstly, I’ve cut out
– speaker hole below the marquee
– IEC switch hole at the back
– passive vent holes on the rear door
– coin door in front panel

I have some vented handles in the mail from Mikes Arcade, which will hopefully arrive in the next few days – so I will revisit the rear door once those arrive and cut out some holes for those too. All these cuts were done after assembly last time – and that was a mistake. Much easier to cut before assembly 🙂


Continue Reading