I’ve been a bit slack with photos and updates over the past 3 weeks, although have been busy most nights and weekends getting in a hour or two here and there to move the project along.
The control panel was something I really enjoyed doing on my last project, and I am looking forward to getting it completed for this one also. The artwork has been ordered, and the acrylic is still to be purchased. Meanwhile, I decided to cut out the joystick, button and bolt holes to be ready for the next stage. A hole saw here was very useful – as was a 240V drill. I cut the first two button holes with my 14V cordless – never again – too weak, too slow, too annoying. 240V all the way. The control panel will support dual joysticks – for use with Robotron on the 19 in 1 board, along with 6 player 1 buttons to support most horizontal games. The P1 and P2 start buttons are located on the small front face of the control panel.
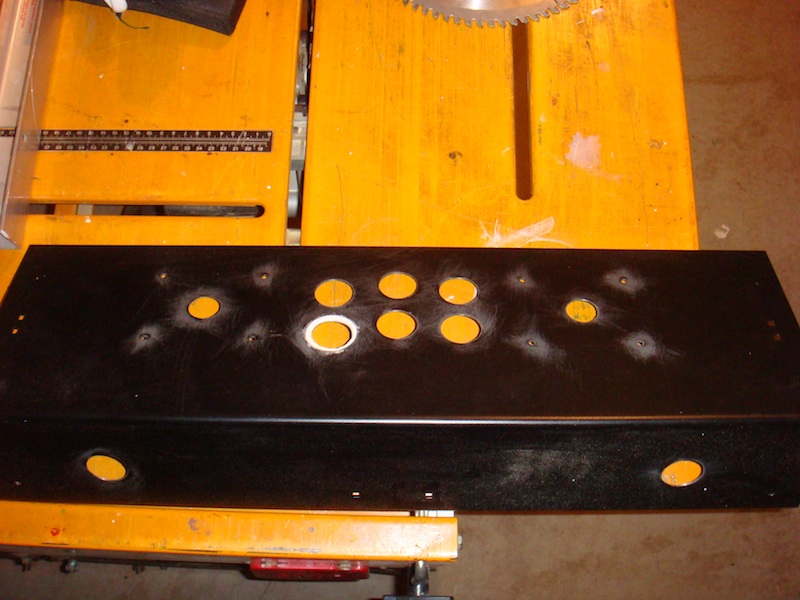
The first real mistake I’ve made all project – I cut the wrong hole size for the first button hole I’m a huge fan of measure twice, cut once. Not sure what happened here. And ofcourse the stuff up had to happen on a piece that I imported from the states and would not be cheap to replace. To save it I grabbed some spare tin I had available and cut the correct hole size. Next the tin piece was attached to the under side of the control panel with liquid nails and left harden. Finally some filler was used on the top side to level out the area around the hole. With the artwork on top, and acrylic layer over the top of that it won’t show at all.
Back on to the cab, I got the screen acrylic rails added along with the monitor support rails and control panel supports to attach to. Then it was time to prime and paint. The inside of the cab will be painted a flat white. It gives the cab a nice clean feeling when looking inside. I gave this 3 coats to get it looking good, then it was time to move onto the exterior.
The biggest hold up for me was the paint colour – I needed to get artwork from Phoenix arcade first to get a good colour match. My In laws came to the rescue, turning up with a parcel one afternoon last week – an early birthday present.
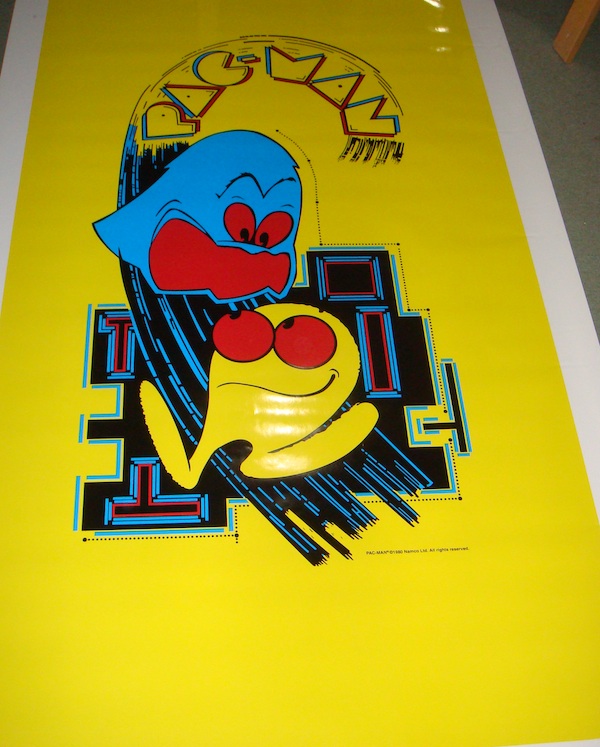
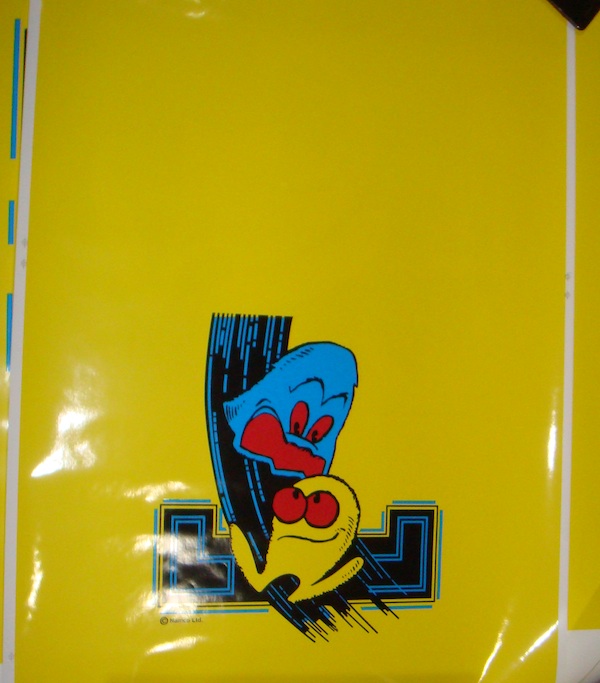
With the artwork in hand, I went to a local paint shop and got a close match on the paint. Next task some more painting. At this point, I’ve got 3 coats on the sides, front, back and top. I have enough paint to get another coat on, which should finish it off nicely.
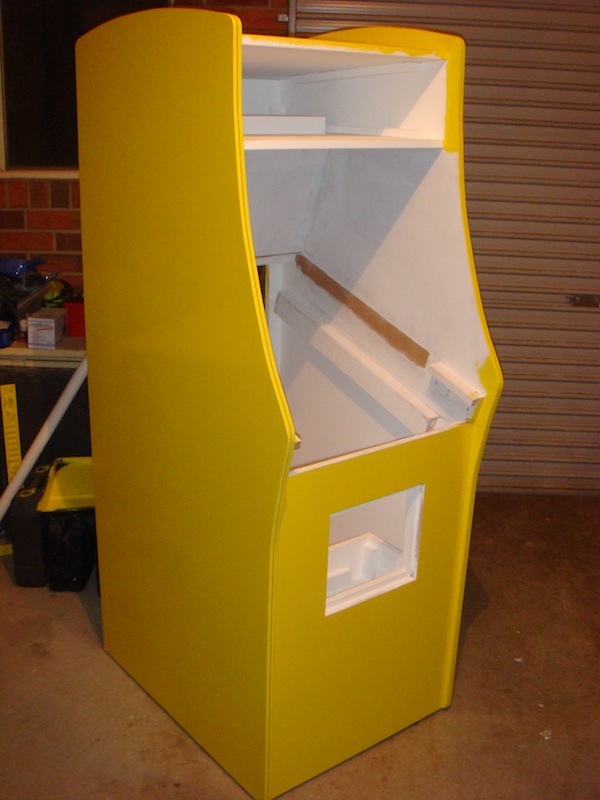
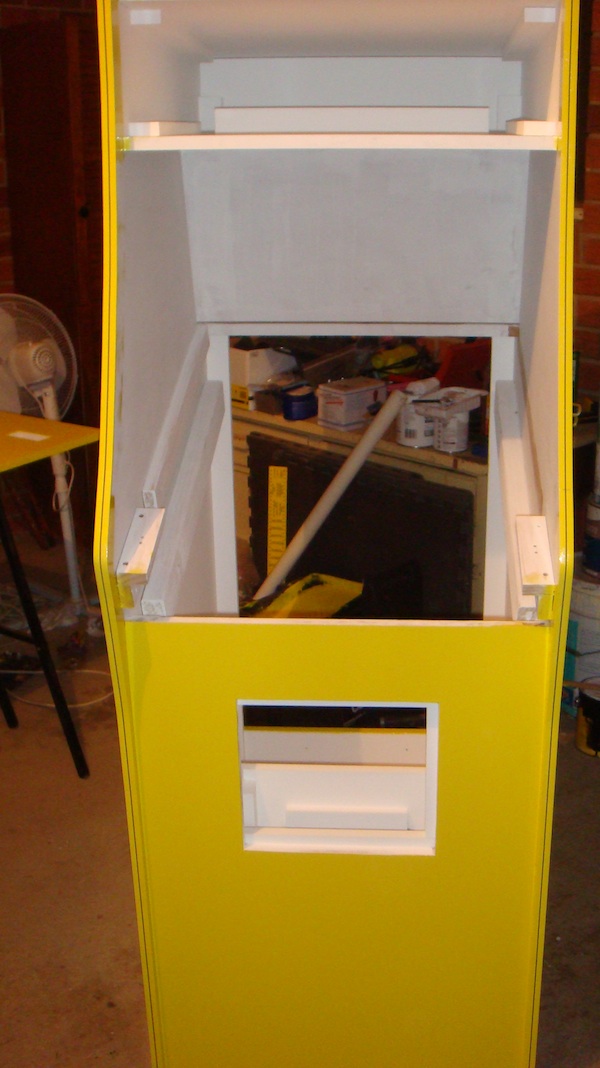
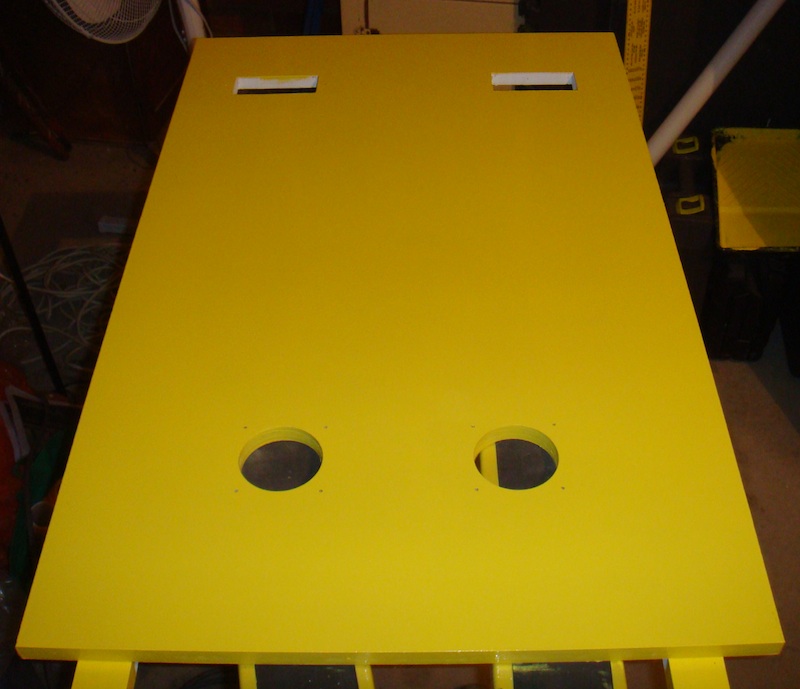
Once I’ve finished the yellow, I will be moving onto the black in the display area.
No current road blocks, so the next few weeks will be spent getting the painting finished, t molding added and internal wiring hooked up.
