Galaga Arcade Cabinet

Building a Galaga arcade cab fram scratch

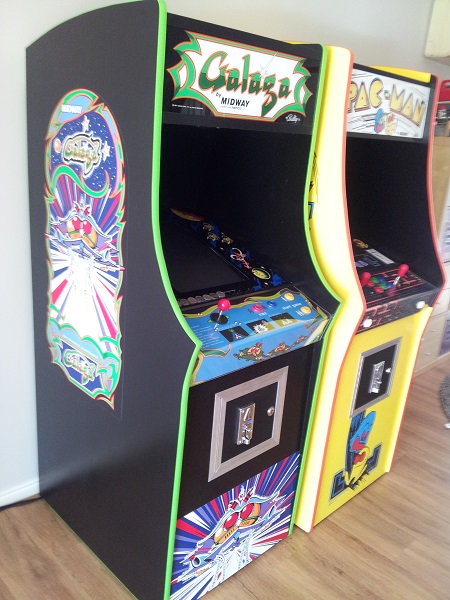
I find it hard to believe I’ve had my Galaga machine now for over 3 and a half years. This machine is where it all began for me. Seems like yesterday I was constructing it and playing it for the first time. Before this project, I would struggle to hang a picture on the wall properly. I’ve since gone on to build and restore several arcade machines and I now find myself wrapped up in Pinball restoration and repairs. Time flies all too fast. Recently I purchased a 4/8 restrictor board to install into this machine and decided to fix up two other issues at the same time.

Over the 3.5 years, the machine has held up really well. Even with two young kids in the house, there is minimal cabinet damage and marking. The coin slot has survived a few scares as the kids loved to insert anything they could find into the slot (and if they were lucky, it would pass straight through and come out the return slot – which made doing it again even more appealing).

Galaga
Continue Reading

At the start of the project, I decided to keep track of money spent to see if I could stay within my budget. I originally set a budget of $900. That was for everything. Wood, paint, artwork, wiring, game board, controls, etc – everything. In the end, I spent just over $1200. I’m not too worried about going over the budget, as originally I was not going to use Galaga artwork, and just some generic art. The side panels, kick plate, marquee and control panel artwork all pushed the cost higher. Without those expenses, I would have been right on budget. With the finished result, I’m glad I spent extra.
Continue Reading

Tonight saw my Galaga cab project come to an end. The final touches done, and it’s ready to bring home. Firstly, the internal wiring was tidied up. The ‘step’ at the back encloses the 240V in (from the IEC switch, through the fuse, to the EMI filter and varistor and then to the powerboard. The powerboard supplies power to the marquee light and switcher. The small cube at the back is the earthing block. I’m really happy with how tidy it looks. There is plenty of room in there.


Continue Reading

First on the hit list tonight was the marquee. The artwork is printed onto the back of a thin piece of acrylic (around 3mm thick). I have placed a second piece (also 3mm) behind it to help protect the artwork itself. Holes were drilled into the brackets, and then into the frame. It has come up looking awesome!


Continue Reading