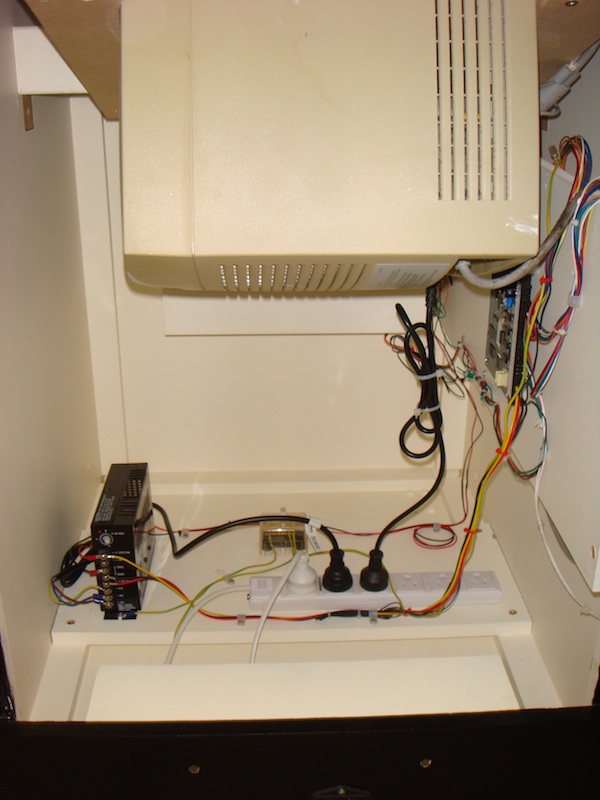
Tonight saw my Galaga cab project come to an end. The final touches done, and it’s ready to bring home. Firstly, the internal wiring was tidied up. The ‘step’ at the back encloses the 240V in (from the IEC switch, through the fuse, to the EMI filter and varistor and then to the powerboard. The powerboard supplies power to the marquee light and switcher. The small cube at the back is the earthing block. I’m really happy with how tidy it looks. There is plenty of room in there.
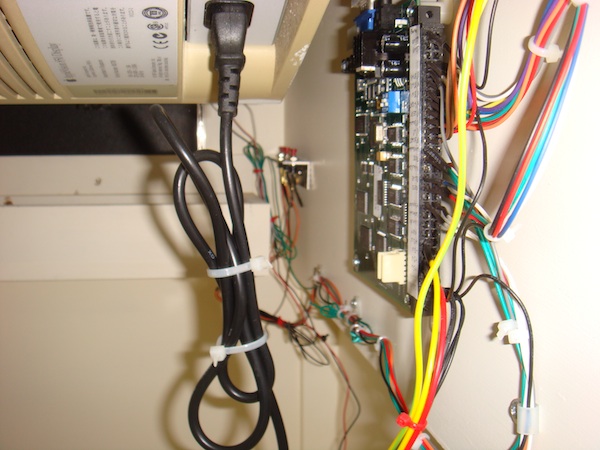
Next the wires from the JAMMA harness were tied together and then gripped to the board. There is enough free for the coin door to be opened without putting and pressure or stress on the wires. There are cables running up the sides to the marquee for power and sound.
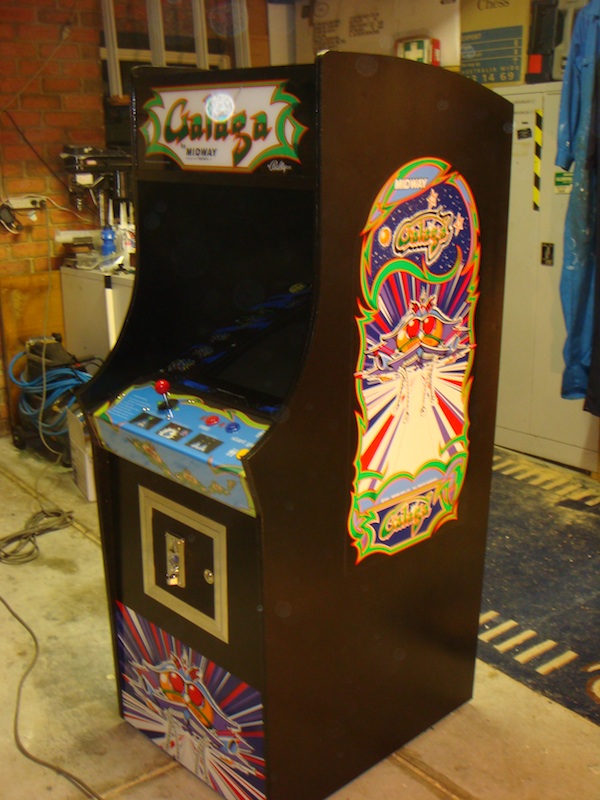
With the wiring done, it was time to put the artwork on. The two side panels were done first, followed by the kick plate. These turned out to be easier than expected, although doing it with two people helped ensure no air bubbles formed and it was kept straight. The basic position was marked out lightly with white chalk (which rubbed off easy once the artwork was applied).
With the artwork on, it was time for the T Molding. I purchased green “Galaxian” t molding as I felt the green would go perfect with the black. I wasn’t disappointed. It has come up stunning! For the sharp corners, I cut a V shape out. This helped the t molding sit correctly. For the rounded curves, small sections were removed.
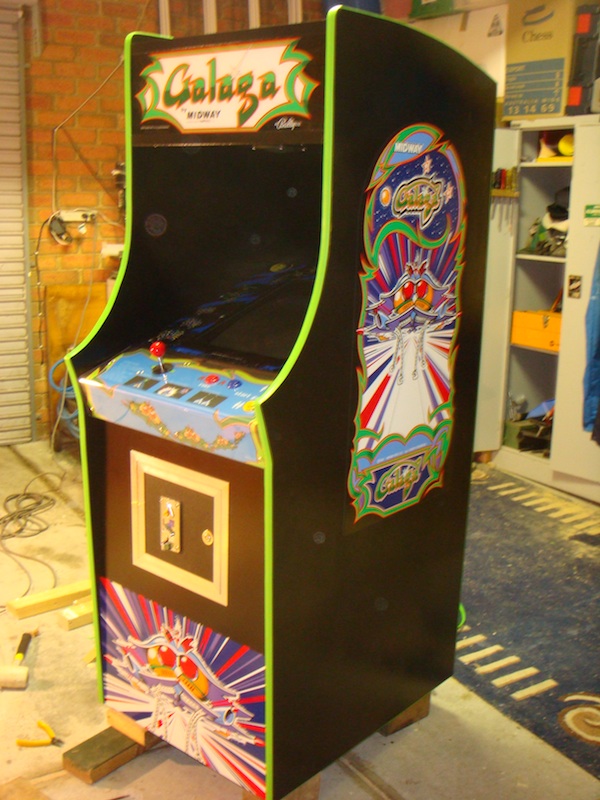
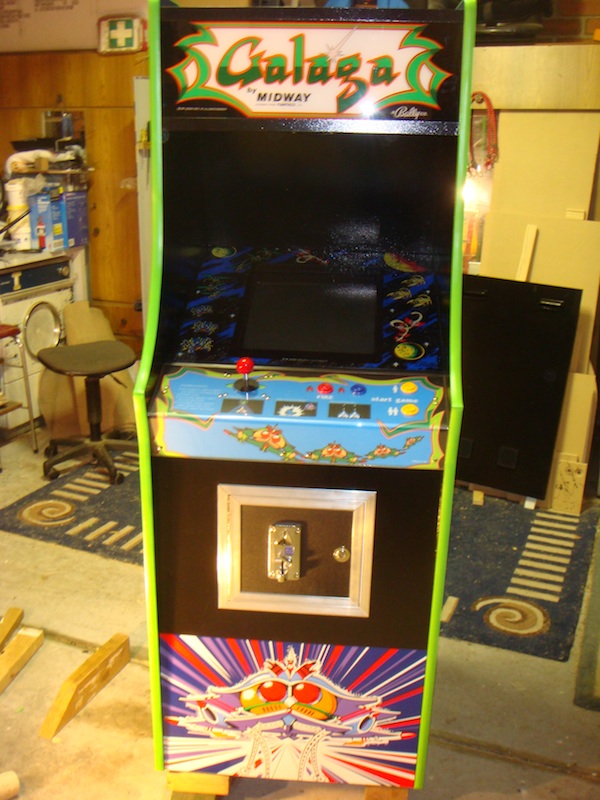
..and with that, the cabinet is complete. It’s been a really enjoyable journey to this point and a learning experience. There are things I would do differently next time, although all my initial planning and design was well worth the time and effort. I can’t wait to do my second now 🙂
