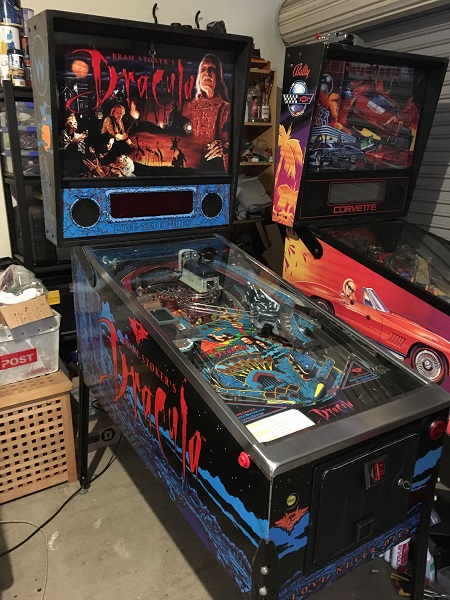
With work coming to a close on Corvette, it was time to start giving some attention to the next machine in the queue. Next up is a Bram Stoker’s Dracula. The game was originally released back in 1993, with over 6800 machines made. This one has some great shots on it and plenty to do. I’ll be giving the game a full rebuild, with all assemblies to be removed, cleaned and worn parts replaced. All playfield parts will be removed, cleaned and many new parts added also. There are some additional presentation things to do on the game too, so this one is going to keep me busy. Time to get started!
Flippers
All posts tagged Flippers
After being burnt out from pinball repair write ups and taking a bit of a break, I’m back with a new machine to cover. Corvette was released by Bally back in 1994 and had just over 5000 units made. The playfield is loaded with fun things that include 3 flippers, 3 ramps, a ball diverter, ball save kick back, a drag strip, pop bumpers, spinner, engine (that vibrates in play and interacts with the flipper buttons). Mix in good shots along with fun modes that include some great sounds and you’ve got yourself a fun game to play. I’m not a car person and have no interest in Corvette as a brand, but this is a fun game to play!
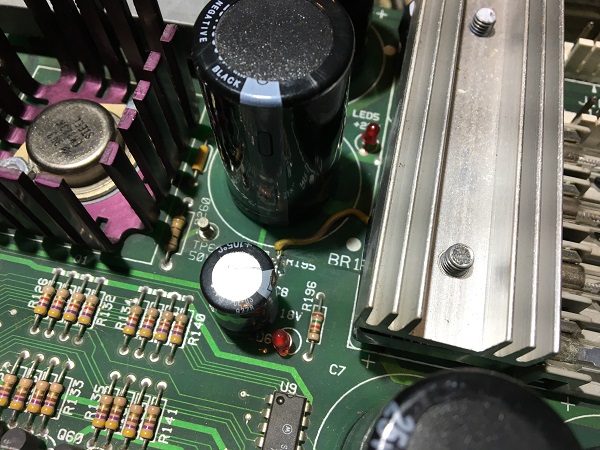
When the game first arrived for its rebuild, it wouldn’t boot and instead displayed the somewhat common “Check Fuses F114 and F115” error message. The owner told me the game had been booting, but then stopped one day after he moved it. Every other time I’ve hit this same error message, the fuses have been fine. This time was no exception as both fuses were removed, tested and found to be good. The game was switched back on and I observed the series of LED’s on the board indicating the presence of power along this part of the circuit. There is a lot of information out there for this error and a nice diagram of the circuit here:
http://www.pinwiki.com/wiki/index.php?title=Williams_WPC#Check_fuses_F114_and_F115_message
The board isn’t getting its 12V. There’s not a lot to it. Following this back along the board, I quickly spotted a repair that had been done sometime in the past.
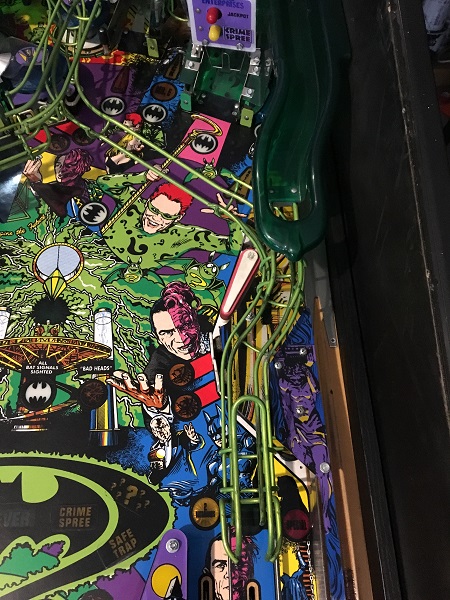
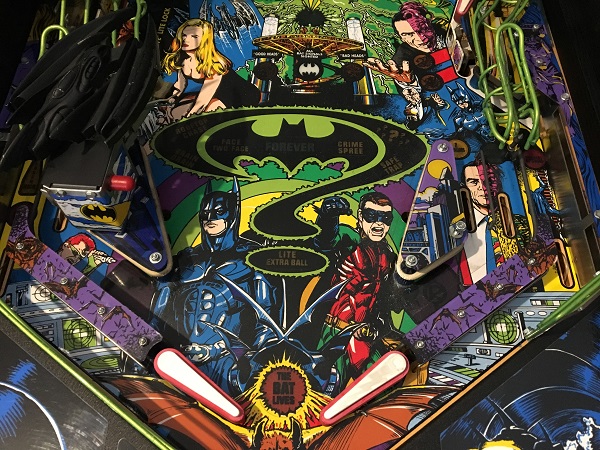
It’s time for the third installment on the Batman Forever rebuild. I’ve been a little slower than I’d like getting this update posted, but it’s been a busy time of year (and getting busier as we race towards Christmas). Having worked through the lower playfield areas in previous updates, I’m now going to focus on the middle playfield sections. This area is home to an upper flipper, some stand up targets and also a 4 bank of drop targets. There is an orbit shot which I want to remove the parts from and clean too as the rails are attached under some of the middle playfield plastics – so it’s easier to deal with that now than have to remove plastics again to remove the orbit rails at a later time. To start with though, I’ll need to remove various rails and ramps to get access to the playfield parts below. I’ll start with the right side.
Time for a quick update on the Batman Forever progress. For this post, I’ll be focusing just on the assemblies and parts that form the playfield area. In general the area is in pretty good shape. There are a couple of small mylar patches below where the ball exits the return rails that have helped protect against playfield damage where the ball lands. The playfield condition in the area is really nice, with a only few marks around the insert edges – but nothing anyone should worry about. The playfield surface needs a clean though to remove a layer of filth that has formed over the years. It’s not immediately visible to the eye, but when you run your fingers over the surface, you can feel it. The right slingshot has a small chip broken off the lower corner of the plastic, and the colours have faded somewhat on the left piece – but they are otherwise fine. Alright, let’s get to it.
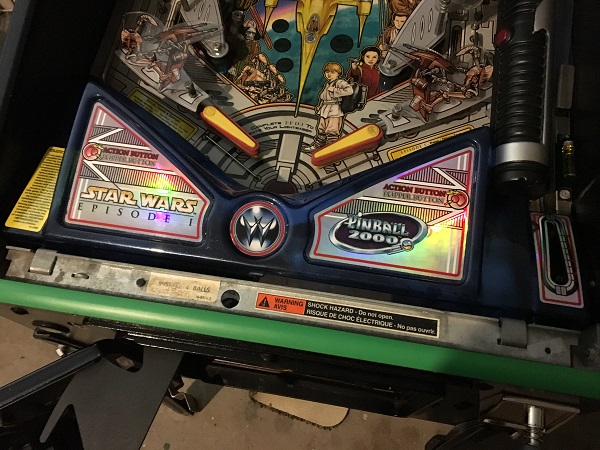
I managed to locate some extra pockets of time (from somewhere) over the last couple of weeks to continue making progress with my SWEP1 service. In this update, I wanted to focus on the apron and lower playfield areas. That way I wouldn’t need the game to be offline for long periods, allowing me to continue playing. First up will be the apron area. SWEP1 has an awesome transparent blue apron. The decals are in excellent condition except for one small spot on the shooter power gauge.