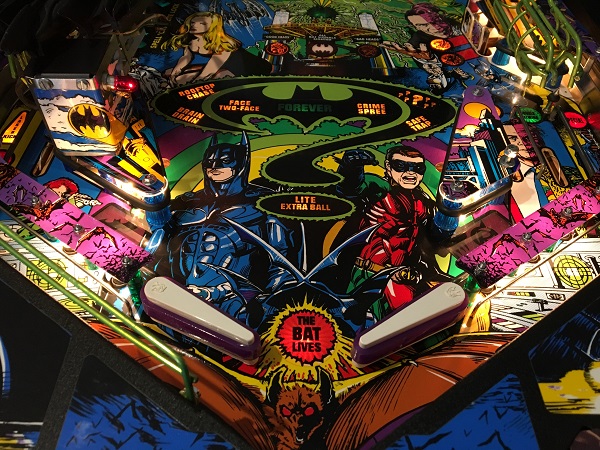
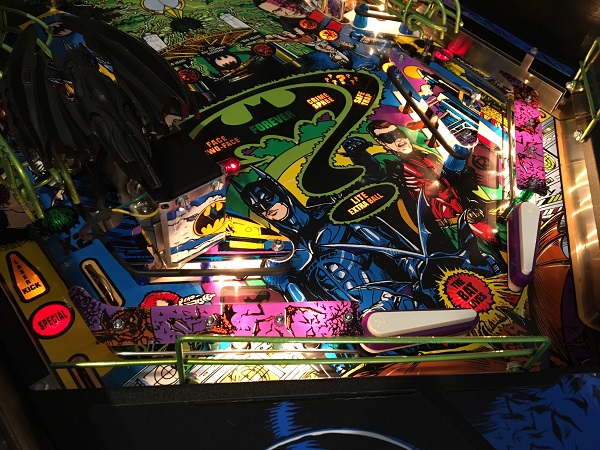
Time for a quick update on the Batman Forever progress. For this post, I’ll be focusing just on the assemblies and parts that form the playfield area. In general the area is in pretty good shape. There are a couple of small mylar patches below where the ball exits the return rails that have helped protect against playfield damage where the ball lands. The playfield condition in the area is really nice, with a only few marks around the insert edges – but nothing anyone should worry about. The playfield surface needs a clean though to remove a layer of filth that has formed over the years. It’s not immediately visible to the eye, but when you run your fingers over the surface, you can feel it. The right slingshot has a small chip broken off the lower corner of the plastic, and the colours have faded somewhat on the left piece – but they are otherwise fine. Alright, let’s get to it.
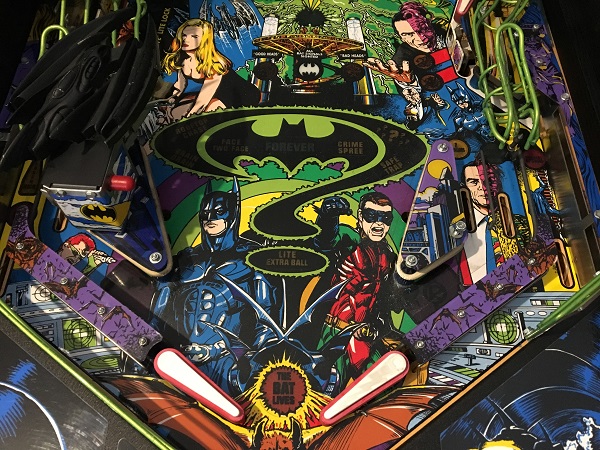
The Bat cannon is the first thing I want to remove from the playfield in this update. It’s located on the left sling shot and rotates around once loaded up, giving the player a chance to launch it at upper playfield targets / shots. The cannon has been a little unreliable in terms of its alignment and function. I want to give the whole assembly a solid clean and adjust the home position to it lines up correctly with the rail that loads it up.
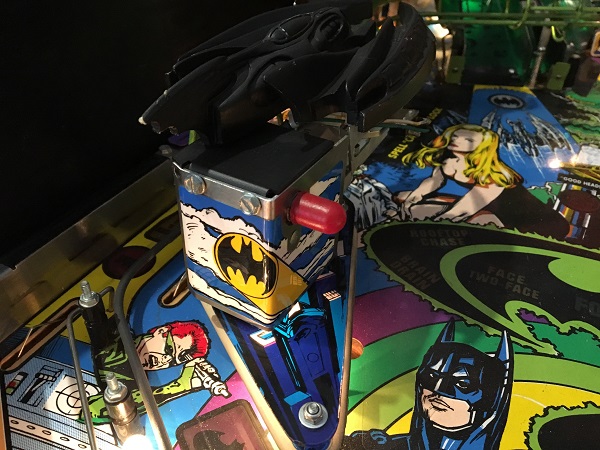
Beneath the cannon is a simple kick type assembly that launches the ball once the trigger is pressed.
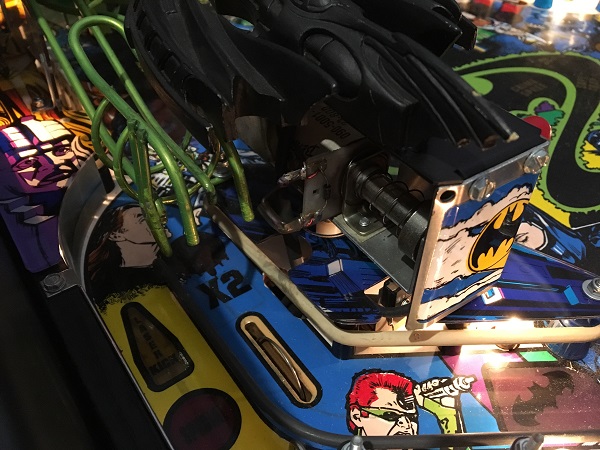
The launch assembly removes easily enough, and now allows access to remove the plastic and parts below. The small switch there is the safety switch, which prevents the ball from being shot too soon. As the cannon rotates, the switch deactivates and the player can then launch the ball.
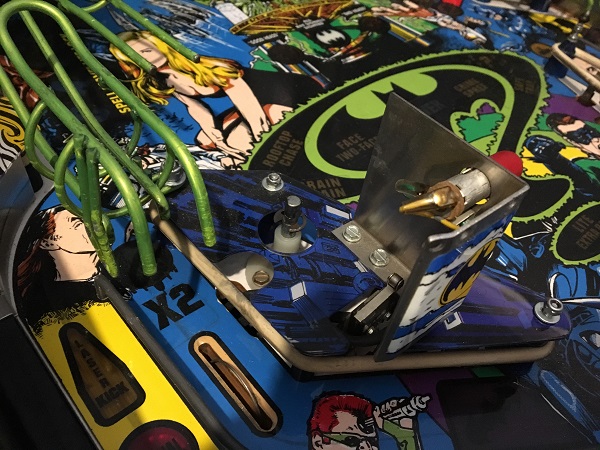
The plastics on the lower playfield area were next to be removed. The old blue star posts are looking tired and should be replaced. I’d like to replace the boring black single posts too with some nice transparent green or purple to help lighten the area up.
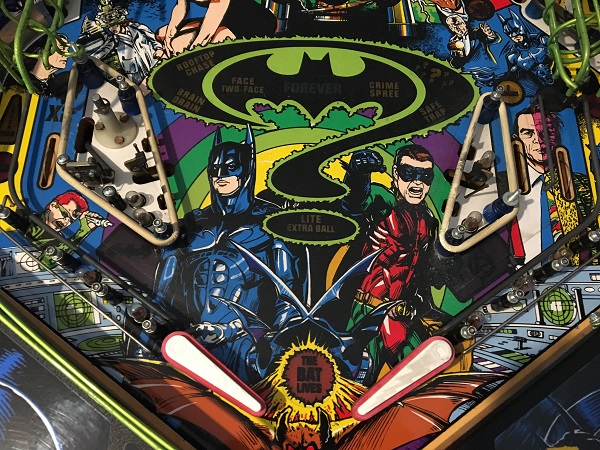
Time to start removing the assemblies from the lower playfield area for cleaning. First up are the flippers. These aren’t too bad in terms of condition and still have plenty of power during play. I’ll give everything a clean and a small rebuild with only a few pieces being replaced.
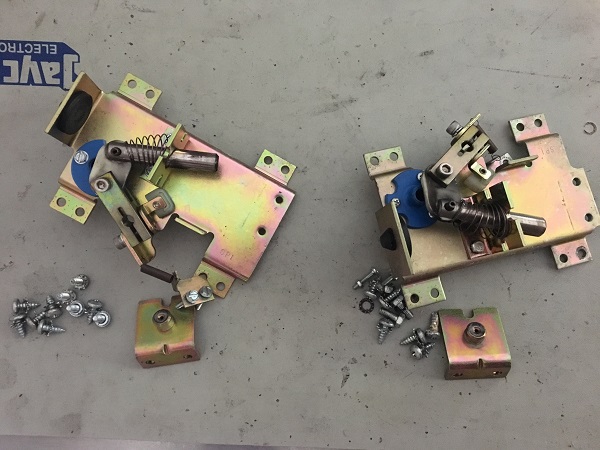
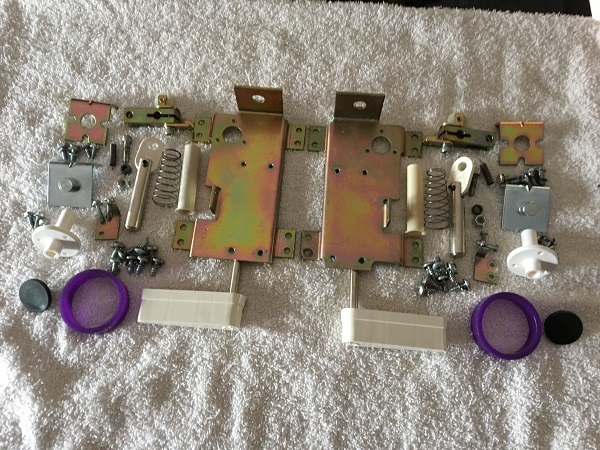
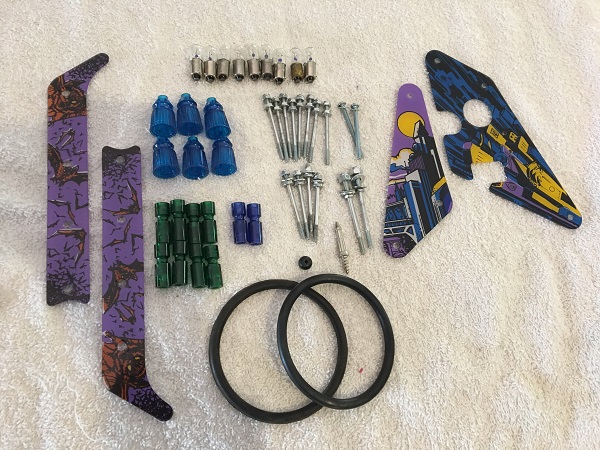
The two flipper assemblies were disassembled and all parts cleaned. New coil sleeves, stops, bushings and grommets were purchased to replace the old ones. New purple superbands and flipper bats were also purchased. All metal parts were cleaned up, leaving the assemblies ready to be rebuilt and installed back into the game.
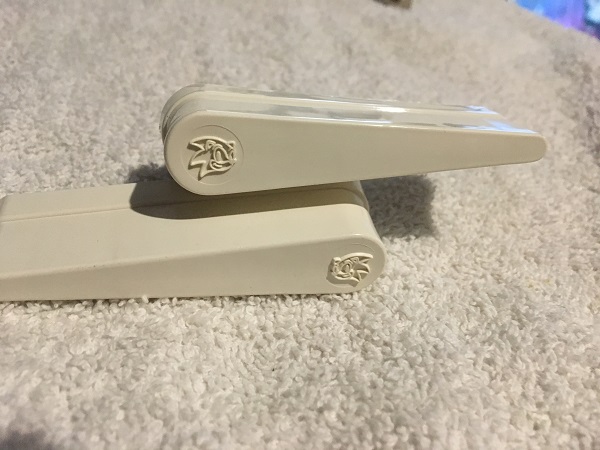
New SEGA flipper bats were sourced to replace the tired Euro style that were there previously. These ones have the Sonic logo on them, which is something I love about the SEGA pins.
The sling shot assemblies were next on my hit list. Both were removed from the playfield for cleaning.
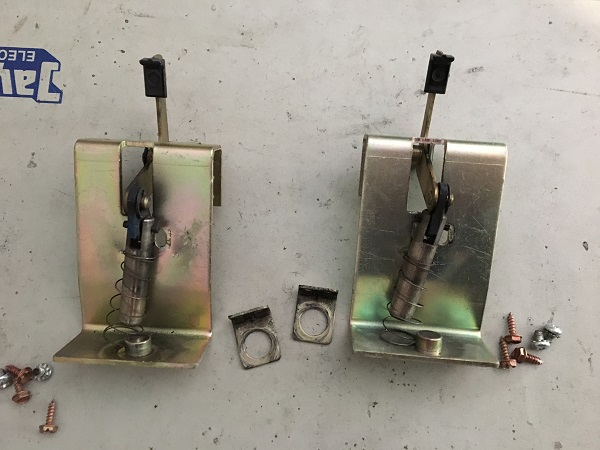
Both sling shot assemblies were disassembled and all parts cleaned. The only part needing to be replaced is the coil sleeve.
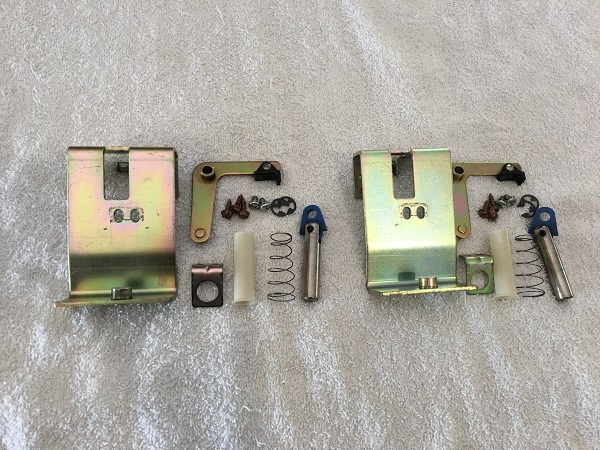
Next up was the bat cannon assembly. This is made up of a few parts. You have the cannon on top, which attaches to a motor that rotates it during play.
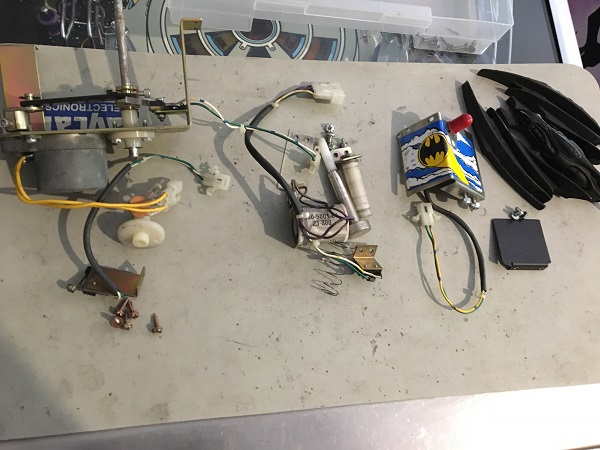
The cannon assembly was dissembled and cleaned. A new bushing was purchased for the cannon shaft that rotates the kicker. A new rubber grommet and coil sleeve were also purchased. All other parts were cleaned up.
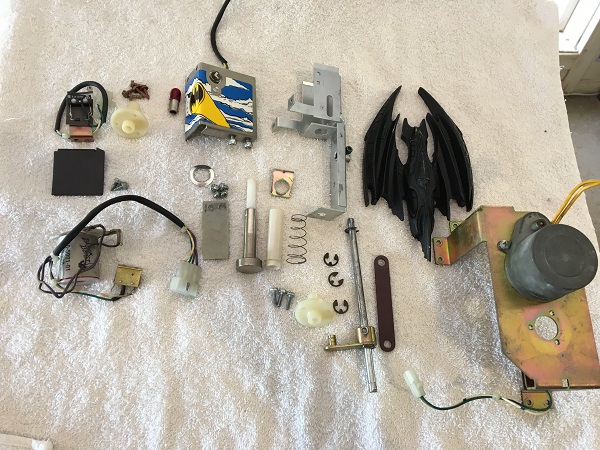
The lower playfield plastics were next to receive a clean. The old star posts and boring black single posts were replaced with new transparent posts. All metal parts went through the tumbler for a clean. The owner loves black rubber, so new black rings were source to replace the aged white rubber rings that were there before. All globes were cleaned up too to remove the filth that covered some. Any non working globes were replaced.
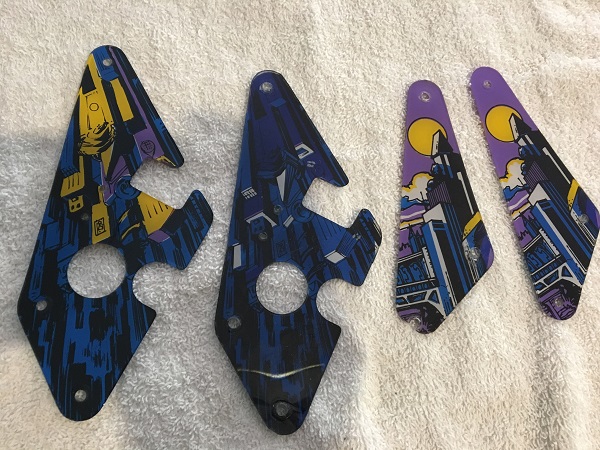
The sling shot plastics that were on the game are in pretty good condition, with some colour loss on one and a small section missing on the other being the only issues. The owner had a brand new set spare, so I didn’t hesitate to switch them in. The old ones are still good to keep as a backup though, just in case.
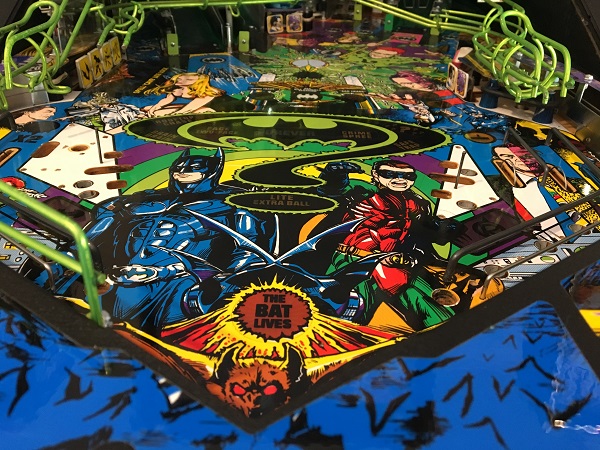
Now that the assemblies were cleaned and ready to go back on to the playfield, it was time to clean the playfield surface. The metal rails were scrubbed clean with steel wool, along with the nails behind the slings and the metal switch arms. Anything loose on the playfield was vacuumed up and the remaining filth cleaned away with some Nifti and a soft cloth. It was finished off with some Novus 1.
The star posts were installed back on to the playfield, along with the single posts and new rubbers. Clear washers installed to protect the plastics.
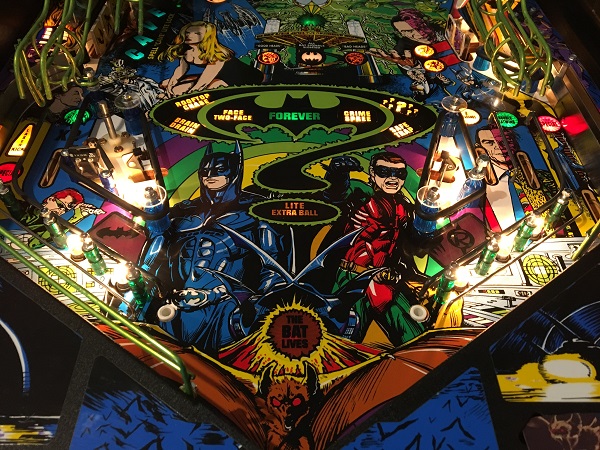
The last pieces were put back on to complete the lower playfield. There were a few worn spots on the black bat cannon, which I touched up before installing it. The area was now looking bright and clean.
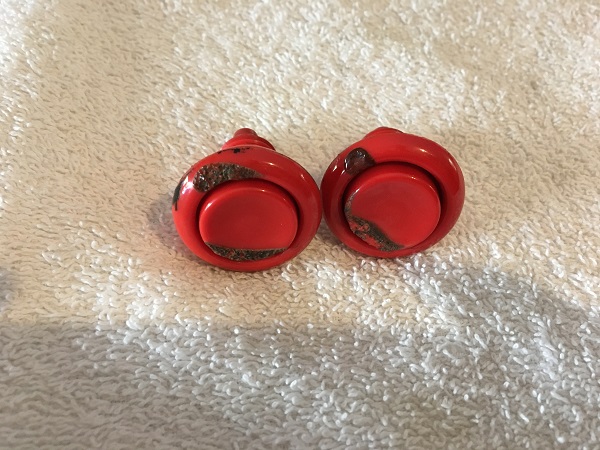
The old flipper buttons are not in the best state, with some burns around both the button and housing.
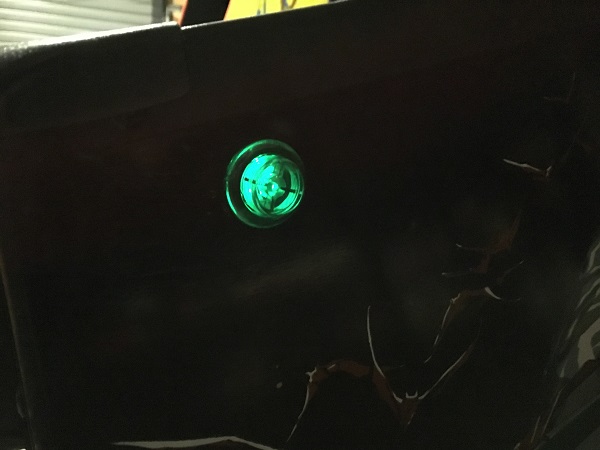
I decided to go with a transparent green set for Batman, along with making up a backlit kit for them from spare parts I had. The LED’s plug in to lay down #555 sockets that draw power from the coin door GI (coin slots). Batman is such a cool theme and I think some lit flipper buttons will work well with it.
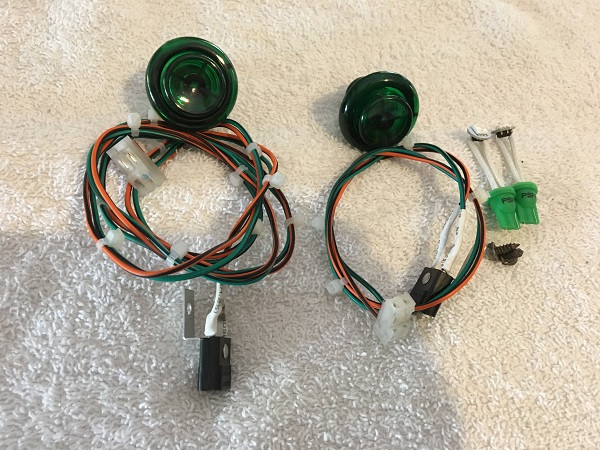
The sockets were wired up in the cabinet and we now have nicely lit buttons.
I had planned to cover the middle section of the playfield in this update too, but it’s already getting big enough. The next step will be to remove a few more rails and one of the ramps so I can work on the assemblies for the Batcave (ball lock), drop targets and the upper right flipper. I may also remove the orbit rail and clean the top corners too as the orbit rail is partially attached under the middle playfield plastics – so easier to do all that at once.
