It’s time for the third installment on the Batman Forever rebuild. I’ve been a little slower than I’d like getting this update posted, but it’s been a busy time of year (and getting busier as we race towards Christmas). Having worked through the lower playfield areas in previous updates, I’m now going to focus on the middle playfield sections. This area is home to an upper flipper, some stand up targets and also a 4 bank of drop targets. There is an orbit shot which I want to remove the parts from and clean too as the rails are attached under some of the middle playfield plastics – so it’s easier to deal with that now than have to remove plastics again to remove the orbit rails at a later time. To start with though, I’ll need to remove various rails and ramps to get access to the playfield parts below. I’ll start with the right side.
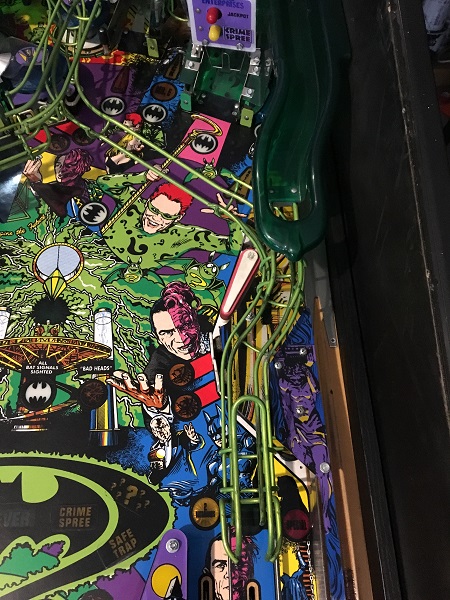
First step was to remove the return rail and green ramp from the right side of the playfield. I then had access to the plastics and metal rails below. There is a light layer of dust across the surface.
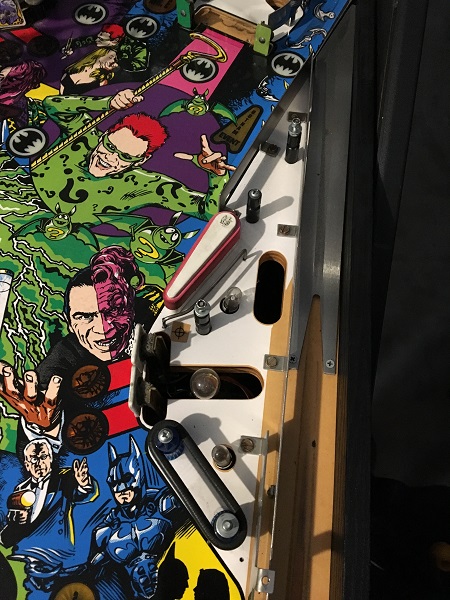
I then shifted my attention to the left side of the playfield where the batcave is. This is the ball lock and allows you to capture up to 3 balls here.
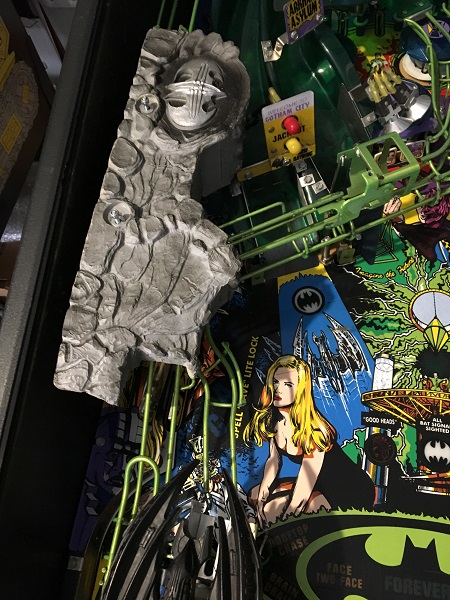
Inside the batcave are two assemblies. One to lock and release a ball with the second being the kicker that launches it back in to play.
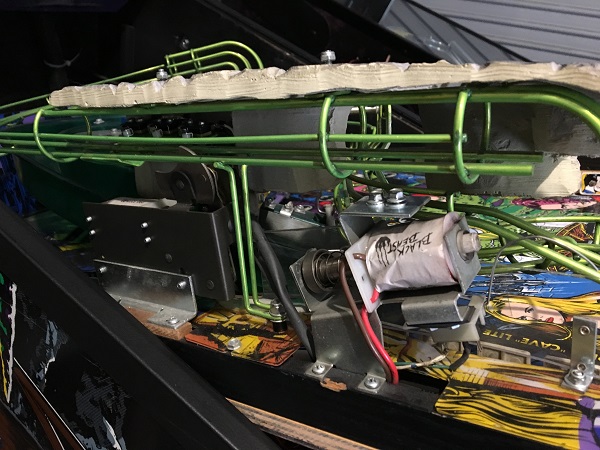
Also on this side of the playfield is a 4 bank of drop targets which are looking dirty and in need of a good clean.
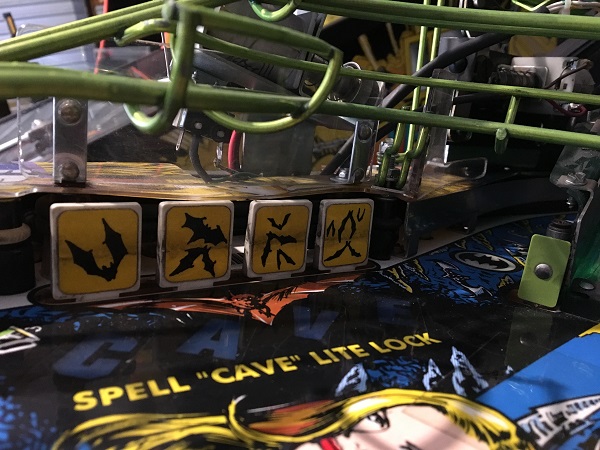
The batcave and plastics were removed from the playfield. It’s a bit of a fiddly area as everthing seems to be in the way of something else that you need to get to. Slow and steady though the parts come off. As with the right side, a light layer of dust across the playfield surface, but nothing too bad. It will all clean up easily.
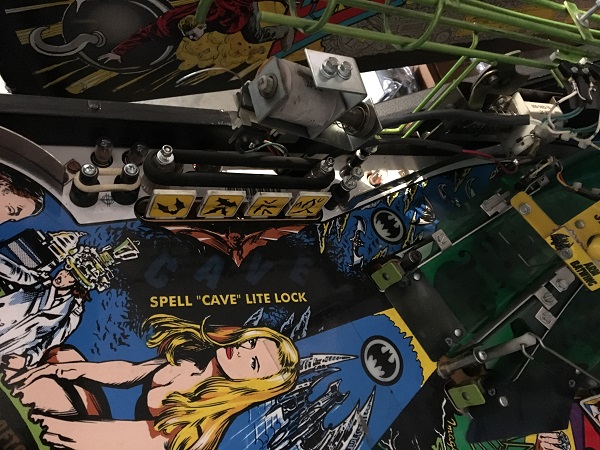
The two batcave assemblies were removed next. There are bolted to the side rail and playfield, so need to be undone from below the playfield surface.
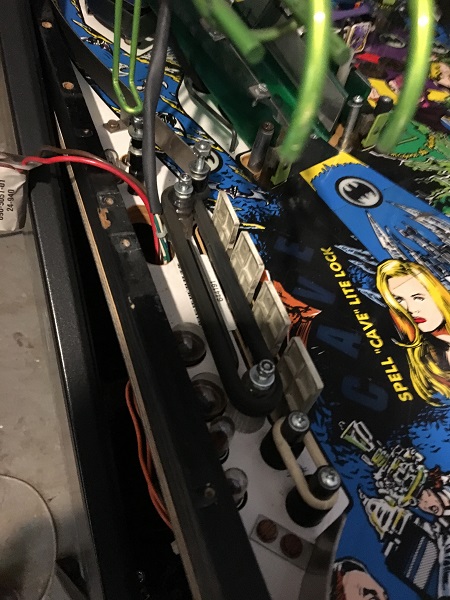
I’m going to deal with the orbit parts at the same time, so I need to remove the plastics and posts from the top left and right sections of the playfield. There is also a large plastic panel that covers the rear playfield panel, along with a series of flasher domes. I want to remove these now too and clean them up.
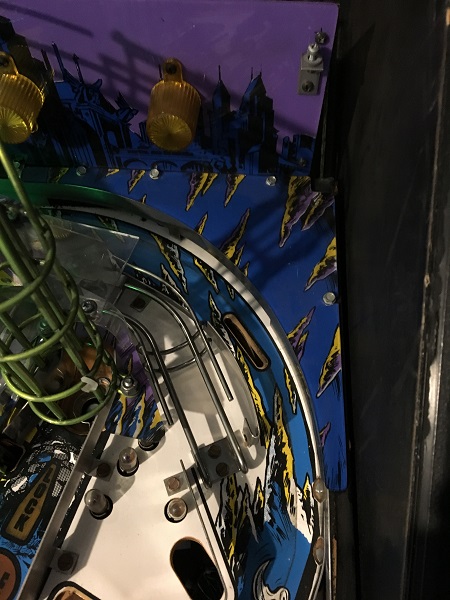
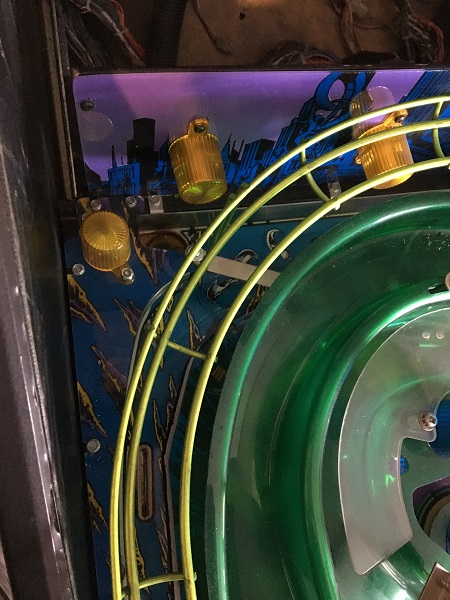
The left and right orbit components were removed from the playfield, along with the rear panel plastics. There are some nice ball trails in the area, but I expect they will clean up without much trouble.
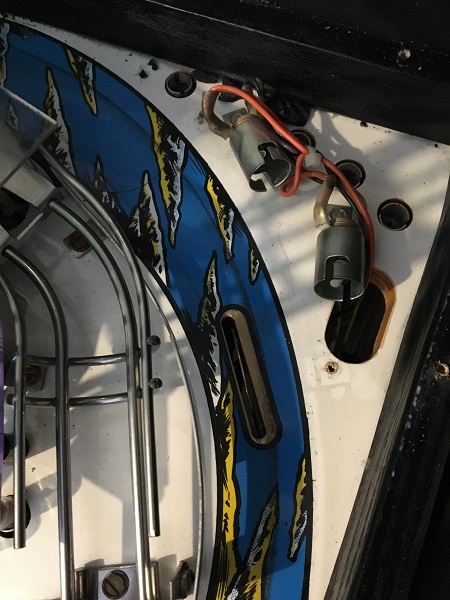
The left side also has a saucer assembly, which i’ll remove and clean as part of this update too.
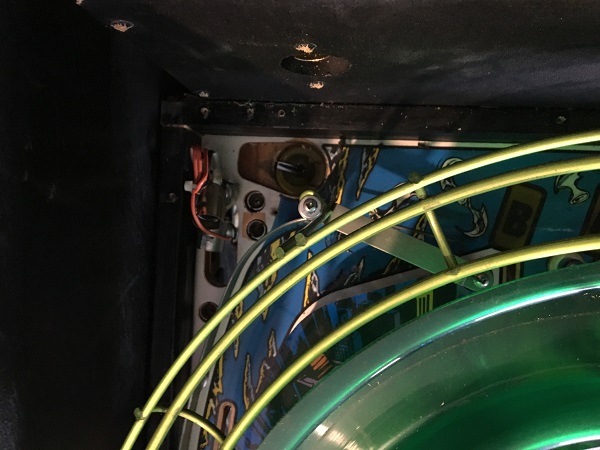
The flipper assembly was removed from the playfield for cleaning. The flipper still has plenty of power, so will mainly get a clean with a couple of new parts.
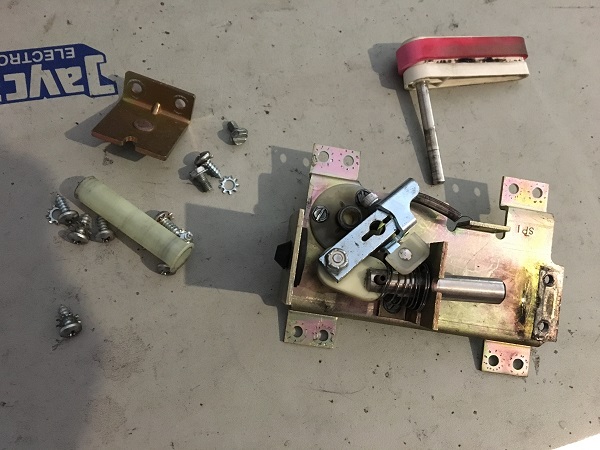
The flipper assembly was disassembled and all parts cleaned. A new coil sleeve, coil stop, grommet and bushing were purchased to replace the old ones. A new flipper bat was purchased too (again with the Sonic logo) and a purple super band.
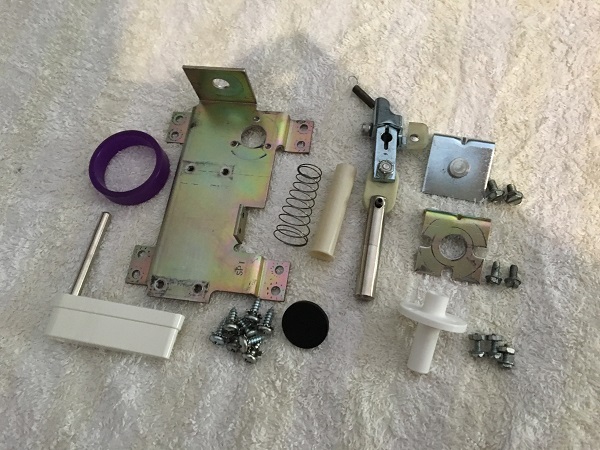
At the top left of the playfield is a saucer assembly. Since I’m including the orbit in this update, I figure it’s worth doing this assembly now. The yellow base is filthy, but not broken.
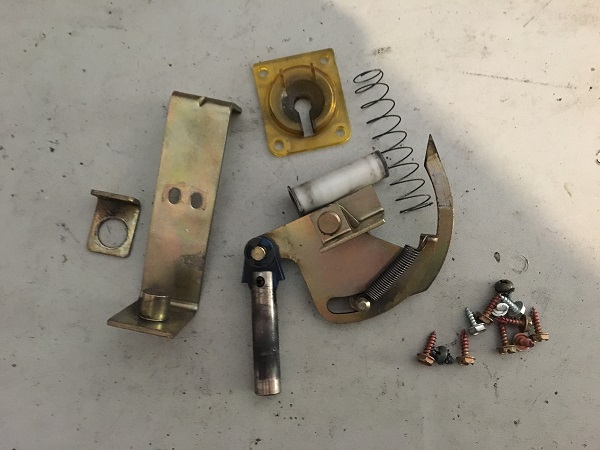
The saucer assembly was disassembled and all parts cleaned. A new coil sleeve was purchased to replace the old one. The saucer plastic cleaned up like new and the assembly was now ready to be rebuilt and installed back on to the playfield.
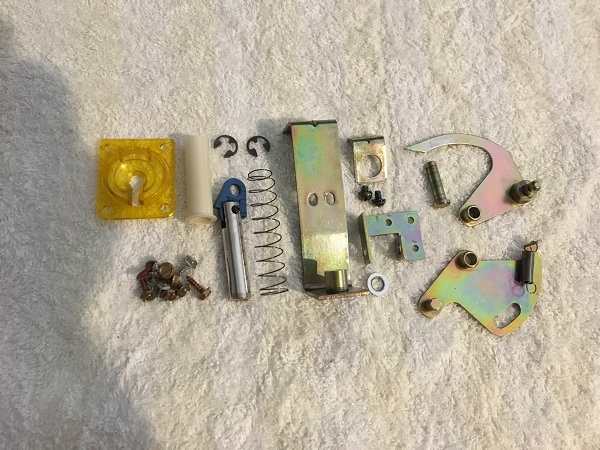
The next assembly on my list is the 4 bank drop target. These banks can build up quite a bit of filth over the years, although it’s in much better shape than the two 4 banks I recently did on a SEGA Harley machine.
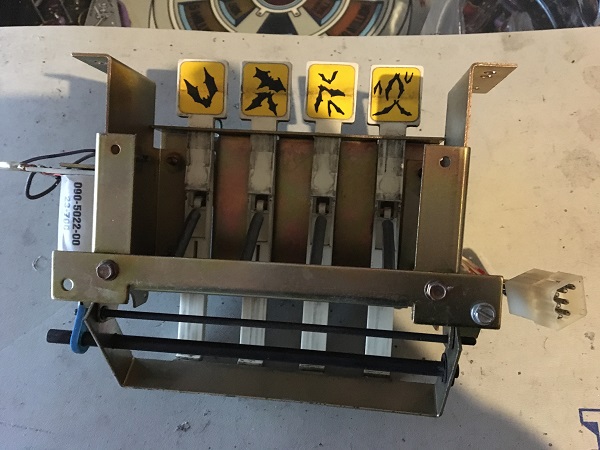
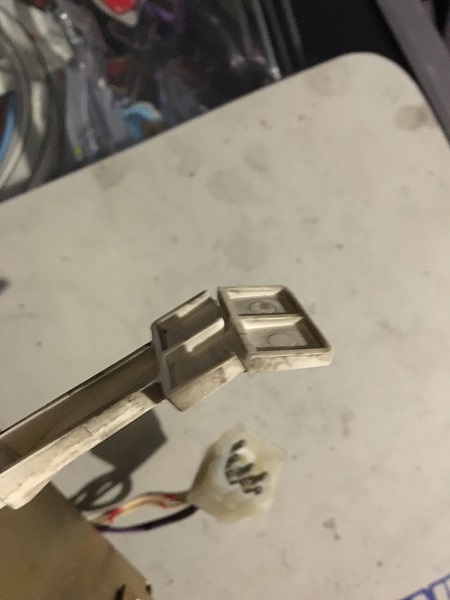
The drop targets take a beating over the years and often leave one or more broken. This game is no exception and one of the targets had a nice crack through it. I plan to replace all the targets anyway and give them new decals, so it’s not a problem.
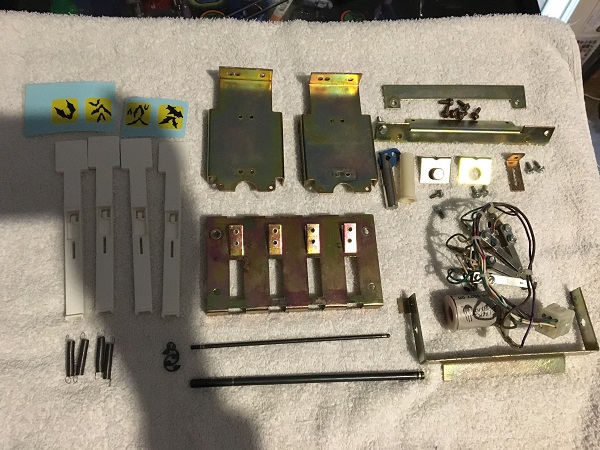
The drop target bank was fully disassembled and cleaned. New drop targets were purchased, along with new target decals. A new coil sleeve was also purchased. Everything else cleaned up nicely and it was ready to get put back together.
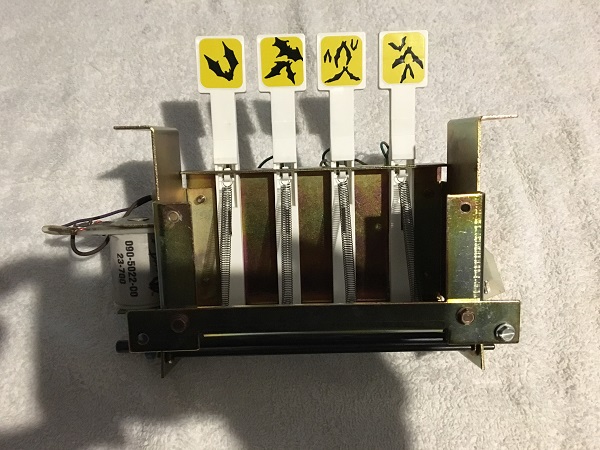
The drop target bank was rebuilt and ready to go back in to the machine. It’s interesting that the target decal with 3 bats on it is mirrored in the repro compared with the original. While putting the write up together, I realised I had the third and fourth targets in the wrong order, so will need to swap them over.
The kicker assembly was up next. This lives under the batcave and kicks a ball out from the ball lock once released. The assembly was disassembled and cleaned. A new coil sleeve and grommet were purchased to replace the old ones. Everything else was cleaned up.
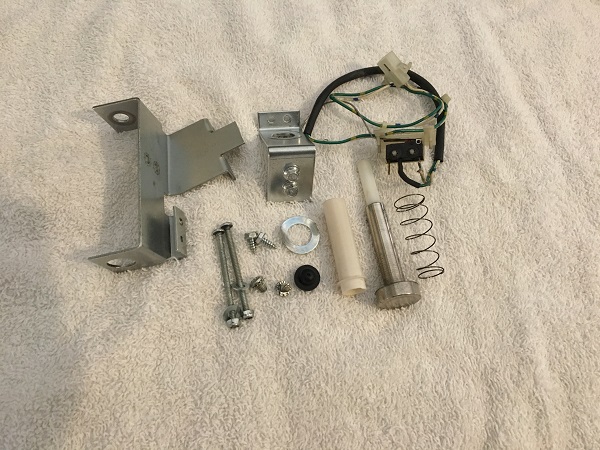
These is a second assembly inside the batcave, which releases one locked ball at a time. This assembly was disassembled and all parts cleaned. A new coil sleeve and grommet were purchased to replace the old ones. Everything else cleaned up nicely.
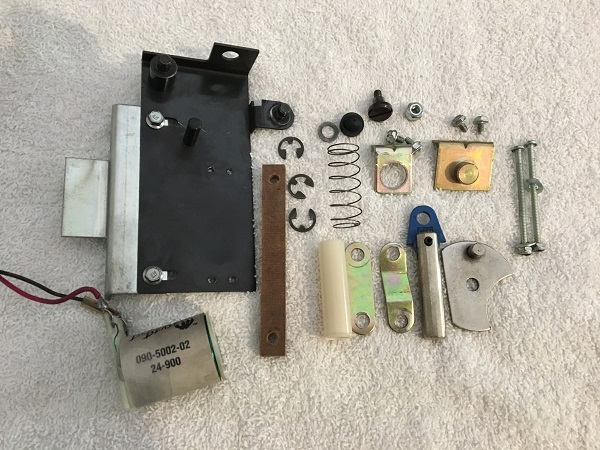
With the assemblies ready, it was now time to clean the playfield surface. The right side was done first. Loose filth was vacuumed up, then the surface was cleaned with a soft cloth and Nifti. Finally the surface was given some Novus 1 and is now looking nice and shiny.
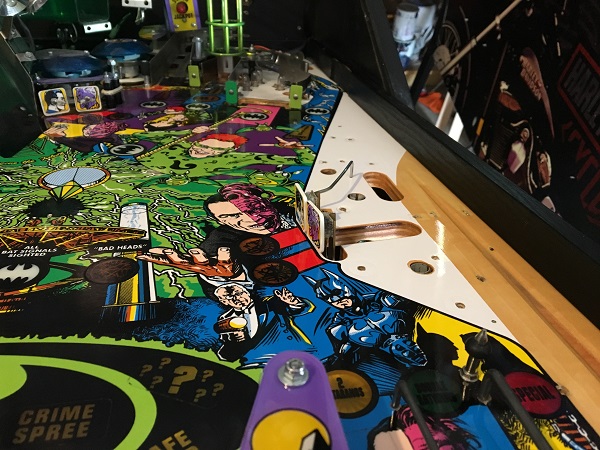
The upper left and right corners were given the same treatment and all ball trails cleaned off without issue.
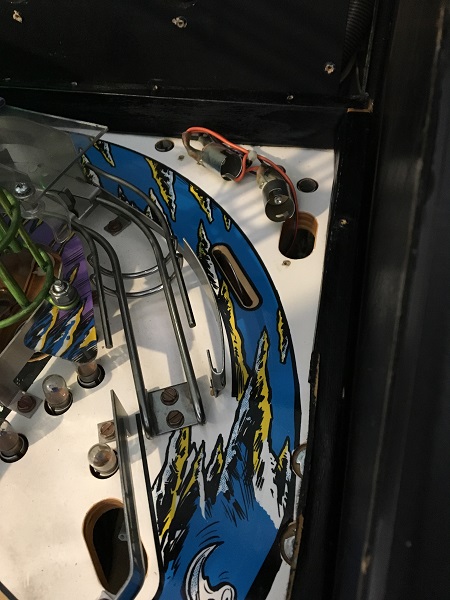
The left side of the playfield was again given the same cleaning treatment. The metal rail that sits behind the drop targets was scrubbed down with steel wool before vacuuming to remove the built on crap it collects over the years.
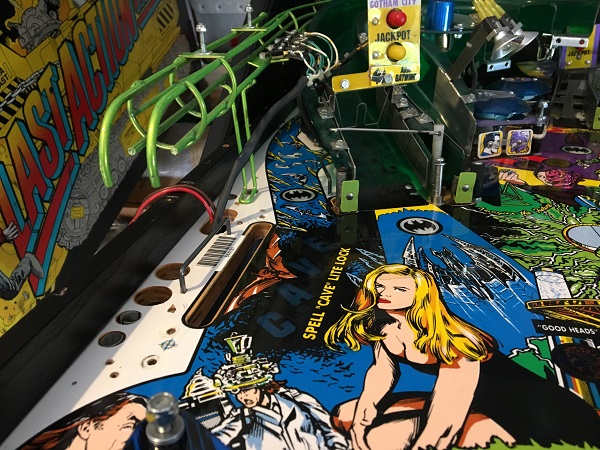
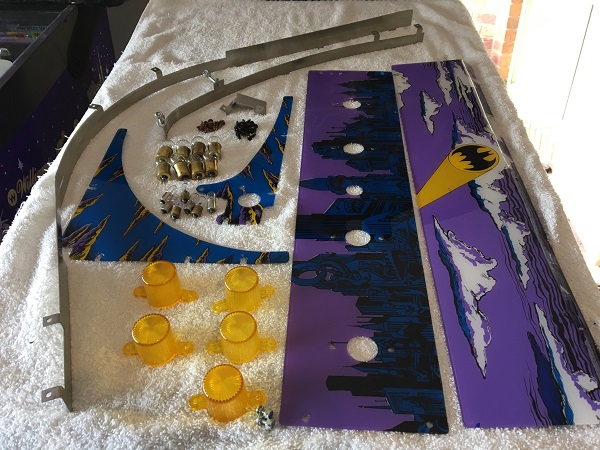
Now that the playfield and assemblies were ready, the last step before putting things back on is to clean the playfield parts. The two large plastic panels from the rear of the playfield were cleaned and polished. The left and right corner plastics were given the same treatment, along with the flasher domes. The flasher and GI bulbs were cleaned up and dead ones replaced. The metal rails for the orbit were scrubbed clean.
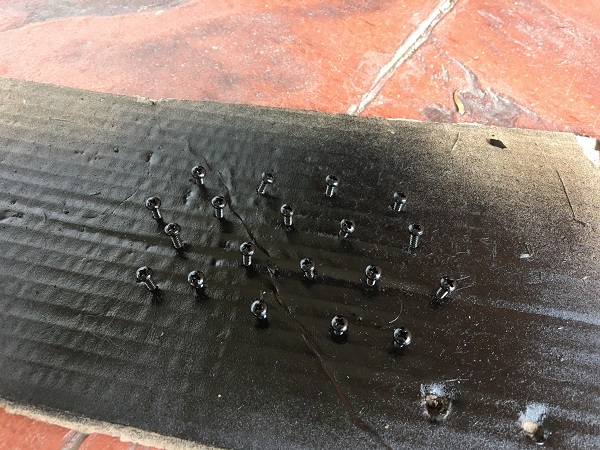
Before installing the rear panel plastic and flasher domes again, I wanted to freshen up the screws. They were given a coat of gloss black and clear to have them looking great.
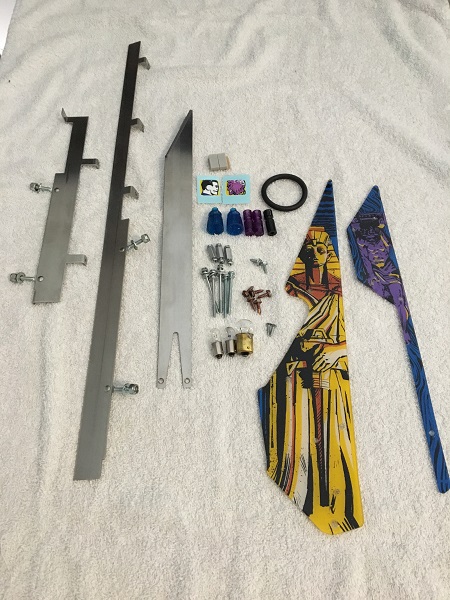
The playfield components from the right side of the playfield were cleaned up next. New star posts were purchased and some more of the black single posts will be replaced with transparent coloured ones to again allow more light to shine through. New decals will be installed on the two stand up targets, along with fresh foam padding.
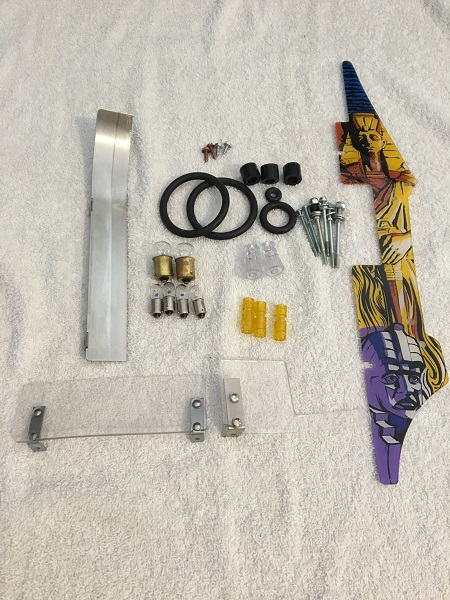
The playfield components from the left side received the same treatment. Everything was now ready to go back on to the playfield.
The flipper assembly was installed back on to the playfield, along with the metal rails, posts, rubbers and new decals on the stand up targets.
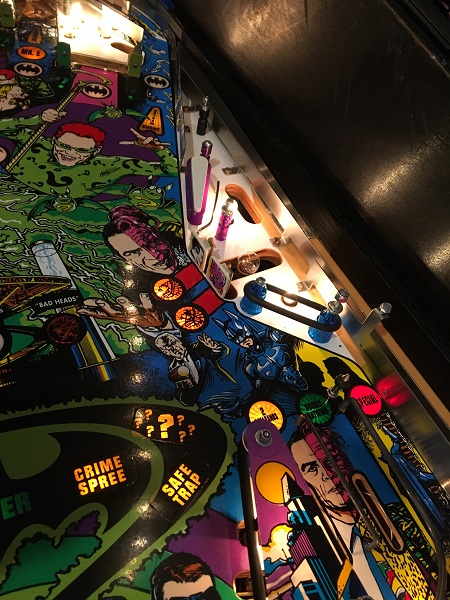
The plastics were installed next to get the right side complete (minus the rails, which will go on last).
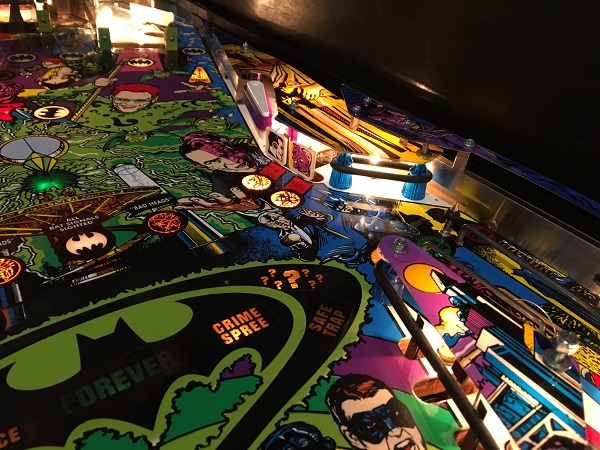
The drop target bank was installed again, along with the two batcave assemblies. The posts and rubbers went back on also.
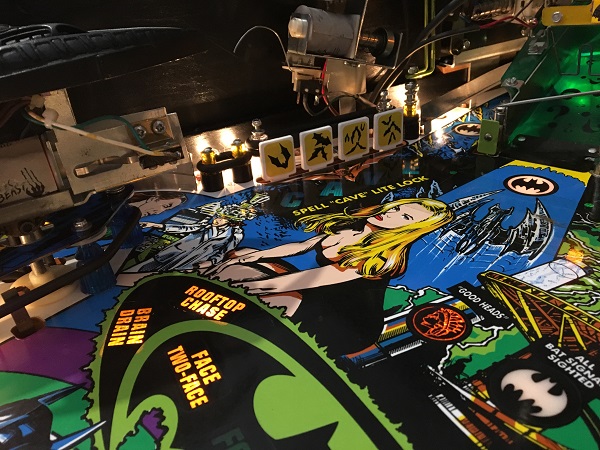
Lastly, the plastics went back on to complete the left side (again minus the rails, which will go back on at the end with the batcave cover).
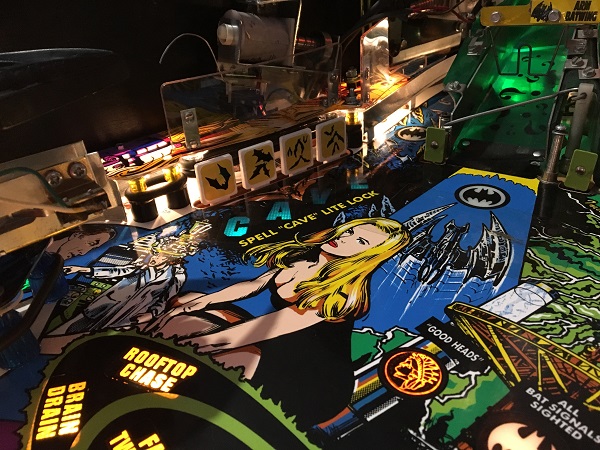
The lower and middle playfield sections are cleaning up nicely.
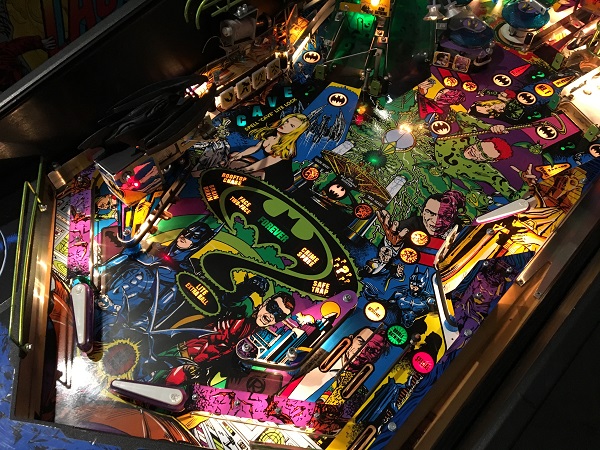
I went back and swapped the third and fourth drop targets around to ensure they were correct. That finishes off the lower and middle sections of the playfield. Next up will be the upper playfield area. This includes the VUK, some rails, a diverter arm and also the pop bumpers. I’ll need to remove the remaining plastics and ramp to get access to the playfield first. The game is cleaning up well and I think is going to look great once complete. Until next update 🙂
