Batman Forever has been cleaning up really nicely. The game is in excellent condition, which makes my task easier. In this update, i’m now going to work through the last of the playfield assemblies so I can begin getting everything back together for a proper test. That means for this progress report, I’ll be covering the top playfield section. This includes the VUK, ramp diverter and three pop bumper assemblies. I already covered the orbit rail, saucer assembly and upper left and right playfield / plastics in a previous update, so won’t need to worry about those now. There’s a large ramp and rail that will need to be removed first, but from there it should be smooth sailing.
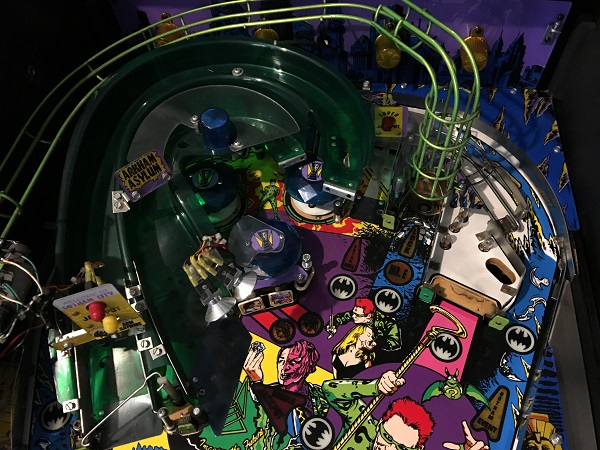
I’m going to start with the top right section where the VUK assembly lives. There is also a small metal ramp and rail which returns the ball into the orbit. First step was to remove the return rail that sits over the VUK. There are a couple of layers of plastics in this area, some of which need to be removed first in order to the rail off the playfield.
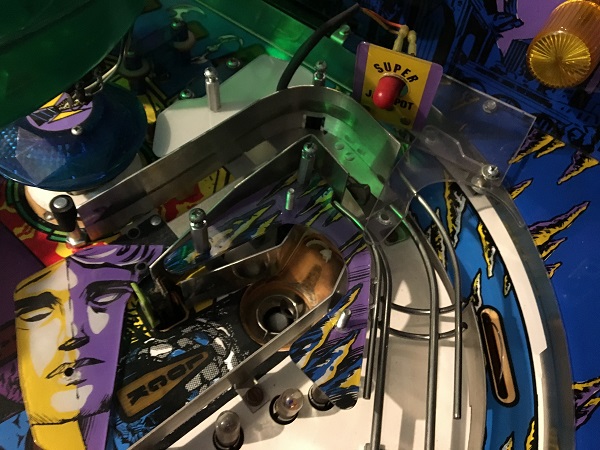
From there it’s a quick process to get the remaining plastics and rails off the playfield.
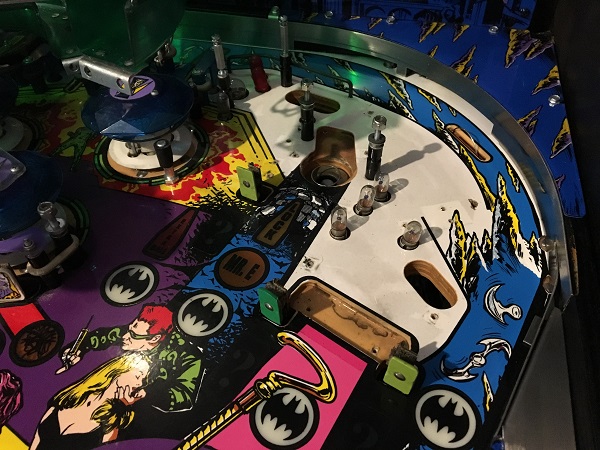
A thin layer of filth covers the playfield surface. Overall the game isn’t anywhere near as filthy as some I’ve worked on.
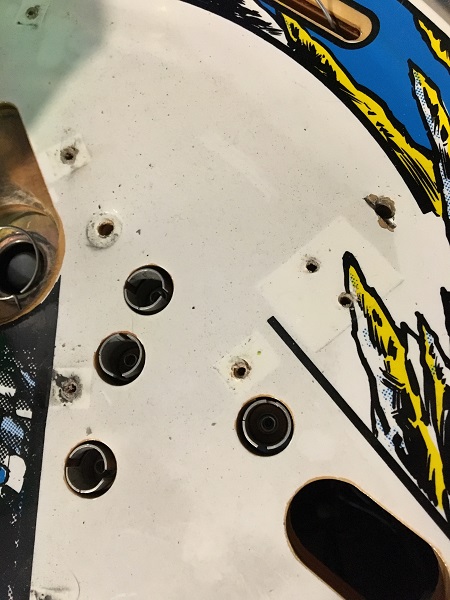
At this point I decided to remove the large ramp on the left of the playfield as it was getting in the way while trying to remove parts. I’ll be coming back to the left side shortly to deal with the pop bumpers. I could do it all at once, but I like to avoid having too many pieces off the playfield at the same time and focus on smaller sections.
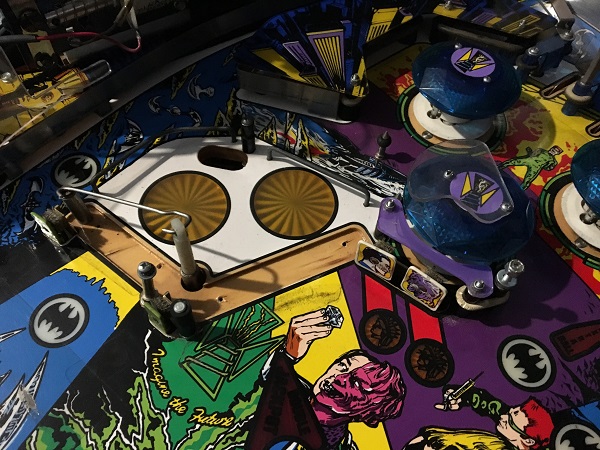
The VUK assembly was removed from the playfield for cleaning.
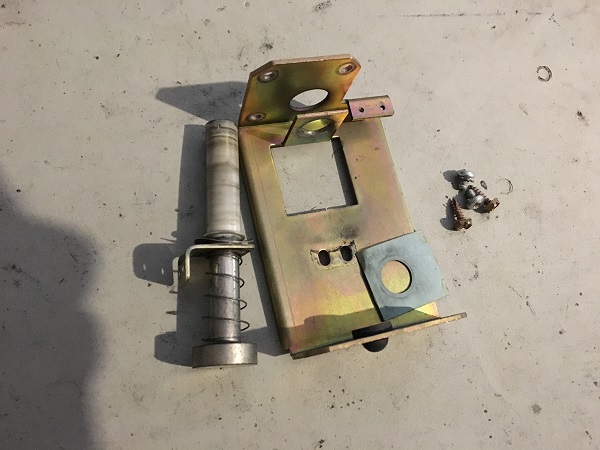
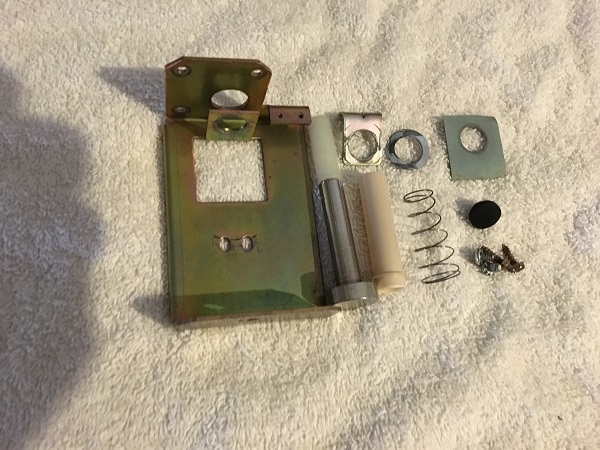
The assembly was disassembled and all parts cleaned. A new coil sleeve and grommet were purchased to replace the old ones.
The next step was to clean the playfield surface. After some Nifti and Novus 1, the playfield around the top right section was looking great and ready to be rebuilt. I’m not sure what the story is with the darker coloured stand up target. They should all be using the lighter green target faces, so it’s possible this one has been installed while the game was in the wild.
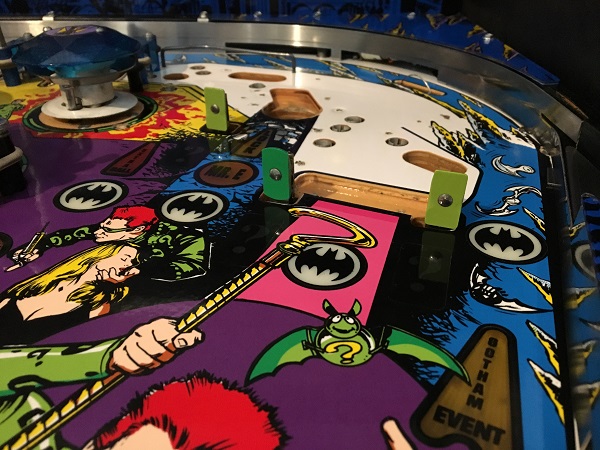
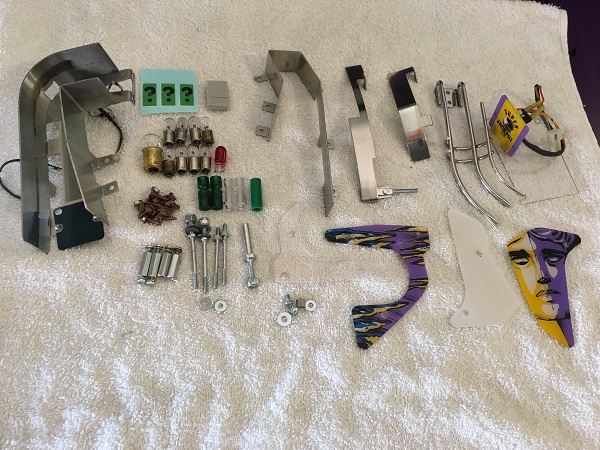
Since the playfield was ready, the playfield parts required cleaning next. The old black posts were replaced with transparent ones, like elsewhere on the playfield. Dead globes were replaced while the working ones were cleaned up. All small metal pieces (including the rails) went for a session in the tumbler. The plastics were cleaned up too. Part of the decal set includes decals for the stand up targets, which I will install.
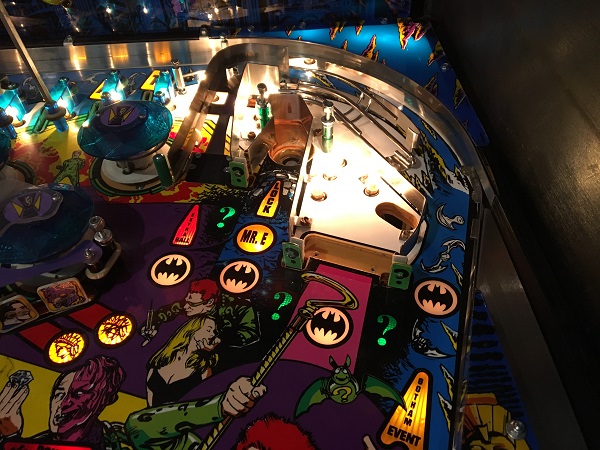
The VUK assembly was installed back under the playfield and the playfield parts were installed once again. New foam pads were also installed on the stand up targets. The playfield is in an amazing condition and is looking great lit up. I think this is a game that would suit LED’s. I still need to install some of the plastics again, but will hold off until I’m ready to put the VUK rail back on.
With the top right section complete, I shifted my attention to the left side where the pop bumpers are. The caps and plastic pieces were first to be removed.
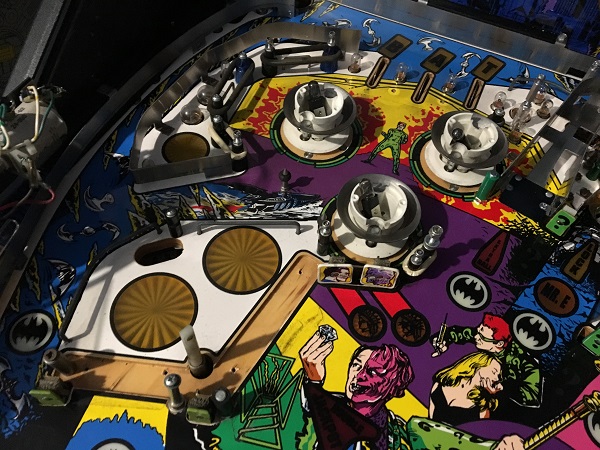
Then all the posts and rubbers were removed. Just like everywhere else, a thin layer of dust covers move surface areas.
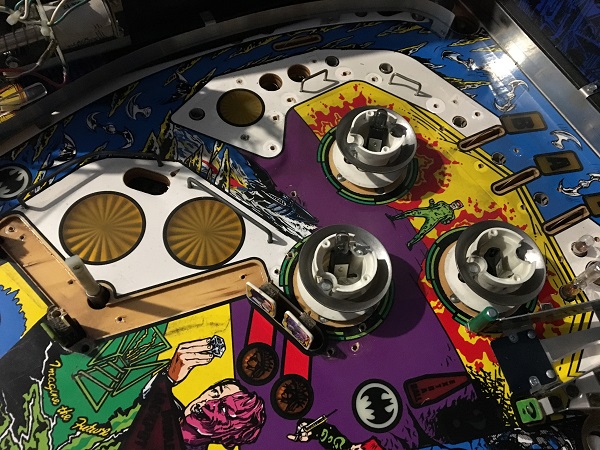
The rail diverter assembly was removed from the playfield for cleaning. This hooks up to a trap door on one of the rails via a small wireform, which was sent off to the tumbler for cleaning.
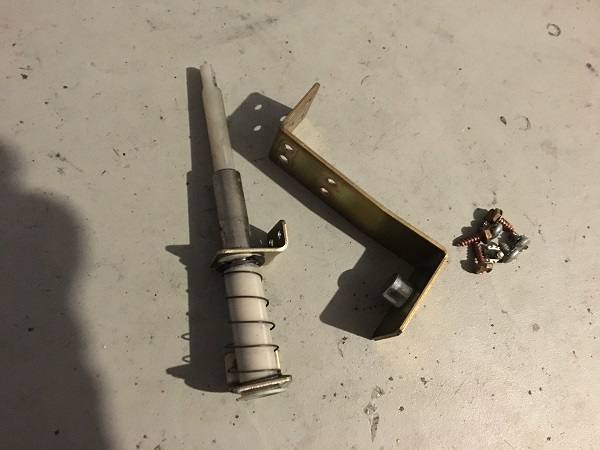
The assembly was disassembled and cleaned. A new coil sleeve and nylier were purchased to replace the old ones. The assembly was bagged up and set aside until the playfield was ready to be rebuilt.
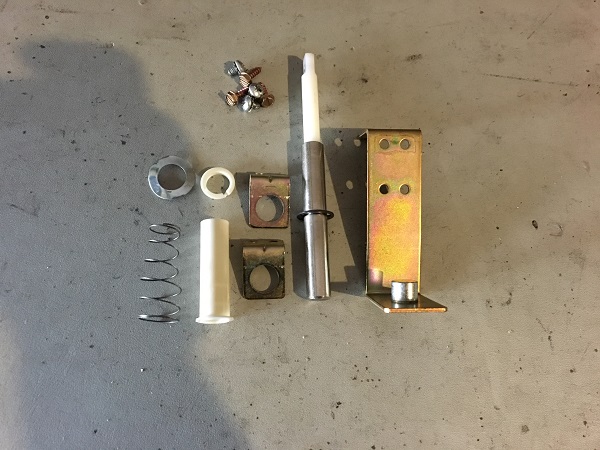
The pop bumpers were removed from the playfield for a complete rebuild. These things get really filthy over the years. The metal parts will be going into the tumbler, while a number of parts (like the bodies, skirts, spoons and caps) will be replaced.
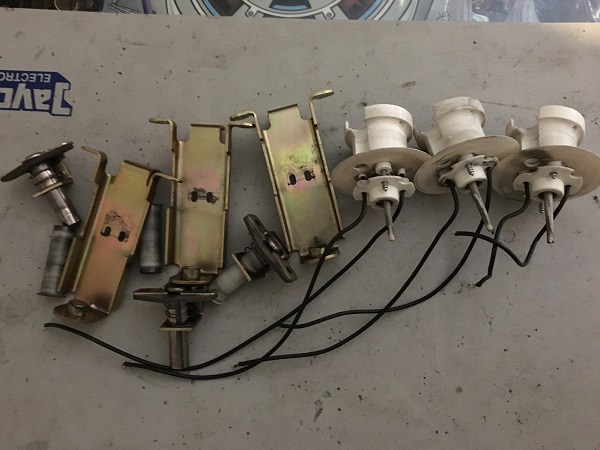
Since everything was removed from the playfield area, I could now give it a clean. It didn’t take much. Steel wool was used on the metal rails to clean away crap that had collected there. Anything loose was vacuumed up and then the surface cleaned with Nifti and finished off with Novus 1. I’ll be coming back to deal with those stand up targets shortly. There is a large factory mylar patch around the pop bumper area which has preserved the playfield from years of use.
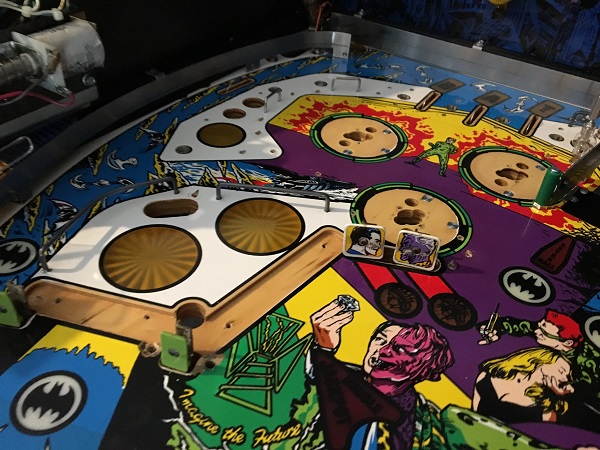
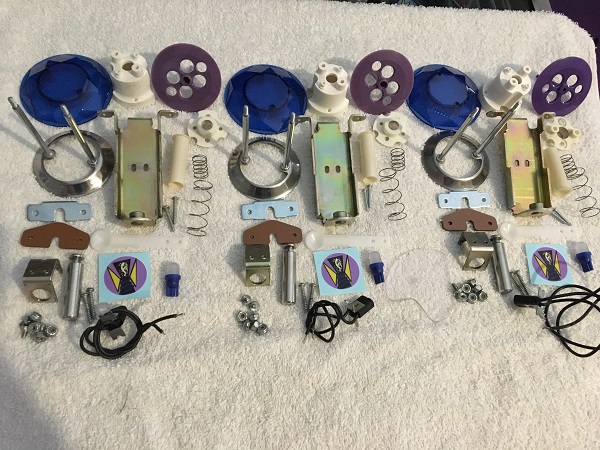
Next up I wanted to rebuild the pop bumpers. New coil sleeves, caps, bodies, skirts, switch spoons and yokes (metal + fiber) were purchased. New cap decals were included in the decal set, which will be used too. The game originally used white skirts on the pop bumpers, but I felt those were too plain. There are lots of nice blues, greens and purples across the playfield, so went with purple skirts for the rebuild. All metal pieces went through the tumbler. The owner has asked me to install LED’s on the pop bumpers which I think is a good idea. Replacing the globes on the pop bumpers is real pain since you have to get through a few layers of rails and ramps. LED’s will last much longer, so he won’t need to worry about replacing them.
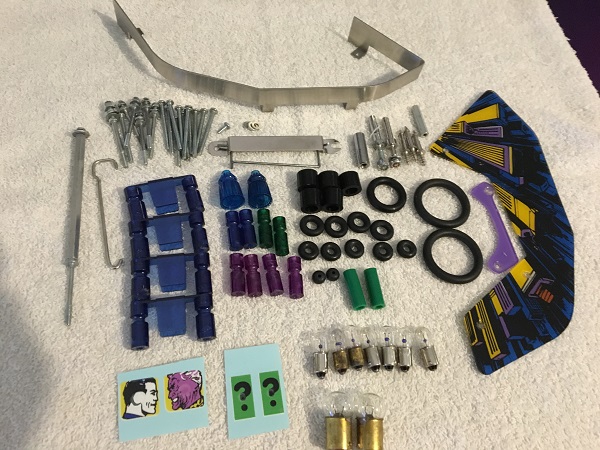
The playfield parts from the top left section were also cleaned up. The black posts were replaced with coloured transparent version. New blue start posts will be installed around the pop bumper area, along with new rubbers and post sleeves. All small metal parts went through the tumbler. I recently purchased a fresh container of tumbler media which is making a difference with the cleaning results. Dead globes were replaced, while working ones cleaned up. The plastics were cleaned up too and new decals will go on to the start up targets. Four new blue lane guides were also purchased to replace the old ones.
Everything was installed back on to the playfield again. The new target decals were also installed on the 4 stand up targets, along with fresh foam padding.
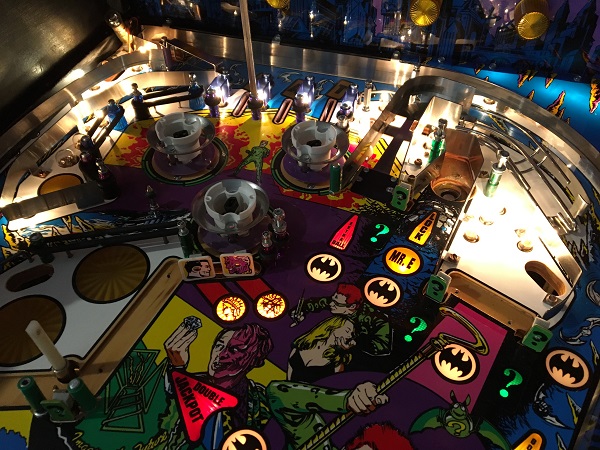
Lastly, the pop bumper caps and plastics were installed back on to the playfield again. I decided to use clear washers around the large plastic piece in the pop bumper area to give it protection against chipping.
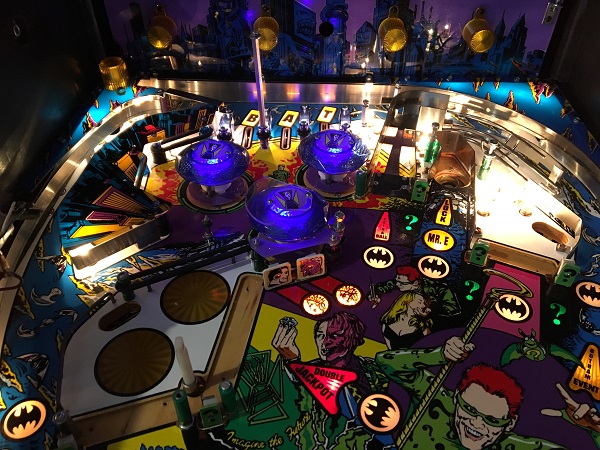
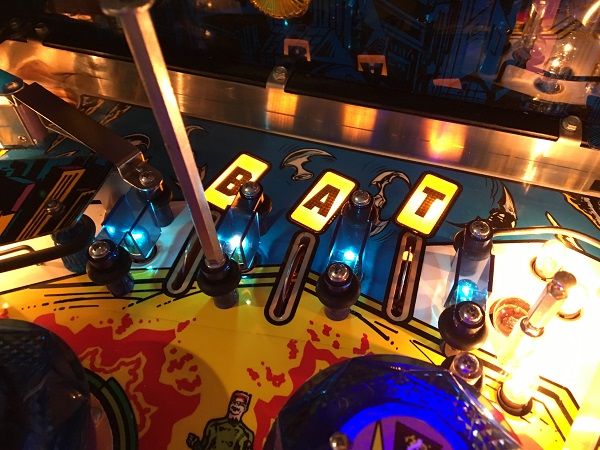
I wasn’t happy with the washed out look the four blue lane guides had with the bulbs below them. I decided to swap in some blue bulbs instead, giving more colour to the lane guides.
That’s all for the 4th update. Next up I will be cleaning the two large green ramps, along with all the metal pieces associated with them. I’ll also clean up the rails and get all the remaining parts back on to the playfield. I want to do some paint touch up on the inside of the cabinet – a nice gloss black gives off more light and reflection. The headbox needs some touching up too and then hopefully it’s testing time!
