When it comes to my Bride of Pinbot 2.0, I can’t help myself. I’m always looking to add upgrades and improvements as it’s my favorite game. With a four week break coming up, I have plans for a playfield swap and new decals over the Xmas holidays. Before I get to that however, there are a couple of smaller things I want to get done. The first is replacing the board that controls the lamps on the brides helmet with an upgraded version. When switching to LED’s, you lose the fade effect that would normally be present as part of the lamp sequence that plays out. As a result the different chase sequences that play out on the brides helmet are not smooth. Luckily, a pinside member created a new board to solve this. It can be used in a standard BoP and also a 2.0 machine.
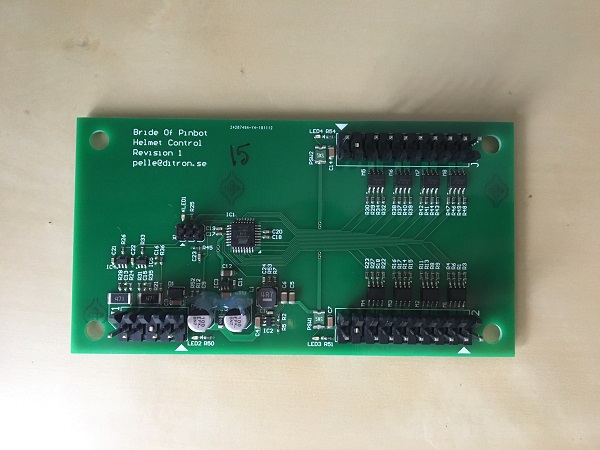
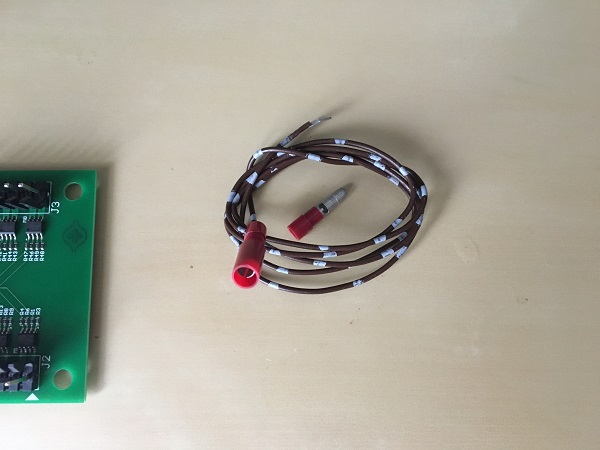
The board is not only an upgrade, but can also be used as a drop in replacement for the original if need be. To apply the fade effect the board uses Pulse Width Modulation (PWM), which achieves an analog result from digital input. Although the board is a drop in replacement, to use the PWM feature, you need to make one small change to the game. Normally, the helmet receives power from a wire that runs from the headbox. We need to instead run a new wire from one of the unused pins on the new board to that power wire leading to the helmet instead. I dug out some spare wire from an old harness and also some new connectors from Jaycar. Having to source your own connector is the only downside about the upgrade and stops it from being a simple plug and play package. It would be a complete package if one was provided, but for most people it won’t be an issue.
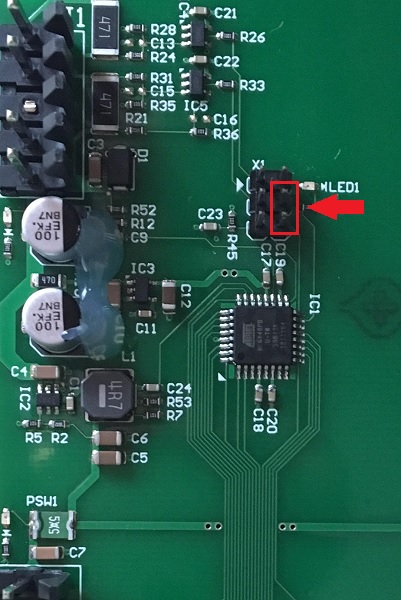
If you wanted to use the board as a replacement and not use the PWM feature, you don’t need to worry about the new wire and instead just add a small jumper between these two pins on the board itself (something like this – https://www.marcospecialties.com/pinball-parts/PS-2012J-CR) You can then install it directly as a replacement for the current board.
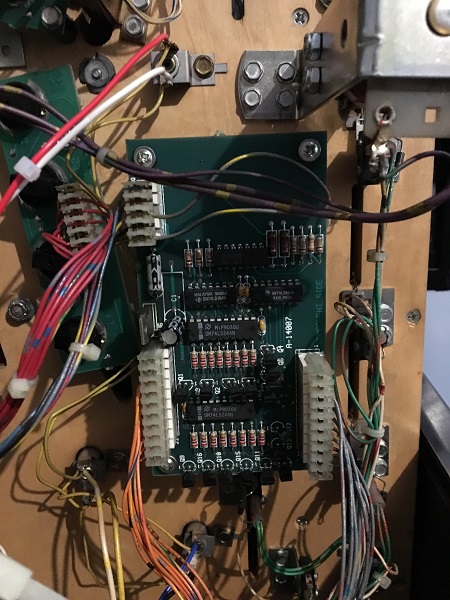
The old control board is attached under the playfield. There are three connectors, two of which run to the helmet, while the third (smallest one) is an input. We will need to pilfer the 4 screws and PCB legs for the replacement board.
The original board was removed and the upgrade installed in its place. Next up the new wire was installed to the top pin of the left connector, which will need to connect up to the power wire that runs to the helmet.
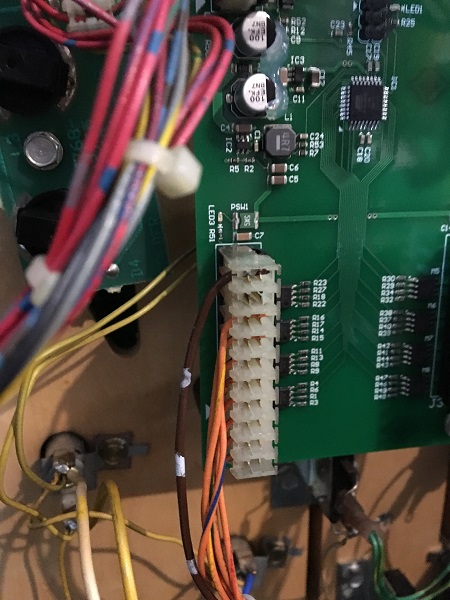
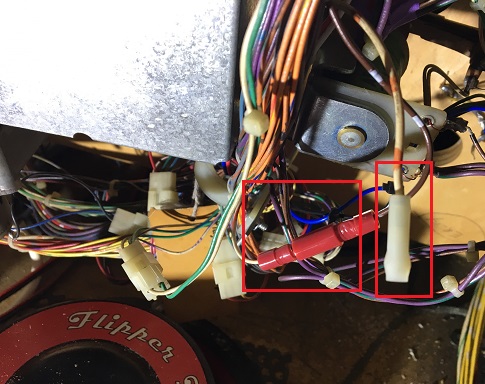
The new wire was connected up, which will run power to the helmet. The old wire (thick orange/white) which runs to the headbox can be left free. It’s probably a good idea to tag it so when you (or a future owner) come to the machine, it’s clear what the loose wire is for. I used a brown / white wire here, but a better solution would be to stick with orange / white (I seemed to have every other colour combination but this).
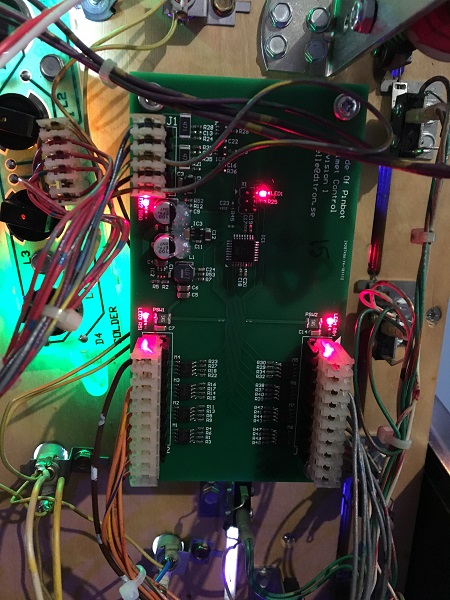
With the replacement board installed, the game was switched on. The LED’s show me the board is now powered and running.
To give you an idea of how the LED’s appear before the upgrade, here’s a short video. The flickering can be resolved with non ghosting LED’s, but the lack of fade is noticeable. There are a few different sequences that animate through during attract and gameplay, this is just one of them (and probably the least harsh).
With the upgrade board installed, the flickering is gone and the LED’s now fade out as part of the animation sequence. Overall it’s a lot smoother and quite noticeable across the various sequences uesd to animate the LED’s during play. There’s one LED on the left I need to adjust as it’s not making good contact in the socket. I’ve never been fully happy with this style of LED on the helmet and have ordered some of the style I like from Pinball Life.
Overall I’m happy with the upgrade. The board is high quality is only let down by the missing wire, which would make it a complete plug and play upgrade that anyone could install. The pinside member (pellew) was excellent to deal with when purchasing the board and for anyone interested in sourcing the upgrade, I highly recommend him. You can see the original thread he created on pinside about the board here – https://pinside.com/pinball/forum/topic/bop-helmet-control-for-use-with-leds
Second on my hit list before the playfield swap and new decal projects is the coin door. It’s looking a little worse for wear with a few holes around the coin slots and it looks like it’s been painted with a brush.
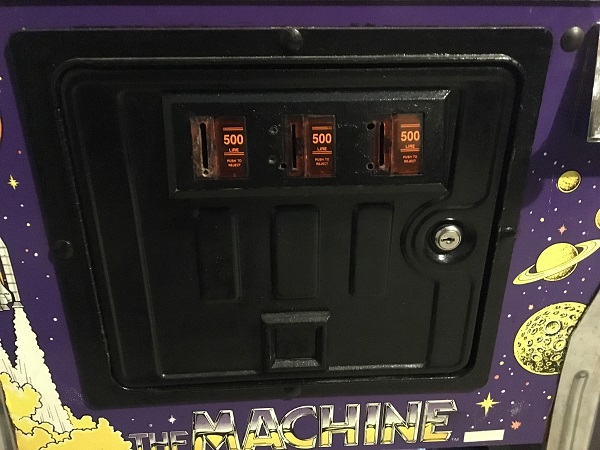
Not only was it painted with a brush, they didn’t bother to disassemble it before painting, with the original surface still there behind the plates.
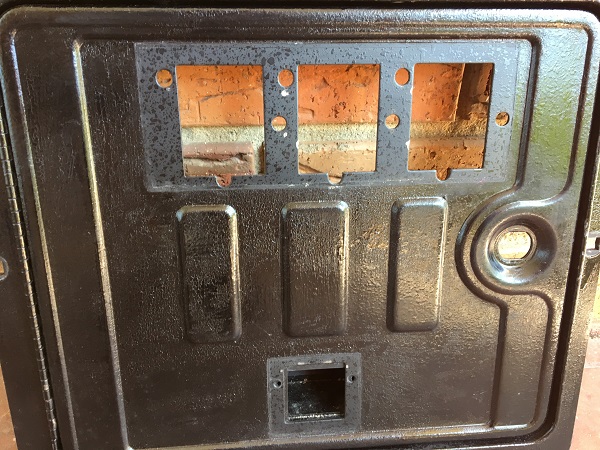
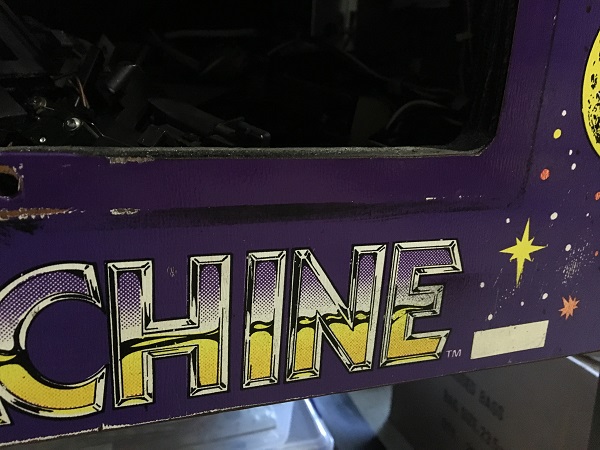
Even worse, they painted it while still installed on the game and didn’t even take the small amount of effort required to mask the area off. Ugh!! Thankfully these decals will be gone in the coming weeks anyway. But honestly, a little care wouldn’t have been too much trouble here.
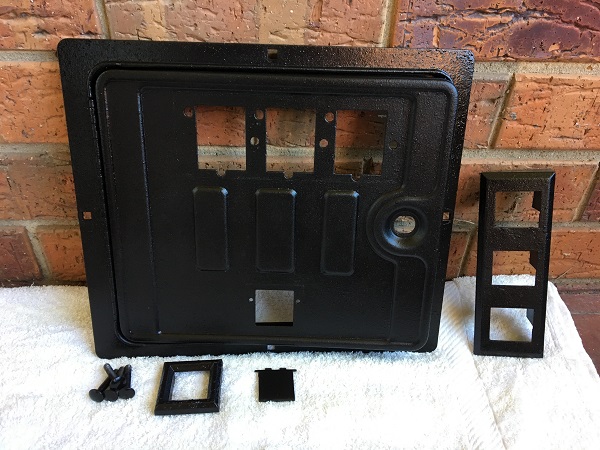
The coin door was sanded to remove as much of the visible brush strokes as possible before being freshly sprayed and new gloss speckles added again. The holes in the coin plate were repaired too.
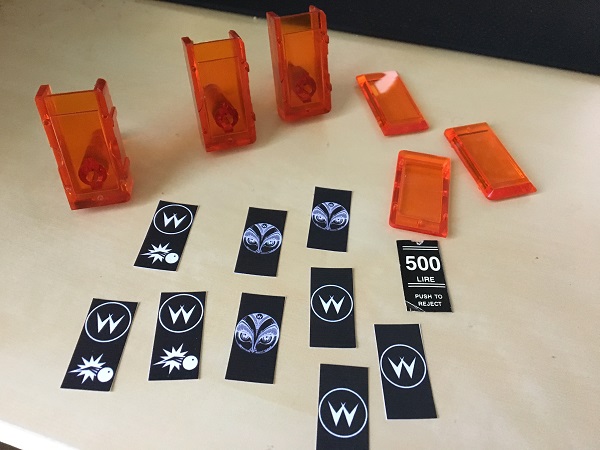
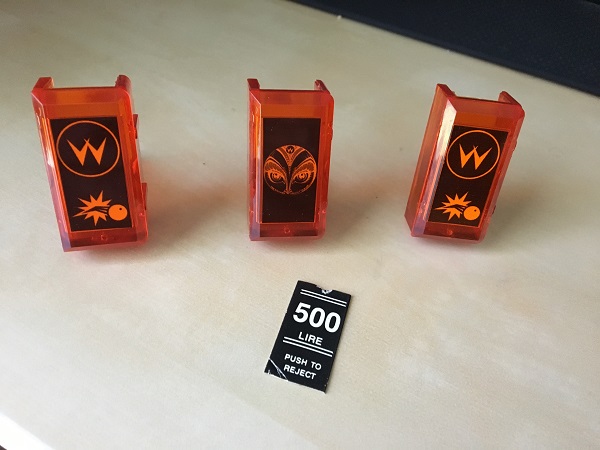
The coin entry plates were damaged, so new ones purchased. New custom pricing decals were created. I tried a few different styles to see what came out best.
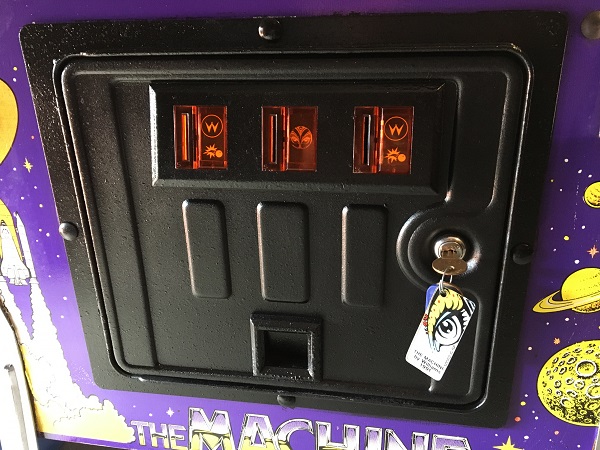
The coin door was reassembled back on to the cabinet and the wiring hooked up again. I like my key fobs and installed the one that came with the new plastic set.
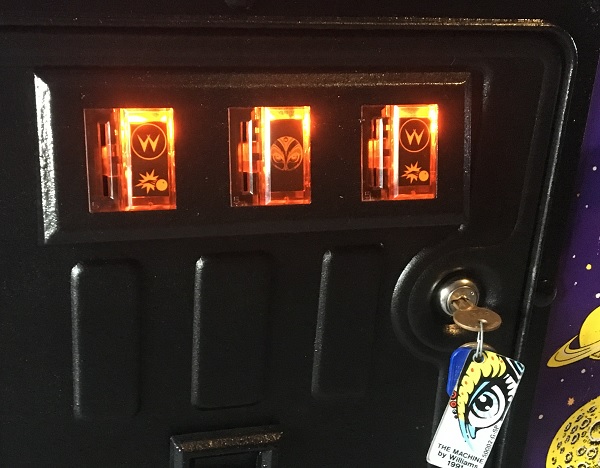
I might end up reversing this and having a single Williams insert on the center slot and the brides face on the outer two slots. I haven’t made my mind up yet. I printed plenty out so can easily swap if I decide to.
That’s it for this update. I don’t plan to do the playfield swap and new decals at the same time (although it does make sense to since the playfield has to come out for the decals anyway). I’d prefer to do them separate, that way if any issues arise, I believe it will be easier to diagnose. So there’s still more BoP updates to come 🙂
