There is rarely a dull moment in owning pinball machines as there’s always something that needs fixing or adjusting. A small fault was recently noticed in my Pinbot machine, where the left out lane switch would not register when the ball rolled over it. It was a quick and easy fix, but wanted to cover it for future readers anyway. First up, I put the game into test mode and activated the switch with my finger – as expected, the switch did not register. I then manually tested other switches around the playfield. Interestingly, the left in lane switch also did not register. Other switches were fine though. So two were switches (right beside each other) were misbehaving.
Continue Reading
Pinbot – Williams (1986)
Restoring a 1986 Williams Pinbot pinball machine
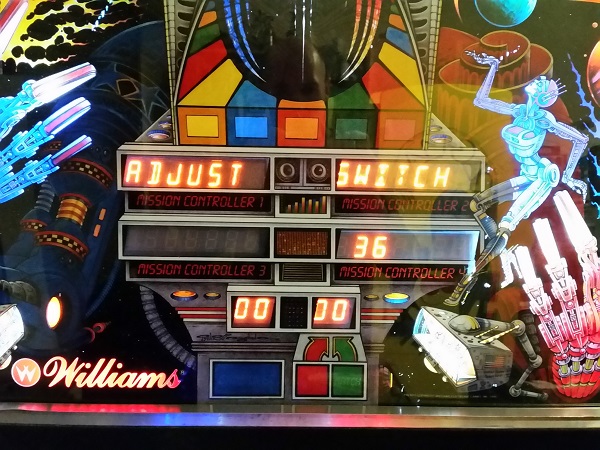
Since the playfield swap, Pinbot has been running really well and been a joy to play. Recently though, an error appeared when the machine was switched on. The game detected there were errors with 3 of the switches, and reported them during the start up sequence. They are reported as “switch adjust” errors and the knocker fires off 4 – 5 times for each one. It’s an obnoxious sound, and certainly gets your attention that there is an error. The game reported that there was an error with switches 35, 36 and 37.
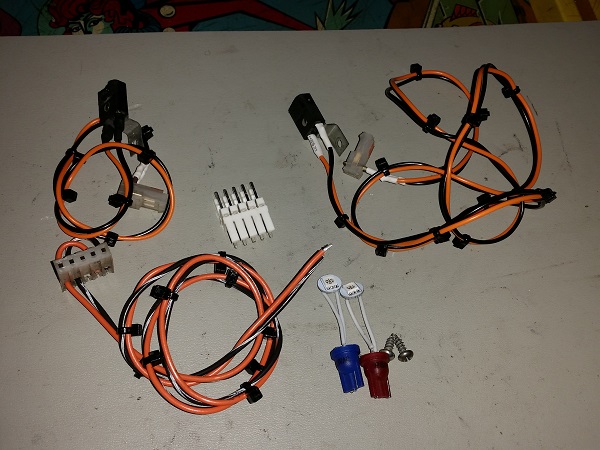
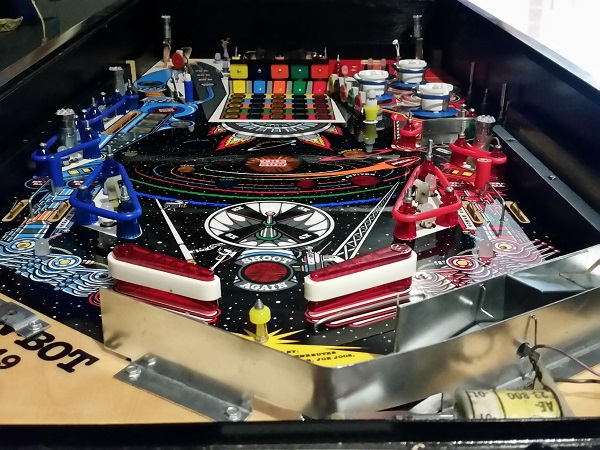
Time to wrap up my work on Pinbot with a few small tasks. Recently I put together a small kit for my LAH machine which added back lit flipper buttons and thought I’d do the same for Pinbot. The whole space / robot theme should suit it nicely. I already had transparent red buttons on the machine, so I purchased a transparent blue flipper button for the left side (to go with the red / blue theme), some long neck LEDs and went through my spare parts to put together the rest of the kit to install.
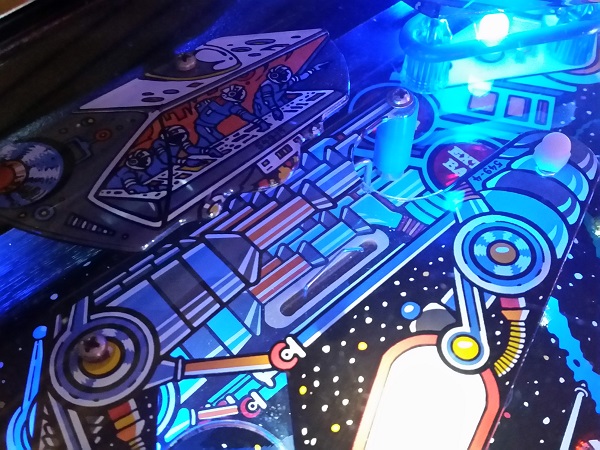
While the finish line is in sight for the playfield swap, there is still a fair bit of work to do as I have playfield parts spread across two pinball machines which need to go onto the new one. With the underside of the playfield back together again in my last update, it’s time to sort out the top. The playfield was put back into the machine and the connectors all joined up again. I then installed the 6 flasher lamp sockets, four of which required wires to be soldered back on. The holes were drilled using Brad tipped drill pieces to remove some of the clear around where the screw goes into the playfield to prevent any cracking of the clear. I then moved onto installing various plastic posts, ball guides, pop bumper rings, apron clips and trough guides. I also added LEDs to the playfield, along with a few of the Titan rubbers. The flippers were aligned and tightened in position. Populating the new playfield had begun well and was starting to take shape.
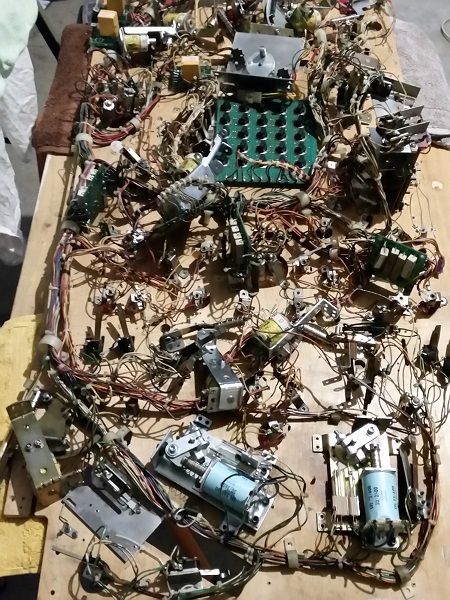
The Pinbot playfield swap continues to move forward, with bits and pieces done each day. Following on from my previous update, the first task to report on is getting everything on the old playfield ready to dump/move/slide/transfer across to the new one. This involves removing all screws, so anything attached to the underside of the playfield is free to be moved. It also means the removal of all staples holding the GI sockets to the playfield and the ground braid that runs between them. There are a few instances where wires had been soldered to lamp socket screws, which means they will need to be desoldered first so I can remove the screw. I started at the base of the playfield and slowly worked my way up to the top. Eventually I had worked my way up the entire playfield, leaving nothing attached to the surface. It just looks like a big mess.