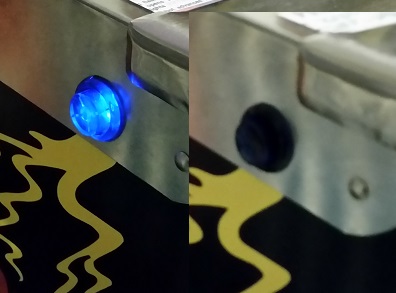
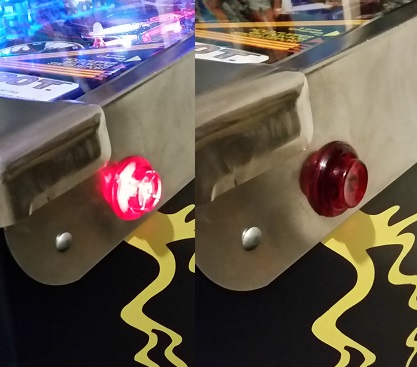
Time to wrap up my work on Pinbot with a few small tasks. Recently I put together a small kit for my LAH machine which added back lit flipper buttons and thought I’d do the same for Pinbot. The whole space / robot theme should suit it nicely. I already had transparent red buttons on the machine, so I purchased a transparent blue flipper button for the left side (to go with the red / blue theme), some long neck LEDs and went through my spare parts to put together the rest of the kit to install.
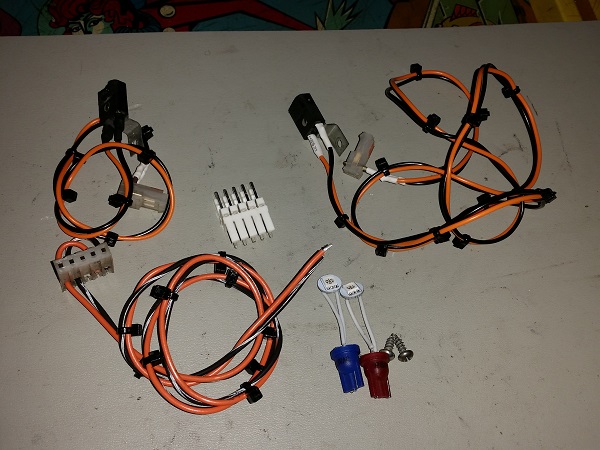
I went with IDC connectors to allow for easy removal. The LED’s will draw their power from the lamps used to light up the coin pricing plates on the coin door. Lighting the buttons up adds a nice effect and it’s a cheap and easy mod to do make.
Since I was already in the area of the coin door, there was one other thing I wanted to do. I had some spare frosted orange #47 LED’s and decided to install these behind the 3 coin return buttons. With the GI and playfield inserts now running LEDs (covered in my previous updates), I wanted to convert the headbox as well. I’ve played it fairly safe, using frosted LED’s and colour matching where it makes sense and using clear in others. I worry a bit about the red and blue drowning out some of the detail. The #1251’s and #89’s will stay as regular bulbs though.
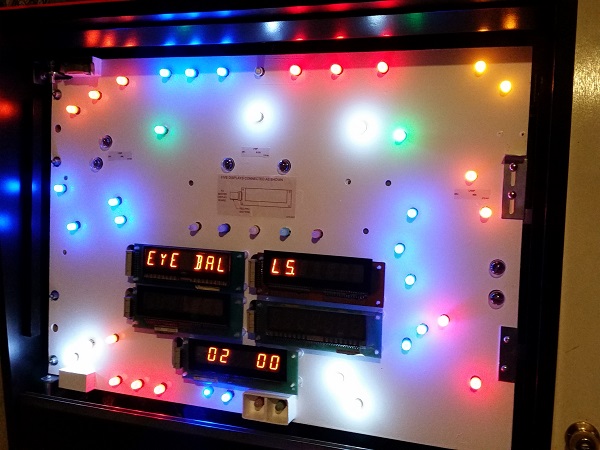
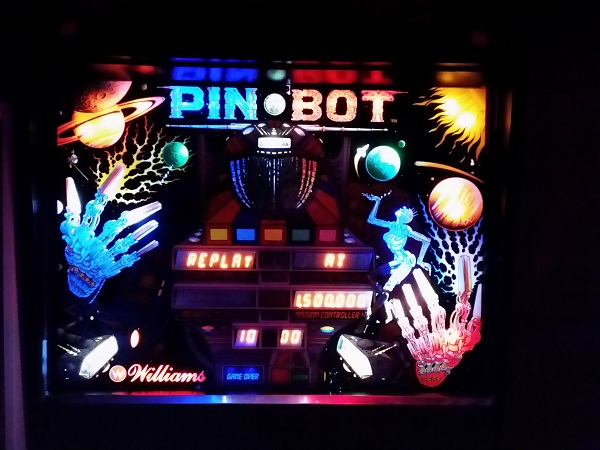
After putting the backglass on, I decided to replace a couple of the blues and reds around the fingers with clear. I also swapped in blinking clear LEDs for the pinball between PIN and BOT, along with the command room just below it.
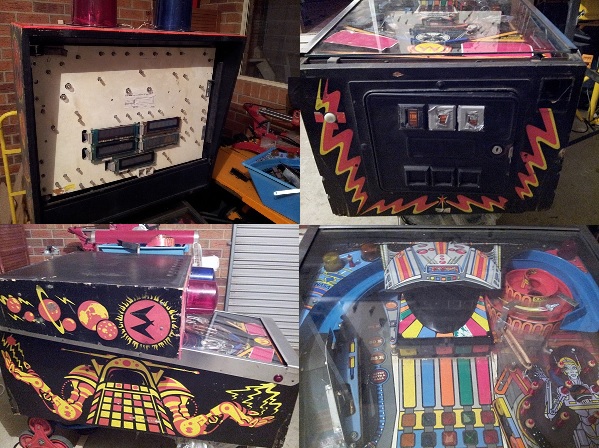
A couple of months back, I needed to get a set of legs for my Mariner machine. Rather than buy new legs for it, I felt it was smarter to put new legs on Pinbot. So Pinbot received some new legs, which help compliment the work done on the rest of the machine.
Pinbot has received quite a bit of play time over the last few week since completing the playfield swap. Only a few minor issues have surfaced. One of the pop bumper LEDs was too lose, causing the light to flicker when the pop bumper activated. The right sling shot was not sensitive enough and the right flipper was not tightened up enough. All very simple things to adjust and fix. Otherwise, the game has held together great.
My Pinbot has come a long way since I first brought it home. A lot of experience and knowledge has been gained working on it. From playfield swaps, to cabinet stenciling, to some board repairs, assembly rebuilding, wiring fixes and so on. I won’t get my money back on it if/when it comes to sale time – but for me that’s irrelevant. Being able to work on a machine I’m passionate about has been an awesome journey and reinforced everything I love about the hobby.
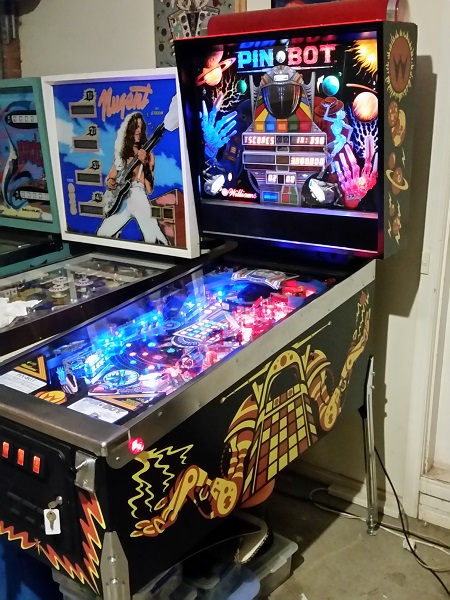
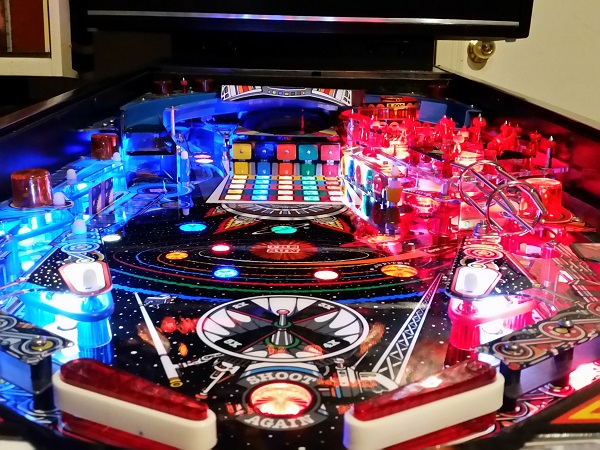
Now to simply focus on enjoying it 🙂 (..and finding a new project of course 😉 )

Hi – looks like you’ve done a fabulous job!
I’ve got a PinBot myself and its now fully functional after a few PCB issues / repairs etc.
However, when I first got it the Topper was missing, I since purchased an original Topper plastic (the red tube – without a base) but I don’t have any idea where to buy the harness connector which plugs into the connector in the head unit (which is thee along with the small driver PCB) – and wondered if you might know where I could look to get one? – I really don’t want to chop the original connector off and put a ‘generic’ one in its place to interface with the lighting harness for the topper (which I’ve actually yet to build!).
Also, daft question – but how on earth does one remove the light build from the three poppers? I thought maybe just pull up – but I’ve tried – really hard – but they just won’t budge!!!! – help.
Best Regards,
Colin.
Hi Colin,
I’m not sure on the exact connector type or part number, sorry. It would be great to keep the original, but it’s probably easier to build your topper globe harness and get a new connector.
If your pop bumpers are using the bayonet style globes, they should twist about 45 degrees and then pull out. The bayonet globes have two small feet at the base and these need to line up with the openings on the globe socket before you can pull them out.
Cheers,
Andrew.