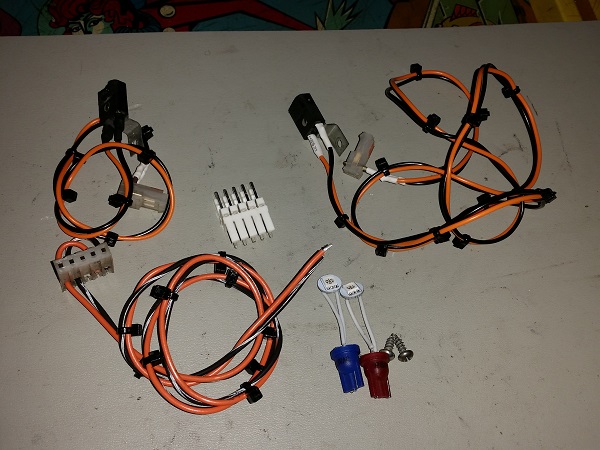
Time to wrap up my work on Pinbot with a few small tasks. Recently I put together a small kit for my LAH machine which added back lit flipper buttons and thought I’d do the same for Pinbot. The whole space / robot theme should suit it nicely. I already had transparent red buttons on the machine, so I purchased a transparent blue flipper button for the left side (to go with the red / blue theme), some long neck LEDs and went through my spare parts to put together the rest of the kit to install.
legs
All posts tagged legs
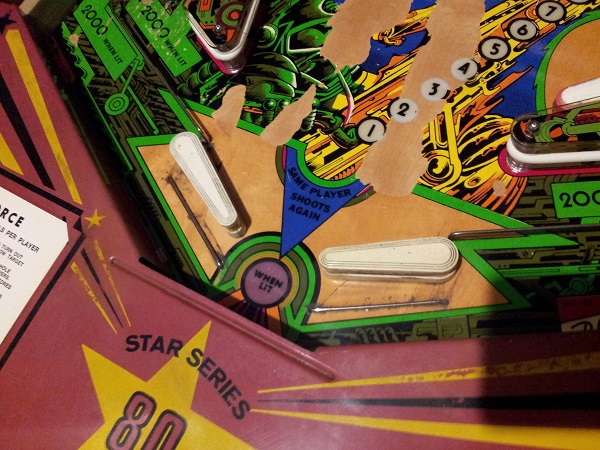
The Counterforce project is now on the home straight. Not much more to do and i’ll consider it a another project completed. I’m looking forward to actually playing it. First (and biggest) task to look at for this update is rebuilding the lower set of flippers. The flipper bats are dirty and will need a good clean. The others came up nicely, so I expect these will too. The rubber is long gone but easy enough to replace. The playfield area around here also needs a good clean, which I’ll do once the bats are removed.
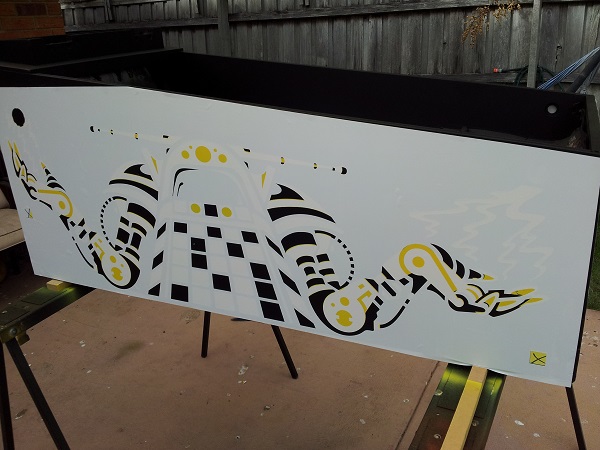
After the Twisted Pins drama, it’s good to be bringing the cabinet work on Pinbot to completion. I’m tempted to do a write up comparison between the two different sets of stencils to highlight the pros and cons. But i’ll save that for another day. For now, it’s time to finish off the cabinet and get the machine back together. At the end of the previous post, I had sanded off the paint from the Twisted Pins stencils and repainted the black. The yellow layer was done first. This stencil layer has two registration marks which it leaves on the cabinet when pealed off. This is an incredibly easy system to use and get right. I like that Pinball Pimp has included these as it makes lining up the second layer easy. The stencils also have the correct bleed and traps, which means the final result will look accurate. Here the second stencil has been lined up and is ready for the red paint.
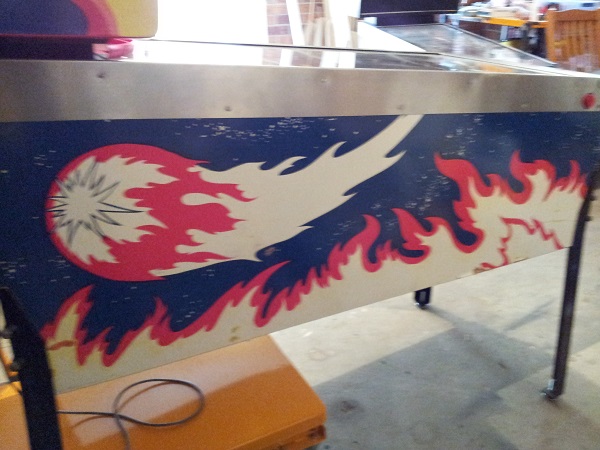
The end is in sight for the installation of my new Fireball Decals. The headbox was completed a few weeks ago. The right side was completed last week and now this week, it’s time to knock the left side over. This includes a new side rail to finish the cabinet off nicely. The left side decal was in a similar condition to the right with the colours badly faded. The condition of the cabinet was better though and less damage to patch up.
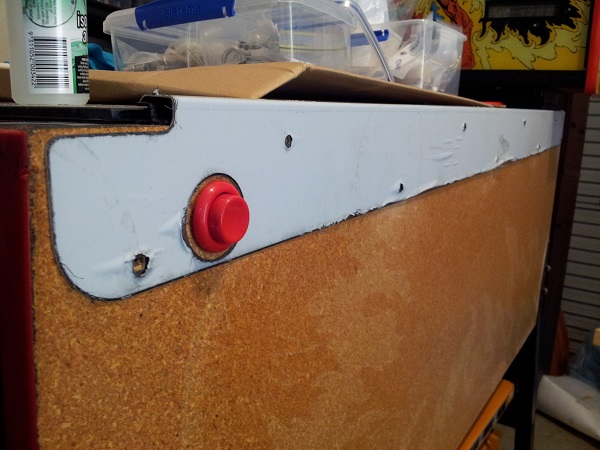
Here I was thinking I would not get to look at finishing the Fireball Classic decals until the new year. Railways pulled off an amazing Christmas Miracle and managed to get a new custom set of side rails delivered just before Xmas day. No reason to delay, I wanted to get the side art completed ASAP. This update will cover the right side and the final update (part 4) will cover the progress on the left side. The new side rails fit perfectly and the button could now sit correctly.