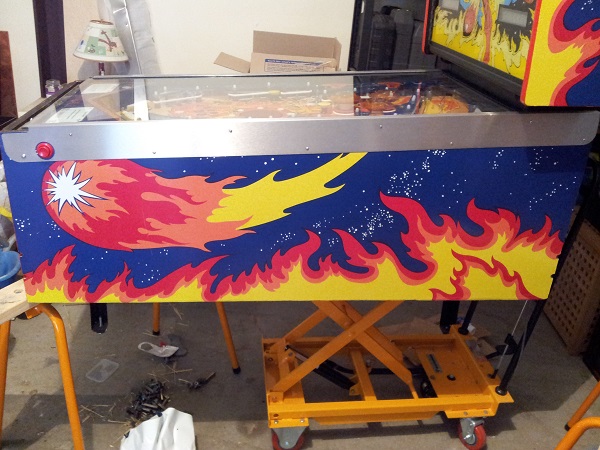
Here I was thinking I would not get to look at finishing the Fireball Classic decals until the new year. Railways pulled off an amazing Christmas Miracle and managed to get a new custom set of side rails delivered just before Xmas day. No reason to delay, I wanted to get the side art completed ASAP. This update will cover the right side and the final update (part 4) will cover the progress on the left side. The new side rails fit perfectly and the button could now sit correctly.
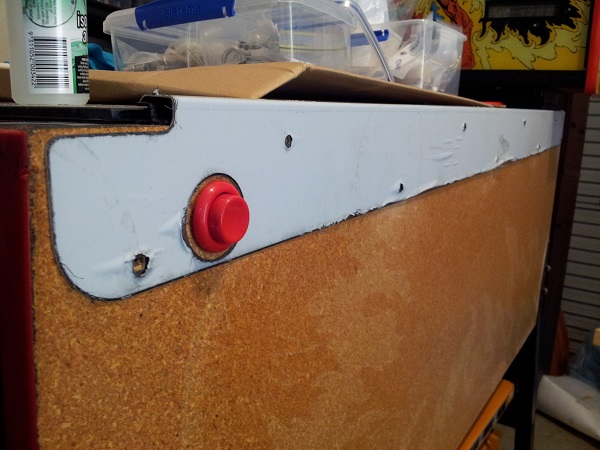
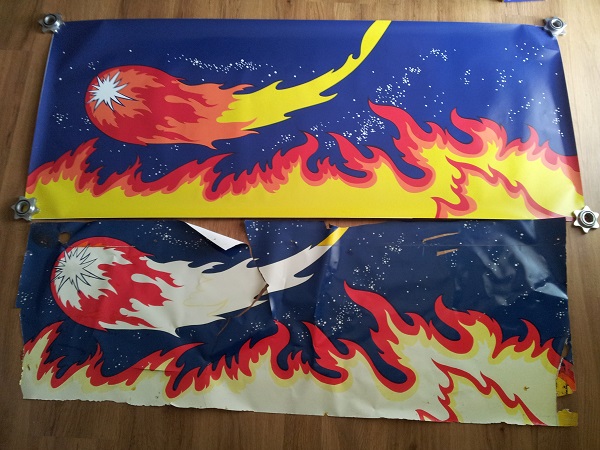
First step was to patch up the old nail holes and some damage along the base of the cabinet. Once done, this was sanded smooth. At this point I put the one of the new side rails on and predrilled the 8 nail holes. In hindsight, I think i’ll predrill the holes after the artwork is installed – that way I can install the bolt first which will hold the rail in place and avoid a small amount of movement I experienced as I worked my way up the rail. I was now happy to apply the side art. I put the old and new decals on the floor so I could get an idea of alignment and trim off some of the excess on the new set. The difference is amazing.
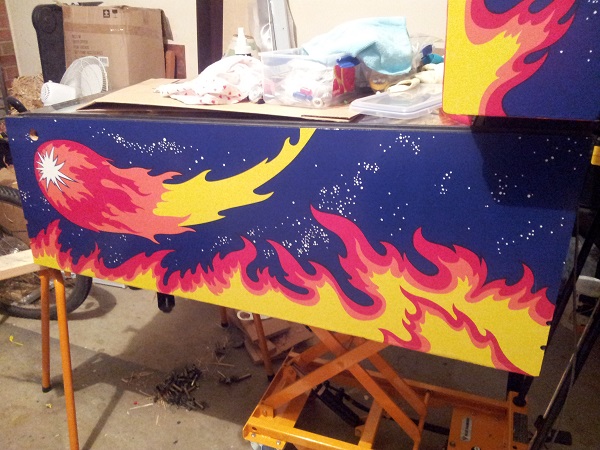
With the decal trimmed down slightly I then aligned it on the side of the cabinet and applied it. This was left to sit for 24 hours, before being trimmed down to fit the edges of the cabinet. I also cut out the 4 leg bolt holes, button hole and bolt hole.
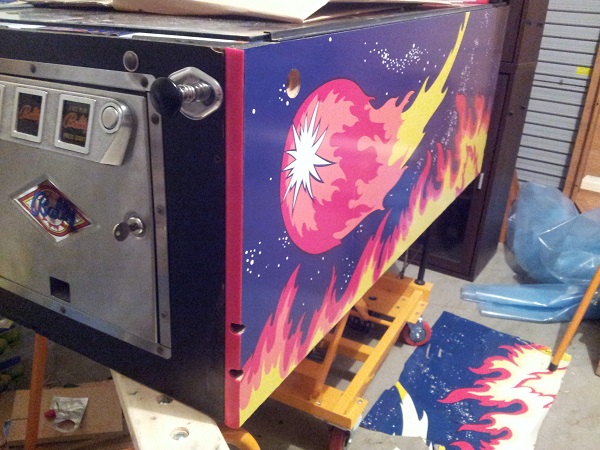
New red tmoulding was installed at the front of the panel and the holes cut for the leg bolts. I think the red really matches the red in the artwork nicely (as too with the red leg protectors I purchased). I originally purchased both red and light red tmoulding. The red was a bit too dark and I’m glad I went with the light red in the end.
I was now ready to install the new side rail, supplied by none other than Railways. The rail is attached by a small bolt at the front of the rail and 8 nails. I purchased new nails to use and I also had some new small bolts to install at the front too. The old nails and bolt were aged and would look really out of place on the new rails. I used a mallet and nail punch to hammer each nail in. Soon enough, the rail was done. It looks so much better than the old one. No damage and oh so clean. The new nails and bolt also complement it.
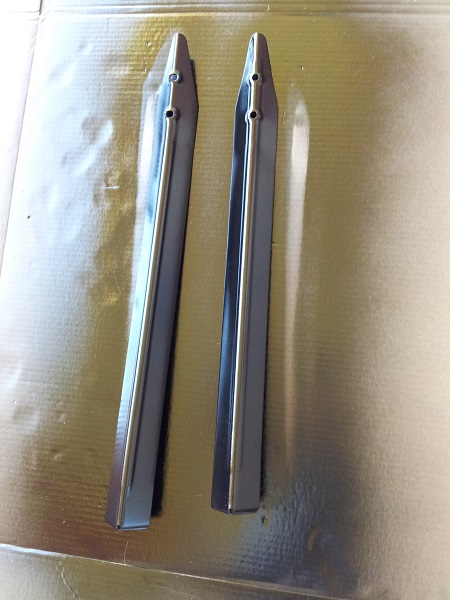
The last thing to do is sort out the legs. The black legs had been painted by brush at some point in the past. There were lovely thick brush strokes to be seen on the legs. Not the best of presentation. I stripped this back and resprayed with gloss black metal spray paint. After 3 coats I was happy with the result. The photo doesn’t really do it justice (a bad photo actually – they are actually gloss black)
The legs were then installed back onto the machine. New leg bolts were installed, along with new red leg protectors to help look after that new side art. The final result looks pretty good.
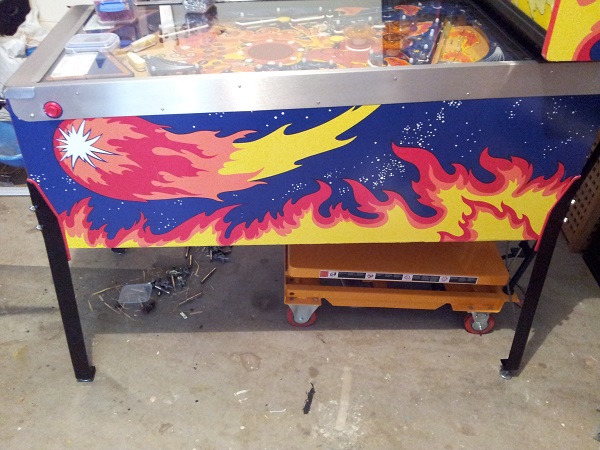
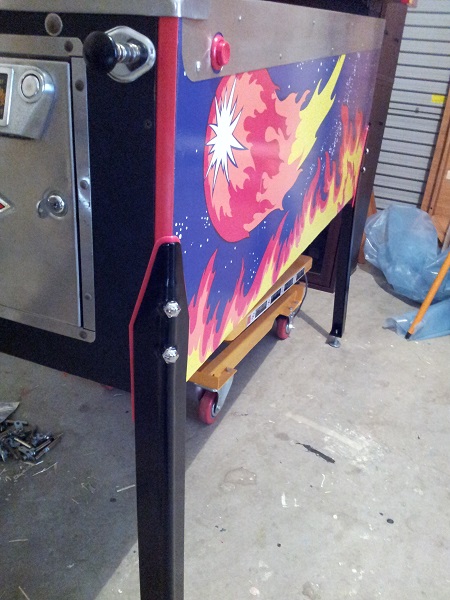
That completes the right hand side. A lot of work has gone into it and it’s come up looking pretty good – so much better than how it started.
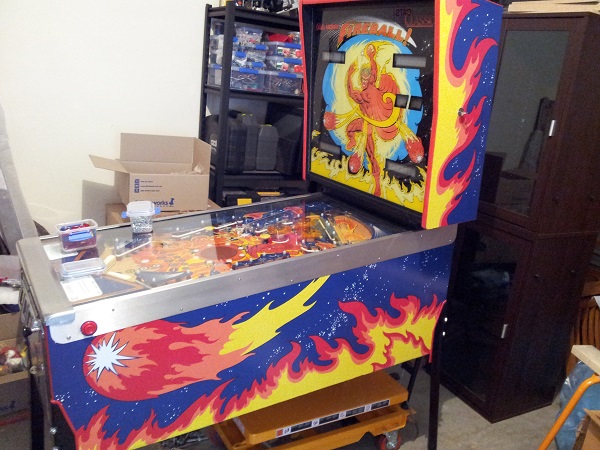
Looking back to the starting point for this side and how it looks in the last photo is really satisfying. It’s a huge step forward. I still have one side to go though. There is less damage on the left side thankfully, and having experience from the right side, should make it the easier to do.
