The 12 months service of my Nugent machine continues. First up, I’ll expand on the area of the playfield which is largely responsible for spreading crap around the machine. At the top of the playfield there is a large wear patch that extends for about 10cm between the bonus saucer and the multiplier drop targets. This area seems to be a common wear zone as I’ve seen other Nugent playfields with damage in this area (although the others have not been as bad as this).
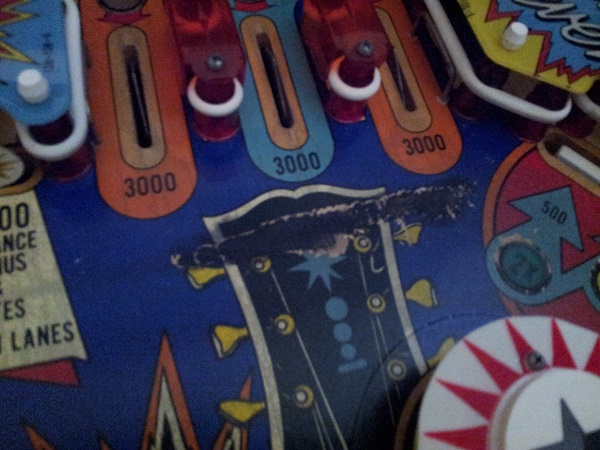
It looks like someone has used a black marker to colour it in. It does get hidden well when you’re playing as it sits behind the top pop bumper and being dark, doesn’t stand out. I ran my finger along it and found the black transferred far too easily. This is from me gently moving my finger across the patch once.
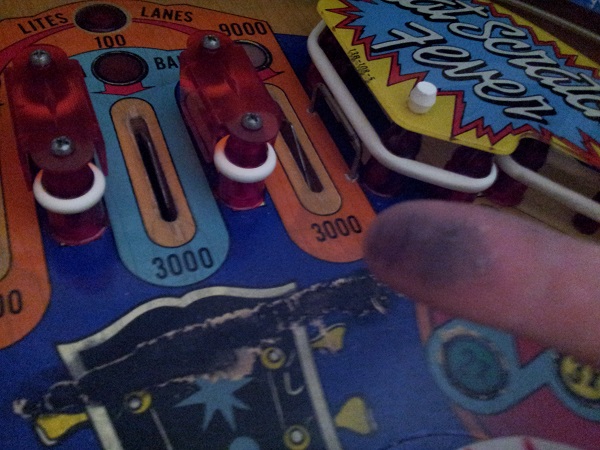
Seeing how easily that transferred to my finger, you can image how that would travel around the machine since the ball hits this area every time it enters the playfield and anytime it is ejected from the saucer. This explains the black I’m seeing on many of the rubbers around the playfield. The short term solution for me is to clean off the black marker and cover it up with a small mylar patch. I cleaned off all the black and will shortly add a small mylar patch over it.
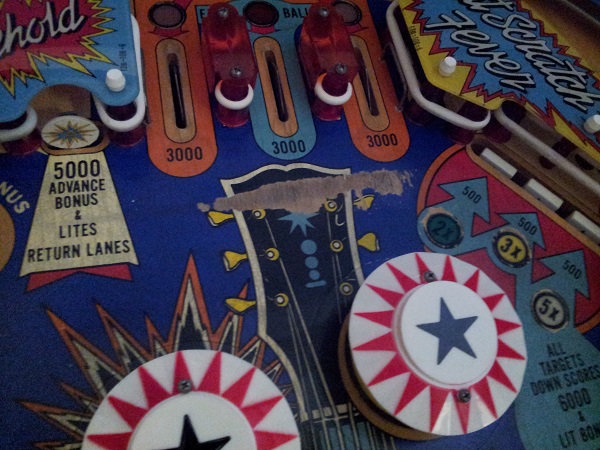
Long term, I have a few options. I’ve contacted a guy about a possible playfield restore. Since it’s a machine that will be in my possession long term, I am considering getting him to work some magic fixing this area (and the other smaller wear areas) up and clear coat it. Another option is to patch it up myself and airbrush. I have a junk playfield I’ve purchased specifically for airbrushing and it’s something I’ll be tinkering with next year.
With the black marker removed and no more crap to push around the playfield, I think i’ll stick with cleaning the playfield, waxing and then adding the new rubber set for now. A long term solution is something I’ll investigate more next year.
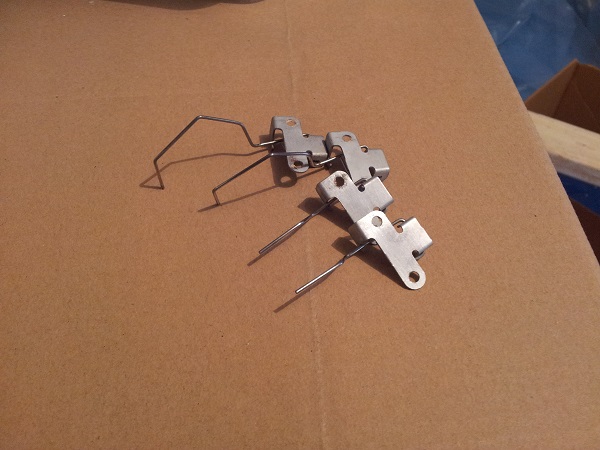
Since the apron area was complete, it was time to start moving up the playfield. I want to give the playfield a solid clean, followed by a polish and wax. I removed all the plastics to about half way up the playfield, along with all the star posts and rubbers. I also removed the inlane and outlane switch arms to give them a good clean. They were not something I’d cleaned last time around, so made a point of removing them for cleaning. I used steel wool and brasso to polish them up.
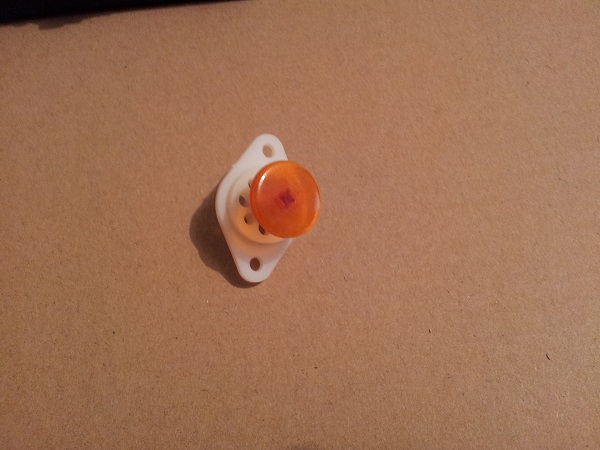
The next part to remove was two roll over inserts. There is one inside the return opening behind the third flipper and a second in the middle of the playfield, just above the bonus lamps. These are quite small and made up of a button and a frame. No spring – the switch blade below the playfield pushes the button back up in the default position. Dirt had collected under these and since I’d not cleaned them last time, here was another opportunity to target something I’d skipped.
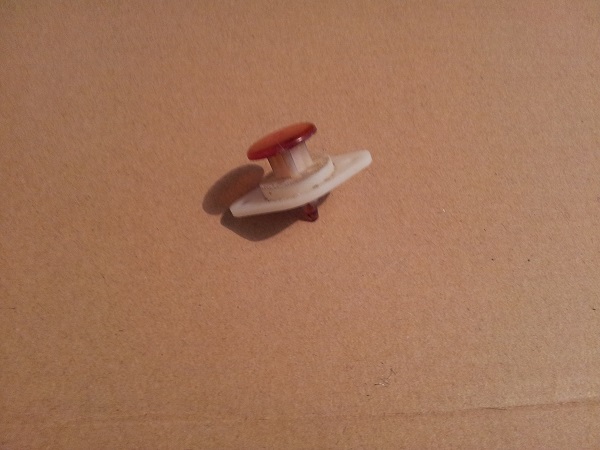
The two parts separate easily enough and were cleaned. The orange button parts were also polished with a bit of Novus to restore some shine.
When I had the playfield up to remove the switches and roll overs, I noticed some black markings behind most of the bonus inserts. A small dark outline, around where the bulbs normally sit.
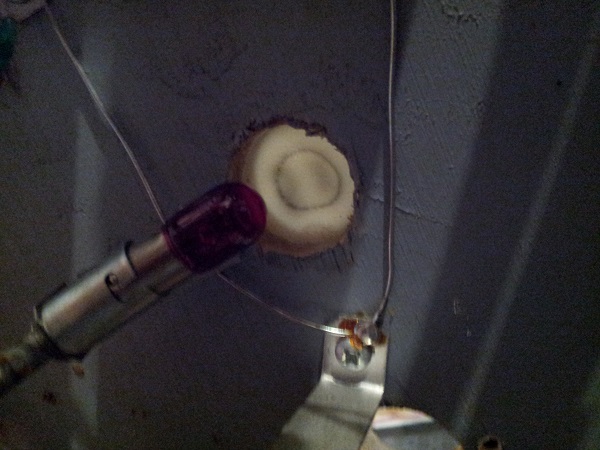
As you would expect, this shows through when the insert is lit during play. This was easy enough to clean with a cloth, so I worked my way through all the inserts, giving the underside a gentle clean. With the top of the playfield clear, I used eucalyptus oil and isopropyl alcohol to thoroughly clean the surface area. I was surprised at the amount of dust that had managed to work its way under the inserts. Once done I moved onto some Novus and then finally some carnauba wax. Despite the damage that has formed over time on the playfield, it has cleaned nicely and has a nice shine. In fact I can see the Space Orbit machine next to it in the the reflection on the playfield surface.
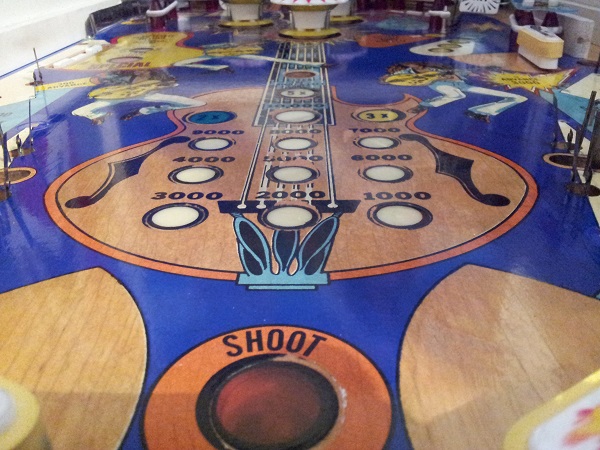
Next I installed all the star posts again, giving each one a gentle wipe down with a cloth. New rubbers were also installed and the globes added back into the playfield. The flippers also received new rubber rings.
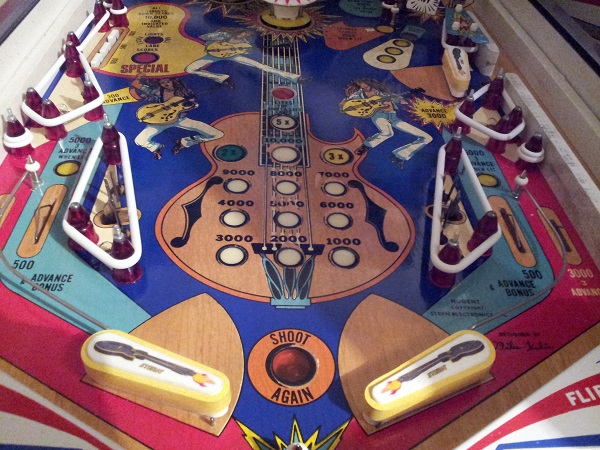
Finally the plastics were installed and the lower playfield was now done.
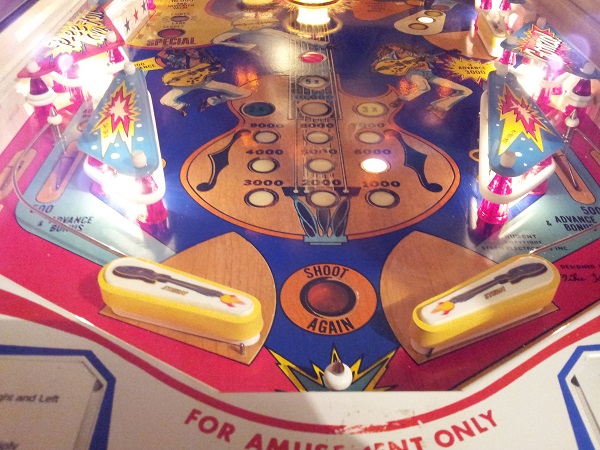
One thing I have been tempted to do is respray the white wooden rails as there are some real signs of age here.
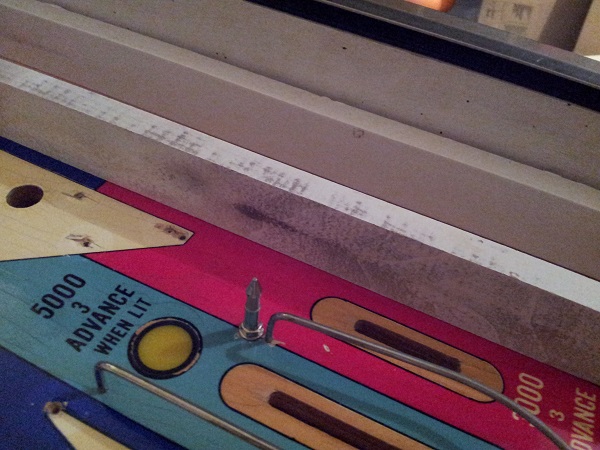
Sadly these are attached by nails under the playfield (newer playfields switched to screws – which makes life so much easier). Because of this, i’m putting it in the too hard basket – for now. They are still solid (and cleaned). There would be some gain to the presentation of the machine by doing it, but little else.
Next up – the upper playfield area. This has some switch arms and roll overs to clean. The playfield also needs a good clean and wax. I’ll also be checking the rear of the inserts in this area for any crap that’s built up under them.
