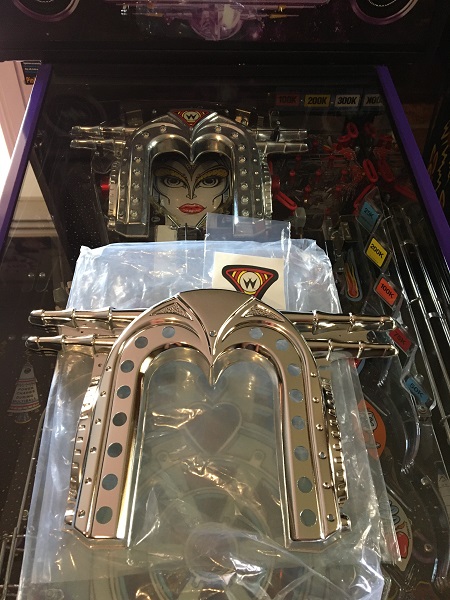
Not long ago, Starship Fantasy reproduced the large helmet plastic for Bride of Pinbot. When some became available through their distributor here in Australia, I didn’t hesitate to order one for my game. The box then sat on my shelf for a number of months, patiently awaiting the day I’d get around to actually installing it. Finally, that day had come. The original helmet in my game isn’t terrible, but it’s certainly showing signs of age along with some small sections broken where it attaches to the playfield. Since I had put so much effort into the rest of the game, it felt wrong not to grace the Bride with a new helmet.
Bride of Pinbot – Williams (1991)
Bride of Pinbot repair & service log
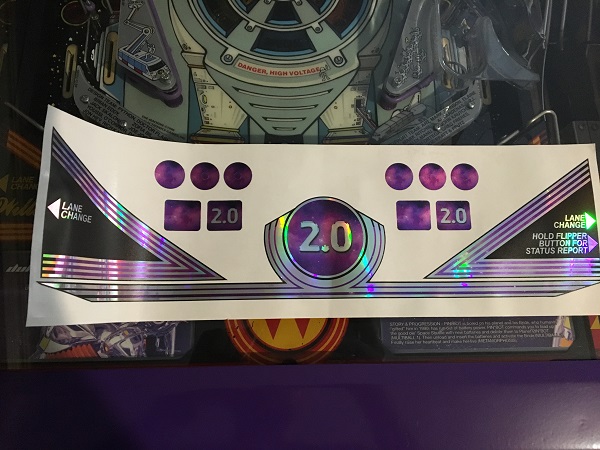
After all the work I’ve done to the cabinet and playfield, there was one part that still stood out as needing attention. The apron. It’s by no means terrible, as I’ve seen much (MUCH) worse. But it now stands out as being below standard when compared against everything else done to the game. So it’s time to give the apron a face lift. There were two options in front of me to consider for the face lift. The first is a set of black decals to keep it looking original. The second option (which was more appealing) is to go with a fancy set of 2.0 apron decals from Retro Refurbs. These are printed on a chrome style material and give a cool looking rainbow shine effect when light reflects off the surface. The perfect look for a 2.0 machine with this theme!
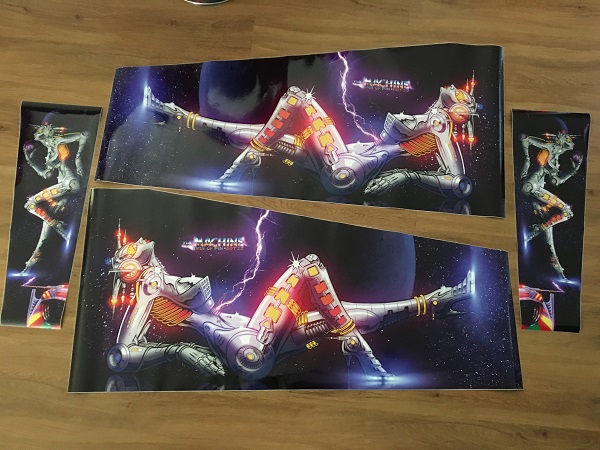
My Bride of Pinbot has received a lot of loving attention since I purchased it. Now, I’m facing the final mountain before I can say – It’s complete!. Doing up the cabinet was always going to be one of the final two things to be done. It was a bit of a race to see if the final challenge would be the playfield or the cabinet, with the cabinet winning (or is it losing?) that race. The plan had always been to do it around late December last year or early January this year, but that got pushed back to February – and here we are! I spent quite a bit of time last year deciding what path to take with the new decals. Do I keep it original with new BoP decals from PPS? Or now that it’s a 2.0 machine, go with 2.0 decals from Retro Refurbs. In the end, after much deliberation and weighing pros and cons, I went with a 2.0 make over. Some may hold back tears while proclaiming – “But it’s not original anymore!”. Meh. This is a 2.0 machine now. It will remain a 2.0 machine. I love 2.0. There are not many 2.0 machines in the world and very few that are done up in this manor. So new 2.0 decals were purchased to bring this cabinet back to life. Naturally they arrived the day I started back at work (after 4 weeks of leave), which means the process will take longer to get done. The decal set includes the head box, cabinet sides, coin door and a 2.0 translite. The art is heavily based on the original, but with a more modern look (and some 2.0 branding).
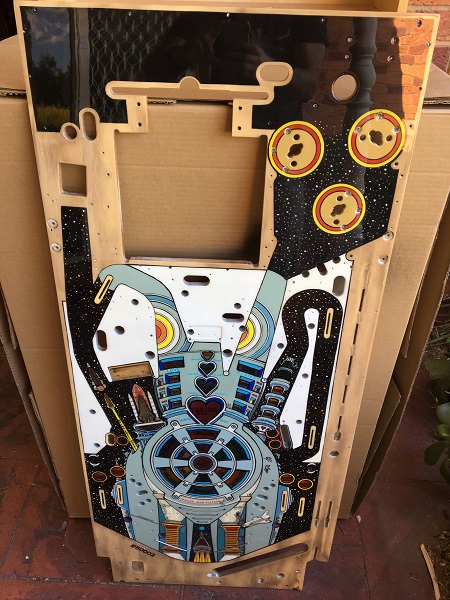
Who likes self punishment? I do, it seems. My BoP 2.0 machine came with a touched up and clear coated playfield when I purchased it 14 months ago and it’s a task I knew I would get to at some point. But when you’re having fun playing a game, it’s hard to take it offline for some major changes. Playfield swaps are a time consuming process, so it’s not something I’ve been looking forward to. I gained some excellent experience when I did my Pinbot CPR playfield a couple of years ago and I’ll be rolling that knowledge in to how I approach this one. The up side here is the replacement playfield is an existing playfield, so all screw holes (both sides) are already there. New playfields have (most) screw holes dimpled, but can be up to 1mm out in any direction (according to CPR – not sure if that also applies to other playfield makers). On my Pinbot playfield, I found many dimples missing on the underside. This can be a pain for assemblies under the playfield that are made up of 2 or 3 components, consisting of up to 12 screws, which all need to line up in order for it to operate smoothly. The current playfield in my game isn’t bad by any stretch as mylar across the central playfield and pop bumper areas has protected most of it. I actually think it would make a great drop in replacement for someone who has a trashed playfield or someone who wants to touch up and clear coat one for themselves. Time to begin the process.
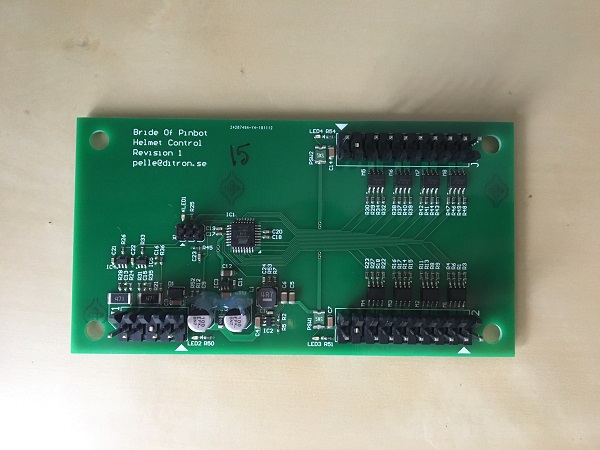
When it comes to my Bride of Pinbot 2.0, I can’t help myself. I’m always looking to add upgrades and improvements as it’s my favorite game. With a four week break coming up, I have plans for a playfield swap and new decals over the Xmas holidays. Before I get to that however, there are a couple of smaller things I want to get done. The first is replacing the board that controls the lamps on the brides helmet with an upgraded version. When switching to LED’s, you lose the fade effect that would normally be present as part of the lamp sequence that plays out. As a result the different chase sequences that play out on the brides helmet are not smooth. Luckily, a pinside member created a new board to solve this. It can be used in a standard BoP and also a 2.0 machine.
