After all the work I’ve done to the cabinet and playfield, there was one part that still stood out as needing attention. The apron. It’s by no means terrible, as I’ve seen much (MUCH) worse. But it now stands out as being below standard when compared against everything else done to the game. So it’s time to give the apron a face lift. There were two options in front of me to consider for the face lift. The first is a set of black decals to keep it looking original. The second option (which was more appealing) is to go with a fancy set of 2.0 apron decals from Retro Refurbs. These are printed on a chrome style material and give a cool looking rainbow shine effect when light reflects off the surface. The perfect look for a 2.0 machine with this theme!
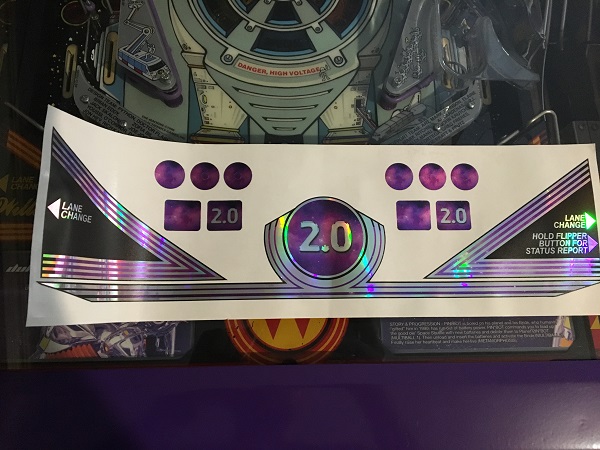
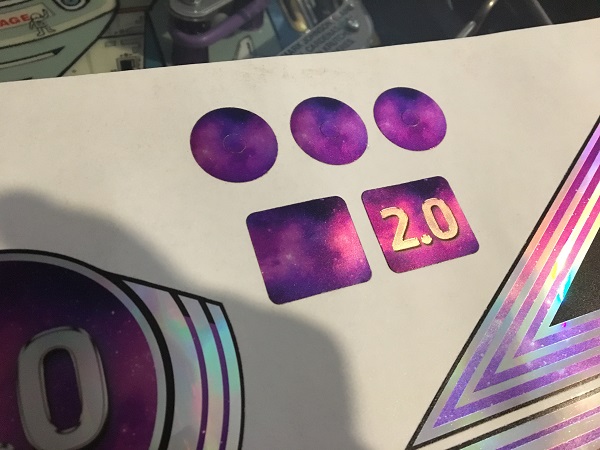
The shine also reflects off the printed art too. The decal set came with some decals for the stand up targets and spinner. I’m only planning to install the apron decals at this point.
First step was to get the apron out of the game to be worked on. I’ll need to remove the old art before installing the decals.
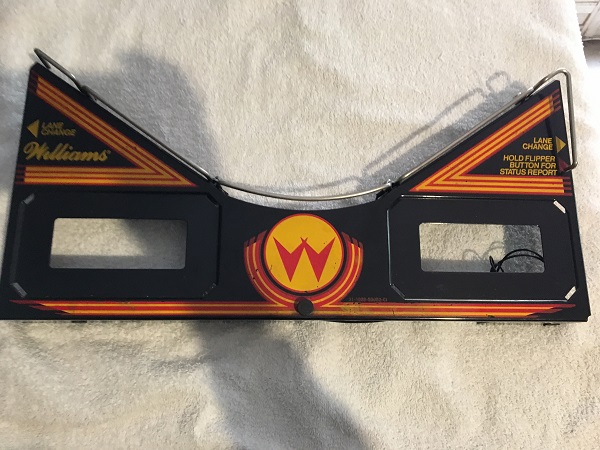
There are various scratches and marks around the paint. As I mentioned, it’s not terrible – but now stands out against the rest of the machine.
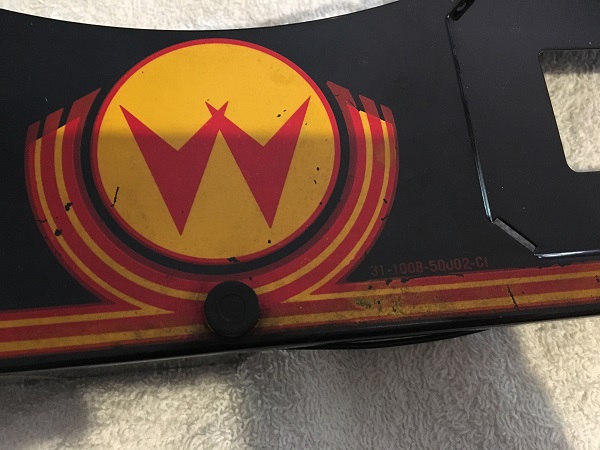
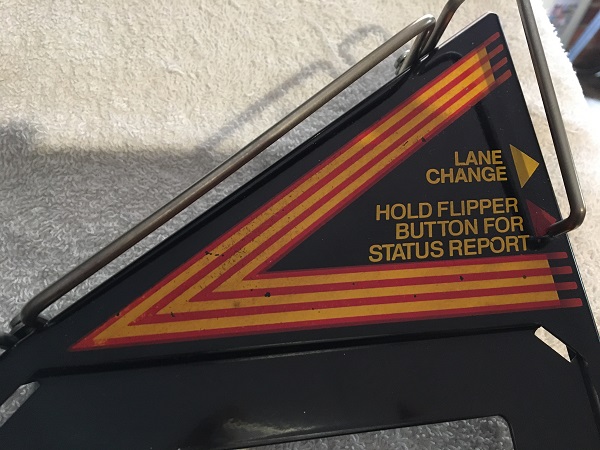
The old art and warning sticker were removed from the apron. All surfaces were then cleaned and then primed.
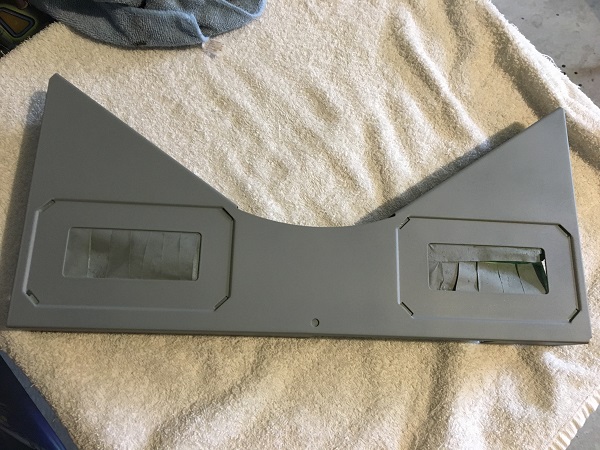
I decided to go with a dark metallic purple paint for the apron. I decided against using the traditional gloss black as I felt the purple would compliment the powder coated trim I had done. I also felt the new colour would work well with the new decals. After 3 coats of purple, two coats of clear were applied on top.
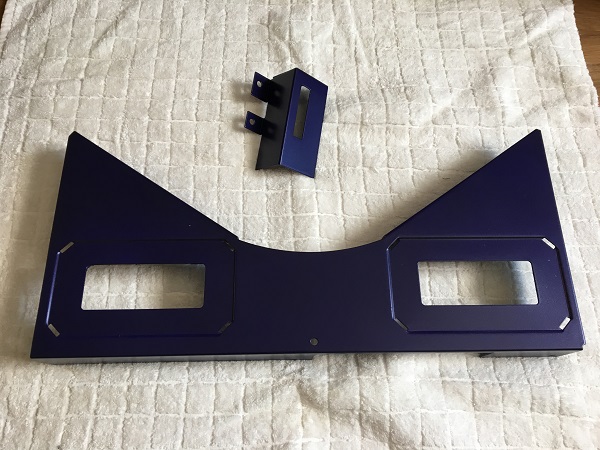
The apron and shooter housing were left for a week before the decals were installed. The apron decal set is missing a decal for the shooter lane cover. I’ve contacted Pete at Retro Refurbs regarding this and it’s sounding positive that they will be making up a batch and have them available soon. I’ll certainly be getting one if they do.
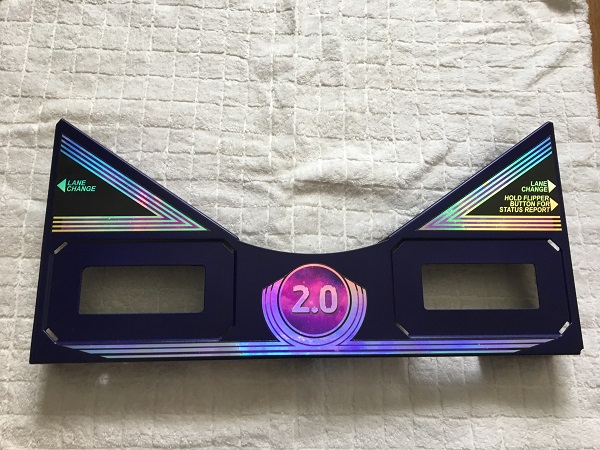
Last step was to get the metal rail, rubber grommet and instruction cards installed again. I also printed up a fresh danger decal for the back face of the apron.
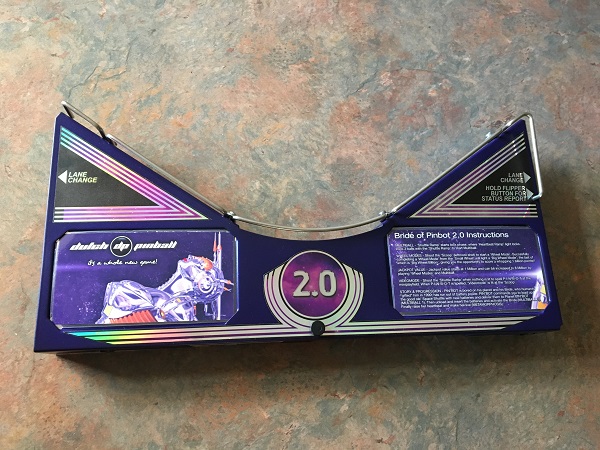
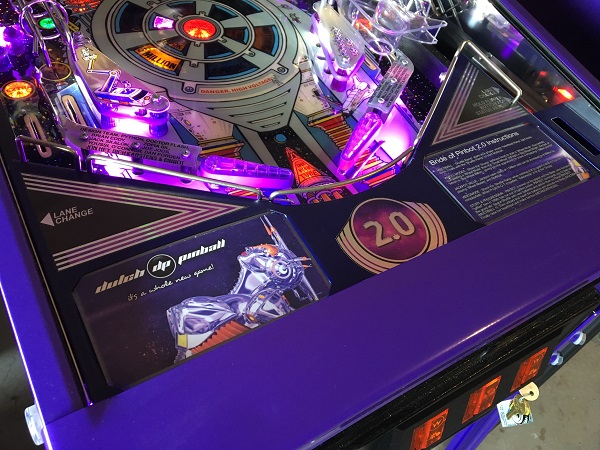
I made a short video too to show the rainbow effect across the chrome decal.
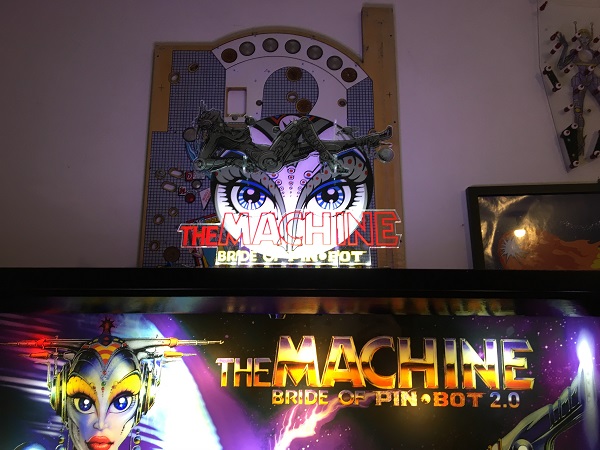
Shortly after my previous update, I moved the game into it’s new position in the line up. I found that the topper was looking a little dark however.
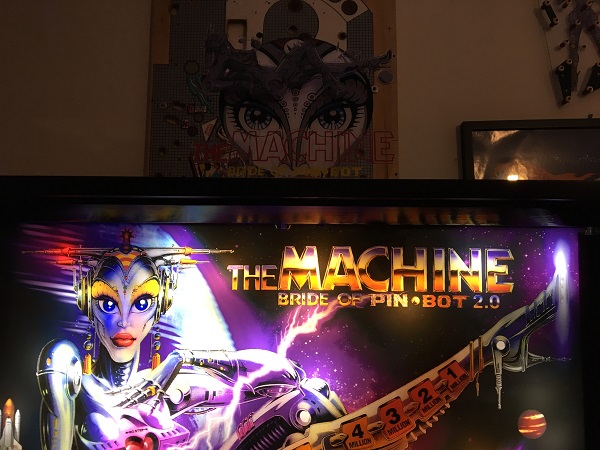
I decided I would add a couple of LED strips to brighten it up. I had some purple and white strips, which were cut to size and wired up to a connector. I had a large clear piece of acrylic (that was purchased awhile back for another project but never used) and added some double sided tape to help keep the topper in place.
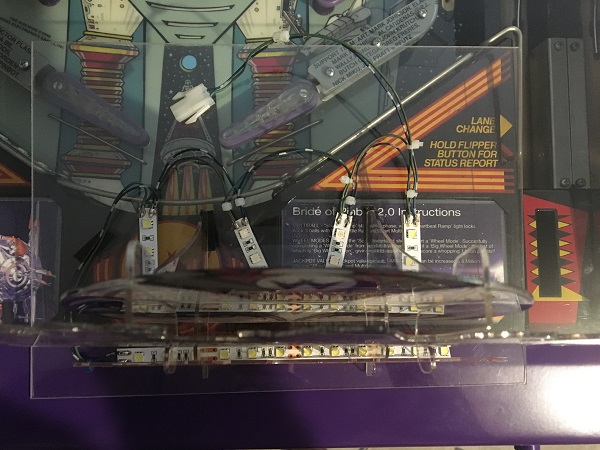
The LED’s were then wired into the game GI, making the topper much brighter.
That’s the last of my to do list on my 2.0 Bride now. I keep saying that, but there really is nothing else (outside of general maintenance) that needs to be done. I’m hoping to hear some positive news from Pete at Retro Refurbs in the coming weeks about a shooter lane decal being made available. I’m surprised it’s not already part of the decal set, as it’s incomplete with out.
