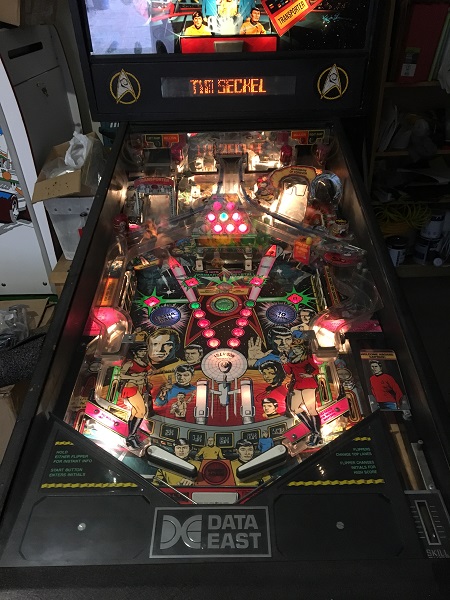
The newest game to arrive in my line up (and next on my to do list) is a Star Trek: 25th Anniversary. The game was released by Data East in late 1991, with 4400 machines made. Being one of the early DMD games, it features the smaller 128×16 pixel DMD. I love the artwork on this game as it contains so many references to the 3 seasons of the original Star Trek series. It’s a shame that some of it is covered by various playfield parts. The game arrived working well, with just a few small things needing to be looked at. It needs a good clean and a rebuild though, which is what I’ll be focusing on.
The batteries had been removed from the game, so I wanted to get one of my remote battery packs created and installed. I plan to do a small step by step write up on creating one as I’ve had a few people ask me now about how to build them. They are really simple to make and cheap too. With the batteries contained within the holder, any leakage that might occur will be kept away from the components. It’s well worth doing.
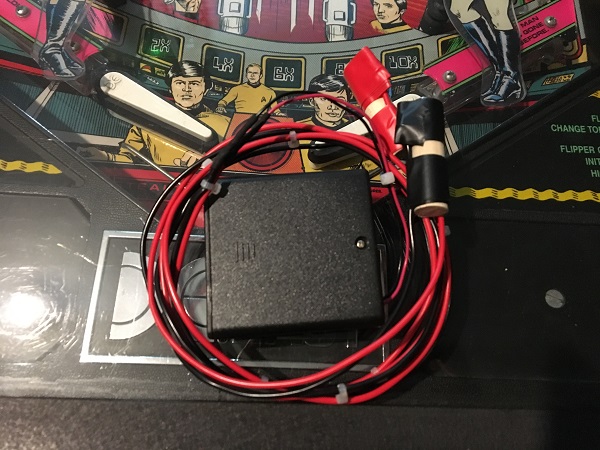
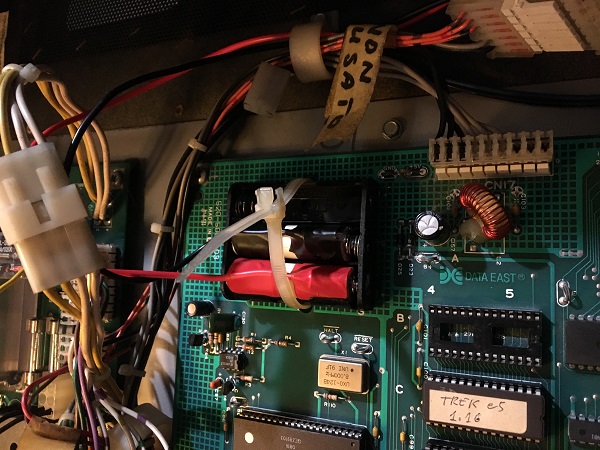
The battery pack then installs directly in to the AA battery holder. No mods required to the original board and it can be removed in seconds.
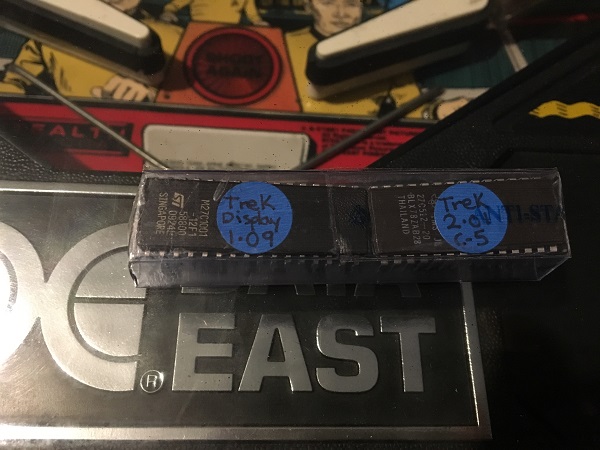
The game was also running an older ROM set, so I went and sourced the latest versions for the CPU and display.
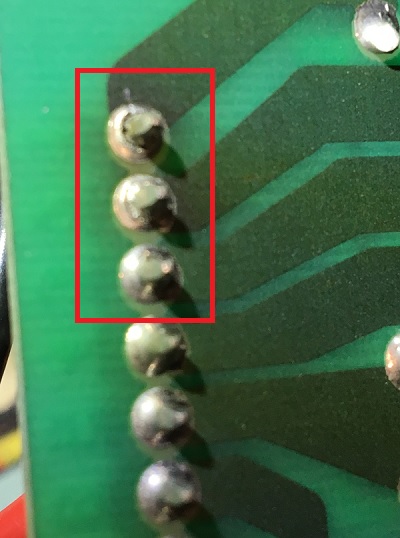
Initial testing of the game was quite positive. But after about a week, I was seeing some intermittent coil issues during play. I removed the PPB and found many cracked solder joints along the header pins. All header pin joints were reheated and had fresh solder applied.
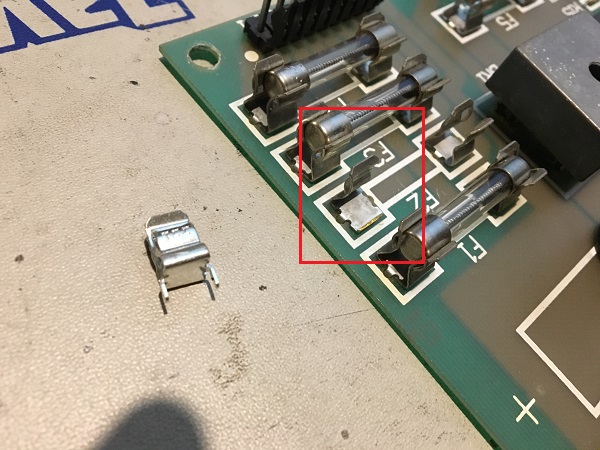
The fuse clips on Data East machines are known to be an issue. I removed each fuse and tested the fuse clips. Several broke or gave way with a gentle pinch. These were replaced with new clips.
One of the first areas to receive an overhaul on this machine will be the front panel and coin door area.
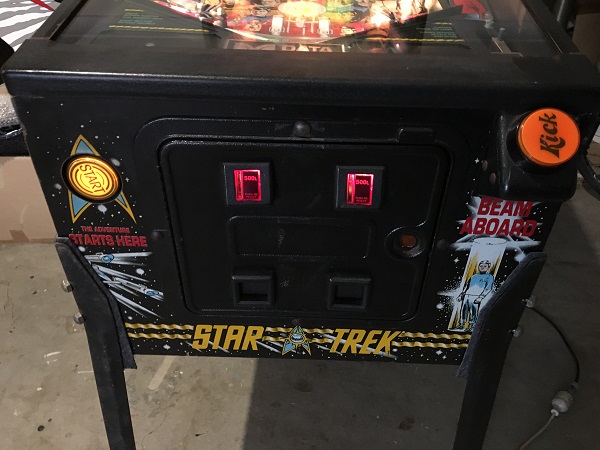
The game arrived with the wrong ball launch button. I’m not sure what game it’s off – but it can bugger off and go back to where it came from. This needs to go!
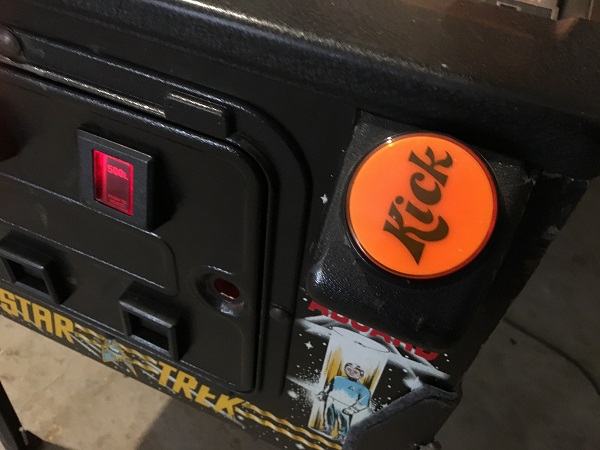
The black plastic housing is broken in a few spots too. I purchased a reproduction of the black housing from Pinball Center in Germany. It needs small holes added for the button to install properly, but it’s otherwise fine. A new ball launch button was purchased to replace the old one.
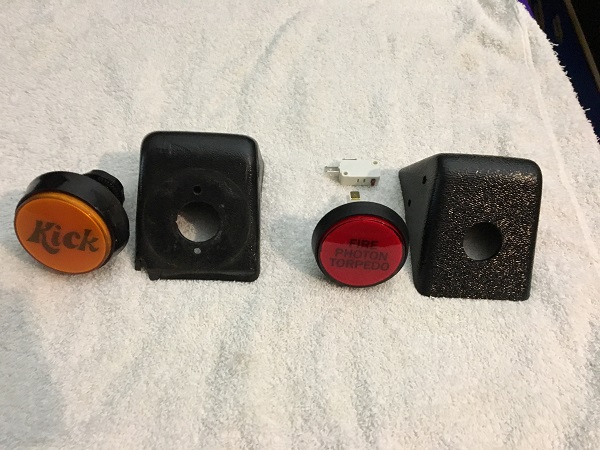
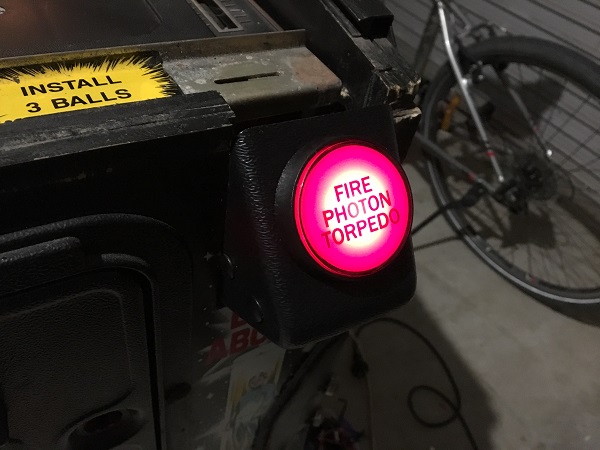
The new button and housing were installed back on to the cabinet, along with a red LED to light it.
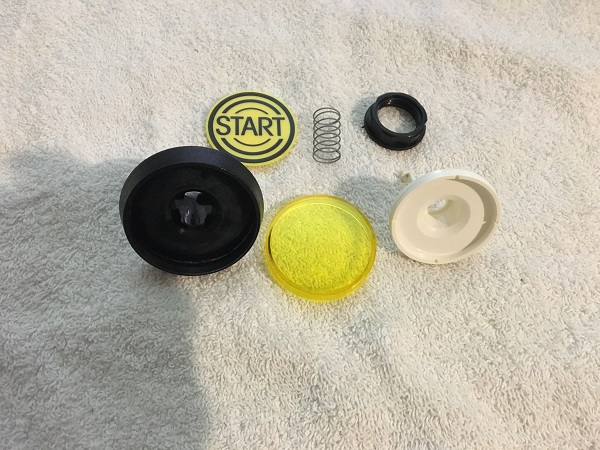
After replacing the launch button, I wanted to clean the start button up. This one was sitting 90 degrees out of position and had to be removed anyway – so why not give it a clean at the same time. The button was disassembled, cleaned and then put back together.
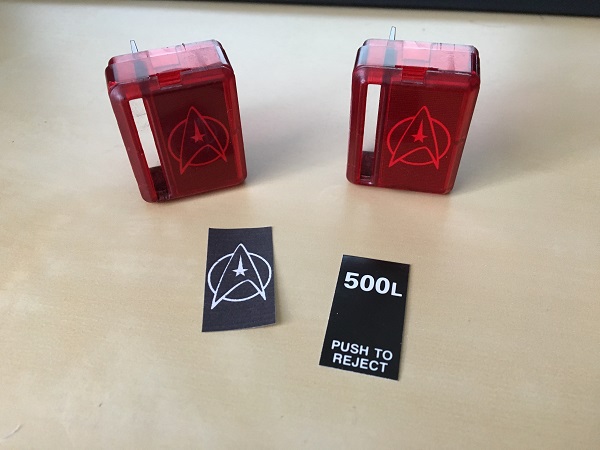
I then removed the coin door to give it a freshen up. As I always like to do on games I work on, the foreign currency decals are replaced with something custom to the game. The Starfleet symbol was an obvious choice. A decal was made up and installed into the coin reject buttons.
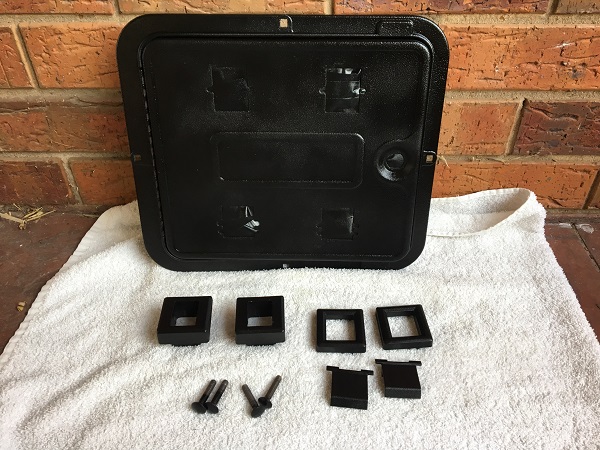
The coin door received a freshen up with a few coats of gloss black and then finished with clear gloss.
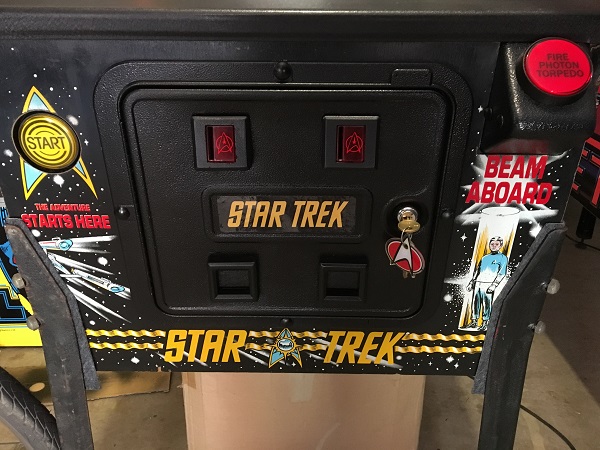
The coin door was reassembled and installed back into the cabinet. A new lock was purchased, along with a key fob. I love my key fobs on games. I also made up a new coin door decal with the Star Trek logo on it. This was printed up and installed as a finishing touch. The legs need some attention, but will come back to those at a later date.
While I had the coin door out, I removed the knocker for a clean as well.
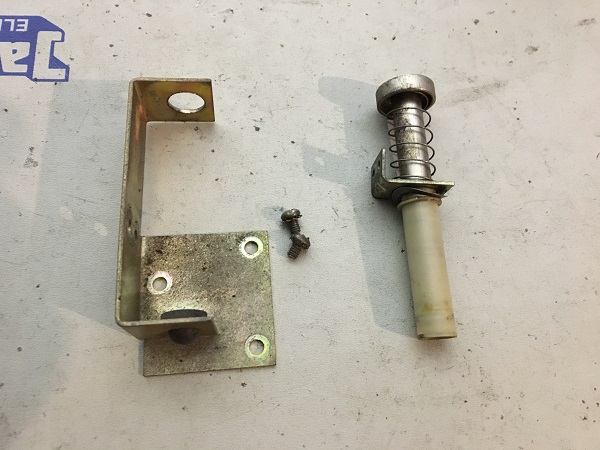
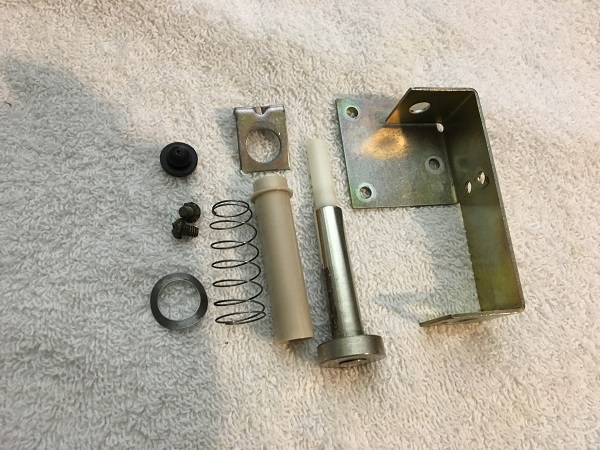
The knocker assembly was disassembled and cleaned. A new coil sleeve and rubber grommet were purchased to replace the old ones. All other parts were cleaned up and then the assembly was rebuilt to go back in to the machine.
The next thing to look at on the game is the apron area. The apron is in very good condition, with minimal scratches or marks.
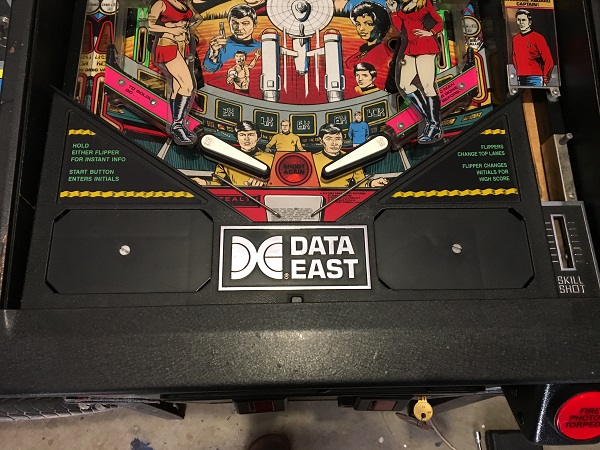
The aprons on these Data East games are easy to remove and can be done without lifting the playfield. Underneath, there are several assemblies. The playfield isn’t filthy, but it can do with a clean. The assemblies certainly need a clean.
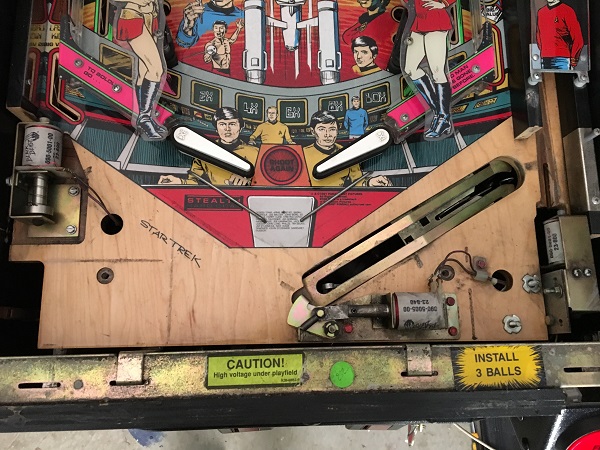
All assemblies and the ball trough were removed from the apron area of the playfield.
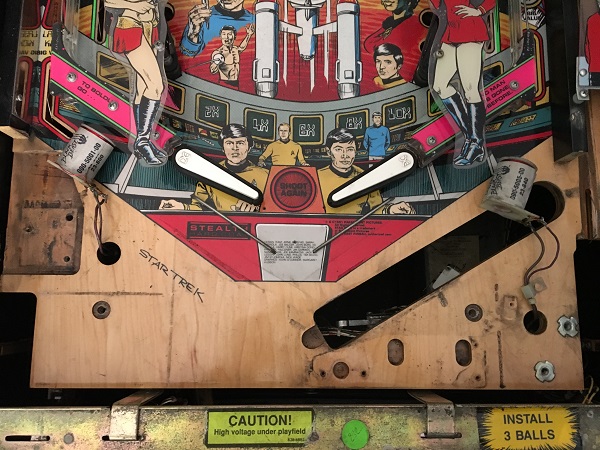
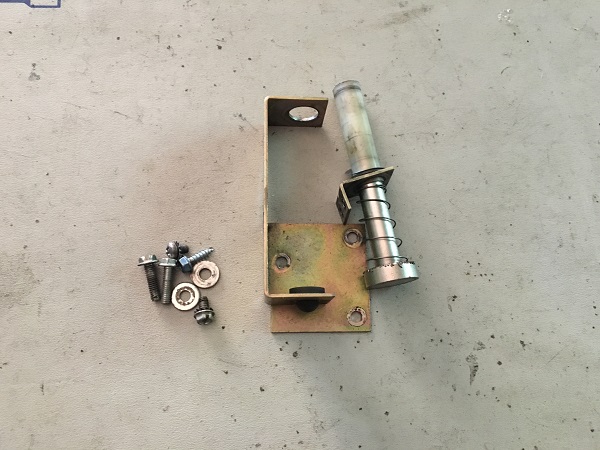
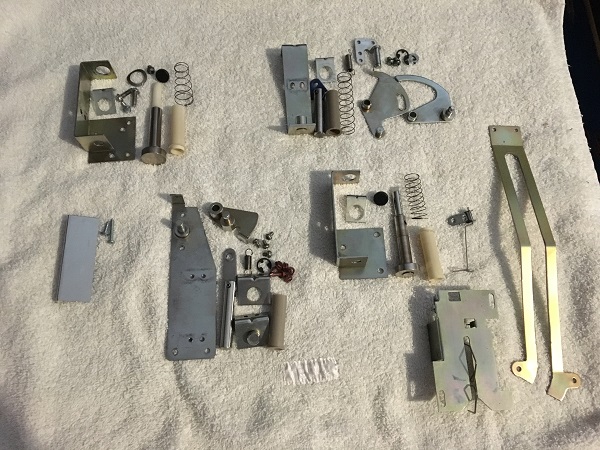
The dirty apron assemblies were set aside for cleaning.
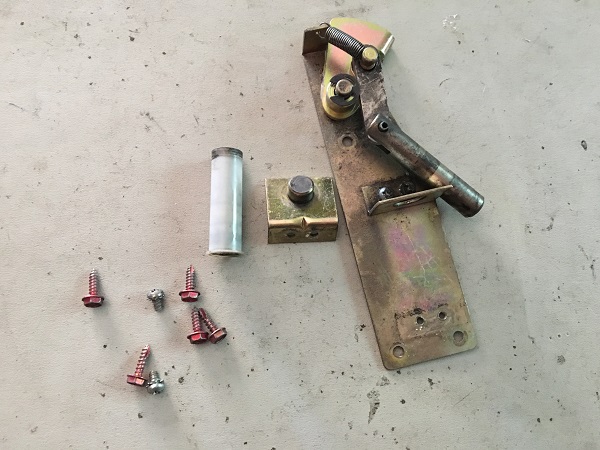
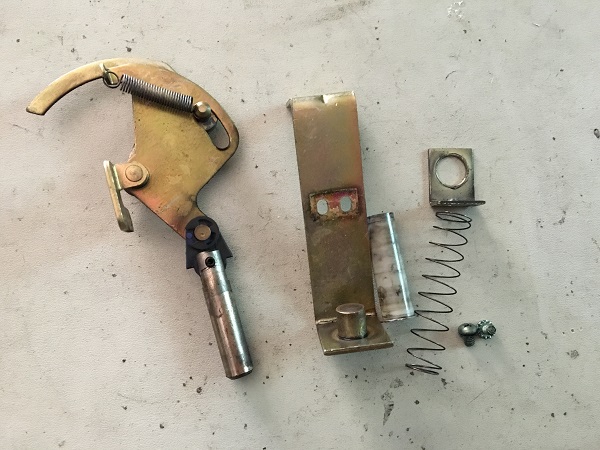
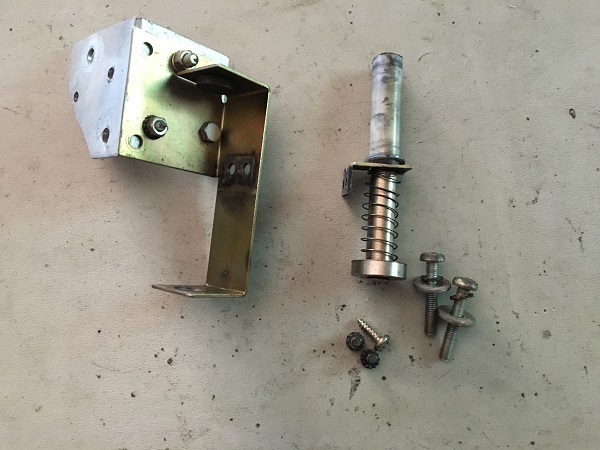
With all the assemblies out for a clean, I next cleaned the playfield. I use a vacuum to first suck up all the loose particles and dust. Following that I clean the playfield surface using Nifi. I then finish with Novus 2 on the stubborn areas and finally Novus 1. The apron area of the playfield was now looking clean and had a nice shine to it.
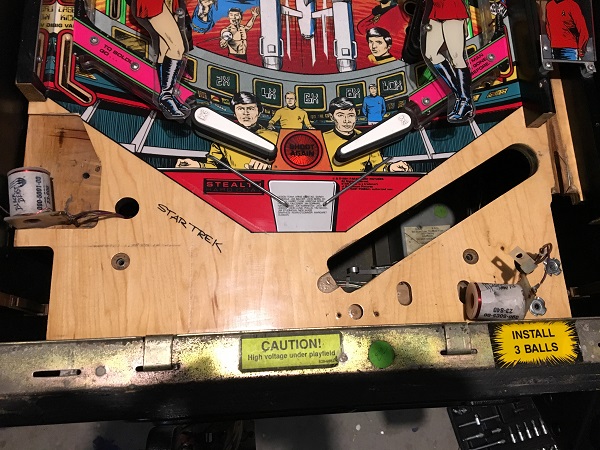
All metal parts were cleaned in the tumbler. New coil sleeves and rubber grommets were purchased to replace the old ones.
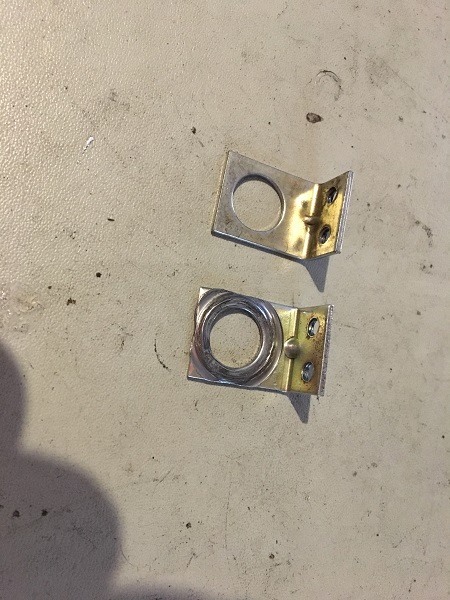
The coil bracket on the ball shooter is well worn and the metal was warped. I had a spare which will be installed in its place.
The assemblies were then installed back on to the playfield, along with 3 brand new high polish Ninja balls.
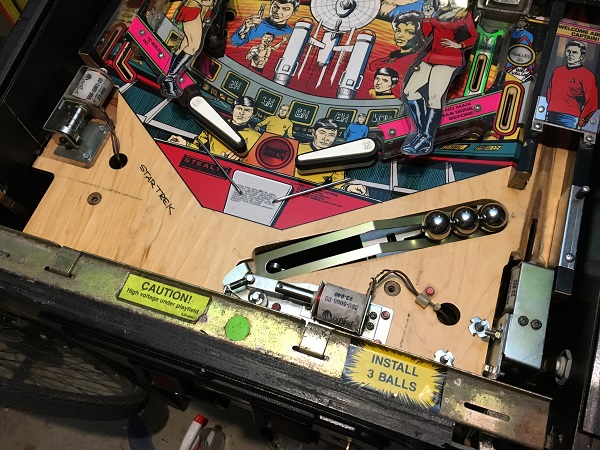
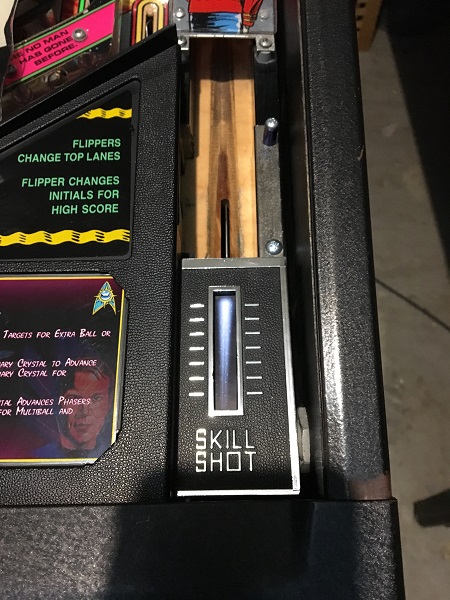
Something on the apron that hurts my eyes is the slot where the shooter rod would normally be seen. The game has an auto launch assembly, which is visible through the slot. I decided to do something about it.
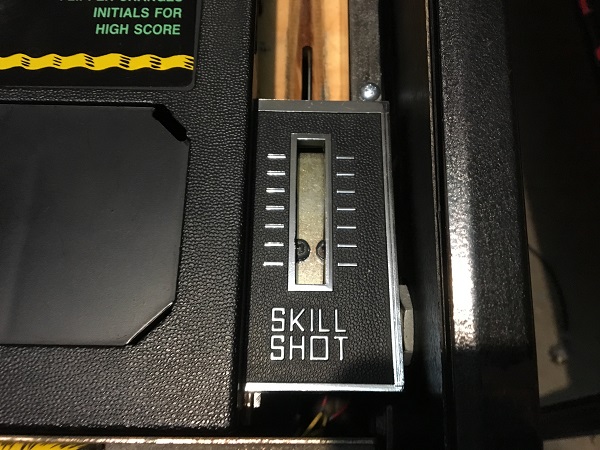
The skill shot in this game is based on timing. You fire the torpedo based on the DMD animation to hit a target. With that in mind, I found a meteor image that could be used as a photon torpedo. This was then resized, printed, laminated and then stuck below the slot. Now it looks much better.
The apron itself was then cleaned up. New apron cards were printed and laminated to complete the work on the apron area.
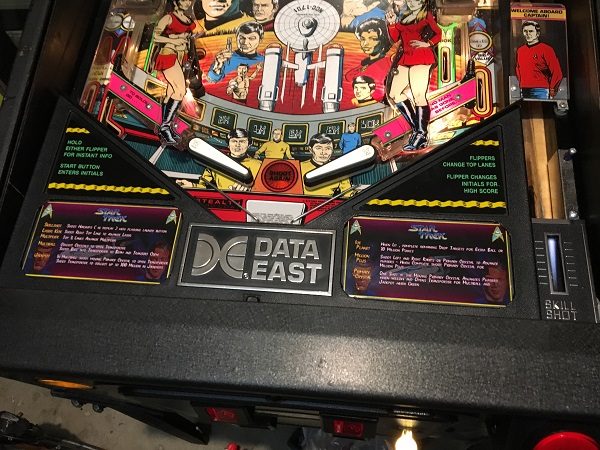
That’s it for the first update on my Star Trek 25th anniversary machine. Next up for some attention will be the slingshots and flippers. From there I will need to remove the ramp to get access to the rest of the playfield.

Nice touch on the shooter lane graphic.
I have the same machine,but it needs work.
I hope you can help me.One side of lights and #8 where targets are doesnt light up anymore.
I think its the circuit board (#520-5044-02) thats what is printed on it ?
I am not a repair person and cant find anyone.I would like to fix it up(example new playing field but dont know where to find parts.
Hope you can help!
Thanks
Rob
Hi Rob,
I no longer have my machine, so can’t reference it to walk you through it. For the #8 insert lamp, have a look at the socket under the playfield. It may be something as simple as a dead bulb or a loose wire on the socket. When you say “One side of lights” do you mean the general illumination? If so, that’s possibly a blown fuse. It might be as simple as replacing a fuse, although fuses generally blow for a reason that needs to be fixed. There may be burnt connectors, which will lead to fuses blowing. Here’s a link that covers Data East machines and specifically general illumination issues: https://www.pinwiki.com/wiki/index.php?title=Data_East/Sega#General_Illumination_Issues
Cheers,
Andrew.
Hi, my father-in-law has a pinball machine just like yours. I was playing the other day and now the machine keeps asking for coins, but before it was possible to play without asking for coins and even now if I insert a coin, 25 quarters, the machine doesn’t start the game. Could you help? Thanks
Hi,
It’s possible the battery on your CPU board has died, so the game settings have been lost. This would explain why it was previously on free play and now requires coins. With the battery dead, the game will revert back to default settings. You can access the adjustments menu via buttons just inside the coin door. The adjustment you need to set is #32 – Free Play. Set this to on. Here’s a link to the game manual for Star Trek which may also help you: https://www.ipdb.org/files/2356/Data_East_1991_Star_Trek_English_Manual_with_schematics.pdf
If the battery on the CPU board has died, you will want to replace it as changing the settings will be lost once the machine is powered off.
Hope that helps!