Time to dig deeper into the Star Trek overhaul and look at the middle playfield section. This area is home to two banks of drop targets, a VUK and also a swinging target that moves during play. There is a large ramp that covers the sections of playfield I need to get to though, which will need to be removed. Once that’s off, it will remain off until I’ve finished working on the playfield as it’s a pain to get on and off again. There is also a subway ramp below the playfield that links up the top left and middle scoops to the VUK which can be removed in this update too.
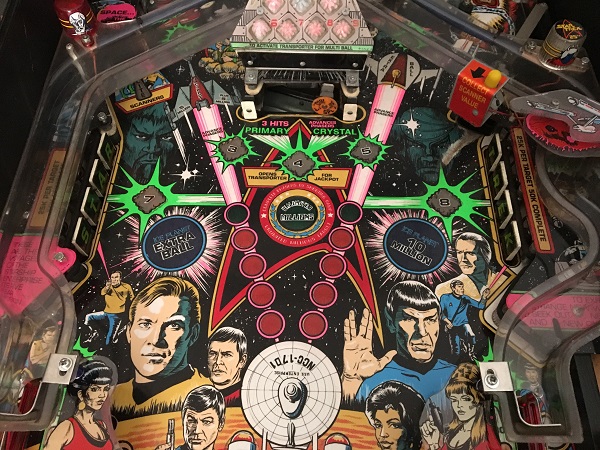
The first step was to remove the large ramp so I could have full access to the playfield. There’s a mirror panel that sits at the very back of the playfield, which the ramp takes the ball behind and out again. The ramp itself is actually one (very) large piece. With both the mirror panel and ramp removed, I could now access the middle and upper playfield areas to work on them.
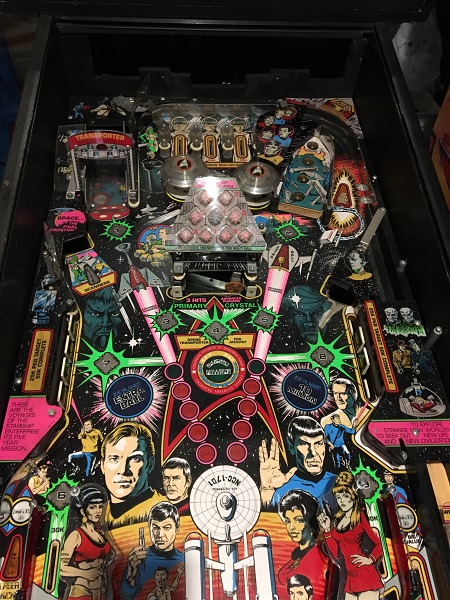
The drop targets assemblies need a good clean One issue I’ve spotted during play is the targets don’t always drop all the way down. I have new targets ready to go in and with some cleaning on the switch activator arms, it should sort this issue out.
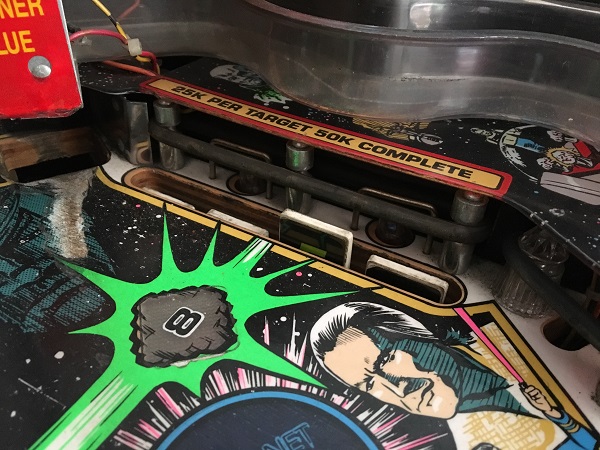
The plastic from the right side was removed first. I’ve got plans to paint the two gray spacers on the wooden rail (right side) in metallic purple. It should make them look much nicer. The rubbers all need to be replaced and the metal posts require a visit to the tumbler. You can see how far I cleaned up the shooter lane in the last update.
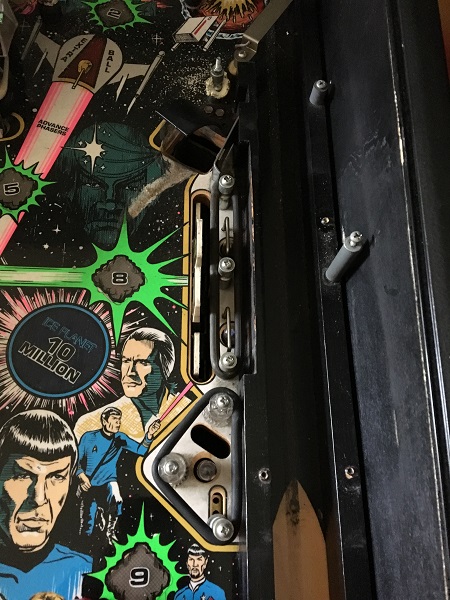
The plastic on the left side was removed next and it’s a similar story. Old rubbers need to go and metal posts to the tumbler.
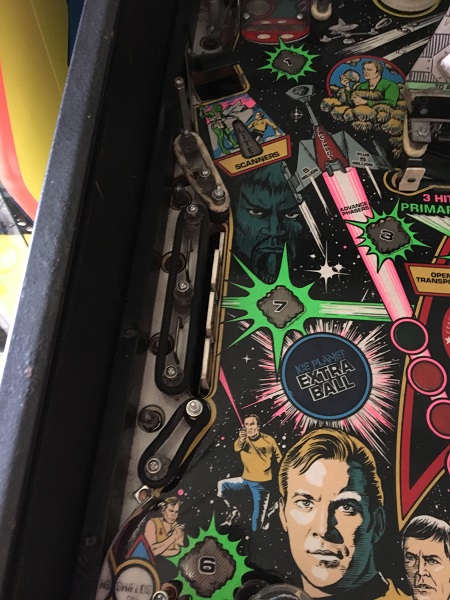
The next step was to remove all the playfield parts from around the drop target areas. The playfield surface is quite dirty and needs a good clean.
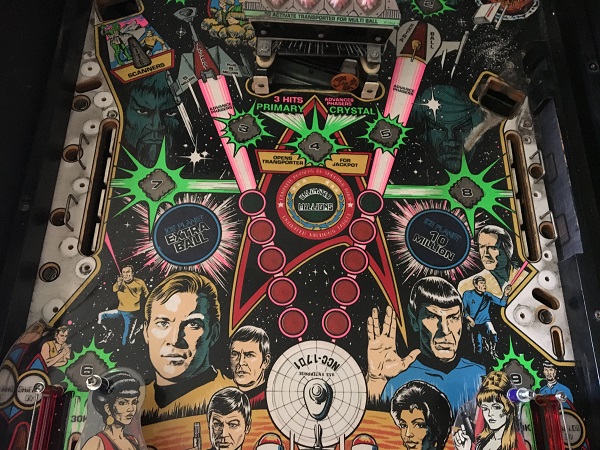
The next area to remove is is the crystals, which sit directly above the swinging target.
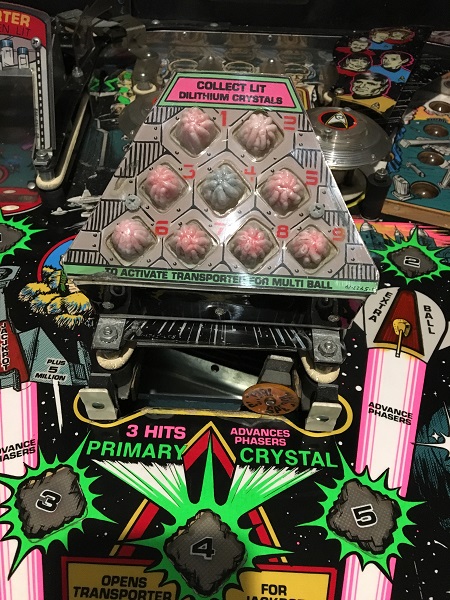
The crystals panel connects under the playfield via a large IDC, which was removed so I could access the plastic. Here I could see the lower pop bumper was missing a cap and bulb. Thankfully, I found the cap right at the back of the cabinet.
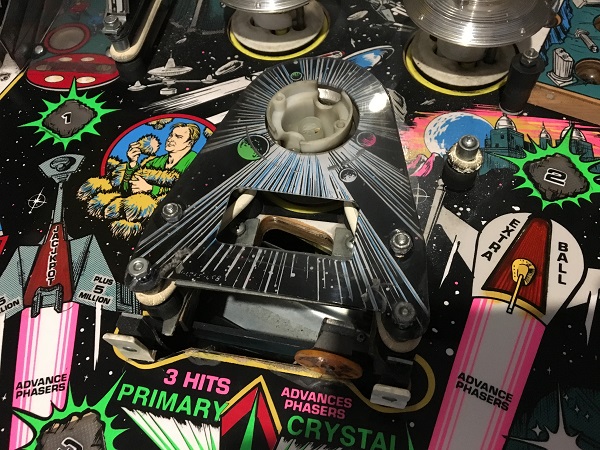
Time to look at cleaning the assemblies. The two drop target banks were removed from the playfield for cleaning.
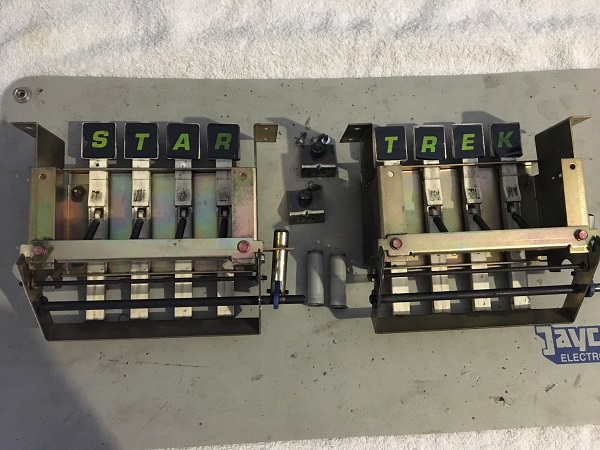
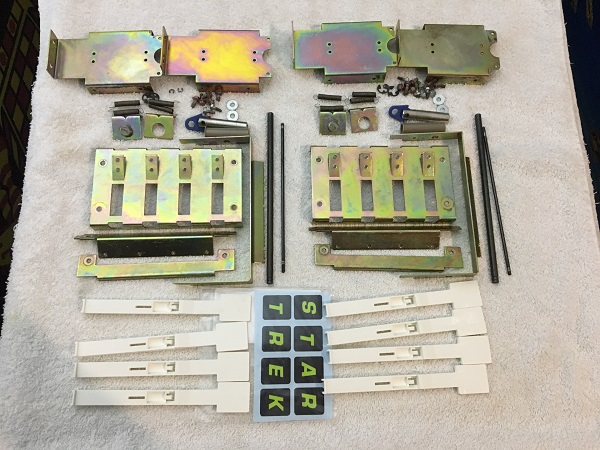
Both drop target assemblies were completely disassembled and all parts cleaned. A brand new set of plastic targets and decals were purchased to replace the old ones. New coil sleeves were also purchased.
The VUK assembly was removed next for cleaning.
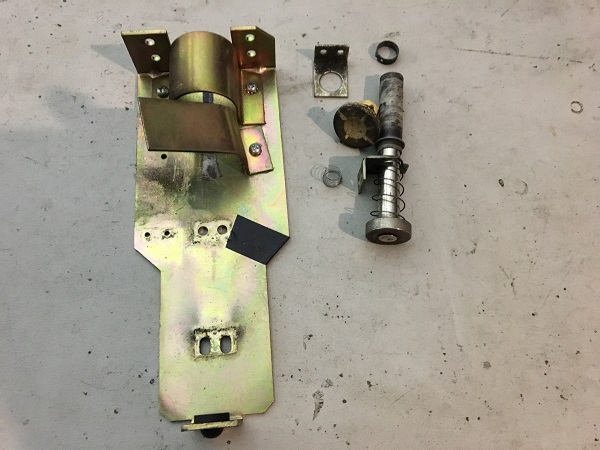
The metal coil bracket has been beaten so much over the years, part of it had broken off. This one is heading for the bin and will be replaced.

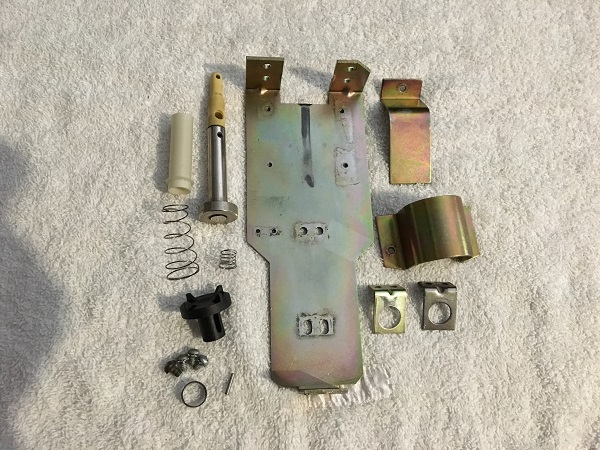
The VUK assembly was disassembled and all parts cleaned. A new coil sleeve, plunger head and coil bracket were purchased to replace the old ones.
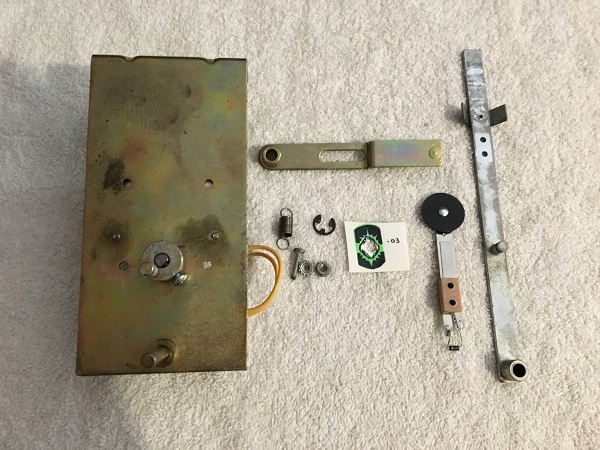
The last assembly to look at from the middle playfield section is the swing target. I already replaced the motor on this a few weeks back as it had become intermittent. A new motor sorted this issue out. Now to give it a bit of a clean.
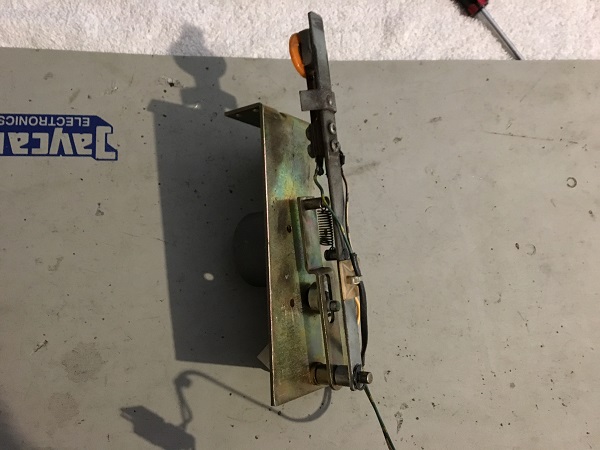
I wanted to replace the target itself with a new black target and decal. The original orange target still worked fine, but would look strange with the new decal.
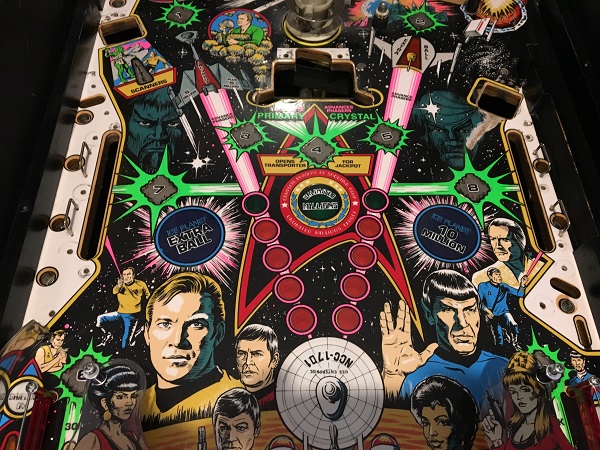
With all the parts off the middle playfield section, I was able to give the surface a good clean.
My plans for Star Trek’s overhaul include replacing all the old bulbs with non ghosting LED’s from Pinball Life. As part of this process I always like to clean the lamp boards too as they attract a lot of filth over the years.
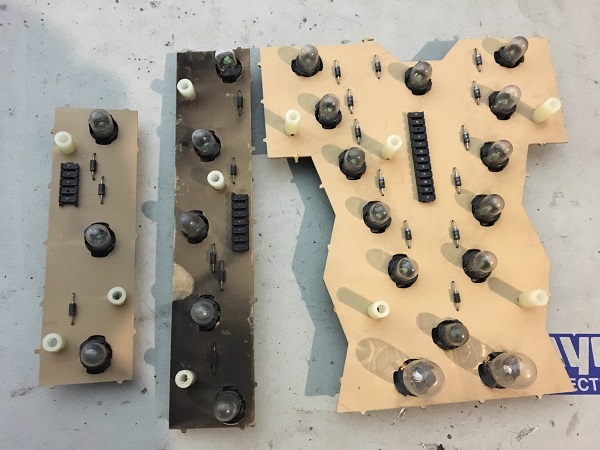
The lamp boards were cleaned up and LED’s purchased to be installed.

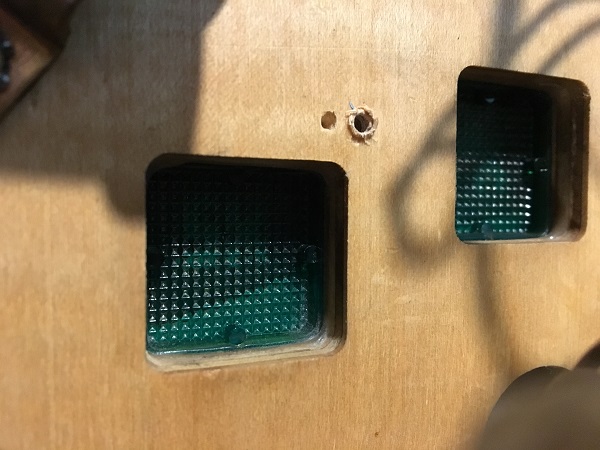
Another important thing I like to do while looking at the insert lamps is clean the underside of the inserts themselves. They can often collect the black dust the circulates below the playfield.
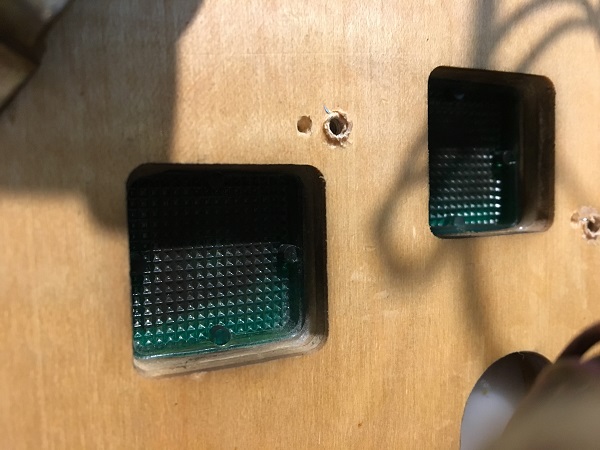
After a gently wipe with a cloth, it leaves them looking much cleaner. This will allow more light through.
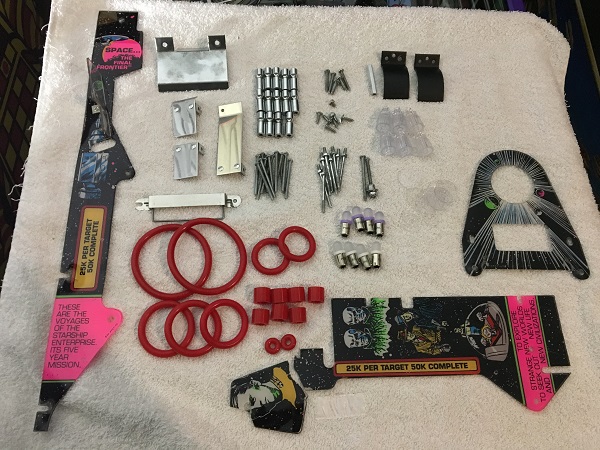
I was now at the stage where I was ready to rebuild the middle playfield section. But first, the parts needed to be sorted. I’m replacing the old black rubbers with new red rubber from Titan Pinball. I’ve got clear washers to use at certain spots to protect the plastics. Frosted LED’s for the GI. All small metal parts went through the tumbler. The plastics were cleaned up. The large piece at the bottom is broken. This sits above the VUK scoop. The scoop shield was loose, so every time the ball hit it, the metal shield would smack into the plastic. Over time this has broken the plastic. It will still hold in place though once installed.
Along with replacing the swing target, I also replaced the white stand up targets that sit beside it with black ones. These too received new decals. My reason was swapping them was the same as the orange target – white targets with black decals would look weird.
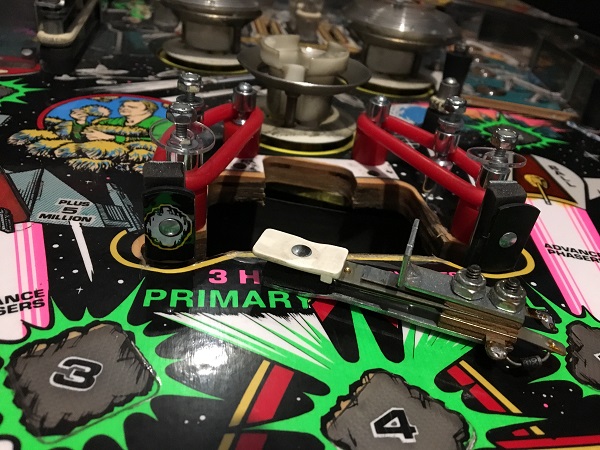
The playfield parts were put back in to the machine. Something else I’ve done is to colour match the crystal inserts to the panel. Before all crystals were red, except for the middle one, which was green. Now, I’ve used 8 different colours and matched them to their corresponding insert.
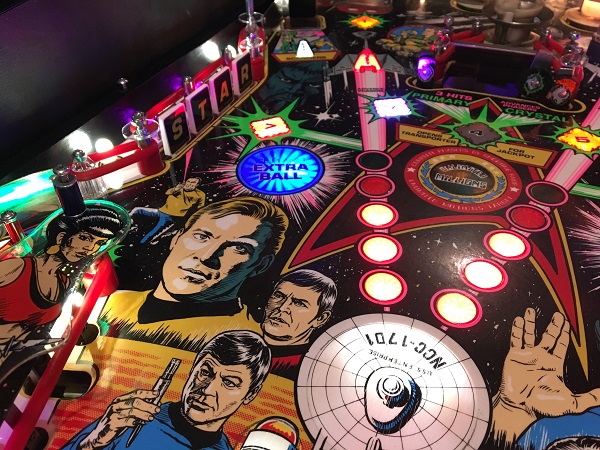
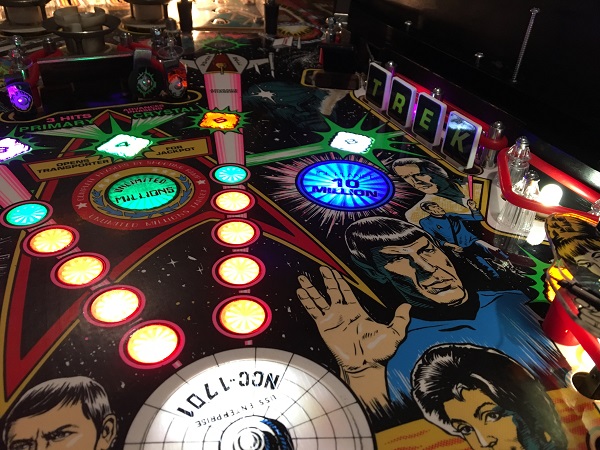
Finally, the plastics were installed again above the drop targets to complete this section. I’ve left the plastic off the swing target cover for now as I still need access to the area to work on the pop bumpers (which will be in the next update).
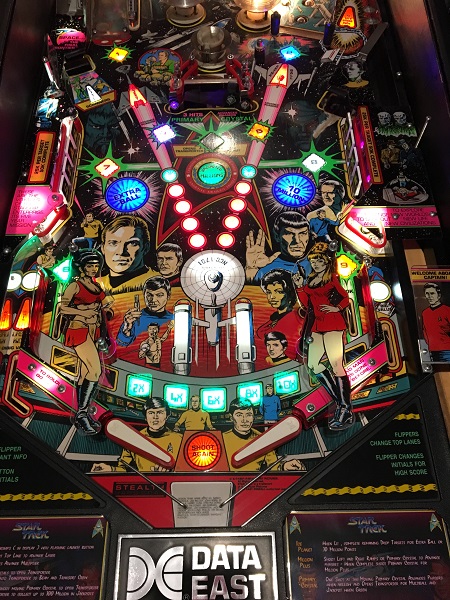
That’s it for the second update on Star Trek’s overhaul. The middle and lower sections of the playfield are now done and looking much cleaner. Next up will be the top of the playfield and the large ramp. There is still a bit of work to do, but the game is coming along nicely.
