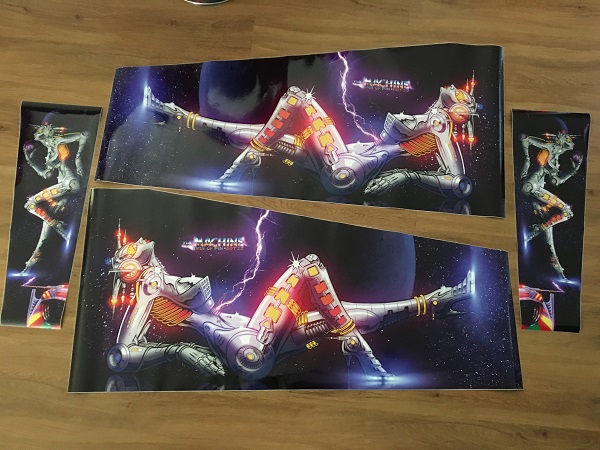
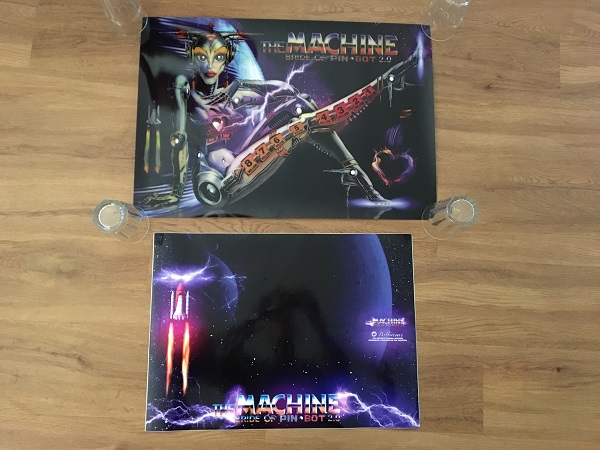
My Bride of Pinbot has received a lot of loving attention since I purchased it. Now, I’m facing the final mountain before I can say – It’s complete!. Doing up the cabinet was always going to be one of the final two things to be done. It was a bit of a race to see if the final challenge would be the playfield or the cabinet, with the cabinet winning (or is it losing?) that race. The plan had always been to do it around late December last year or early January this year, but that got pushed back to February – and here we are! I spent quite a bit of time last year deciding what path to take with the new decals. Do I keep it original with new BoP decals from PPS? Or now that it’s a 2.0 machine, go with 2.0 decals from Retro Refurbs. In the end, after much deliberation and weighing pros and cons, I went with a 2.0 make over. Some may hold back tears while proclaiming – “But it’s not original anymore!”. Meh. This is a 2.0 machine now. It will remain a 2.0 machine. I love 2.0. There are not many 2.0 machines in the world and very few that are done up in this manor. So new 2.0 decals were purchased to bring this cabinet back to life. Naturally they arrived the day I started back at work (after 4 weeks of leave), which means the process will take longer to get done. The decal set includes the head box, cabinet sides, coin door and a 2.0 translite. The art is heavily based on the original, but with a more modern look (and some 2.0 branding).
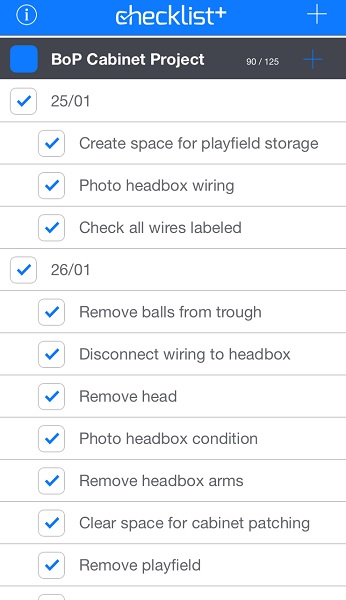
Before starting on big tasks like this, I tend to put a lot of thought and planning in to the process. I’ve done decals on two other machines now and have a good idea of what’s involved. Each time I’ve found things that work and where I could do better next time. I’ve started using a checklist phone app to help plan out big tasks like this as it lets me get my head around it all and have a clear plan before actually starting. Previously, I would write it all down in a notebook and cross things off as I went, which works – but the checklist app makes things easier since I can edit, shuffle, indent and group as new things come to mind and planning changes. I often have my phone with me, so can update while I’m out walking or at my desk to ensure the task isn’t forgotten about. I like to try and break tasks down to much smaller tasks as it means I can keep doing small bits even on busy days where I only get small windows of free time. This allows momentum to continue when time is limited. This process also helps me identify any potential issues before they arise.
With the planning done and a clear path to follow, it’s time to kick off the final phase for my BoP 2.0’s transformation. The first step is to get the headbox off the cabinet. I had all the connectors labeled from when I did the playfield swap recently, so that step was already complete. I went over each connector to confirm the label was still attached and then removed each one. A couple of the labels had fallen off, so these were replaced before disconnecting the connector. All power and display connectors were removed too and then fed down into the cabinet. The display panel was removed from the headbox and bolts attaching the headbox to the arms were undone. The headbox was then removed and set down.
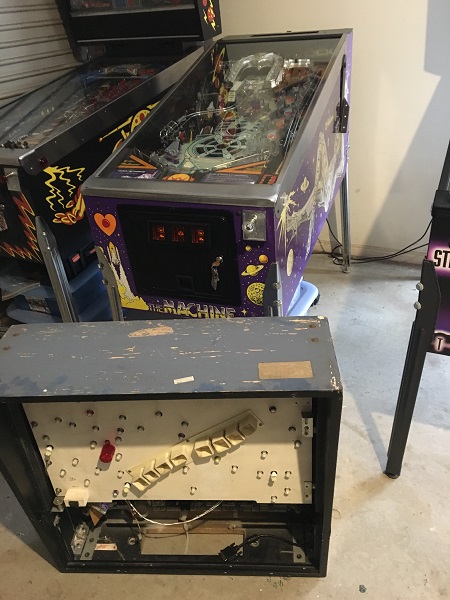
Next up was getting the playfield out of the cabinet. The wires were grouped together and the playfield carefully lifted out.
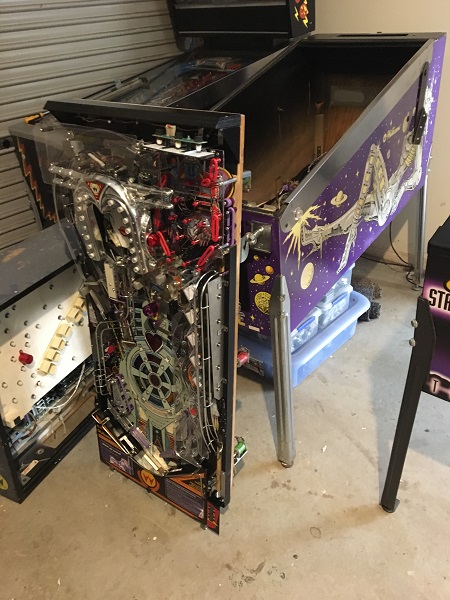
Now it was time to remove various other pieces from the cabinet like the side rails, coin door, shooter rod, start button, flipper buttons and so on. The legs were also removed at this point too.
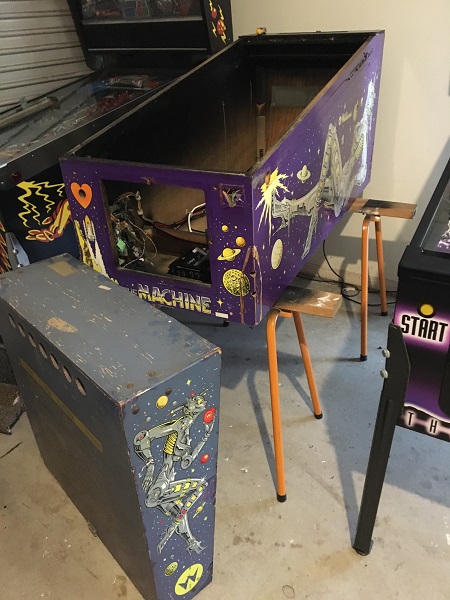
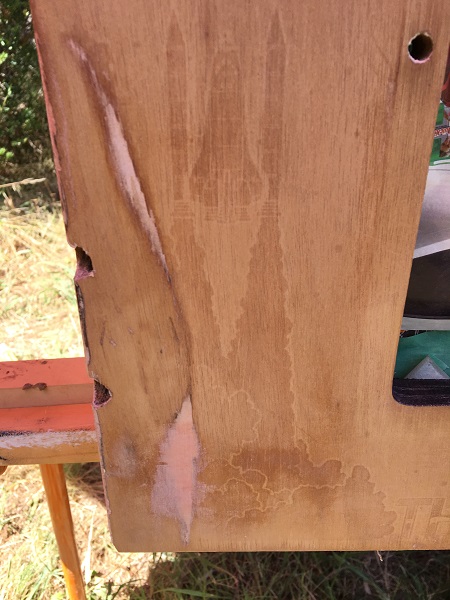
The original artwork on the headbox is screen printed. I find it interesting they went with screen printing for the headbox but then used decals for the cabinet. I’m not sure what the reason for this is. There are various chips around the edges of the headbox to be repaired.
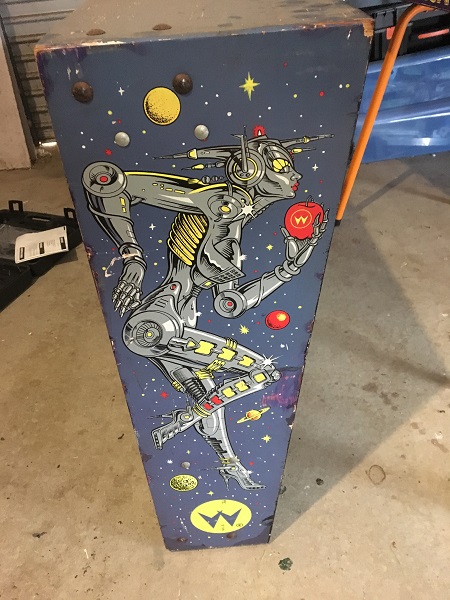
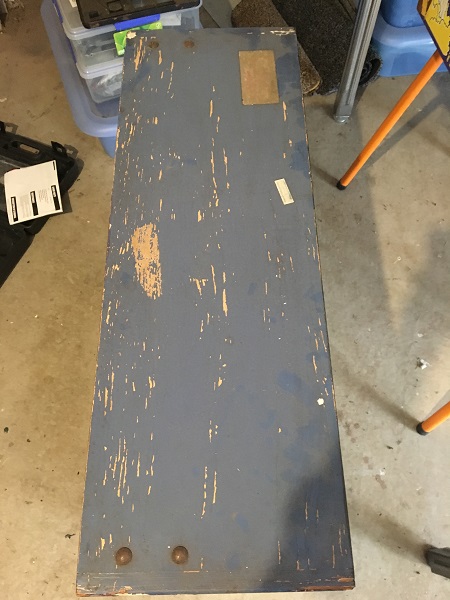
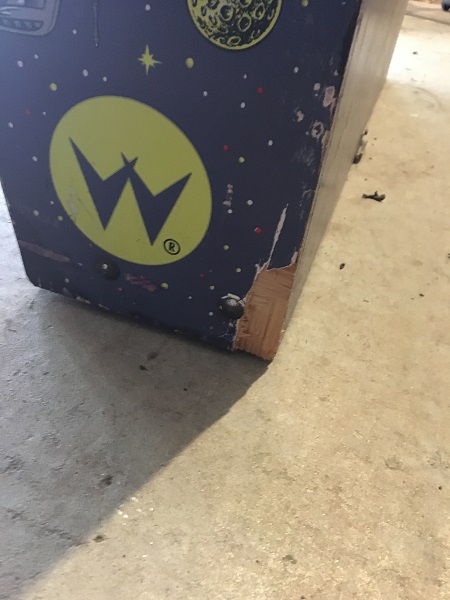
The lower right rear corner of the headbox is the worst hit, with a nice chunk missing.
The cabinet art is looking faded and tired. Got to love the black paint outlines where someone decided to brush paint the coin door without removing it…
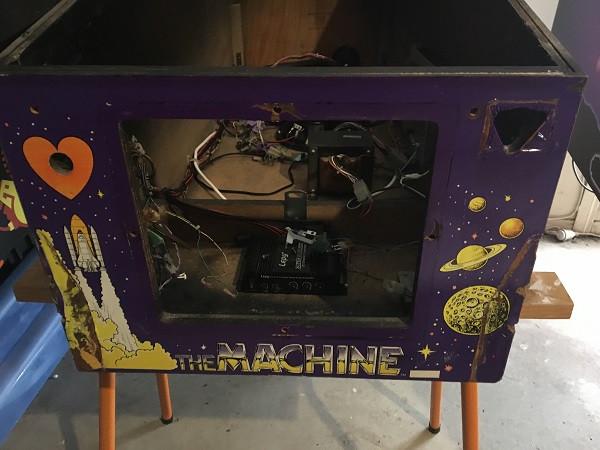
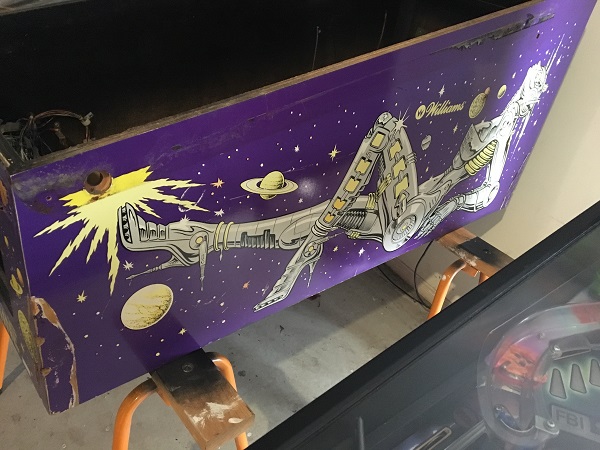
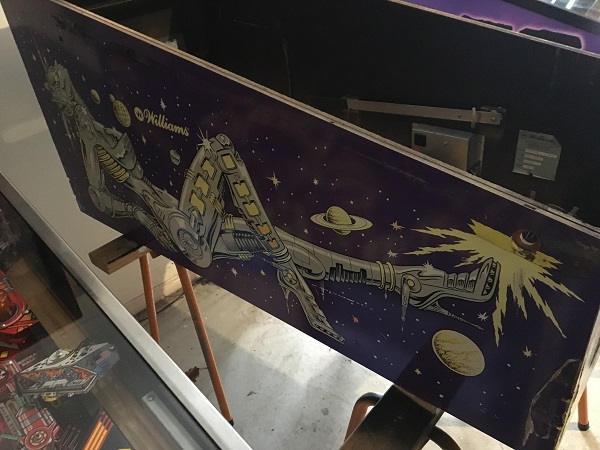
With my heat gun and scraper, I proceeded to remove the cabinet art from the front and side panels. A silhouette of the front panel art remained on the wood once the decal was removed.
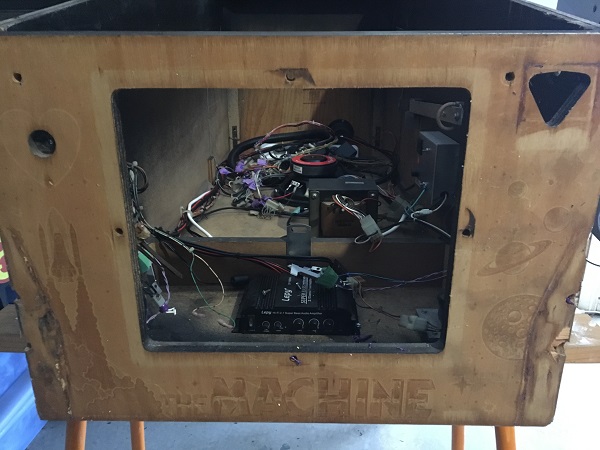
The process took longer than I expected, but finally the cabinet art was completely removed. The headbox GI door was removed, along with the components panel that houses all the boards and mini PC. The headbox was now ready for some sanding.
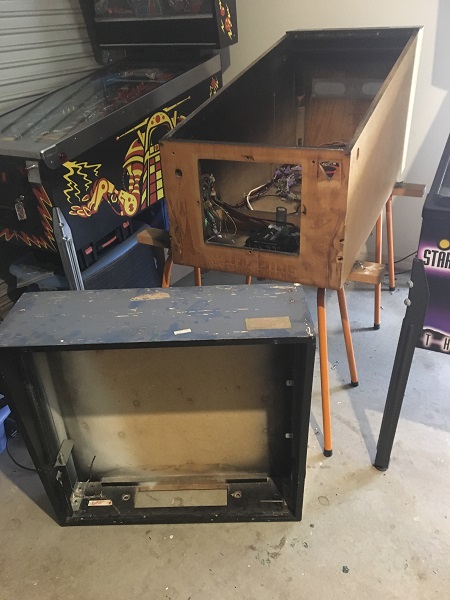
There were two old and faded stickers on top of the headbox. Once removed you can see how much the colour has changed over the years.
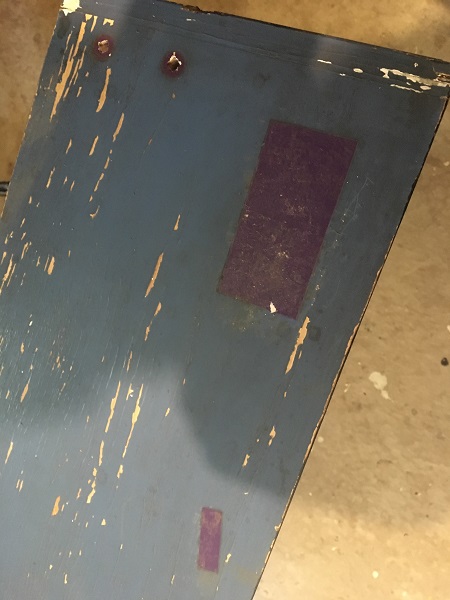
The headbox was completely sanded to remove the old artwork and now ready for some damage repair. Right about now is where it hits you that there is no going back. You’re too far along to bail.
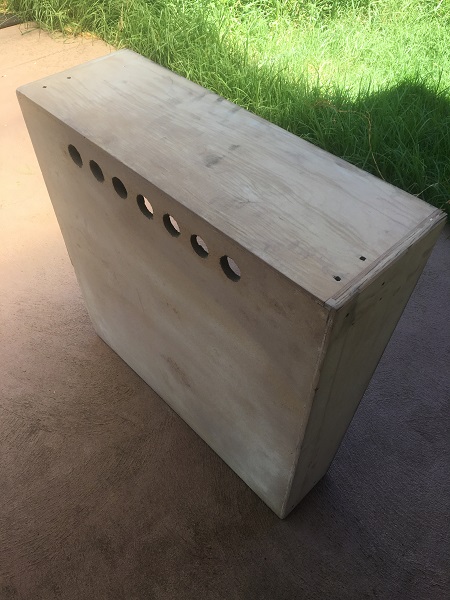
Before patching the cabinet, I had to remove the left over goo. This process also took awhile, but finally it came off. The main damage to the cabinet that required repair was on the corners from the legs. There were a few small divots in the cabinet sides which needed to be filled too. These areas were bogged up and sanded.
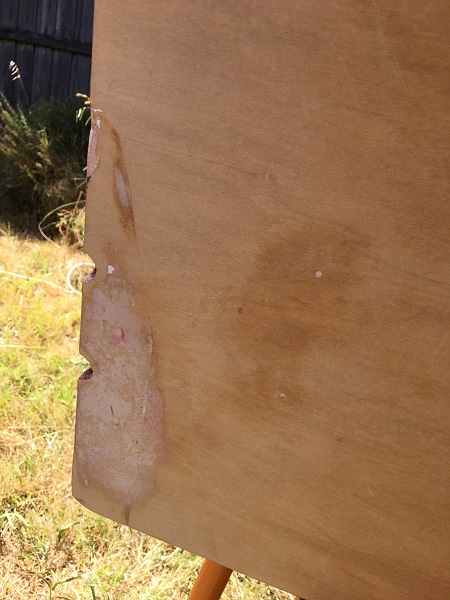
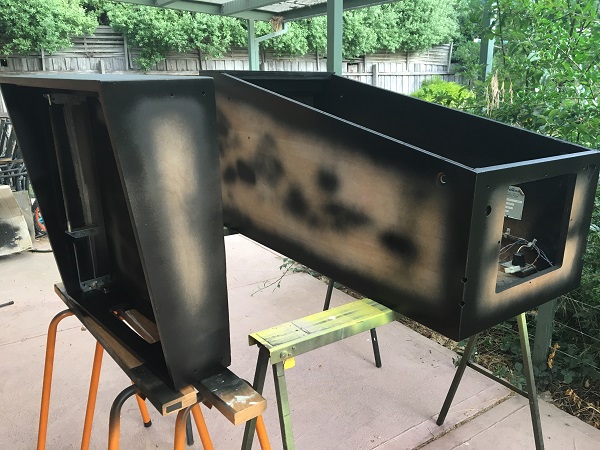
After sanding, the surfaces were then cleaned. The edges were spray painted with gloss black. I didn’t bother painting everything as it’s all going to be covered by decals anyway. The standard BoP headbox has black on the panels facing the player and purple on top and back. I decided to leave it all black since this is a 2.0 make over and the darker colours in the new artwork allow for it.
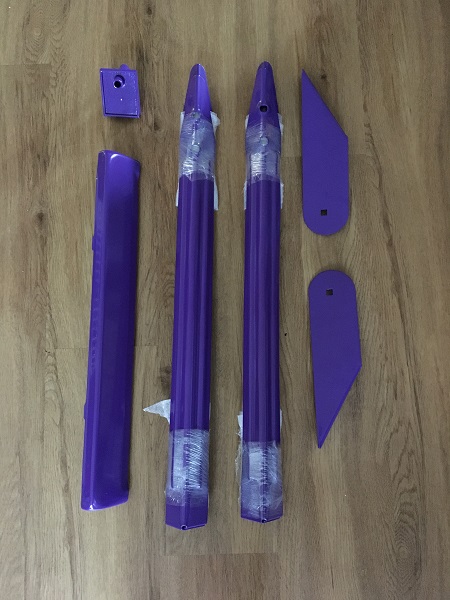
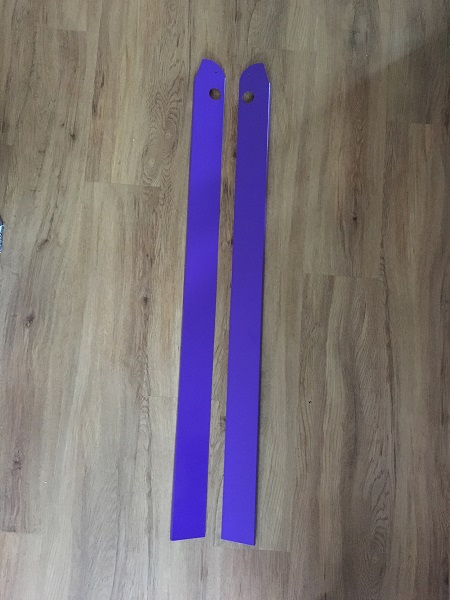
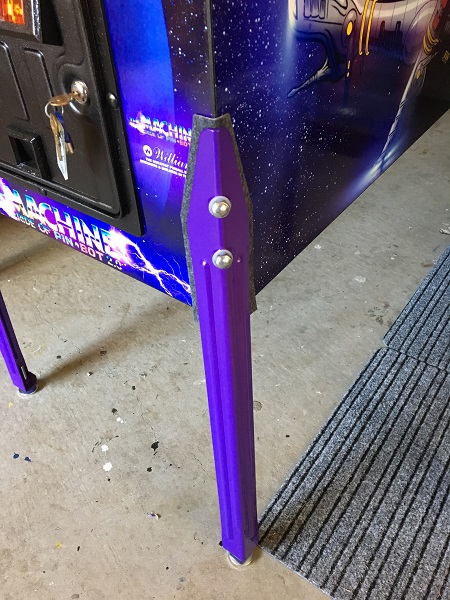
After removing several of the metal parts from the cabinet, I dropped them off to be powder coated. I decided awhile back that I wanted to do something a bit fancier with this game and felt powder coating on some of the pieces would really enhance the presentation of the game. After seeing how affordable it was, I had no excuses not to do it. I ended up getting 10 pieces done in total – 4 legs, 2 side rails, 2 headbox arms, lockdown bar and shooter housing.
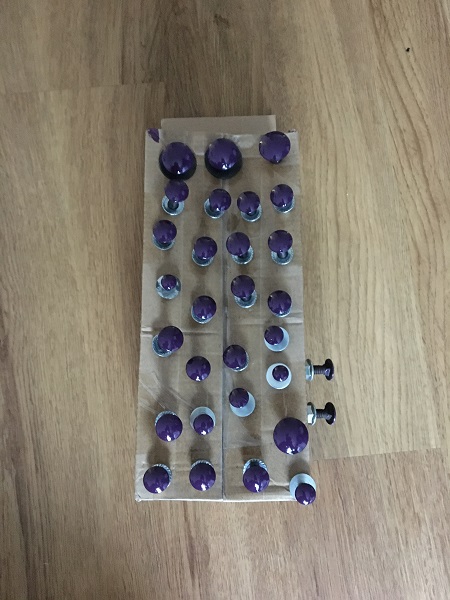
Normally I spray the bolt heads with gloss black to freshen them up. But for this game, I wanted to do something different. I decided to go with purple, which I think will work well with the new artwork and also compliment the purple powder coating on the metal parts. The colour is a little darker than the powder coating, but I don’t think it will matter as it still works well with the colours on the new decals. All bolts were sanded and cleaned before receiving two coats of gloss purple.
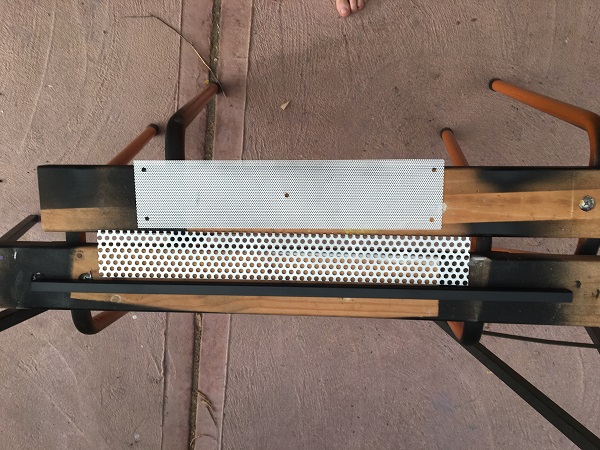
Since I had the grills from the headbox and cabient removed for painting, I decided to use up left over chrome spray paint I had and freshen them up. The black channel that the display panel sits in was given a fresh coat of gloss black. I did have some thoughts about doing these in purple too, but felt it might be a bit too much.
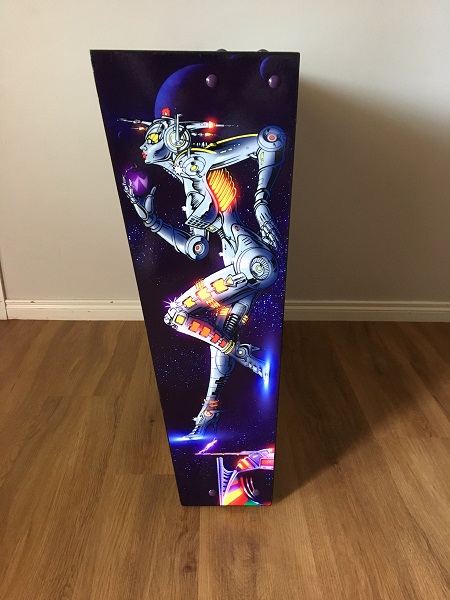
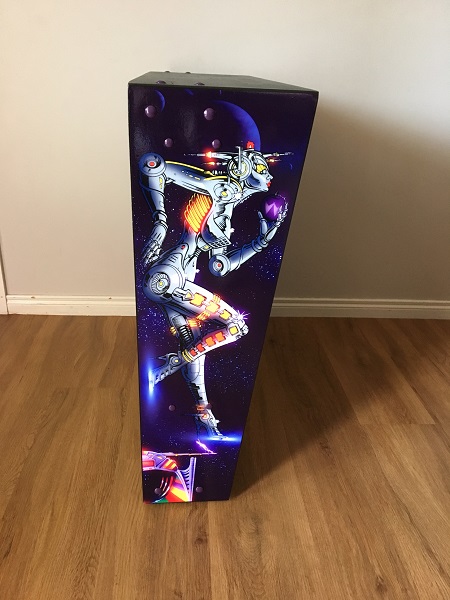
I allowed 7 days for the paint to cure on the headbox and cabinet before installing decals. Both headbox sides were done and the painted bolts installed. The purple bolts work well with the art.
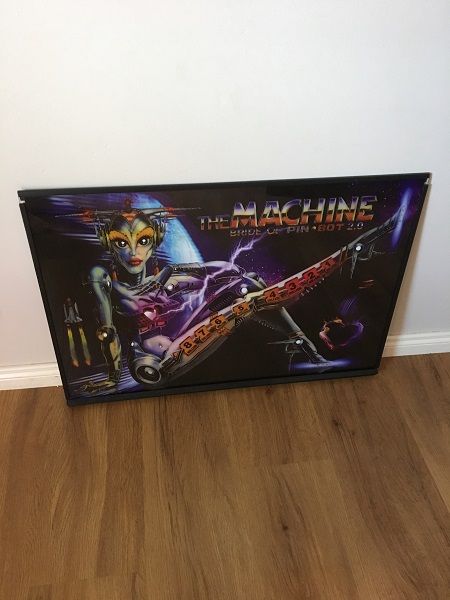
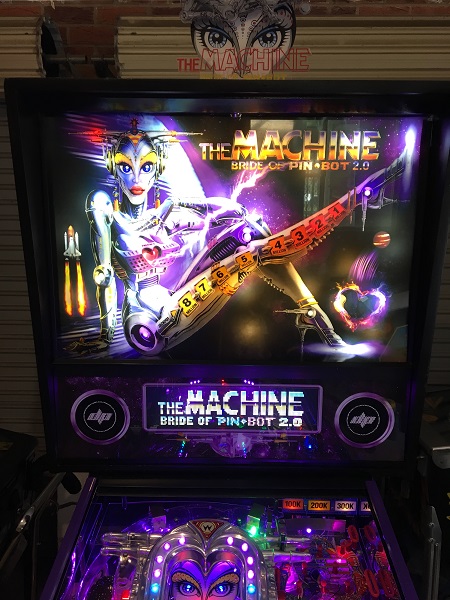
The new 2.0 decal set came with an updated translite as well. This was installed on to the glass. I plan to create a frame for the old translite as it will look great on the wall.
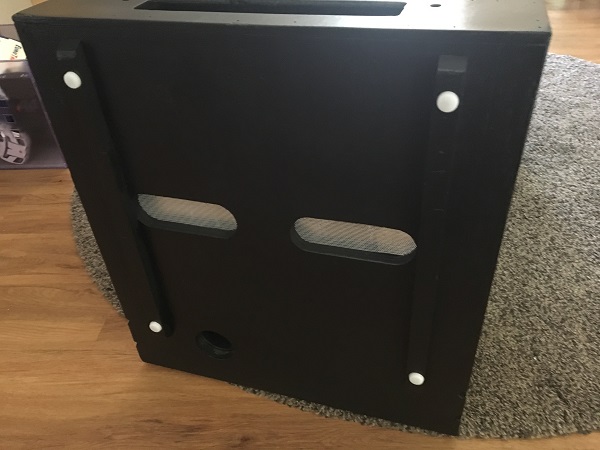
New gliders were installed on the rear of the cabinet and the painted grills installed again too.
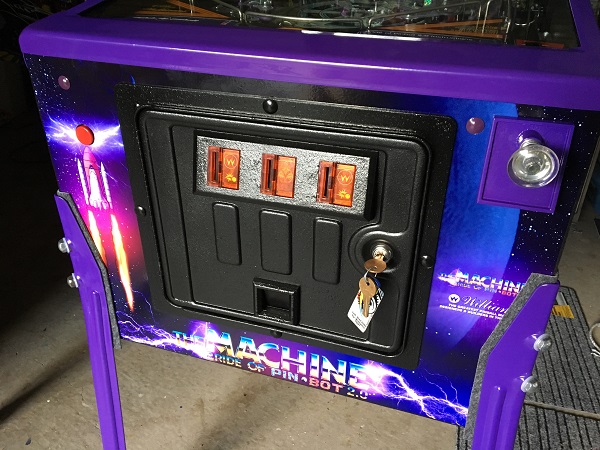
Now to do the cabinet decals. I use the dry method for installing them, along with a second pair of hands (my lovely Wife) to help. The vinyl used by Retro Refurbs is good quality and really nice and easy to work with. The decals went on without a hitch. The front panel was done first, followed by the sides.
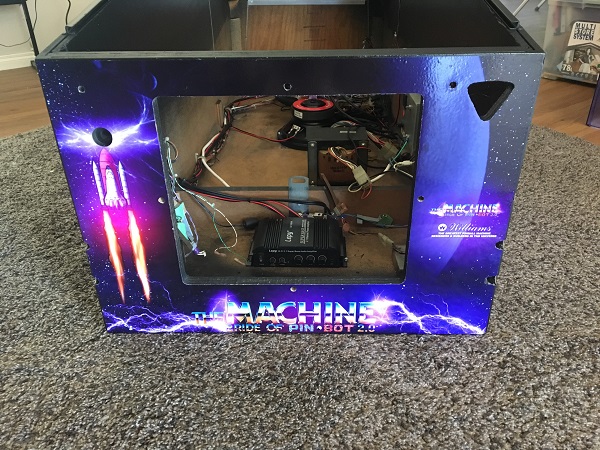
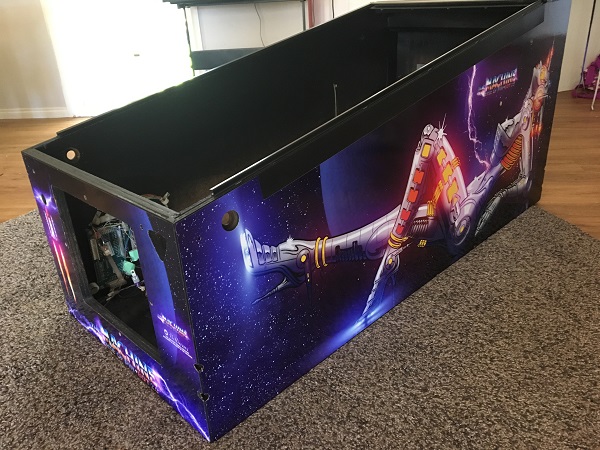
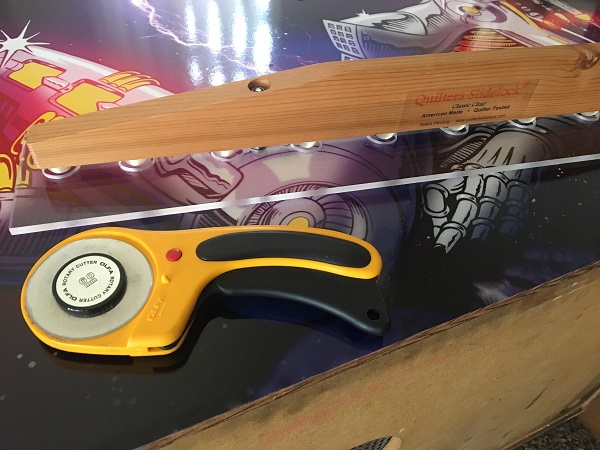
After each decal was installed, the holes were cut out and edges trimmed. I use a really neat spring loaded ruler and cutting disc which made edge timming easy. Once the clear acrylic is lined up, you press down and small rubber feet prevent it from moving. I trim off about 1 – 2mm around the edge of the cabinet to help prevent the decal getting caught and pealing if something (or someone) brushes past it.
Before installing the side rails, I decided to trim a section of the top decal where the double sided tape would stick to the cabinet. The decal will still sit around 1cm under the side rail, so won’t look weird. This means the tape will stick directly to the cabinet and not the decal. The reason for doing this is so the rails can be removed in the future (if needed) without damaging the new decals. The double sided tape was purchased from Bunnings (Bear brand) and applied to the side rails.
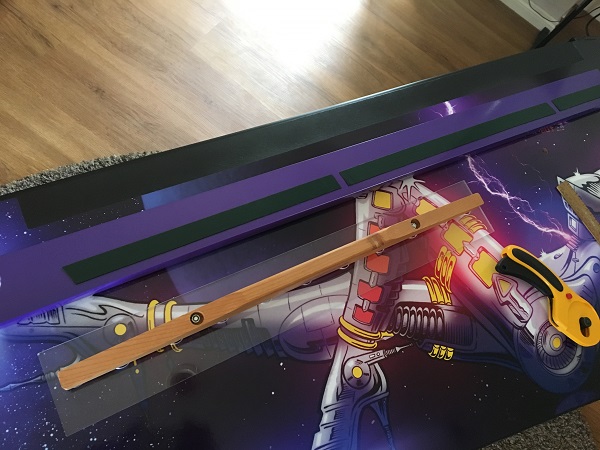
Happy with how the side rails would be sitting, they were then installed on both sides of the cabinet. The flipper buttons, start button and switches were also installed again.
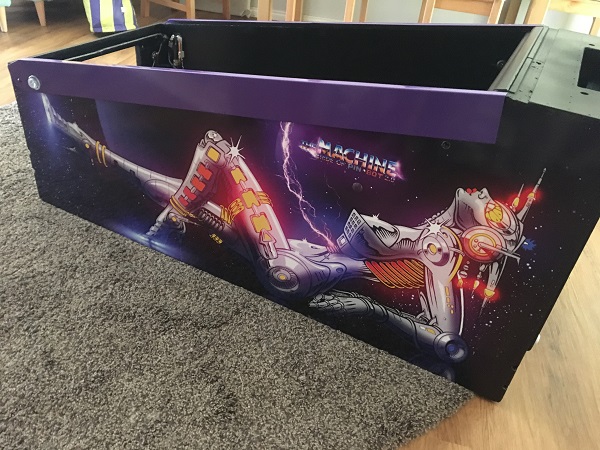
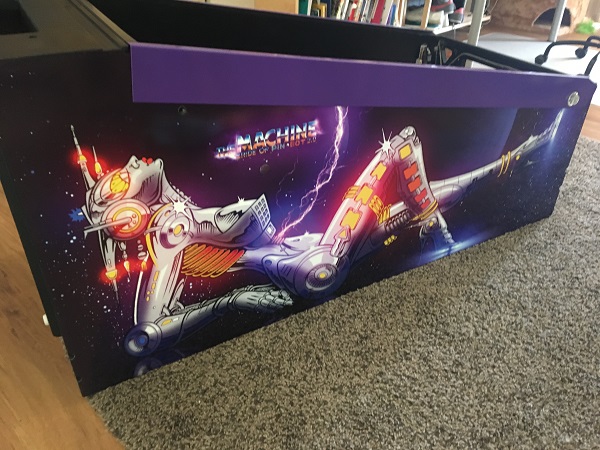
At this point, I decided to clamp the side rails for 24 hours to ensure the double sided tape took hold and would keep the side rails in place. The next day the clamps were removed and the lock down bar receiver and coin door installed. New decals were made up for the lockdown bar receiver (install 3 balls + caution). I’m holding off installing the shooter rod until the playfield is in. That way I can align it without risking damage to the front panel artwork. The headbox arms were installed back on to the cabinet, followed by the headbox. At this point the game was starting to take shape again and seeing results for all the hard work is really satisfying.
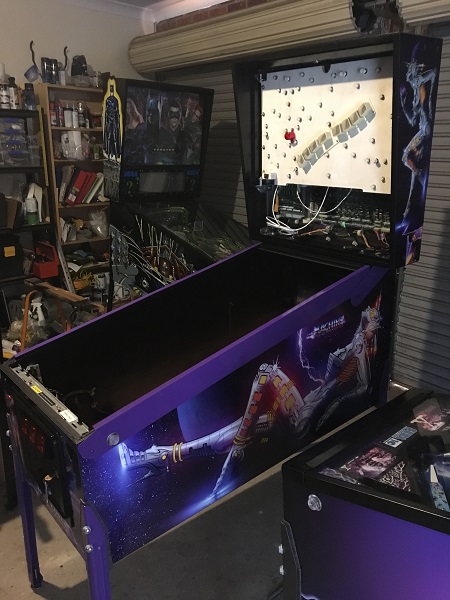
The legs were also installed, with felt cabinet protectors and nylon washers to protect the cabinet and legs. New leg levelers were also installed.
Next step was to hook up all the wires that I could from the cabinet and do a general tidy up of the wiring before getting the playfield back in. This included vacuuming the surface to remove anything loose. The playfield was then installed back into the cabinet. Now that the playfield was in, the shooter rod was rebuilt using the powder coated housing and installed back on to the cabinet and aligned correctly. All wiring for the playfield was connected back up in the headbox and the game was now ready to switch on and test.
A last minute decision was made to install some mirror blades, which I hope improve the final result even more. I hand’t planned on adding these at all, but when a brand new set were for sale 5 minutes away, I jumped on them.
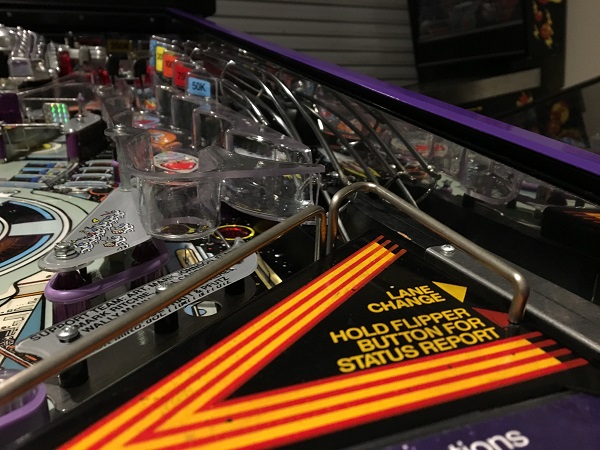
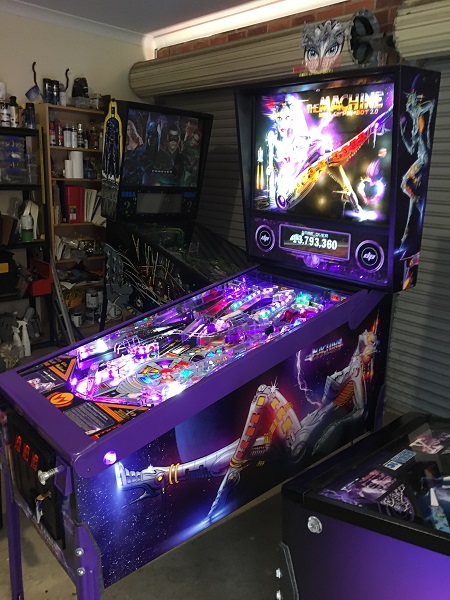
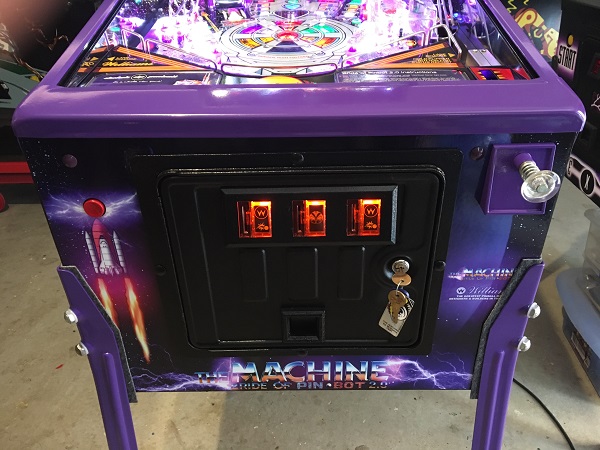
With everything now back in place, the transformation was complete and the game ready for testing. It’s been a long road getting here, with the machine fully rebuilt, followed by a playfield swap and then finally a cabinet restore. Many, many hours of work have been poured in to the game – but it’s well worth it as the result is something I’m VERY happy with. The new CPR plastic set I purchased 12 months ago came with a small desk stand, which I decided to place on top of the headbox as a topper. You’ll have to forgive my finger in the top left corner on some photos – I didn’t pick this up until resizing them for the write up.
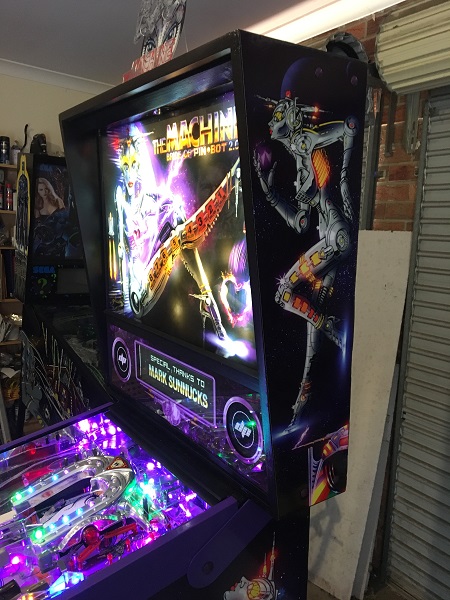
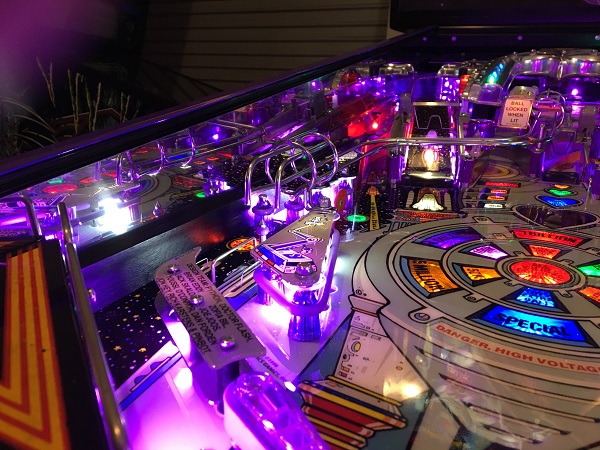
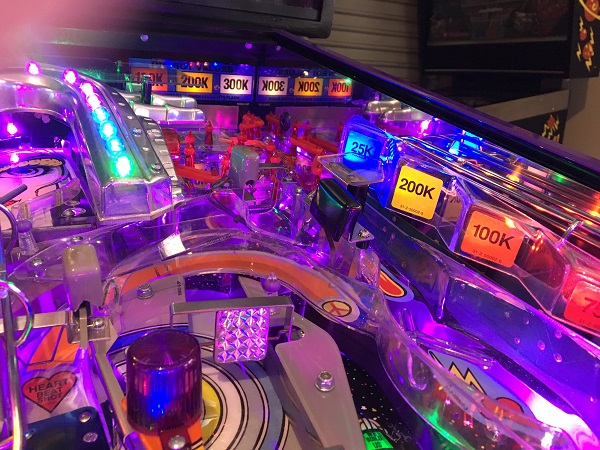
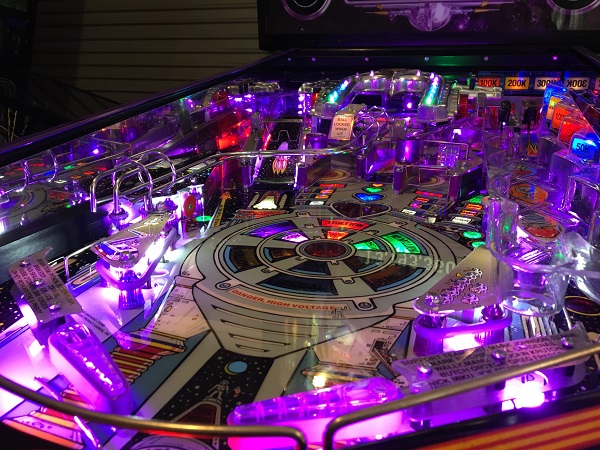
For comparison, this is how it looked on arrival (which was the first photo in the original post before I began any work).
The game was put through some testing and a couple of issues needed to be looked at. These were intermittent things that had been around in some form for awhile, but became more constant after the playfield swap and cabinet restore. Given how intrusive those processes are, I’m feeling good that nothing else showed up. Both issues (one was a connector and the other the lock post) were sorted and the game playing well once again. At this point, my work on the Bride is done. I may return and do up the apron with some new paint and decals or add the chaser light mod to the shuttle ramp. We’ll see. There aren’t many BoP 2.0’s in the world and very few looking like this – so for now, I’m happy 🙂
