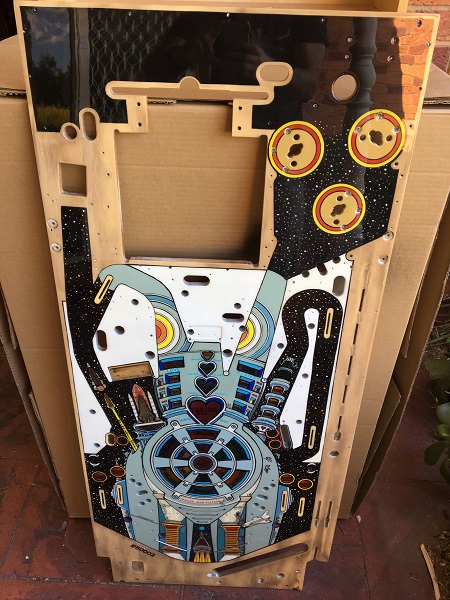
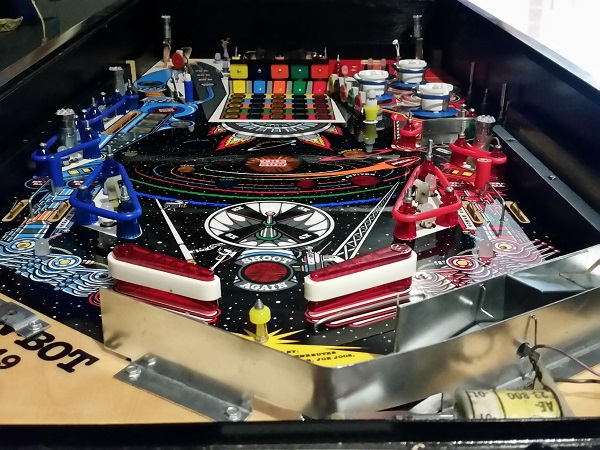
Who likes self punishment? I do, it seems. My BoP 2.0 machine came with a touched up and clear coated playfield when I purchased it 14 months ago and it’s a task I knew I would get to at some point. But when you’re having fun playing a game, it’s hard to take it offline for some major changes. Playfield swaps are a time consuming process, so it’s not something I’ve been looking forward to. I gained some excellent experience when I did my Pinbot CPR playfield a couple of years ago and I’ll be rolling that knowledge in to how I approach this one. The up side here is the replacement playfield is an existing playfield, so all screw holes (both sides) are already there. New playfields have (most) screw holes dimpled, but can be up to 1mm out in any direction (according to CPR – not sure if that also applies to other playfield makers). On my Pinbot playfield, I found many dimples missing on the underside. This can be a pain for assemblies under the playfield that are made up of 2 or 3 components, consisting of up to 12 screws, which all need to line up in order for it to operate smoothly. The current playfield in my game isn’t bad by any stretch as mylar across the central playfield and pop bumper areas has protected most of it. I actually think it would make a great drop in replacement for someone who has a trashed playfield or someone who wants to touch up and clear coat one for themselves. Time to begin the process.


