While the finish line is in sight for the playfield swap, there is still a fair bit of work to do as I have playfield parts spread across two pinball machines which need to go onto the new one. With the underside of the playfield back together again in my last update, it’s time to sort out the top. The playfield was put back into the machine and the connectors all joined up again. I then installed the 6 flasher lamp sockets, four of which required wires to be soldered back on. The holes were drilled using Brad tipped drill pieces to remove some of the clear around where the screw goes into the playfield to prevent any cracking of the clear. I then moved onto installing various plastic posts, ball guides, pop bumper rings, apron clips and trough guides. I also added LEDs to the playfield, along with a few of the Titan rubbers. The flippers were aligned and tightened in position. Populating the new playfield had begun well and was starting to take shape.
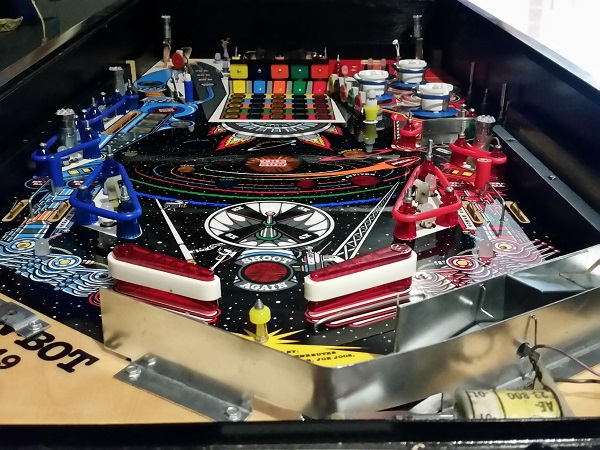
Most of the dimples have been positioned well, although I have found a couple of cases where they were not suitable – which is why it’s smart to not blindly drill anything until you get to it. I also found 2 cases where dimples should exist, but were missing entirely. More posts were installed, along with their rubbers. Components that make up the ramp at the top left began to be installed too, along with the inside of the vortex ramp on the right. More and more parts went back onto the playfield.
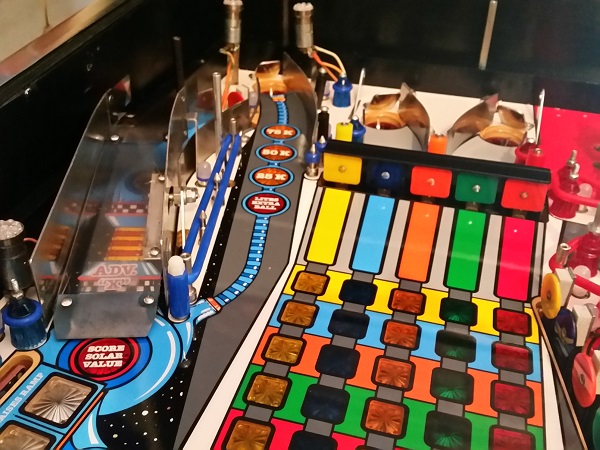
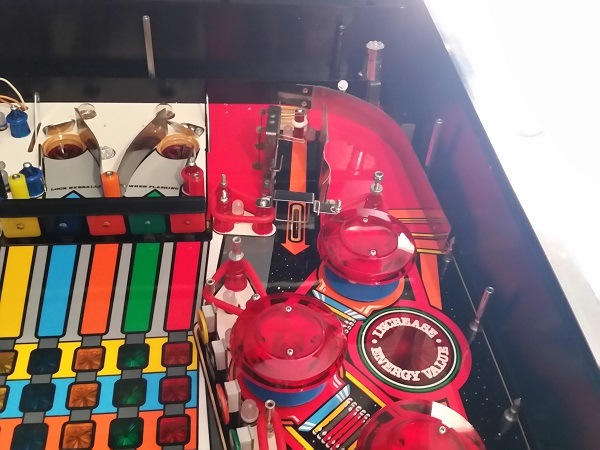
I continued on until I was ready to start putting the plastics back on. I stopped at this point to test out the GI and coils. If there was an issue with their wiring from the swap, I wanted to know now in case I had to remove parts again. The machine started up and is looking great with the LEDs. I’ve mostly used frosted blue and red for the GI, with some clear frosted mixed in where appropriate. For the inserts, I’ve used bright LEDs with the colour matched to the colour of the insert. Testing the lamps and coils showed a few issues, most of which were due to poor wiring connection at certain points that I had missed on my inspection in the last update.
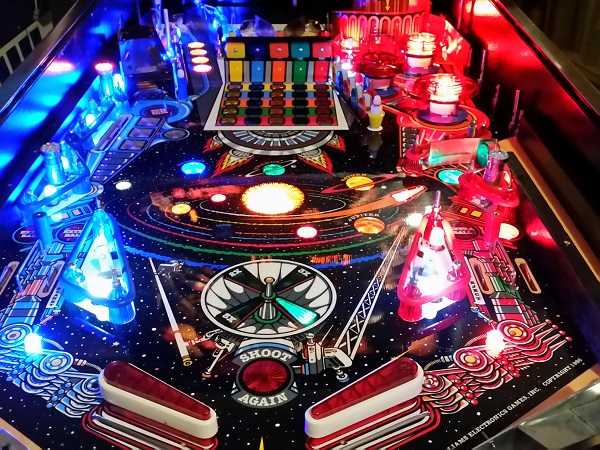
The troublesome wires were repaired which fixed the non working lamps and coils. I wasn’t too worried about switch testing at this point – that can come later. I then started getting the plastic set onto the playfield. This is a new reproduction set from CPR, so will look really nice with the new playfield. It also gives me the chance to replace some of the broken plastics. I started with the lower section of the playfield.
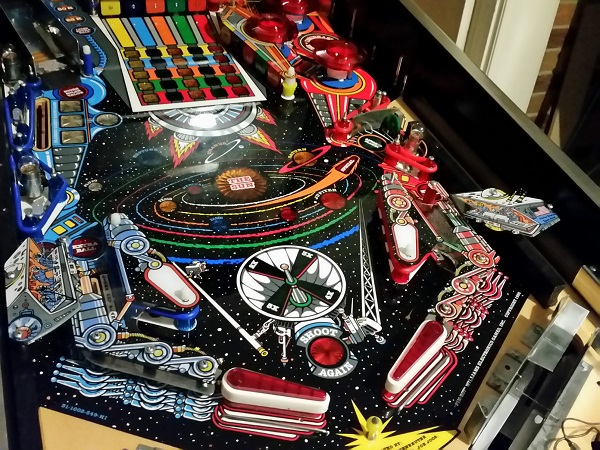
The visor looks so nice when it’s not broken. I’ve placed clear lexan washers around the corners where it’s prone to smashing from the ball to give it some protection.
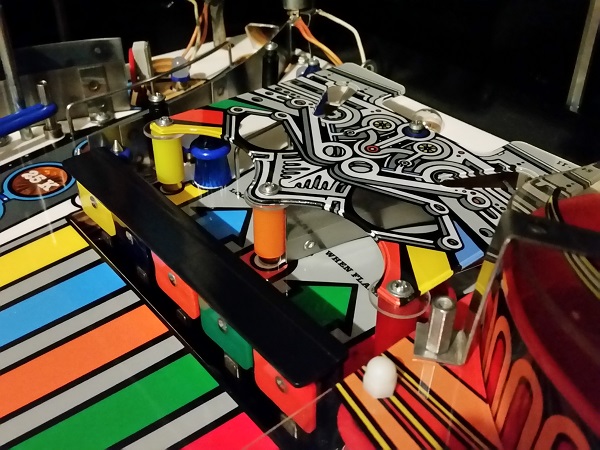
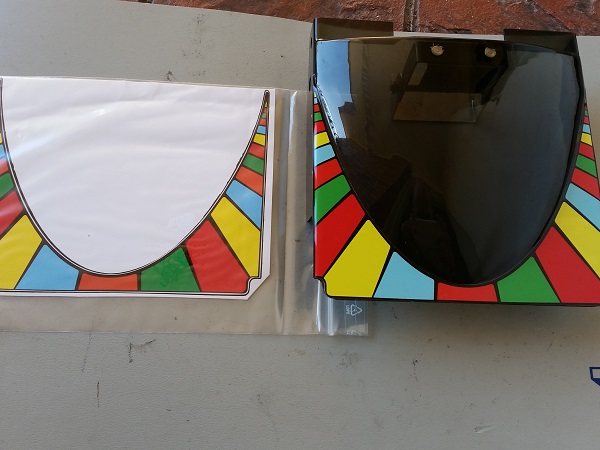
While I was getting the playfield back together again, it was time to look at something that has been on my to do list for a long time. The long outstanding task is to sort out the decal on the visor. Mine has a large wear spot across the green section at the front and some smaller sections around the sides. It doesn’t get in the way of game play obviously, but visually stands out.
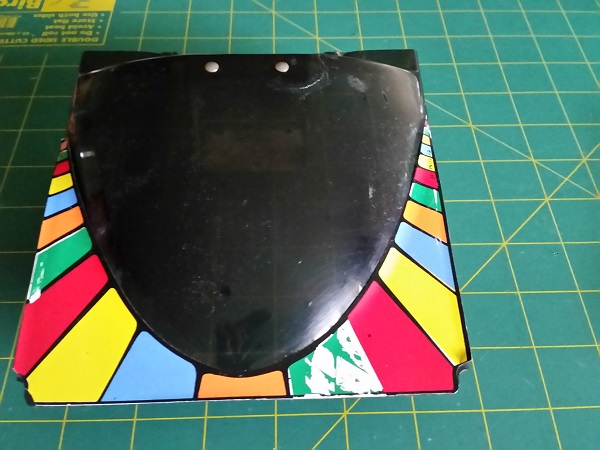
Pinball center in Germany sell reproductions, so I ordered one to replace it. The decal arrived safely, but there was a problem. Can you spot the issue with it?
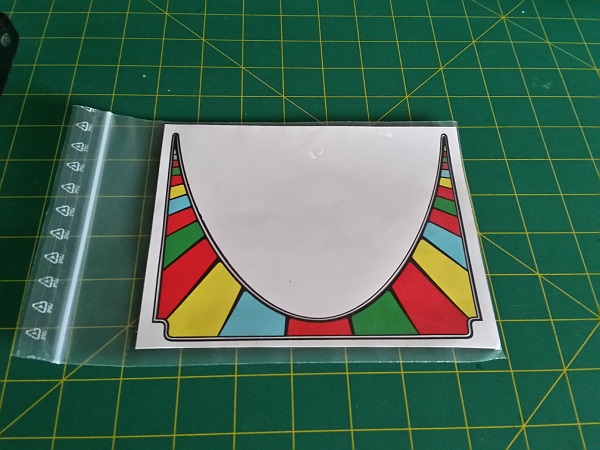
If you said the orange sections on the reproduction are incorrectly coloured, you’re right. I double checked the image they had on their website and they show orange where it should be orange. I contacted them to ask about this, hoping the one I was sent was poorly printed, but sadly this is how they produce them. Their customer service is good though as they’re quick and friendly to correspond with. They offered a refund, but the cost of me sending it back made it pointless.
A couple of days later though, I received another email from them to say they were going to print off another batch with an improved orange colour. They were then kind enough to send me one for free – so that was nice of them. As you can see in the photo below, the orange on the second decal (in the plastic sleeve to the left) still isn’t correct and isn’t much different from the first one I received. So I’ll just keep the second one as a spare in case it’s needed. If you’re considering buying the decal from Pinball center, just be aware the orange is not as per original or the sample shown on their site.
I continued on with getting the remainder of the parts and plastic pieces onto the playfield. The orange flasher domes were transferred to the new plastic set. Finally I had everything back onto the playfield except for the mini playfield and ball guide that attaches to it. This is so I can manually test the pop bumpers and switches in that area first. I’ve left the apron off for the same reason so I can easily test and adjust it’s assemblies if required.
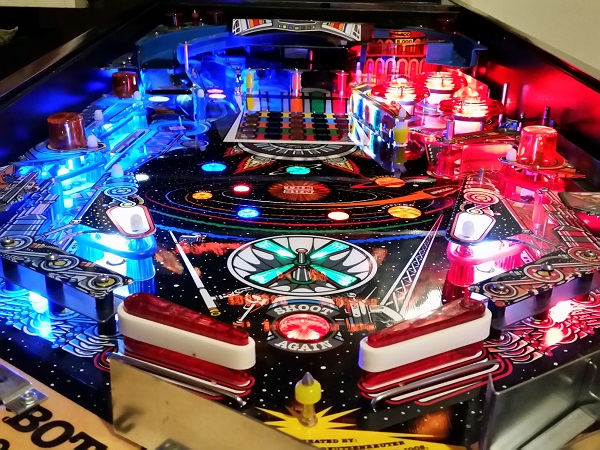
With the machine 98% back together, I fired it up for some manual testing. I was interested to see switches activate and deactivate correctly. I wanted to see how the ball would eject from the saucers and also how well it served up into the shooter lane. The ramp raise assembly was also of interest. Time was spent manually rolling the ball around the playfield in a game. Testing switches and seeing how the game held up.
I had to make a few adjustments to the ramp raising assembly. This is made up of 3 parts (2 under the playfield and 1 on top) and was fiddly to get all 3 right. A few switches needed tweaking also. Happy with how the game operated manually, I was ready to try out a proper game. The mini playfield was installed back into the machine, along with the ball guide that attaches to it. I had some Titan post rubbers added to the mini playfield too. Lastly the apron was installed. The playfield was finally back together again.
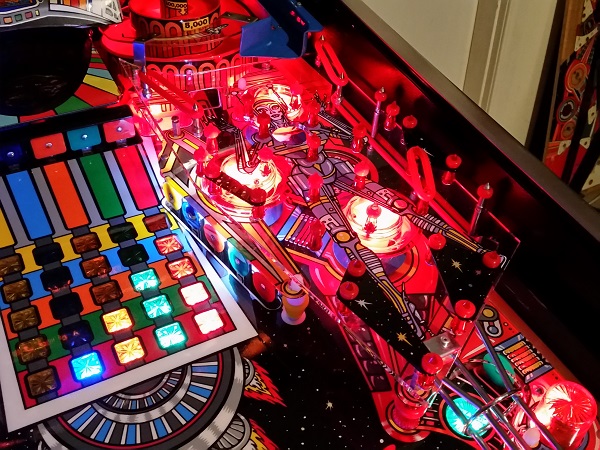
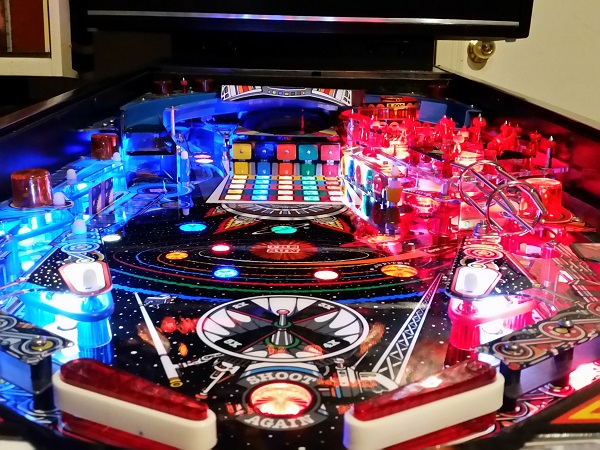
The playfield swap was now complete. It took me far longer to get around to doing the swap than I anticipated, but I’m pleased I made time for it and gave it a go. It’s not something I’d make a habit of doing on future machines, but I’m glad to have at least done one. All up the process and result was successful and some excellent experience gained along the way.
Where to now for Pinbot? There are only a few more things I want to do before it’s just ongoing maintenance. I’ll be adding back lit flipper buttons like I did with my LAH. I’ve got plenty of spare parts to put together a kit for it. I also want to replace the globes in the headbox with LEDs. Getting some playtime with the machine over the next week or so should bring up any post playfield swap issues that are still lurking there, waiting to be found. I’ll go into detail on those (if they exist) in my next (most likely final) update 🙂
