After the Twisted Pins drama, it’s good to be bringing the cabinet work on Pinbot to completion. I’m tempted to do a write up comparison between the two different sets of stencils to highlight the pros and cons. But i’ll save that for another day. For now, it’s time to finish off the cabinet and get the machine back together. At the end of the previous post, I had sanded off the paint from the Twisted Pins stencils and repainted the black. The yellow layer was done first. This stencil layer has two registration marks which it leaves on the cabinet when pealed off. This is an incredibly easy system to use and get right. I like that Pinball Pimp has included these as it makes lining up the second layer easy. The stencils also have the correct bleed and traps, which means the final result will look accurate. Here the second stencil has been lined up and is ready for the red paint.
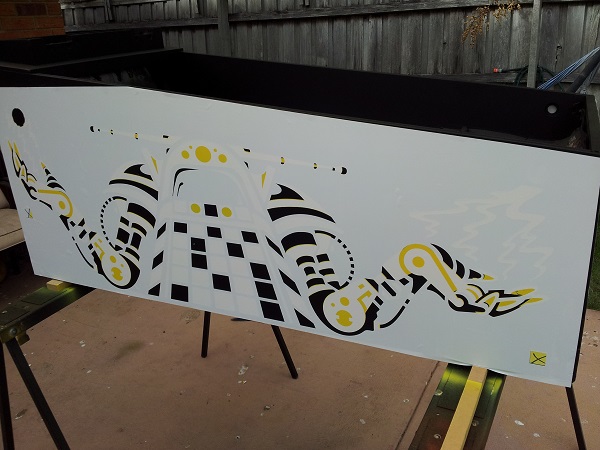
One more thing I will point out in the above photo is the yellow parts you can see exposed – on the Twisted Pins stencils theses would all be black. While this may seem nice since it means you can paint the stencils in any order – it also means your chances of having small black gaps between sections is extremely high. It only needs to be half a mm off and you will notice the misalignment in the finished job. By painting these overlap sections yellow first (as per the original factory design) with the Pinball Pimp stencils, it means that any slight misalignment will not be noticed and there will be no gaps. You pay slightly more for Pinball Pimp stencils, but they are really worth it!
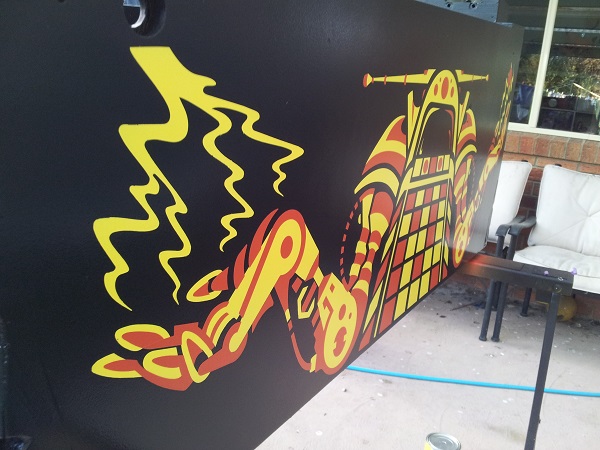
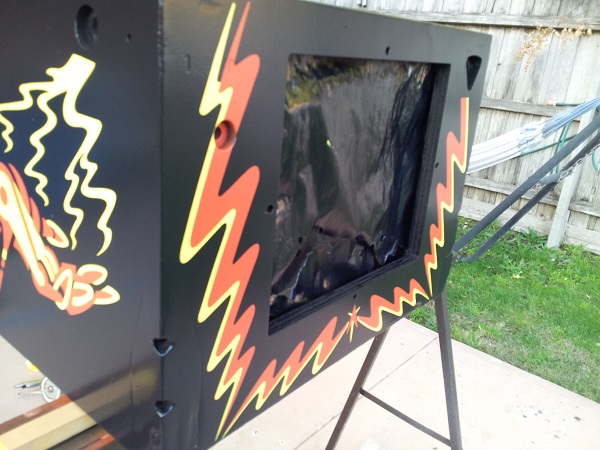
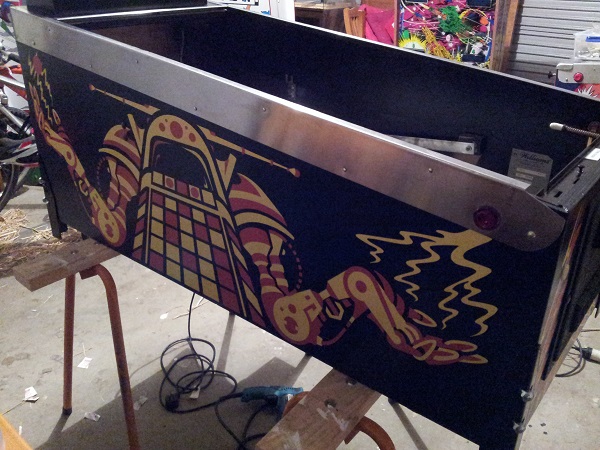
With the red layer done and stencil removed, the paint was left to dry. It’s important to note here the stencils are removed while the paint is wet. So you do multiple light coats and then remove while the paint dries. I took some photos the following day. It’s come up looking great. The only thing now is a clear coat to give it some shine and protection. The yellow doesn’t show up as well in the photos sadly, the camera makes it a lot lighter than it really looks.
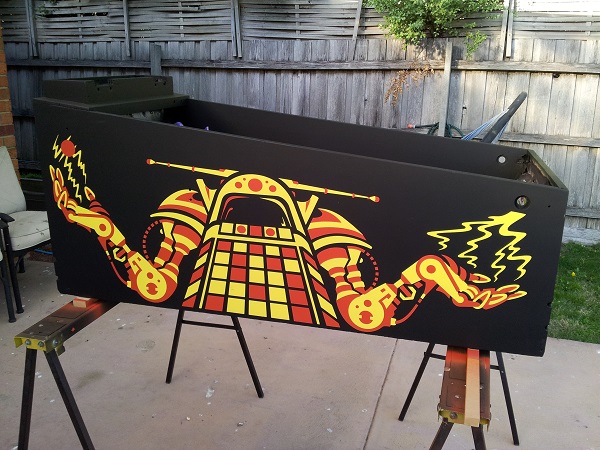
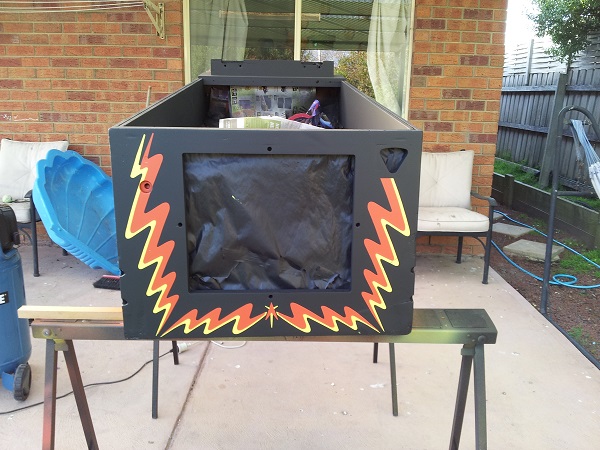
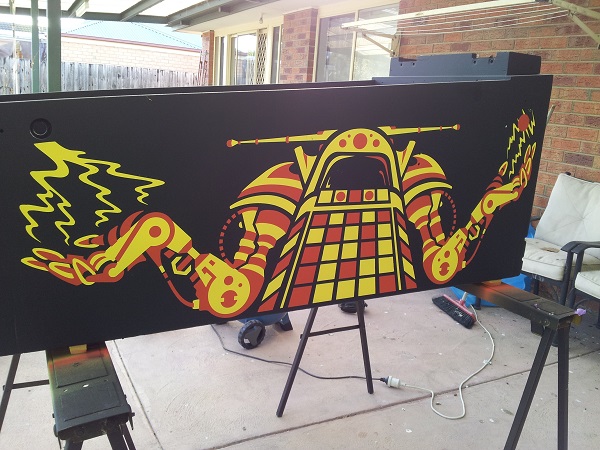
I let the paint cure for a few days before applying the clear coat. There doesn’t look to be much difference in the photos between the before and after for the clear, which isn’t a bad thing. Up close you can see a nice gloss finish. I didn’t want the machine to have an extreme gloss, so the result here is pleasing. I think next time I’ll just use gloss paints instead of satin with a gloss final coat. It just created additional cost and work for myself.
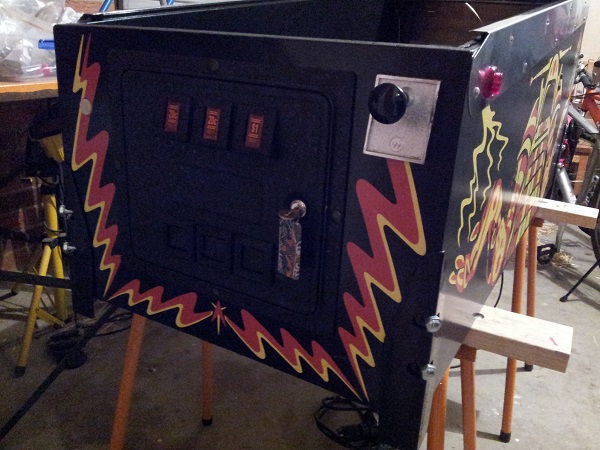
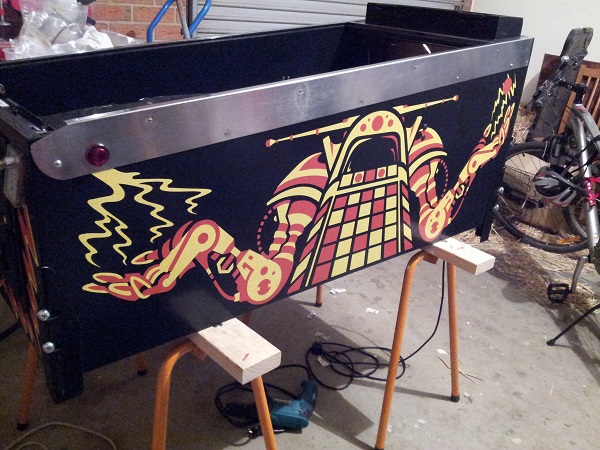
With the cabinet now repainted, it was time to start putting everything back in. This will make my Wife happy since the playfield and headbox have been living inside the house – which was only supposed to be for a few weeks (but now well over 2 months). First up is the glass channel, side rails and playfield hinges. The side rails were cleaned and new nails and bolts use to attach it. I had originally planned to get a new set of rails from Jeff at Railways, but due to the added costs of the second stencil set, I’ve decided to leave them as is. They aren’t terrible or rusty, so a clean should be fine. New spiral nails and bolts were used though. The buttons were also added back in again as were the headbox hinges, coin door and credit button. Four new gliders were added to the back of the cabinet too. The lock down bar receiver has been cleaned up and resprayed. The old “Install 2 balls” label was a write off so a new one was printed and added once again. The plunger was also reinstalled. I have purchased a set of cabinet protectors for the legs. These have been installed for now to protect the corners while I work on getting the machine back together.
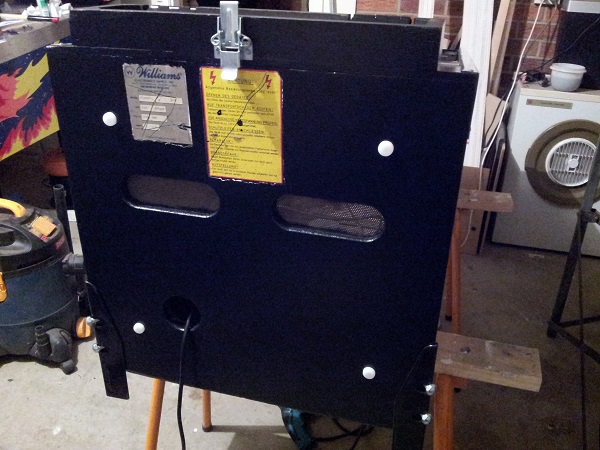
Rather than remove the old labels on the back of the cabinet, I decided to keep them. I was mainly interested in keeping the serial number label. Their age stands out from the freshly painted cabinet, but I wanted them to remain. The headbox clip was also installed again.
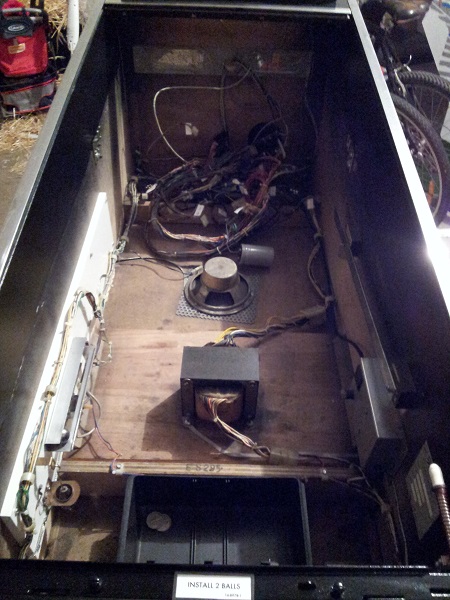
At this point I was just about ready to get the playfield back into the machine. Firstly though, I wanted to clean down the far end of the cabinet. All lose crap was vacuumed up and then the base was wiped down with a damp cloth that had been dipped into warm soapy water. This was then gone over with a clean dry cloth. The cables and wires were all wiped down with isopropyl alcohol and a cloth. This was the best chance I was going to have at getting the cables clean before reinstalling everything. I then threaded the cables up through the hole for the headbox and left them to hangout the back. This should make getting them back into the headbox easier. One problem I countered here was the knocker coil breaking off it’s wires. This was soldered back on easily enough.
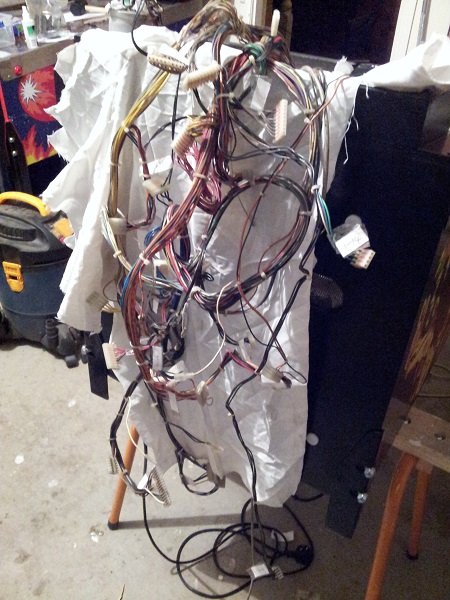
Something else to point out is I replaced all of the earth braid through the machine. I had only planned to replace a small amount. I ordered 6ft from Marcospec awhile back but they sent me 6m instead. After contacting them about it, I was told to keep it given the cost in shipping it back. So I figured no point it putting it to waste. The old braid was removed and the new braid installed in its place. I still have plenty left over to do another machine if needed. The playfield was then installed back into the machine and the connectors joined up again.
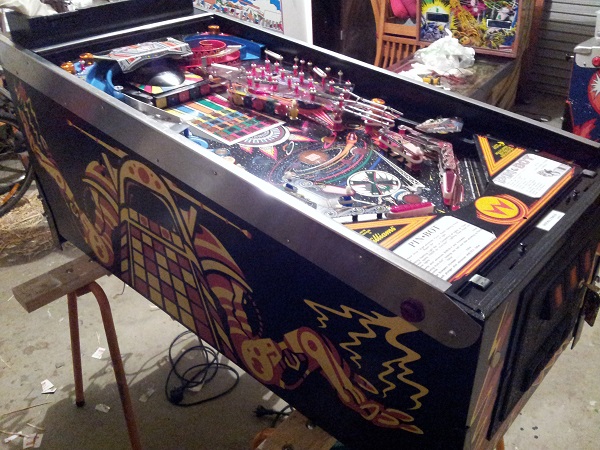
The glass was then cleaned up and installed back into the machine, along with the lockdown bar. It’s finally coming back together again.
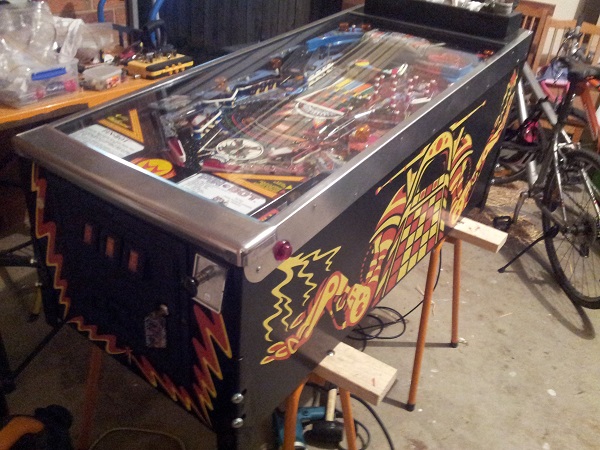
Time to get the headbox back onto the machine. First step was to get the hinges connected again. I left the backglass off while doing this and put a towel over the side rails to prevent any damage to the headbox while getting it into position. The 4 bolts connecting the headbox to the hinges were installed. Now that the headbox was reattached, I could feed the cables and parts back into the headbox and connect everything up again. The headbox was raised into position and the wires connected back up. I labeled each wire with an id (board number / connector number) to help ensure everything was put back in the correct position.
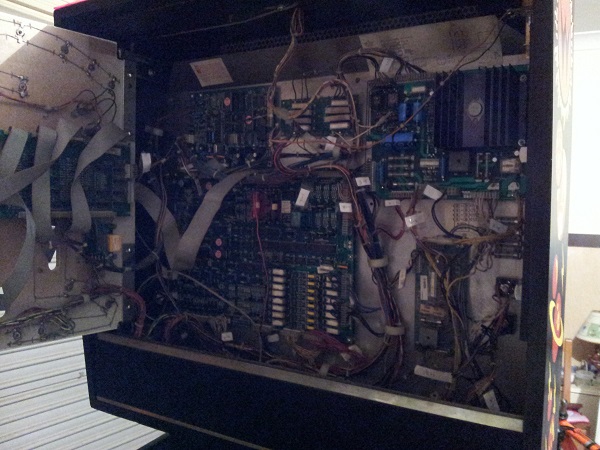
After triple checking all the connectors were in the correct spots and I hadn’t missed any, I powered on the machine. It lit up perfectly.
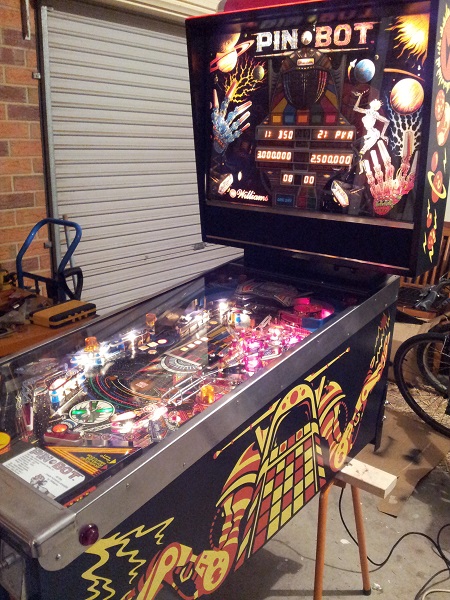
Something I almost forgot about was the Williams (R) decal. I made one up in Inkscape awhile back and printed it to a clear decal. I did a few versions on the same sheet with subtle differences to pick the set I felt was the closest match to the original.
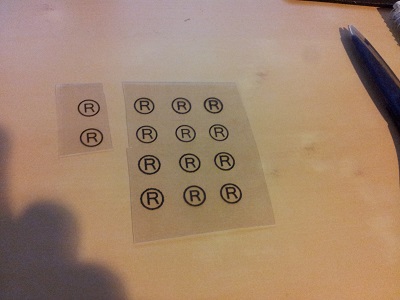
A layer of clear contact was put over the top of it to protect it and the selected R’s were cut out and installed onto the headbox.
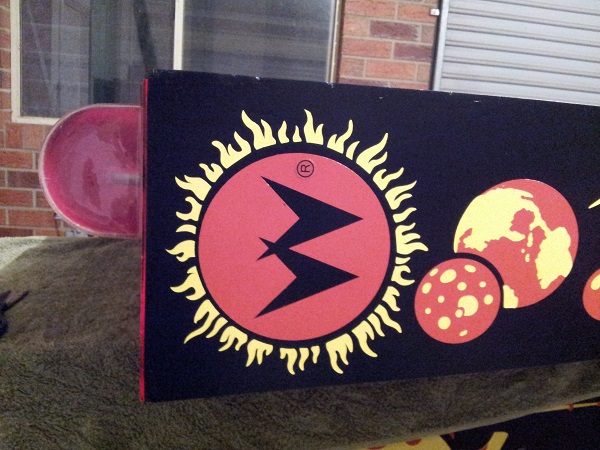
I wanted to test the game to ensure I had not caused any issues with the playfield out and headbox off. I manually played a game by rolling the ball over switches and hitting targets to give it a general test. So far so good – the game responded as I expected it should. I was satisfied everything has been put back together correctly. Next on the to do list are the legs. These were sanded back smooth to remove any signs of rust and old paint. I then gave them 3 coats of gloss black spray paint (both sides). Once happy with the black I gave them another 2 coats of clear to give the black some protection. New leg levelers were added too. For the first time since getting the machine, legs were installed and it was in a playable state.
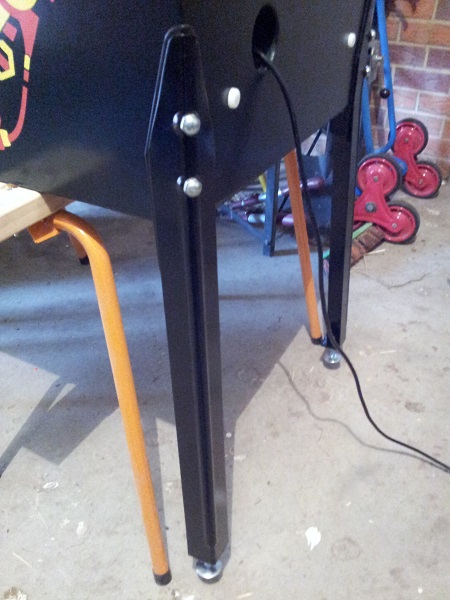
My Pinbot has come a long way since I first brought it home. It started life in Germany and had a tough life there. Spent time packed away in storage and then a container. Every part of the machine has been pulled apart and rebuilt. Repairing a number of issues along the way. Visually it has been improved a lot. There is more I could do, but enough money has spent as it. This Pinbot will live on for a long time to come.
Day 1:
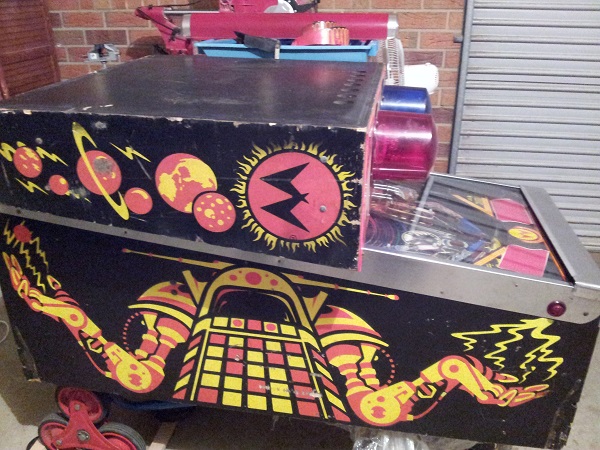
Now:
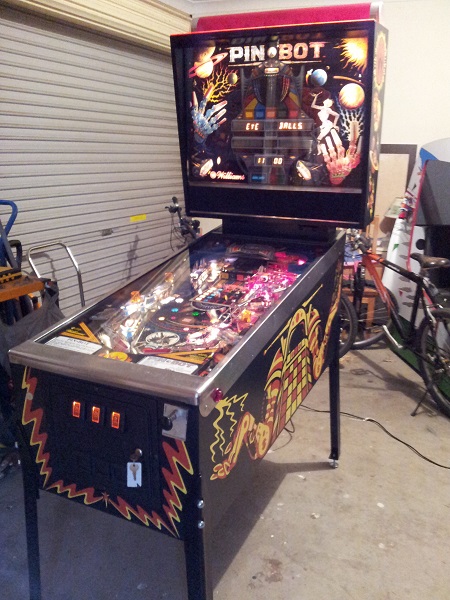
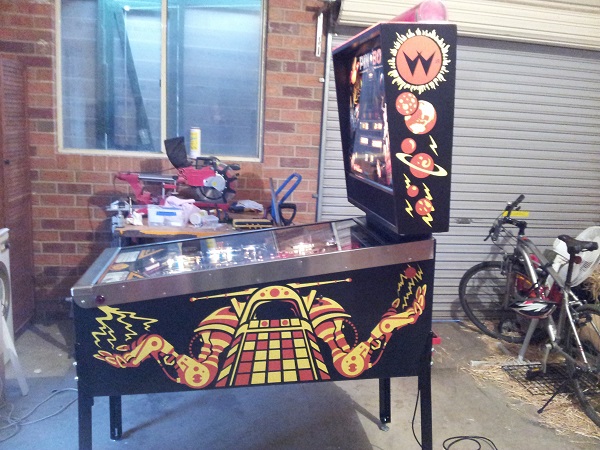
Restenciling the machine was an interesting experience. Aside from the Twisted Pins stencils, I consider it a positive one. It’s not something I’ll be looking at doing on all (or many) machines due to the time, effort and cost. Lot’s of valuable lessons learnt though. It’s a shame in one way that Pinbot was my guinea pig given my love for it, but the results are good enough and it will feed into future projects I decide to restencil.
Is the journey over yet? Not quite. I still have the playfield swap to do. There’s a nice new CPR playfield sitting ready. At the same time, I’ll install the new CPR plastic set that I have. Then I’ll consider this project complete. I’m not sure when I’ll begin that process – maybe in a few weeks time. The machine is playable now, although the raised inserts on the chest matrix impact the gameplay. Perhaps I’ll look at flattening those out while playing the machine for a bit. That will give me a chance to research and plan out the playfield swap. So the adventure continues.. 🙂

Nice job!
I’m about to tackle the same job. I’m ordering my stencils from the pimp today. I was hoping you would mention more about paint brand and color. Im stationed in Panama at the moment and will need to order my paints from the U.S.. I haven’t seen any places to have things color matched here. Can you share the brand and color you used?
Thanks, Tony
Hi Tony,
Good choice on the the Pinball Pimp stencils – they are good quality and Jeff is a good bloke. I hope he continues to add more stencils to his range. With regards to the colours, I don’t recall the brand. I ended up borrowing a colour book from a local paint shop and then matching them as best as possible. Originally I used a pantone colour book and got an accurate match, but the paint stores couldn’t do the colours. Since you’re painting the entire area, getting an exact match is less of an issue (compared with touching up areas). I’ve seen a few people mention using Krylon paint and using “Sun Yellow” and “Banner Red” for the colours (black is just black). From what I’ve read, the colours varied slightly also as the machines were painted in different locations with some variations in the types of paint used – so even getting an exact match against one machine, will not match some others.