
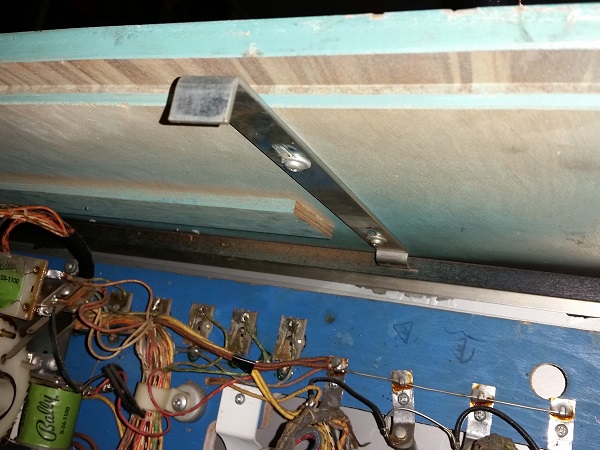
With all the globes on the playfield replaced in a previous update, it was time to give the same treatment to the headbox globes. While most were still working (these will be put aside as spares), I like to swap all the globes over when I get a machine. Maybe a bit of overkill, but I at least then know how old they are. Same goes for the rubbers, ball and batteries (not required here obviously). First step was to get the backglass out. Inside the top panel of the headbox are two metal leavers which you pull out – this then allows the backglass to be lifted.
backglass
All posts tagged backglass
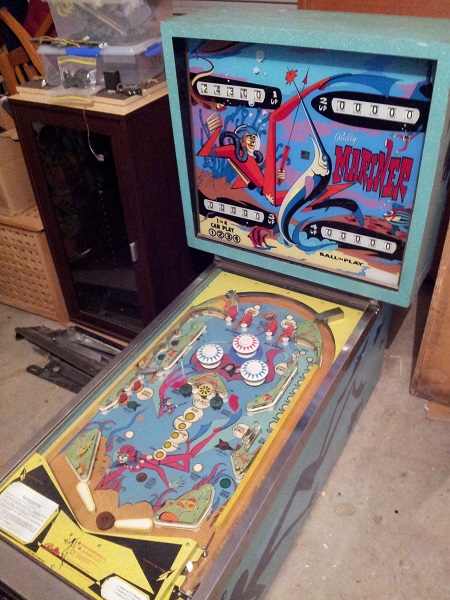
One of my favorite times has arrived again – it’s NEW project time! Just as good as NEW pin day in my book 🙂 This time around, I’ll be performing a repair and service on a 1971 Bally Mariner machine that has made it’s way here from Germany. I’m stepping outside the comfort zone I developed while working on solid state machines and diving into an EM project. All of my Pinball projects to date have been solid state machines that were built between 1979 to 1986. I’m pretty excited about this project as it’s a chance to look at something different and gain more experience with EM’s.
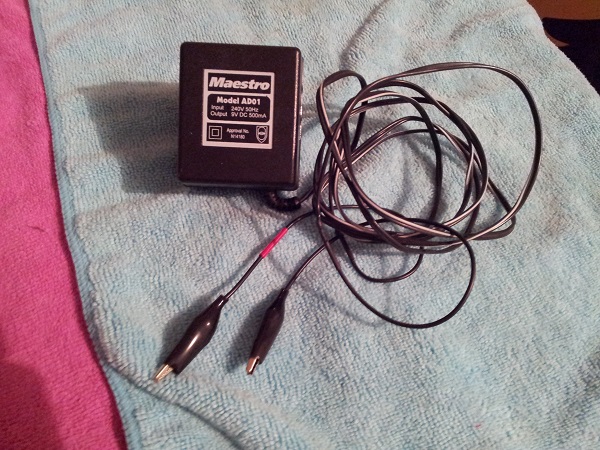
Continuing on from my previous update, the non working display is first on my hit list for this post. I’ve checked the cables and swapped the displays around to verify that the issue is indeed with the display itself. Last time, I tested the two UDN6118 chips on the display and they were OK. I did this on the chip pins however and not the solder joins on the rear of the board. This time, I flipped the display over and tested the chips using the joins. Both tested OK again. After some further research I decided to modify an old power pack that can refresh the displays by burning off the crap that becomes attached to the filaments. I was hopeful that the issue was simply a very faded display. For this, I found an old powerpack for a 28.8K modem I purchased back in 1995 or something. I’m amazed I still have it. It’s rated at 9V and 500ma. I replaced the connector with two alligator clips. I put some red tape around the positive lead.
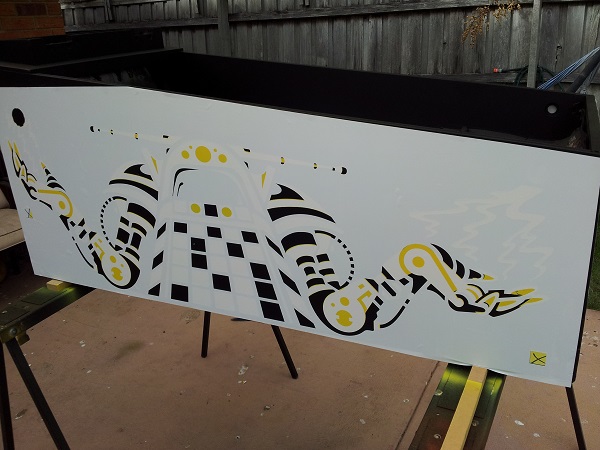
After the Twisted Pins drama, it’s good to be bringing the cabinet work on Pinbot to completion. I’m tempted to do a write up comparison between the two different sets of stencils to highlight the pros and cons. But i’ll save that for another day. For now, it’s time to finish off the cabinet and get the machine back together. At the end of the previous post, I had sanded off the paint from the Twisted Pins stencils and repainted the black. The yellow layer was done first. This stencil layer has two registration marks which it leaves on the cabinet when pealed off. This is an incredibly easy system to use and get right. I like that Pinball Pimp has included these as it makes lining up the second layer easy. The stencils also have the correct bleed and traps, which means the final result will look accurate. Here the second stencil has been lined up and is ready for the red paint.
The last few updates I’ve done have been rather small.. It’s time for a jumbo picture update. In this post, I’m turning my attention to the door of the headbox (something you don’t often see covered in restore threads, so I’m glad to be covering it). It requires a decent clean and there are a few issues I need to investigate (I’ll get into as I go along). I also want to sort out the translite and glass with the aim of getting the backglass installed too. The main thing I wanted to do though is clean the door and head to remove as much of the dust that had built up over the years. Once I started on this path though, it ended up being a bigger job than I had originally thought.
The starting point – the door.
