
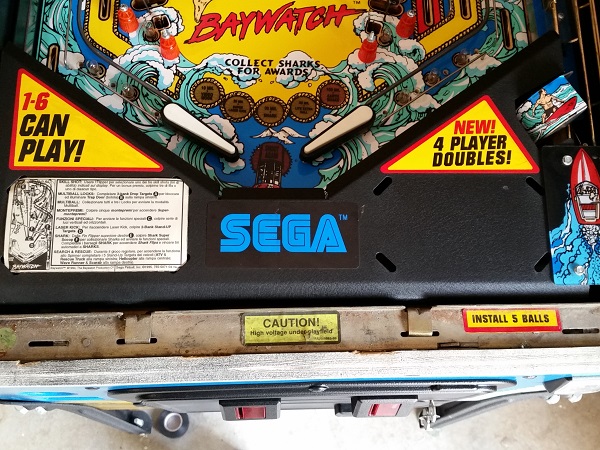
As mentioned in my previous update, progress has been moving pretty smoothly so far on the Baywatch overhaul. Part of the reason for this is due to working on a few things at the same time. I had been waiting on a couple of parts to arrive for the flippers in the previous update, so started work on the apron area. That way I kept making progress and it ended up being completed around the same time. It doesn’t always work out that way, but I like to keep things moving forward as much as possible so the owner isn’t without their machine for too long. As a result, you’ll see some photos in this update which contain progress from the flippers and slingshots in the previous update 🙂 Anyway – this update is solely focused on the apron area. This includes the ball trough, ball serve, shooter, up kicker and ball save assemblies. There is one problem I need to look at too, which is the ball not being served to the shooter lane correctly. Often it takes 3+ attempts to get the ball into the shooter lane. The metal apron is in excellent condition, as are the decals. A few small scratches are present on the SEGA logo, but nothing worth worrying about. The old instruction card (in Italian) will be replaced by the time I’m done. Two very minor scratches on the metal (just to the right of the SEGA decal) will be touched up with a very small amount of satin black, so you’ll never see them.
Plunger
All posts tagged Plunger
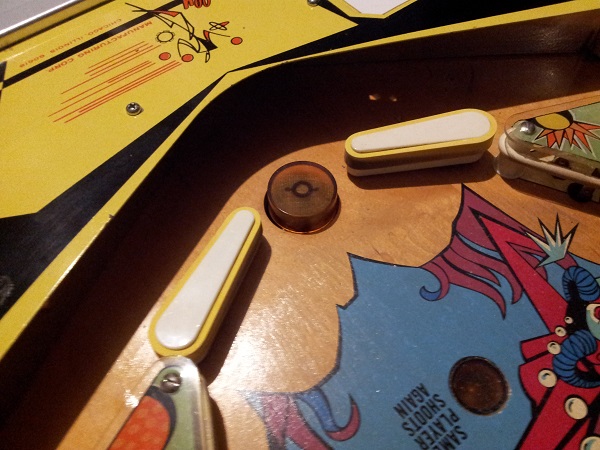
With the apron area completed in the previous update, it’s time to move up the playfield and service some more of the assemblies that make up the game. Shifting my focus about 3cm higher than the apron, the first feature to look at in this update is the “up post”. This feature is pretty cool in game and a welcome addition given the lack of in lanes beside the sling shots. I’ve covered it slightly in previous updates where I sorted out some issues with it not functioning correctly, but this time i’ll be pulling it to pieces for a good clean.
On my to do list for awhile has been rebuilding the flippers. I only have one flipper kit at the moment, but that’s a start. I’ve decided to rebuild to upper set of flippers as these areas are the dirtiest of the two sets and also have plastics and posts that can be cleaned up and installed again. On the right hand side of the playfield we have a single outlane and a single in lane that sit behind the upper flipper. The flipper position is where normally you would expect to have a slingshot. The artwork damage isn’t as bad on this side as it was on the left (when looking at the sling shot). The condition of the plastic is unbroken and just dirty. There is another post cap missing, but I have plenty of spares to cover it.
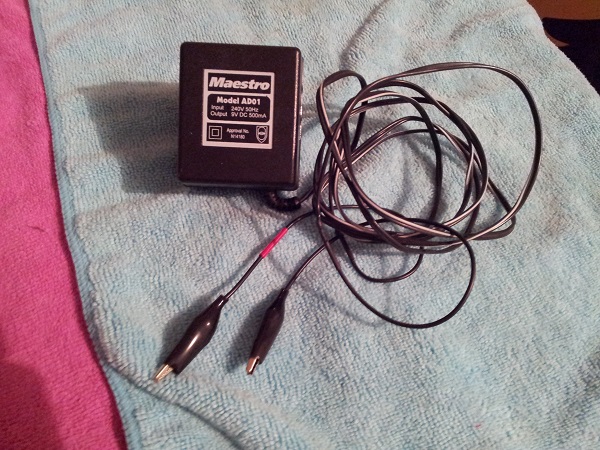
Continuing on from my previous update, the non working display is first on my hit list for this post. I’ve checked the cables and swapped the displays around to verify that the issue is indeed with the display itself. Last time, I tested the two UDN6118 chips on the display and they were OK. I did this on the chip pins however and not the solder joins on the rear of the board. This time, I flipped the display over and tested the chips using the joins. Both tested OK again. After some further research I decided to modify an old power pack that can refresh the displays by burning off the crap that becomes attached to the filaments. I was hopeful that the issue was simply a very faded display. For this, I found an old powerpack for a 28.8K modem I purchased back in 1995 or something. I’m amazed I still have it. It’s rated at 9V and 500ma. I replaced the connector with two alligator clips. I put some red tape around the positive lead.
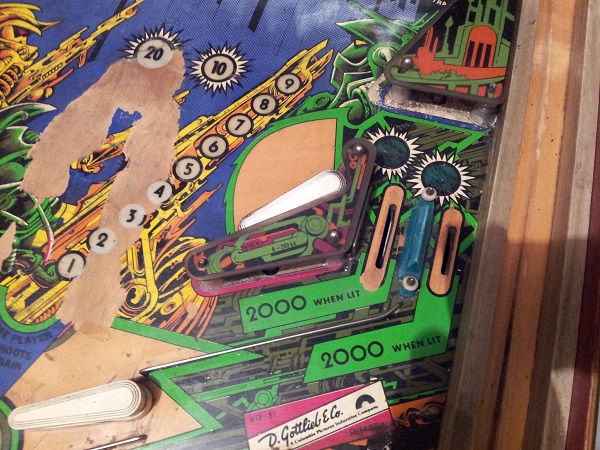
While I haven’t quite finished my previous (or should I say current) project – Pinbot, a new project popped up a few weeks ago that felt like a good opportunity – so I grabbed it. This time, I’ll be looking at a Counterforce machine by Gottlieb. It’s part of the Star 80 series and was released back in 1980. This particular machine started life in Italy, before being imported here to Australia. I was attracted to it as the gameplay looks kind of neat – seems like a mash of missile command and space invaders played out on a pinball playfield. Plus it’s an opportunity to work on a System 80 machine, which is something I’ve not yet done – so it should be an interesting experience. My last few projects have been restorations where I’ve spent a bit of money doing them up. But this project will be a little different. Due to the damage on the playfield, the machine won’t gain much value with everything else restored around it. The detail in the artwork makes it impossible to paint or touch up. Therefore, my plan is to keep spending limited. Any worn or damaged parts considered important will be replaced (globes, rubbers, broken drop targets, coil sleeves, etc). Anything that is still usable will be cleaned up and put back into the machine. So the goal here is to service all parts of the the machine, clean it up (wow does it need a clean) and repair anything broken to make it a fully functional game once again. I’ve set myself a reasonable budget to prevent over capitalising on it, but I may run into some nasty surprises along the way. So we’ll see how that turns out 🙂
Continue Reading