On my to do list for awhile has been rebuilding the flippers. I only have one flipper kit at the moment, but that’s a start. I’ve decided to rebuild to upper set of flippers as these areas are the dirtiest of the two sets and also have plastics and posts that can be cleaned up and installed again. On the right hand side of the playfield we have a single outlane and a single in lane that sit behind the upper flipper. The flipper position is where normally you would expect to have a slingshot. The artwork damage isn’t as bad on this side as it was on the left (when looking at the sling shot). The condition of the plastic is unbroken and just dirty. There is another post cap missing, but I have plenty of spares to cover it.
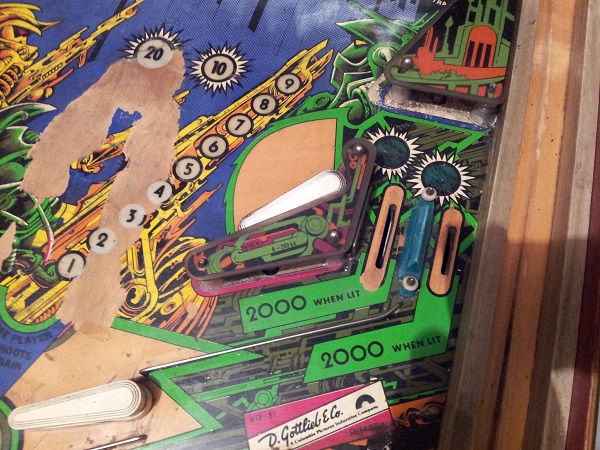
The lane guard and plastic were removed. You might notice the dirt around the apron area – that’s because some of these early photos were taken a few weeks back when I was working on the apron. I was’t worried about leaving the playfield in a playable state as I progressed, so jumped ahead and removed all posts and plastics earlier for cleaning to do them in one go. The apron area was cleaned up nicely a few updated back.
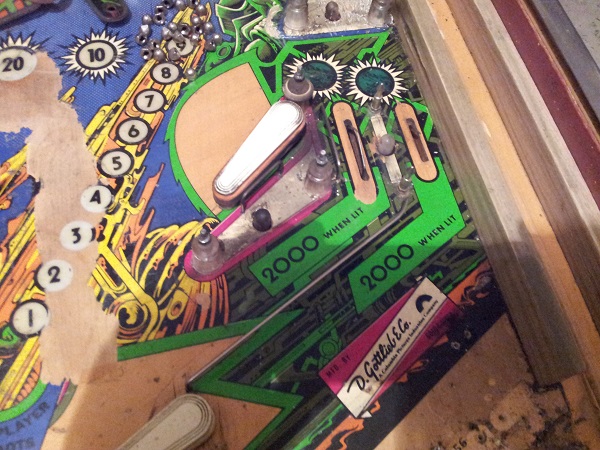
The star posts and bulbs were now removed, leaving a dirty playfield to clean.
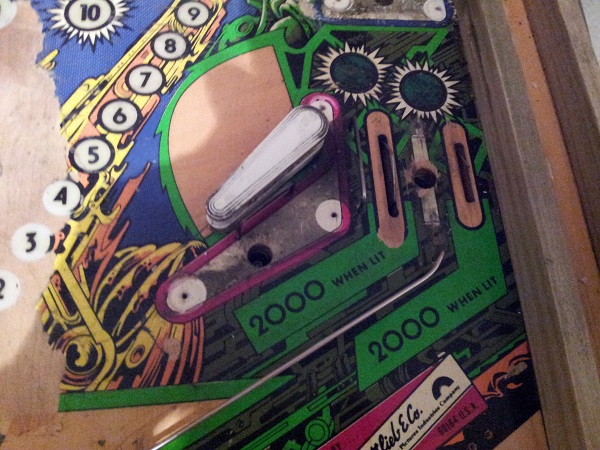
Before I clean the playfield, I’ll remove the flipper bat and assembly to make the process easier. The playfield was lifted so I could remove that flipper assembly. Everything looks in place and no obvious issues. I know the flipper works from testing, which is a good start.
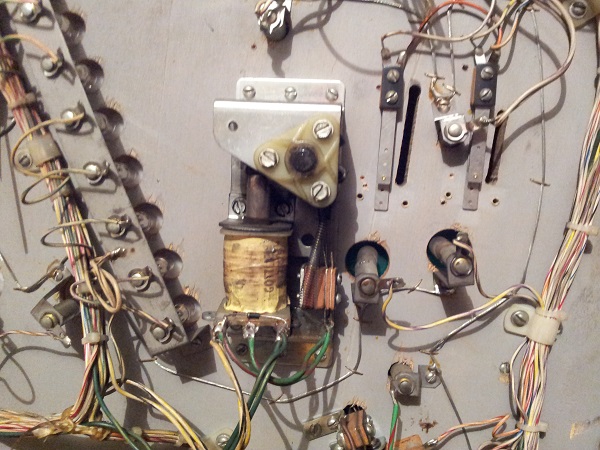
The flipper bats and assembly were put aside for cleaning (I removed the left flipper bat at the same time). A flipper rebuild kit will be used to replace most of the core parts and I’ll clean the rest up. Should look good (and operate well) once done.
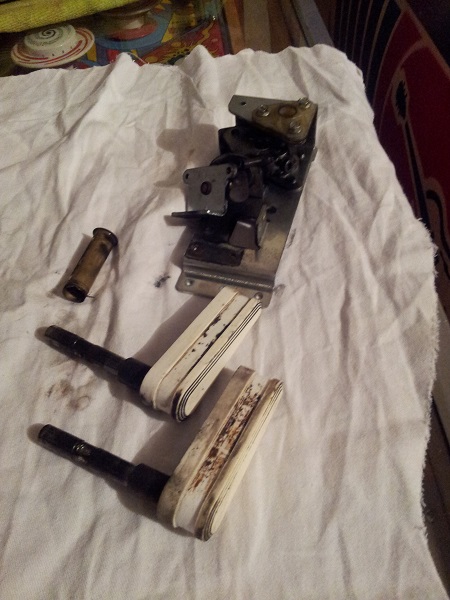
With all the parts off the machine and disassembled, I was ready to give them a clean. They were all covered in black dust. The reverse side of that base plate was the worst and was completely black. It’s probably the dirtiest flipper assembly I’ve dealt with to date… (and I’ve got 3 more of them to do).
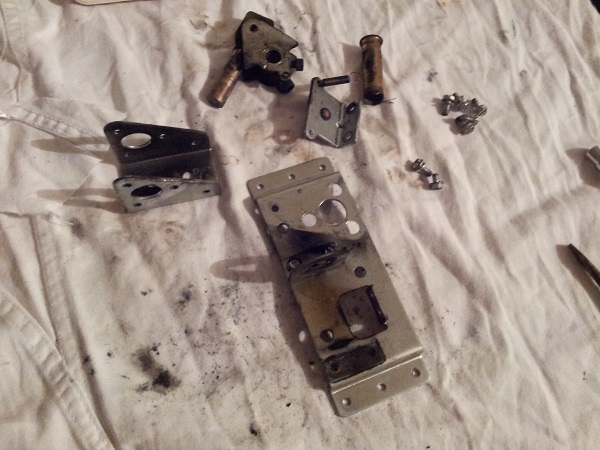
The flipper bats were cleaned up and polished. All sticky crap on the bat shafts was removed. New red rubber was added to each. All the metal parts from the flipper assembly were wiped down to remove lose black dust. Each part was then attacked with steel wool to remove the caked on bits. After that I used isopropyl alcohol and a cloth to clean each part up. New parts from the flipper kit are ready to go. It’s looking much better now.
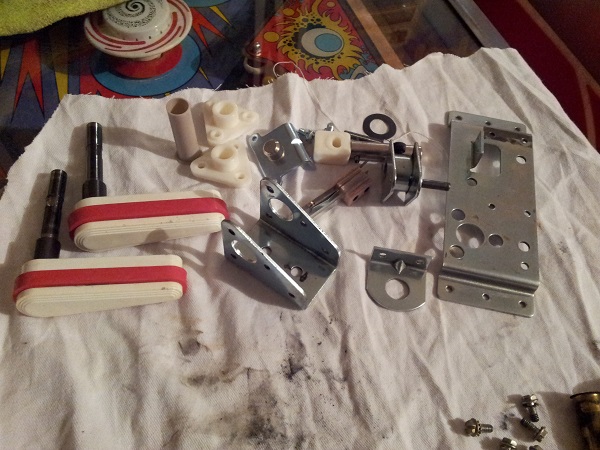
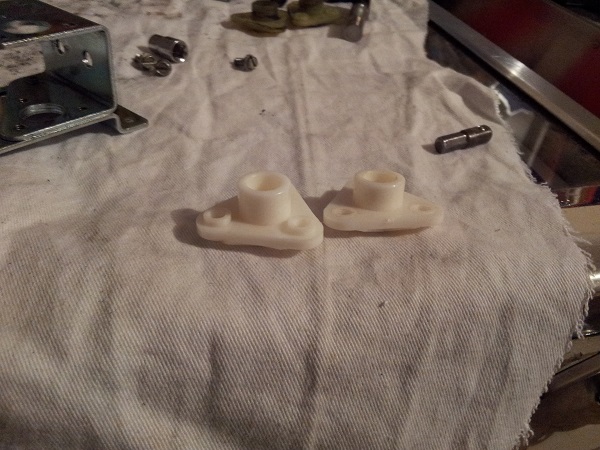
Something that initially caught me out when putting the flipper assembly back together again was the two flipper bushings – they are slightly different (around the screw holes). It’s fairly obvious when you go to put one of them back it that it isn’t designed for the spot, but I thought it worth mentioning since I had just assumed they were they same when I first opened the kit.
The basic parts of the assembly were back together again. The old plunger and link was replaced with the new one. That was probably the toughest part – hitting the pin out so I could remove the old link. It’s now ready to go back into the machine.
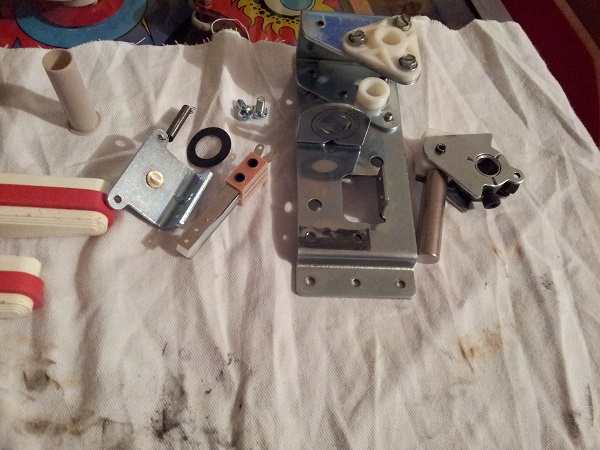
The next step was to replace the old EOS switch with the new one. Once done, I was ready to install the flipper assembly back into the machine. I worked in reverse, adding the parts back onto the underside of the playfield. Last up was getting the coil back into place with the coil stop. With the assembly installed again, I added the flipper bat back into the machine and tightened up the two screws holding it in place. I decided to swap the left and right flipper bats over as the screws had worn into the bat shafts over time. By swapping them over, the screws will bite into a fresh section of the shaft.
Meanwhile, the topside of the playfield was cleaned up and then polished with Novus. The metal posts, star posts and switches were installed back into the machine, along with a new lane guard. The flipper is looking much better.
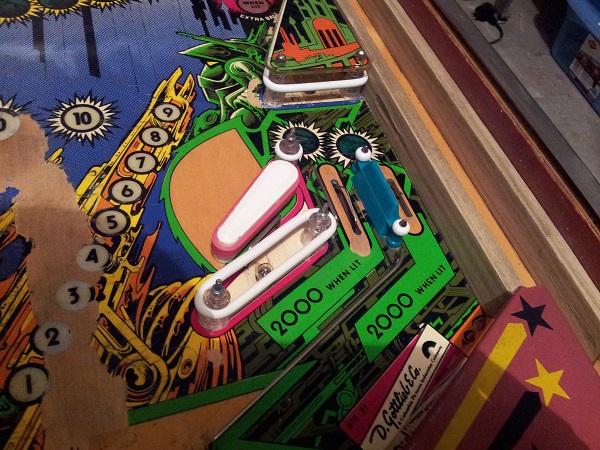
Lastly, the cleaned plastic was added back on to finish the task.
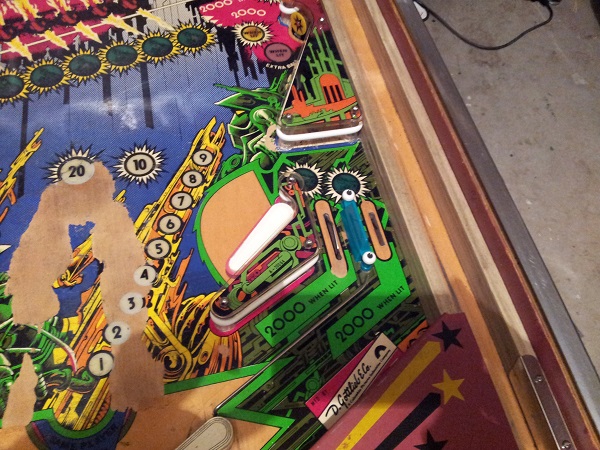
That’s the upper right flipper rebuilt, now it’s time for the left. Same old story, very dirty. It works though, so it’s a good starting point.
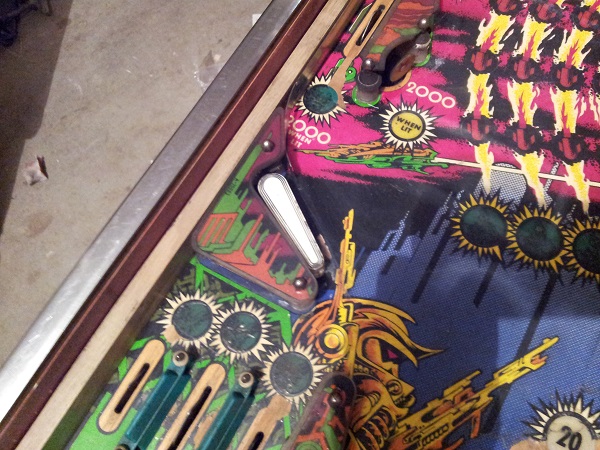
The plastic, star posts and flipper bat were remove for cleaning.
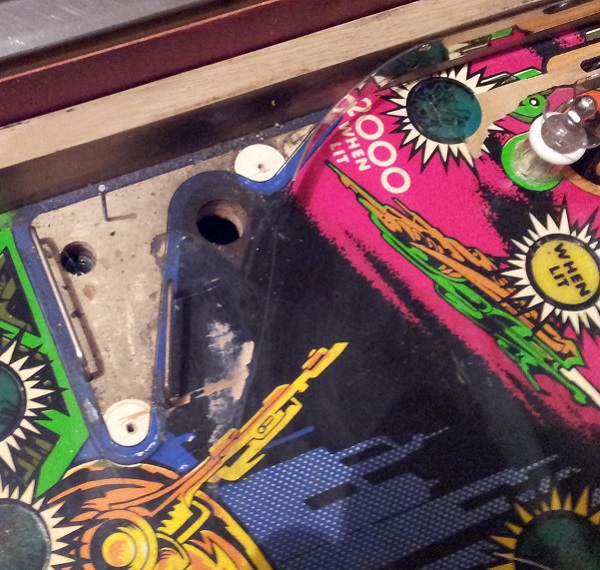
I won’t post another set of photos for the second flipper as it’s just the same as the last really. The flipper was rebuilt with the same steps and new parts. The only difference on this side was 2 screws missing from the flipper bushings. The missing screws were replaced with suitable alternatives. The assembly was rebuild and flipper cleaned with a new rubber added. Everything was put back into the place.
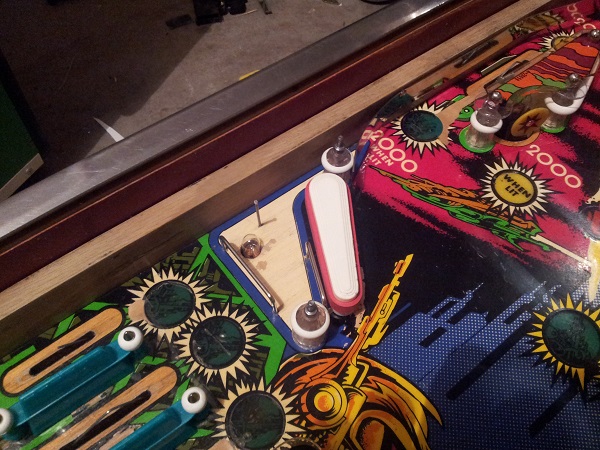
To finish the flipper off, the clean plastic was added back on. I added clear lexan washers on under the plastics on both flippers to add some protection against damage to either plastic. The upper flippers are looking much better now and will work great for a long time to come.
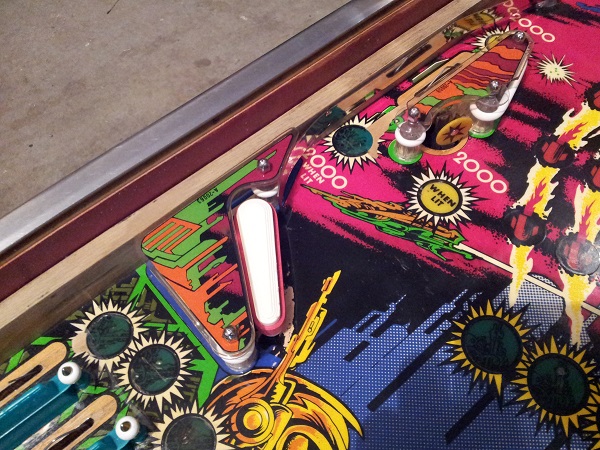
Something interesting I noticed on the upper left flipper was this small metal frame located next to it, which is empty.
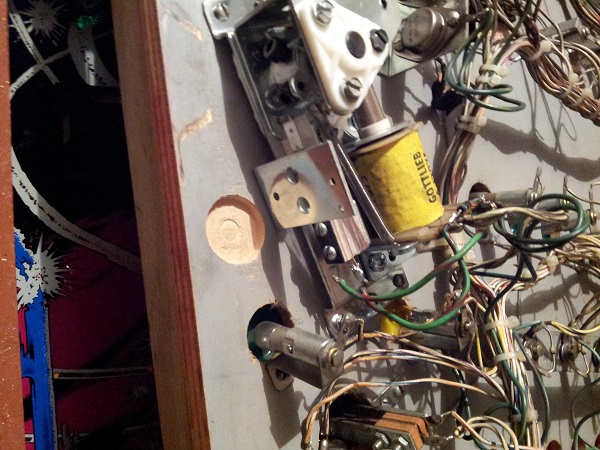
It matches other small frames under the playfield which are used to hold various transistors like these:
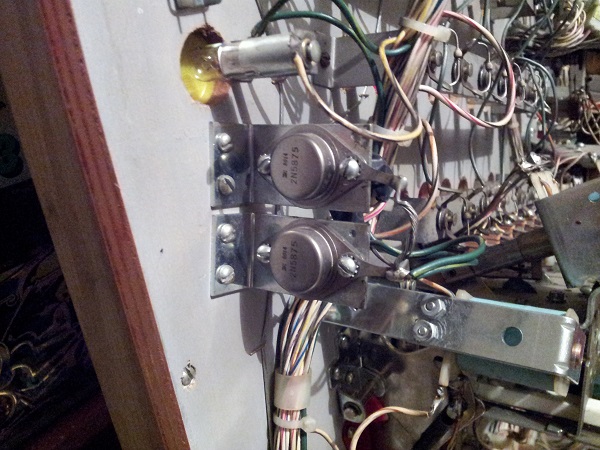
I couldn’t find any loose wires or hacks in the area to indicate it was once populated. Looking at csdb I could see the same frame in a couple of under playfield photos, which showed it to be empty too. Not sure on why exactly it’s here. Been seems it’s been left empty on purpose – perhaps to protect the EOS switch from the playfield stand? Anyway…
With the upper flippers rebuild, I decided to more on. Next up I wanted to replace the globes on the bonus lamps and clean them up. There are 11 in total. Nine of them sit in a bank of globes while the others are split off (for 10K and 20K bonus). The bank was filthy and needed a good clean. One of the globes was smashed.
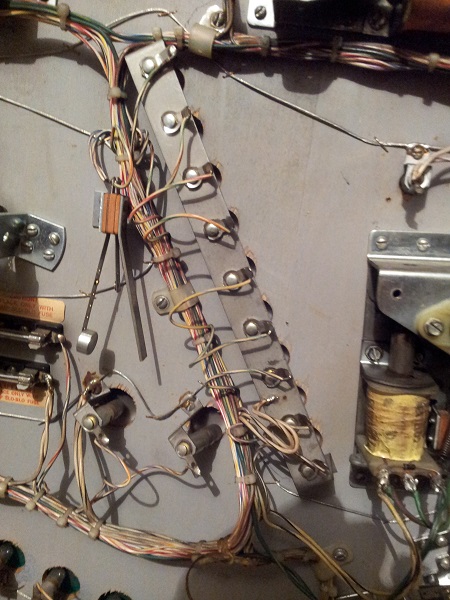
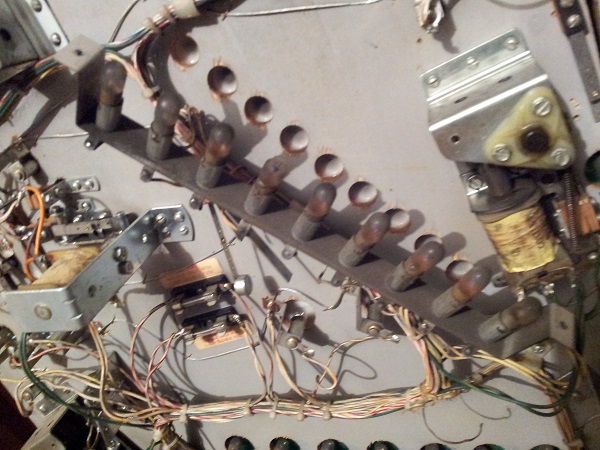
The underside of each insert was also wiped down to remove the crap that had collected there over the years. New bulbs were installed and the bank put back in place. I replaced the bulbs and cleaned the inserts on the 10K and 20K bonus’s too. On the top side of the playfield, the area around the bonus lamps was cleaned up with all dirt and crap removed. Eucalyptus oil and magic eraser work really well together. The remaining mylar was rough around the areas where its removal had been attempted. I carefully trimmed this back with a sharp hobby knife. Using some heat, I was able to remove the cracked areas of mylar around the ball drain area too, which helped clean the area up further. It’s looking much nicer now.
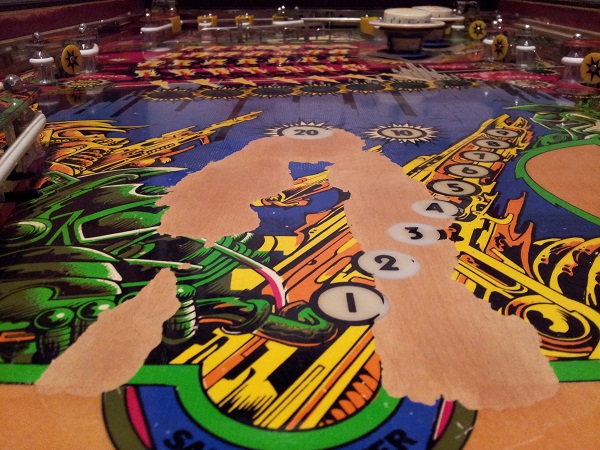
I don’t intend to do any art touch up. I’d rather have bare wood visible than a crap touch up job. I will put some new mylar down in this area to prevent further damage being done however. Now to take a break from the playfield and knock over a few other things on my to do list.
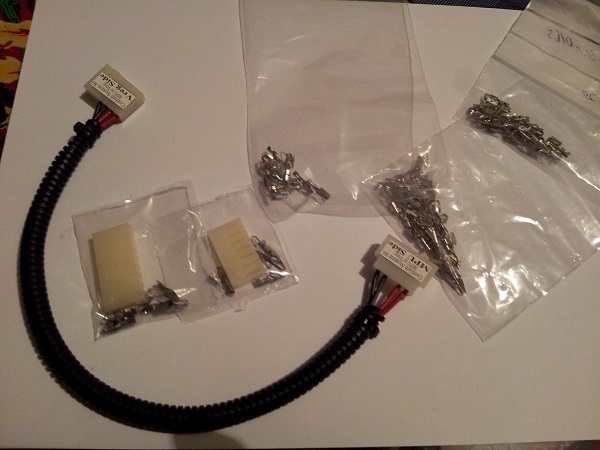
My parcel from Docent arrived this week, so I could now return to the head box and finish off the last few things there. First up was the connector that runs from J2 to the CPU board. I noted in an earlier update that the power board had been installed upside down. When I went to correct this, I found the cable that ran from the J2 connector to the CPU board was not long enough with the board installed correctly – I’m guessing this cable (or its connectors) had been serviced in the past, and resulted in the wires being shortened. Docent sell a complete cable, so decided to get a new one to replace the old. You can see the length difference here.
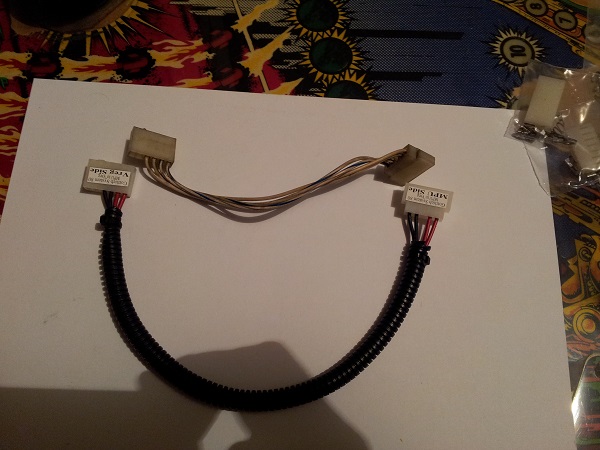
With the power board installed correctly too – it means the J1 connector is under less stress. Because the board was installed upside down, the J1 connector was higher on the head box door, which meant one of the wire trunks was forced to be lifted higher without additional support. This extra weight was adding stress to the male connector pins on the board. I wanted to repin the other two connectors on the power board also. Since I had an order with Docent, I decided to include some new connectors and pins to do this.
The connector carrying power from the cabinet to the headbox joins to the J1 connector on the power supply board. Its pins were burnt. Although the machine is running OK, repinning this was high on my to do list. The two pins on the left have already been redone at some point in the past as they are no longer IDC like the others, but a crimped style.
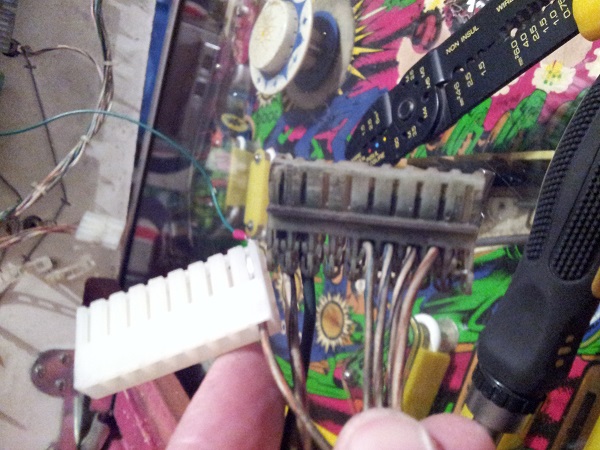
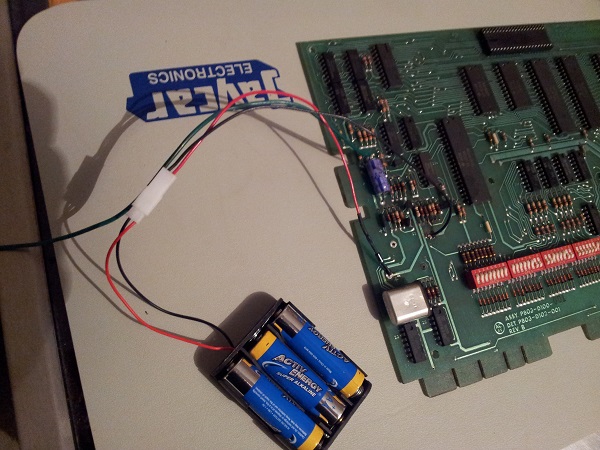
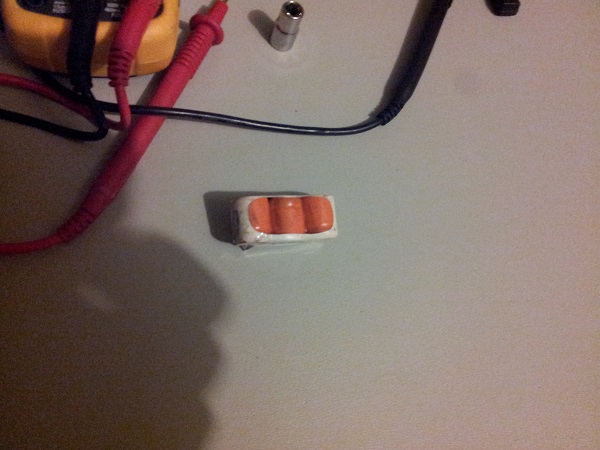
The two connectors were finished up and the new cable installed. I wanted to clean up the edge connectors on the cpu board so removed that for cleaning. Each of the edge fingers were cleaned up. The original battery had been removed long ago and replaced with a more reliable Nicad version. But even these are at risk of leaking on the pcb. I decided to replace this with a remote battery holder instead. This battery pack also has a small connector on it which can be disconnected to remove it from the cpu board if required. Naturally a blocking diode was put in place for this.
In my order from Docent, I included a rebuild kit for the CPU to drive board cable. It included all the crimped wires and a small extractor tool to remove the existing pins. It also includes an extra 5V and ground wire, which is a standard upgrade for this connector.
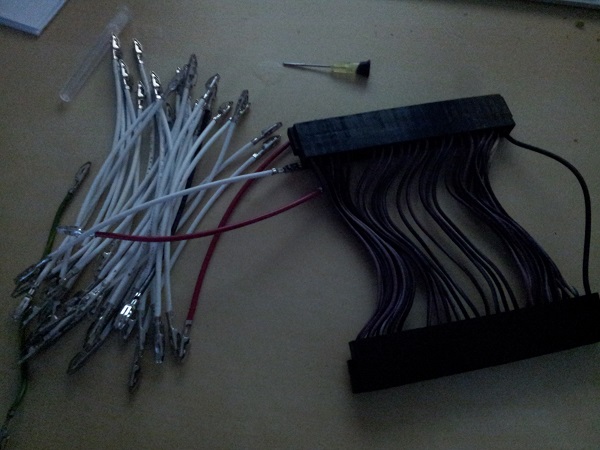
After about 15 – 20 minutes, I was done and the cable ready to be installed back into the machines.
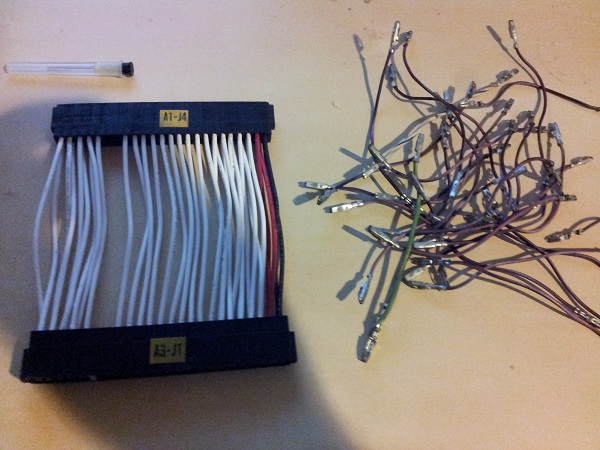
The last bit of work to do in the headbox was repin the two display connectors on the CPU board and also the J3 connector on the driver board. The display connectors were repinned without issue, but the J3 connector will have to wait for another day. I don’t have the Bifurcated pins to do this. I’ll be sourcing these shortly.
What’s remaining? The coin door needs a good clean and a bit of a face lift. The pop bumpers both need to be rebuilt and the drop target bank given the same treatment. The lower set of flippers also need a rebuild. I may look to clean the legs up shortly too, so I can have the machine set up to play once those final things are done. Overall though it’s coming together and hopefully I’ll have it set up to play shortly.
