
First on the agenda for this update was cleaning the underside of the red missile inserts and replacing their old bulbs. All 28 of them. Yes, that’s as exciting as it sounds…. Each row of 7 lamps are attached to a bank which can be unscrewed allowing better better access to the bulbs. But because each bank is wired to the next, it’s fiddly to get the bulbs in and out of. All the existing bulbs are #44’s. These will be replaced with #47’s.
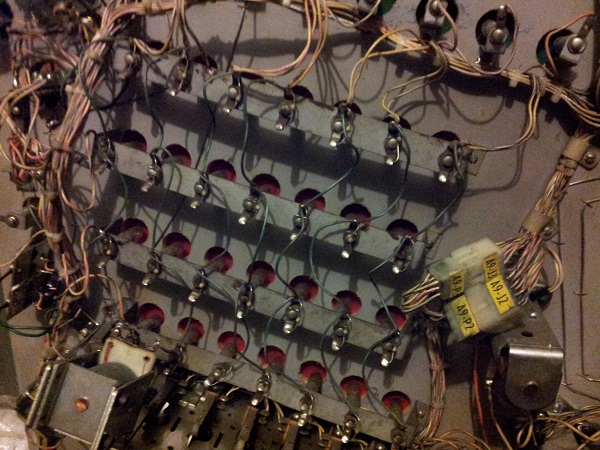
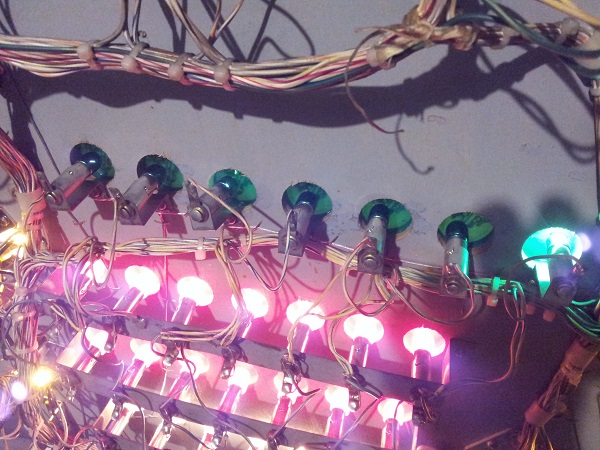
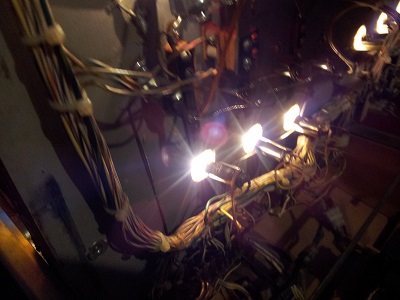
The banks were very dirty and wiped down as best as possible. Again, it’s made difficult with all the wires running between the banks. Once all the inserts were cleaned and the bulbs replaced, all banks were screwed back into place. I decided to use red covers on the lamps for the missile inserts. The inserts light up nicer now, which helps improve the presentation of the playfield during play. Since I was replacing bulbs, I also added green bulbs to the green inserts. These ones are easier to replace since they are not part of a bank and are instead individual lamp sockets. There are 14 of these. The underside of the green inserts were also wiped clean. That’s all the bulbs on the machine now replaced.
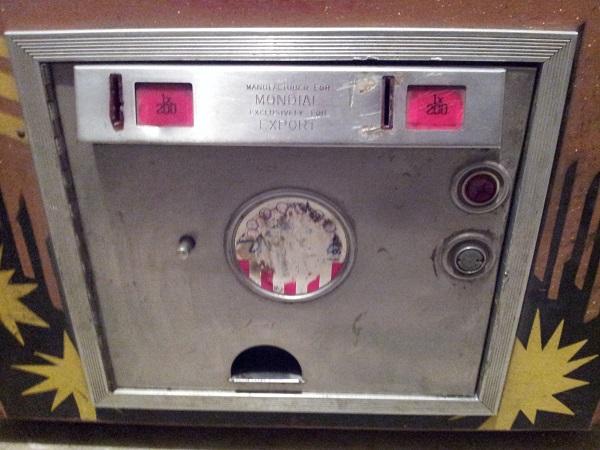
Now onto something a little more interesting. The coin door has been sitting patiently at the front of the machine waiting for it’s turn. The door is a little roughed up, but I think with a decent clean it will look good. The goal here isn’t to make it look like new as it will highlight the aged cabinet paint and scratches. I just want to improve it’s appearance. I have a new decal and a replacement lock to install. I would like to do something about those old pricing plates too. When I get them out i’ll evaluate if it’s possible to reuse them.
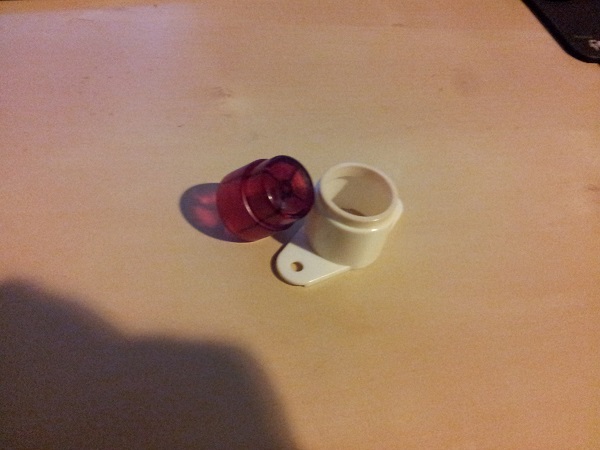
The replay button was removed from the coin door for cleaning. It’s undamaged and just dirty.
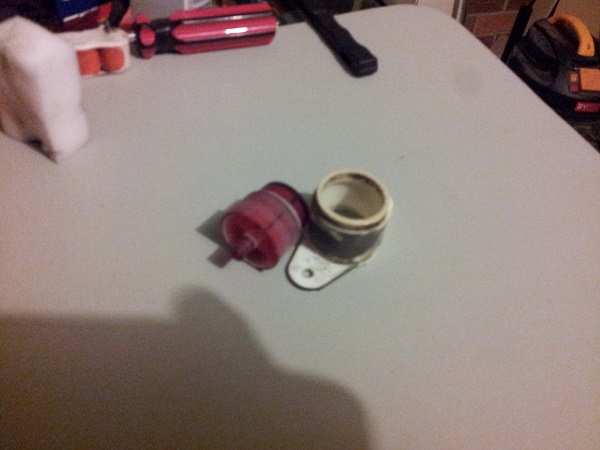
After a clean with warm soapy water and a polish up with some novus, it was ready to go back into the coin door once complete. The metal backing plate was wiped down with steel wool to remove built up crap that had become attached to it.
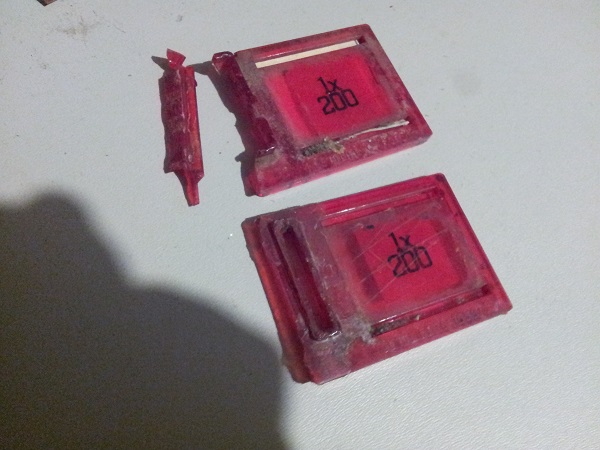
The coin entry plate can be removed via 2 screws inside the door itself. Once removed, you can also get at the pricing plates. The left window is slightly bent and it looks like it’s been hit with something. Hopefully I can straighten that out. The entry slot for the coins in the pricing plates have been hacked at over the years. I’m tempted to replace them.
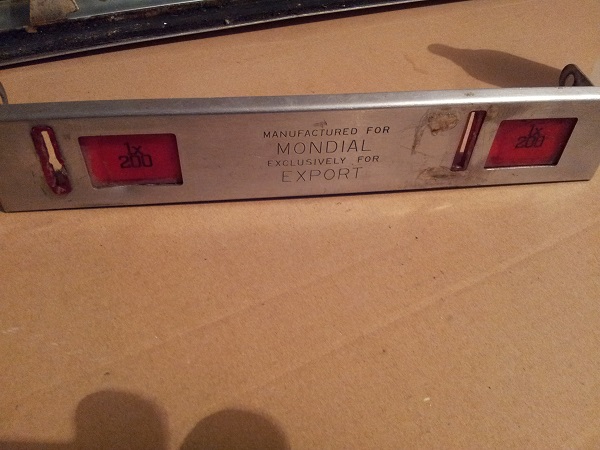
The pricing plates are locked in by a small metal frame at the base, with three screws holding it in place. I’ll be pulling this apart for a good clean.

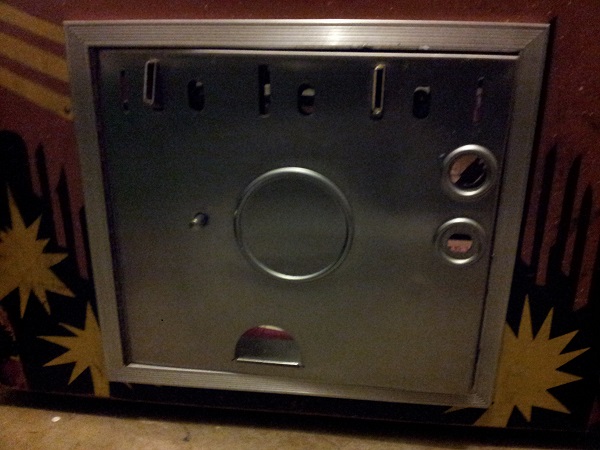
With most of the parts out of the way (except for the coin return button), the front of the coin door was cleaned up. The old worn decal was stripped off and the left over goo removed. The back of the coin return trough was removed also to allow better cleaning of the return hole. The frame was also given a clean.
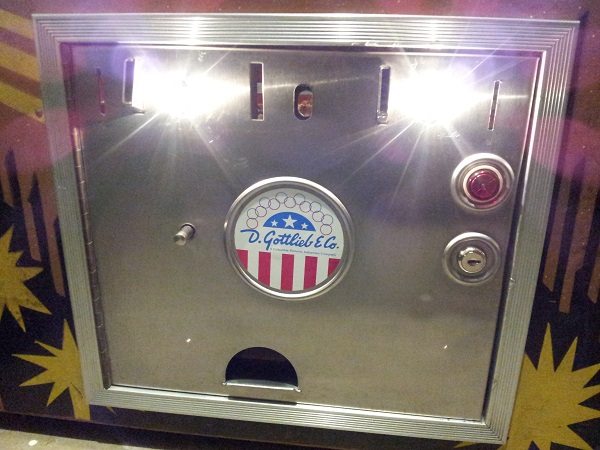
I was now ready to begin putting everything back into place. New bulbs were installed to light up the pricing plates. A new lock was added and the cleaned up replay button installed once more. A new coin door decal was added. On the inside of the door, the slam switch, test switch and replay switch were all screwed back into place (after a clean). The back of the coin return trough was also added once more. Lots of crap had collected in that trough over the years – good to get that away from the machine. The game was switched on to ensure both lamp sockets worked – all was good.
One of the old pricing plates was broken, and the other in pretty average shape. Because of this, I’ve chosen to replace them outright.
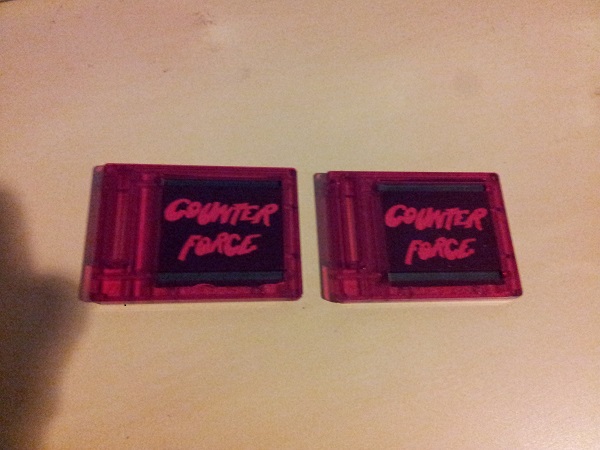
I decided to make up some custom decals for the price plates. Instead of going with an actual price, I reworked the counterforce logo to fit within the plate. It’s a small customisation on the machine.
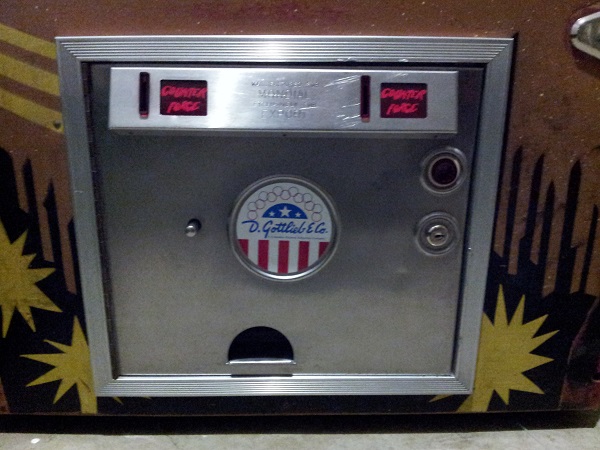
The coin entry panel was cleaned up, the pricing plates installed and then attached back onto the coin door. It’s looking much better now.
On the inside of the coin door, the wires were given a clean up and any loose crap was wiped away. There are no coin mechs in the door and I plan to leave it that way. As much as I love putting a coin in to start a game, it’s something I rarely do now. Both switches for the coin entries are wired up and work, but I’d like to add a credit switch to allow easy addition of credits without risking fingers bending switch wires and creating repair work. I have been giving this some thought over the last week about how to best achieve it, and I think I came up with a reasonable solution.
I wanted to have a credit switch that would not require modification to the coin door (or cabinet) in any way. That way it can easily be removed without any artifacts. I went digging through my parts and came up with a microswitch that has a long arm to activate it and a small frame I could use to attach it to the coin door.
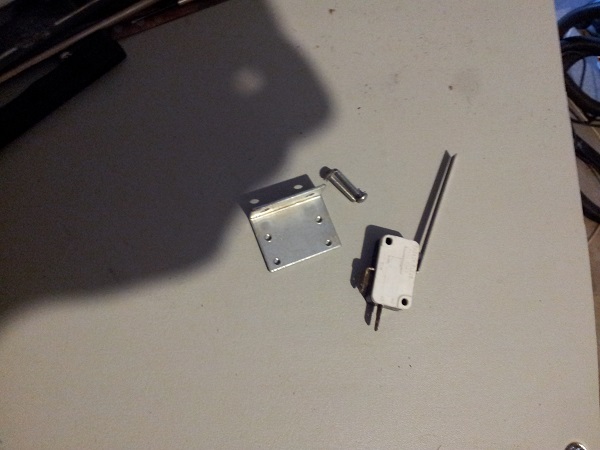
Now to find a suitable spot. I like the idea of hooking it up to the coin return button on the front of the door. This way you can add credits to the game without opening the door. There was an empty hole on the rear frame of the coin return bar. The switch frame was added to this with a small bolt. Two leaf switch spacers were used to pad the long screw attaching the switch to the frame. The switch arm was then bent to allow the coin return button to be pressed all the way in and activate the switch by pressing the arm against the thin coin lockout bar. The two wires run from the switch to the right coin switch.
To test, the coin return button was pressed fully and a credit added to the game. A few adjustments were made to the bend in the switch arm to ensure it allowed the credit button to be pressed fully in without putting stress on the arm. Once happy, I finished it off with some heat shrink over the metal arm and ticked the task off my to do list. I like this solution since there are no modifications to the coin door, it uses spare parts (so zero cost) and it can be removed in a few minutes. So that’s the coin door done.
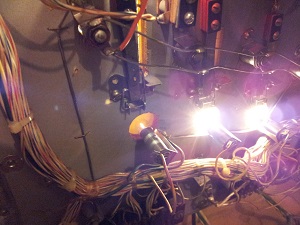
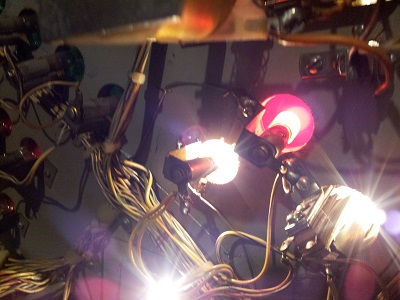
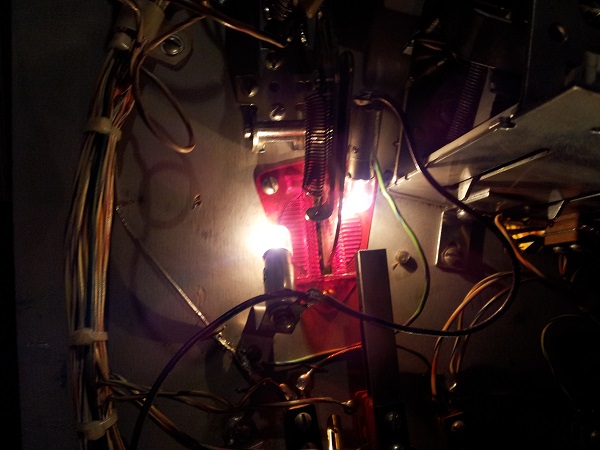
A small issue I noticed recently was a few of the lamps sitting under playfield inserts were dull. After a count, three in total suffered from this issue. They were lit, but -very- dull. For example – under the yellow inserts, one in each photo is very dull compared with the others.

After some investigation around connectors, pins, tracing wires and reading diagrams, I found the issue was the lamp socket itself. These sockets were replaced with spares I had and the lamps are much better now. A classic case of going for the difficult / complicated cause before testing the most obvious thing first. Anyway, another thing checked off the to do list.
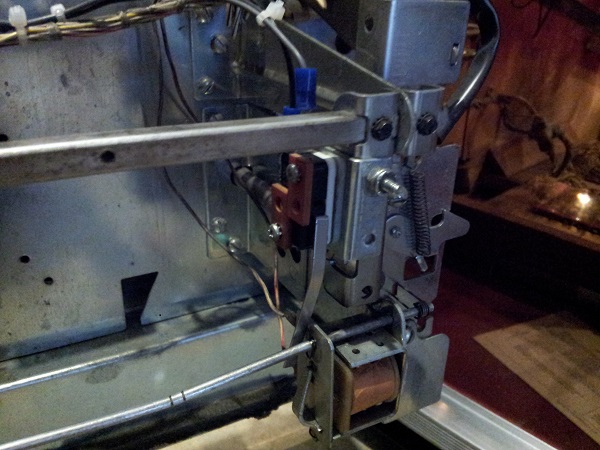
The final part of this update is a quick revisit of the saucer, specifically the GI lamp under the playfield that lights it up. I haven’t been overly happy with the lamp they put there as half the saucer remains unlit due to the arm used to kick the ball up blocking the light from reaching the entire saucer. I tried angling the existing lamp across the lower side, but this gets in the way of the switch. Not happy with the results I was seeing from the single lamp, I decided to add a second lamp that sits on the other side of the arm, this way the entire saucer is lit.
That’s another update complete. I’ll finish up with a progress photo.

The machine is cleaning up nicely and has come a long way since I brought it home. Next up will be the two pop bumpers. You might notice in the photo above I’ve already removed those – I’ve started work on these already. They will be stripped, cleaned and any broken parts replaced. I’ll also look at the two pop bumper boards located under the playfield and survey the art damage around the area. That will just leave the drop target bank and lower flippers to rebuild. I’m looking forward to having this into a fully playable state soon.