I’m close to posting my next progress update on my Gottlieb Counterforce, but wanted to do a short post about the broken display and it’s repair. When I first started the Counterforce project, I showed how on one of the displays was broken. The first leg connecting the glass to the pcb had broken away from the glass. The break occurred on the inside (or just on the edge) and I could not repair the connection without cutting away some of the glass. So this task was put on the to do list for later on.
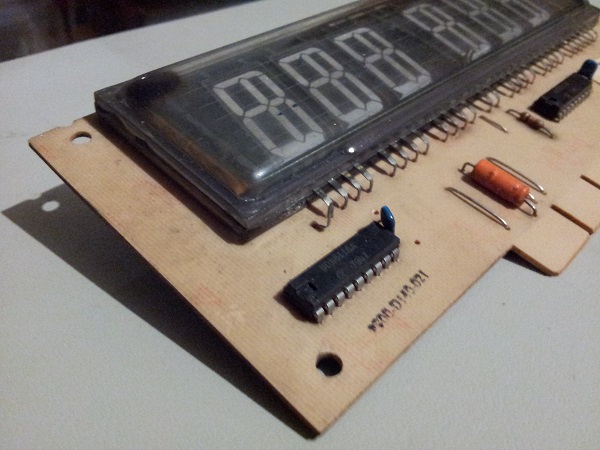
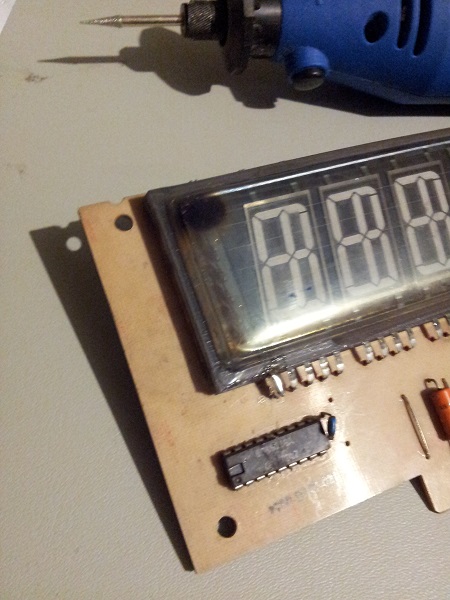
All the other legs are fine – it’s just the first one that requires repair. I got my Dremel (equivalent) tool out and used a very fine diamond tip piece to slowly and carefully cut away a section of the glass above the remaining metal leg. This took a few attempts to get the right amount of glass cleared away to solder a component leg onto. I’d rather take caution than risk removing too much and killing the display completely. With enough glass out of the way, I soldered a component leg to the small metal tab in the glass. The other end was then soldered to the part of the leg connected to the PCB.
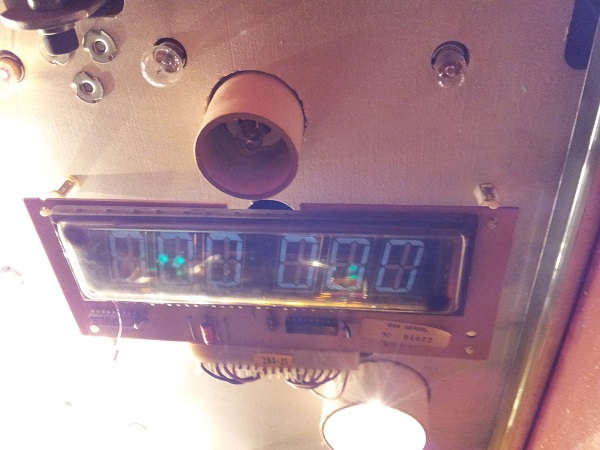
Time to test. I replaced one of the displays with the repaired one and fired the machine up. At first I thought it had failed, but up close (and with the lights out) you can make out a faint blue glow on the digits! Note the few brighter green dots on the display are a reflection of the lit up green lane posts on the playfield.
I can fix the display brightness using the converted power pack I made awhile back (9V 500mA).
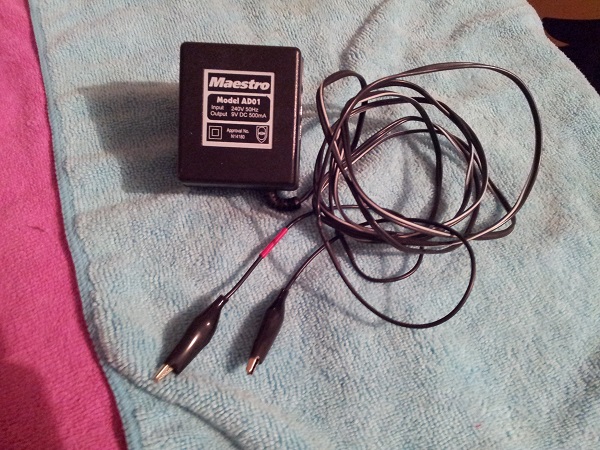
With the display connector removed, the two clips were connected to each end and the machine switched on for 10 seconds. The lines had a nice red glow to them. After 10 seconds the power was switched off and the clips removed.
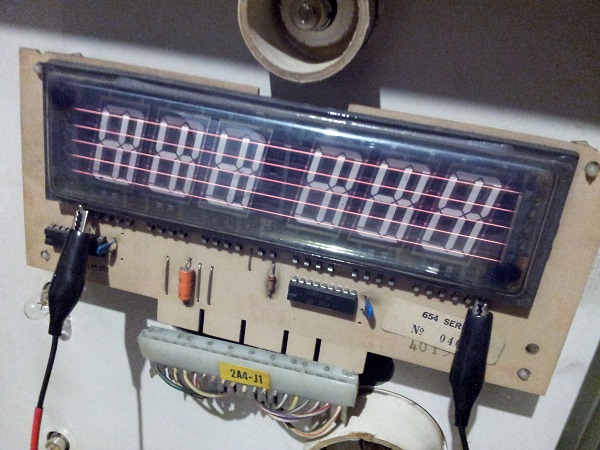
Will that do the trick? I connected the display connector once more and powered the machine on.. Success!! All 6 digits displayed nice and brightly.
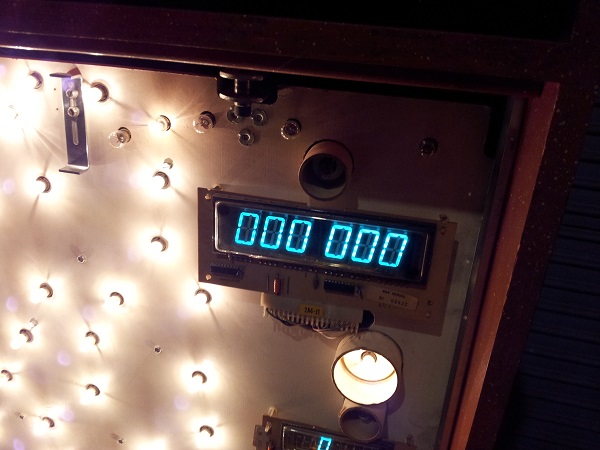
A saved display, ready to live on again for many years to come 🙂
