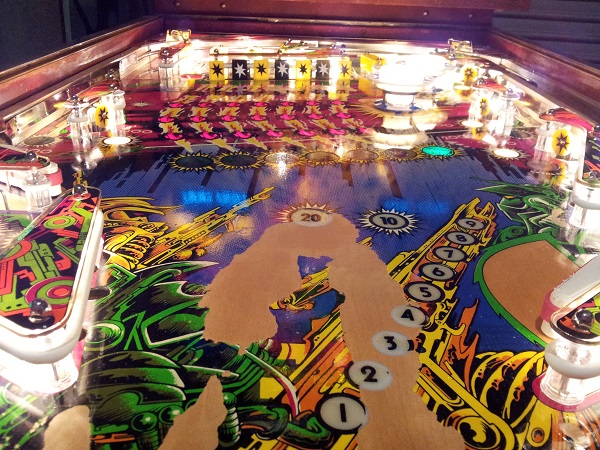
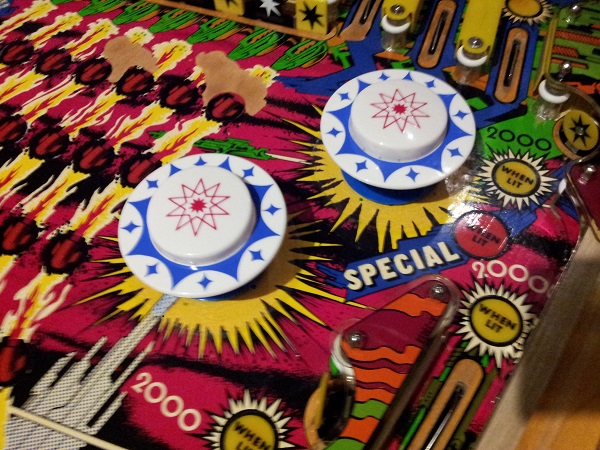
The Counterforce to do list is beginning to thin out and I’m looking forward to (hopefully) having it knocked over in the next few weeks. Although as it turns out, in this update, I do a few extra things I had originally decided not to – but it’s worth the time. First on the hit list for this update is the pop bumpers. They need a proper service. I think they are many, many years over due for one. There are two pop bumpers located on the playfield and at first glance, they have been well worn over the years. The caps have some sticky crap attached to the top of them. The decoration is wearing and there is some serious playfield wear below the (once clear) platters.
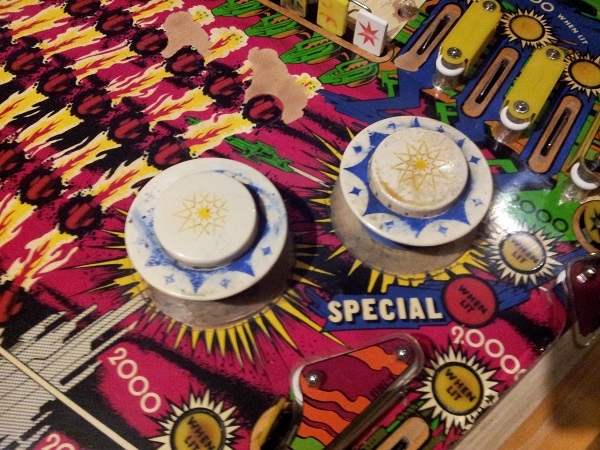
One of the caps is missing the clip which attaches it to the body of the pop bumper. With the clip missing it’s likely to shake loose when the coils fire over the course of a game. I had a similar issue with my Space Orbit where the cap would eventually end up on the playfield after the pop bumpers fired a few times. This will need to be replaced and if I’m replacing one, it’s best to do both at the same time.
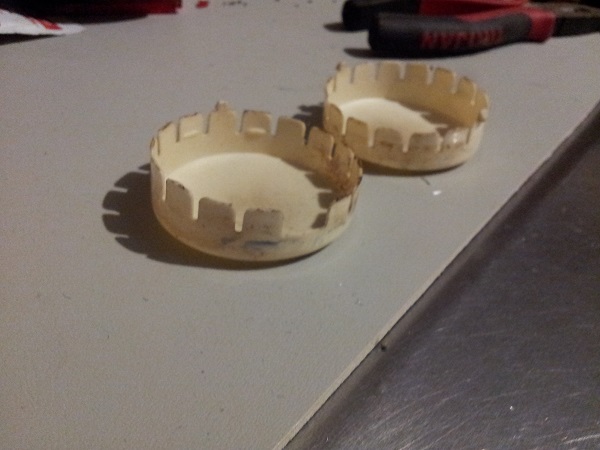
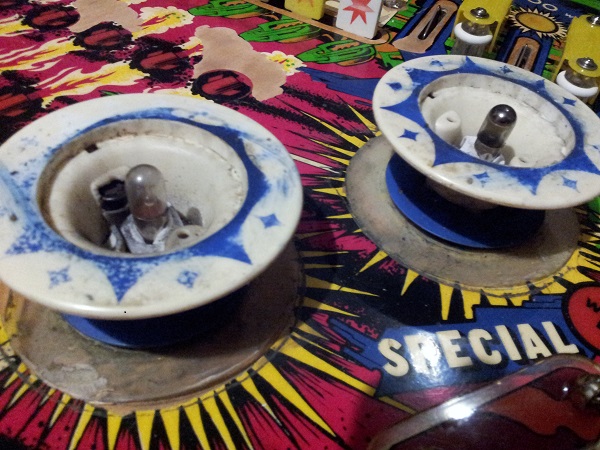
On the inside I found the body is broken on one and the other has a bulb that looks like it’s never been changed. Based on the blue streak across the the left bumper body, it appears that someone has attempted to wipe / clean it at some point in the distant past. I find the prints on these wipe off really easily, so you have to be careful when cleaning.
I lifted the playfield up to begin removing the assembly for cleaning. I found a fairly standard pop bumper assembly that I’ve encountered on other machines I’ve worked on. The only real difference here is the twin switches. The first is activated by the skirt pushing the spoon down. The second is activated when the coil energises and pulls the plunger and yokes in.
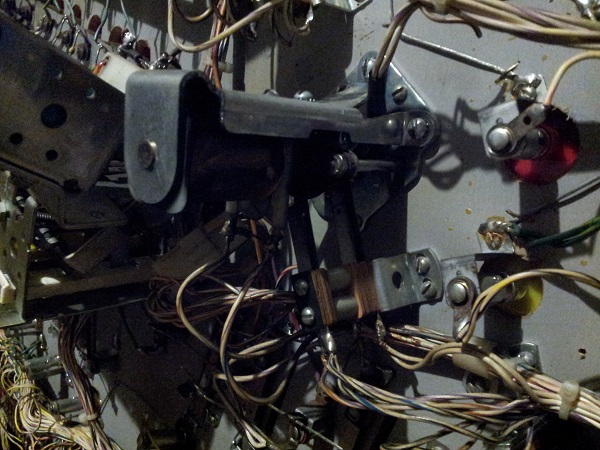
My hands were filthy after removing this assembly. They were coated in the black crap you commonly find here.
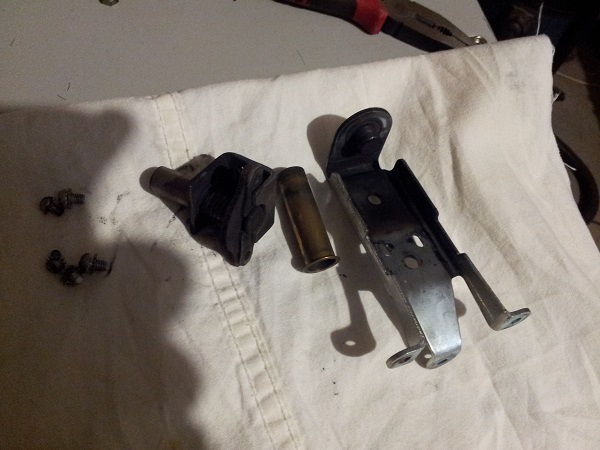
I removed the second pop bumper assembly at the same time and it too was in a very similar condition (perhaps slightly cleaner). Normally I would do them one at a time, but I’m keen to get both off the playfield so I can clean the surface area and determine the extent of the playfield damage.
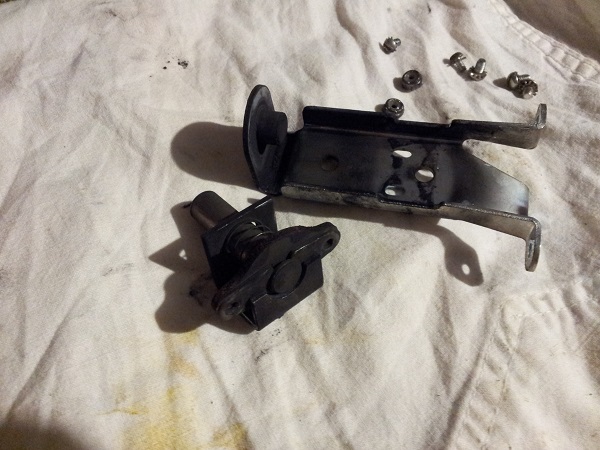
Nothing a good clean won’t fix though. The frame, spring, plunger and metal yoke were all cleaned up. Steel wool, isopropyl alcohol and a cloth helped clean off most of the crap. A visit to the tumbler took care of the rest. A new fiber yoke and coil sleeve will replace the worn existing parts. The same thing was done for the second pop bumper too (although I won’t bother with another photo of the same stuff).
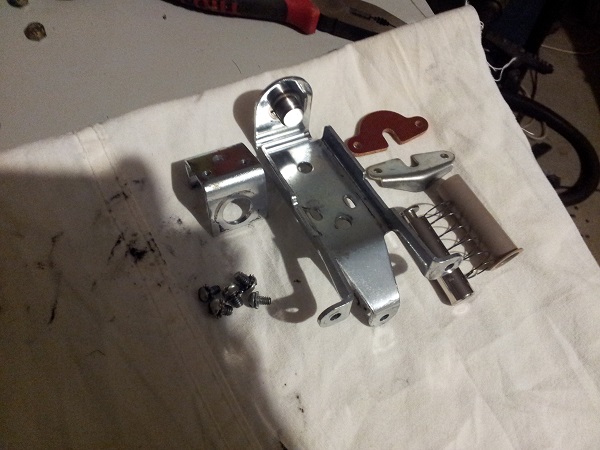
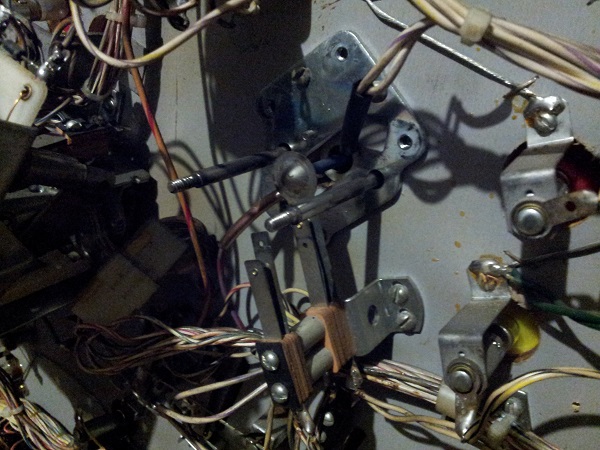
With the assembly removed, I could then get access to the switch and metal base plate on the underside of the playfield. This machine uses the lamp sockets that require you to solder wires to the legs. These things are a pain in the butt. I’m keen to replace the old lamp sockets though as the old ones have not aged well. I’ll also remove that metal base plate for cleaning. This is the plate the pop bumper body screws into from the top of the playfield.
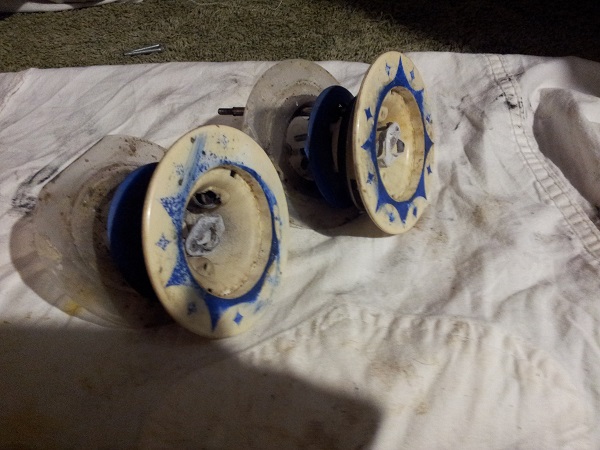
The pop bumper bodies were then removed from the playfield. I had originally been thinking about reusing as much of these as possible after a clean. But on seeing the condition of both up close (including the caps), I’m going to be happy to replace the lot. New caps, new bodies, new lamp sockets and new skirts. The small body base pieces might be OK to reuse too as they are always hidden out of sight. If they are unbroken, will be fine for reuse. Replacing so many parts goes against what I set out to do, but these are well worn and I think fresh parts here will lift it’s presentation and add value to the machine. Plus it’s an assembly I don’t want to revisit should I change my mind later.
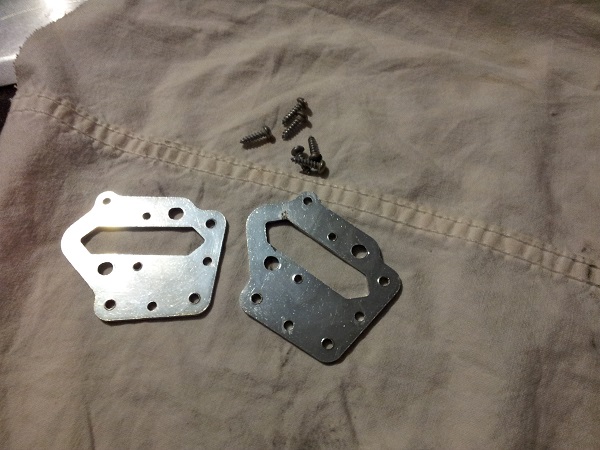
I removed the two metal plates from under the playfield and gave them a clean also. There were already quite clean, so didn’t need much more than a quick scrub with steel wool and a wipe down. The two spoons were also removed and given a good clean.
Back to the playfield, it’s quite dirty around the pop bumper area and well worn. There was a small protective layer which came up with the pop bumper bodies. It’s the non stick kind, so it hasn’t ripped the playfield art up. The ball would roll over this layer, so it’s not as if the damage is from the ball either. I’m not sure how / why this area is so worn and in a very circular fashion. Perhaps it originally had the stick down rings which were removed? Maybe the clear platters were added later on after years of wear?
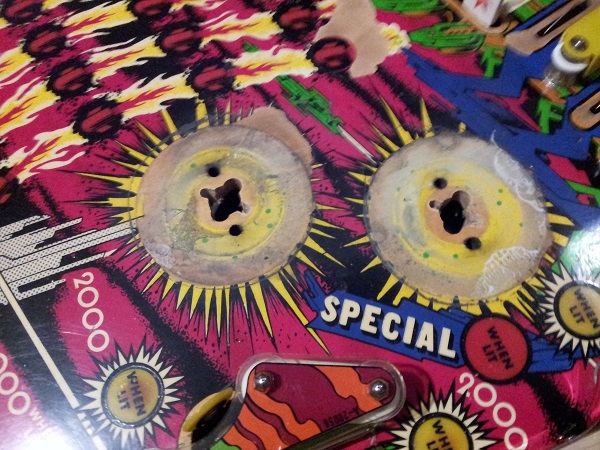
After a solid clean, all the dirt and crap was removed, leaving the playfield damage (and remaining art) visible.
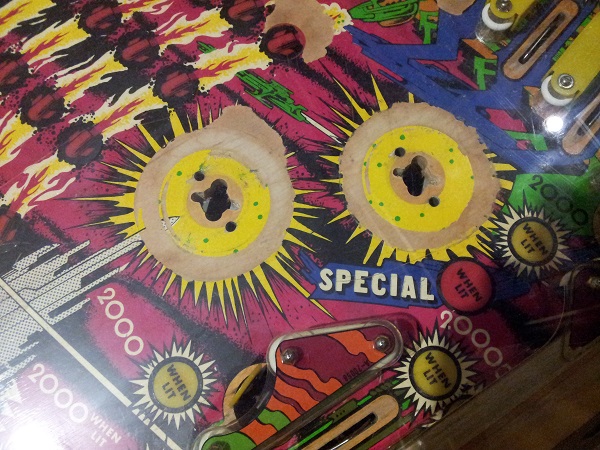
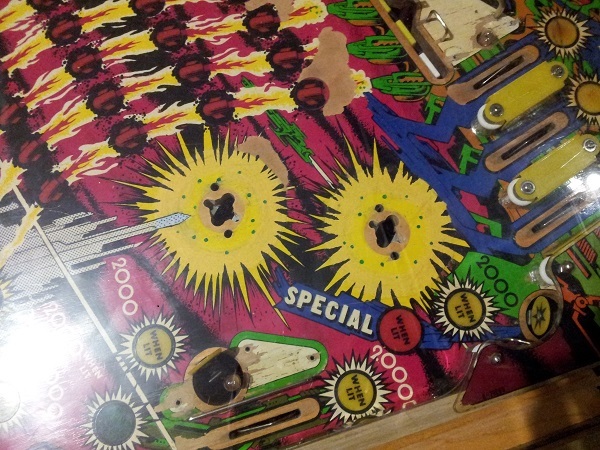
I now had a decision to make. I’m not keen on repairing the damage to other areas on the playfield which have more detailed art. I’m actually not too keen on playfield touch ups in general as they often stand out. But these two areas are much less detailed, allowing it to possibly be patched up without it looking too horrible. As a bonus the pop bumper skirts and bodies will cover much of the area up. Leaving it as bare wood will stand out also. After thinking on it for a few days, I made the decision to patch this area up. Given the current state of the playfield, it’s certainly not going to destroy it any further 😉 With the area cleaned, I created some circular stencils to protect the surrounding, along with a disc to cover the central area where the art was still reasonably OK. I carefully applied blade putty around the exposed wood area. I made this as thin as possible because I don’t want it sitting up higher than the playfield and also need to allow for paint to sit on top. Once dry and the stencils removed, the putty was then sanded down carefully with 800 grit wet and dry, followed by 1200 and 2000. With the surface smooth, the area was painted. The yellow is a little lighter, but the lighting here doesn’t help (nor does leaving the glass on for the photo). I then used black to mark out the edges of the explosion and mixed a green to redo the dots in the middle.
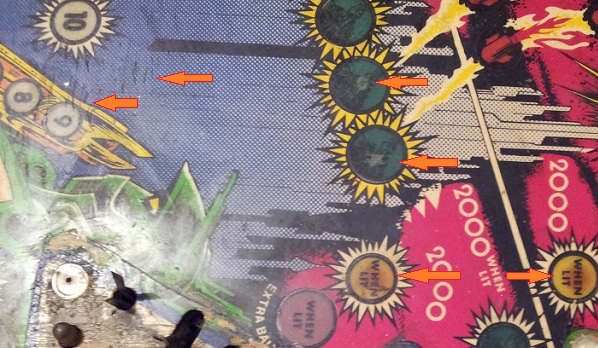
Pausing for a moment on the pop bumpers, something else that had been going over my mind this week was the mylar. There are a number of issues with the remaining mylar on the machine. There is some lift across a few of the inserts. The yellow inserts have burn marks across the top of them, which is yellowing of the mylar from heat. There are also a number of cracks and splits in the mylar too. I’ve highlighted some various examples with arrows below.
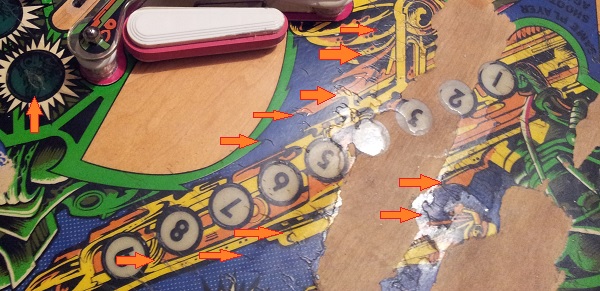
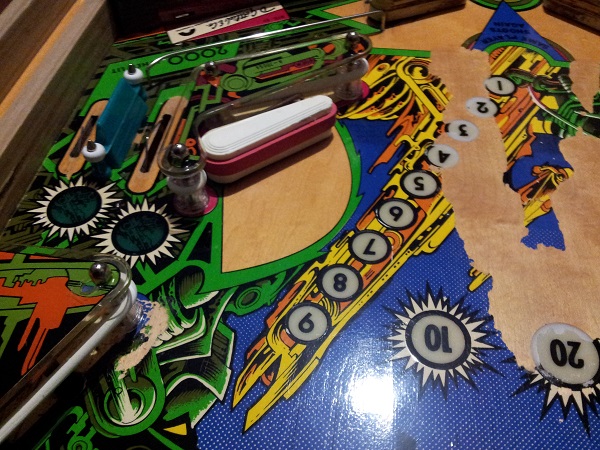
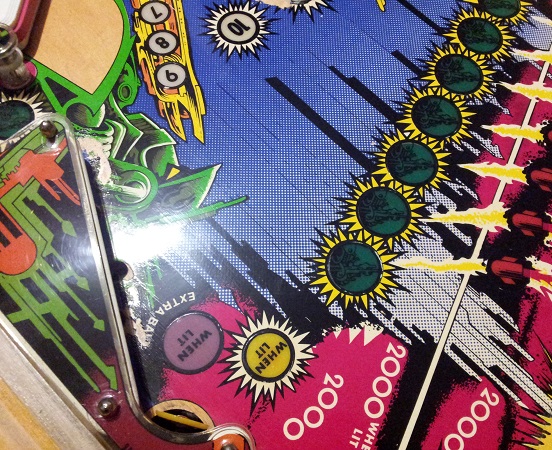
I had started off previously by trimming small sections back which were already lifting (and allowing dirt / crap to collect beneath). These areas were trimmed back with ease and the playfield cleaned. I also wanted to tidy up some of the remaining mylar around the large damage patch in the middle of the playfield. This too was successful. So I kept going, doing the playfield in organised sections so I could stop should things look to go pear shape. I had originally decided against removing the mylar because of damage done the last time some one attempted it on this playfield. But before I knew it, by working slowly and methodically through the playfield, the majority of the mylar had been lifted with next to no further paint loss. Even on the inserts. All of which retained their artwork, which is important for this game as just about all inserts have either text or pictures on them. Heat and patience are key here. I use a hair dryer and go very slow. The goo was then cleaned up (which took longer than the actual mylar removal). It’s the third playfield I’ve removed mylar from now and it’s certainly not something I enjoy doing, but it’s been successful. To finish the process up, with the remaining goo removed, the playfield was polished up with novus 2 and then novus 1. This whole process created additional work for myself since I had already passed through these areas and cleaned the mylar surface as I serviced the various assemblies on the machine. But I wasn’t keen to jump into the mylar removal without giving it time to assess and I’m glad I did. The issues in the photos above were now gone, leaving a nice looking playfield.
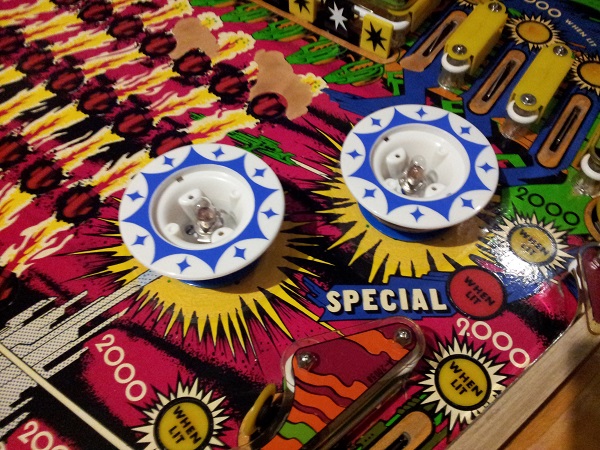
With my distraction of the playfield mylar satisfied, it was time to get back and finish those pop bumpers. The bodies were rebuild with new parts and installed back into the machine.
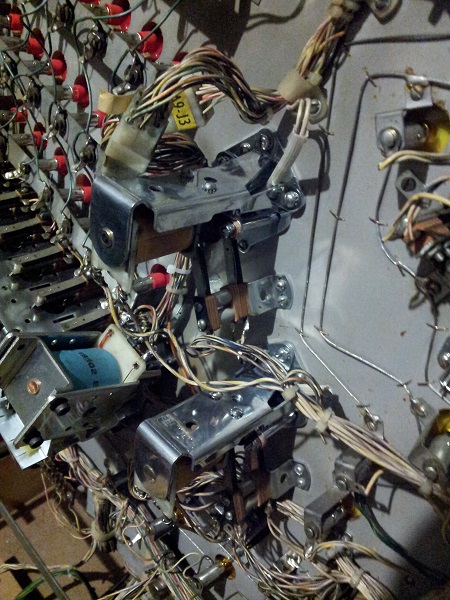
Under the playfield, the pop bumper assemblies were installed again and the spoon positions adjusted to account for the newly installed skirts. I’ll get new metal spoons on my next Marcospec order (I couldn’t find any for sale here in Australia). These can be swapped without having to remove the entire pop bumper assembly thankfully.
Finally, new bulbs were installed and new caps. I decided to use #44’s here as they are stronger than the #47’s and I’ve found myself replacing #47’s in the pop bumpers more often than I’d like to. I couldn’t source the yellow version of the star cap, so had to settle for red.
The pop bumpers also rely on a small pcb which is located under the playfield. There is one pcb per pop bumper. It basically ensures the pop bumper does not lock on and burn the coil out. I had tested the pop bumpers before I began working on them and found them to be functional. So these boards are both OK in their current state. I will remove them however and reflow solder across the connector pins.
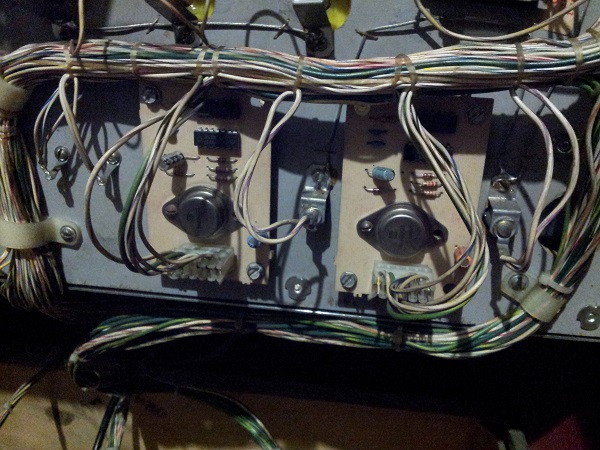
The two pcbs were removed and solder reflowed across the connector pins. There isn’t much to them. I have seen rebuild kits available, which is handy in cases where components on them have failed. But I won’t be replacing any components. I suspect these boards have already been looked at in the past as at least 1 cap had been replaced and the header pins look to already have had solder reflowed across them. I did it anyway since I had the two boards out. With fresh solder across the connector pins on both boards, they were installed back into the machine. I gave the wires in the areas a wipe down too. It’s now time to test them out. The machine was fired up and the ball rolled against the pop bumpers a few times each. Both functioned correctly and made that new “clean” sound that only a freshly rebuild pop bumper can make.
Since I was spending extra time on the playfield with the mylar removal, I decided to also improve the saucer bonus insert. Just below the saucer is an insert that can be lit when certain gameplay rules are met. This insert should have the text “WHEN LIT” printed on it. As with other areas on the playfield, mylar removal was attempted and failed – in this area it left the insert with half it’s face ripped off.
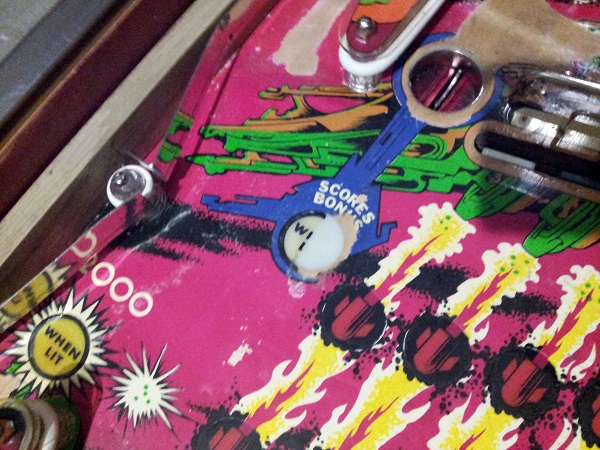
To remove the insert, I applied some heat from the underside of the playfield using a hairdryer. Once I could feel the top side of the insert getting warm I stopped heating it and tapped it out with a mallet and socket bit (that was padded with a soft cloth). Slow and steady, it came out of the playfield without issue.
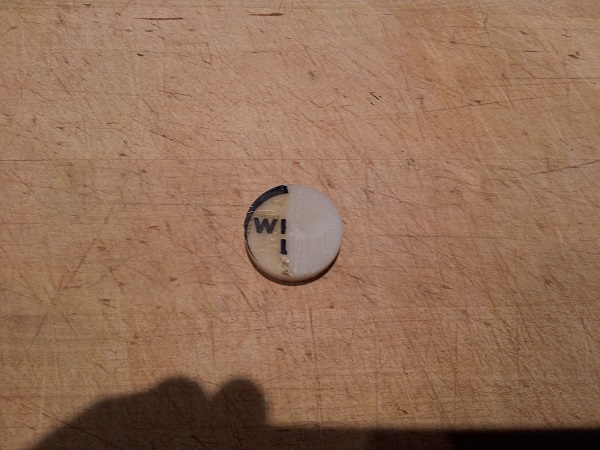
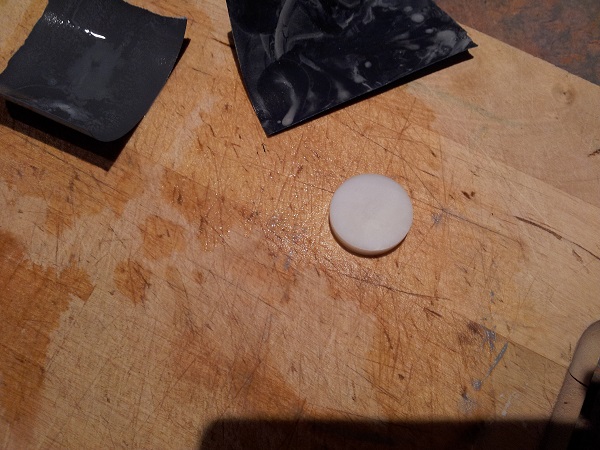
I then used 1200 grit wet and dry followed by 2000 grit wet and dry to remove the remainder of the decal and smooth off the top surface area. I was careful not to over do it as I don’t want to wear the surface layer too thin. Just enough taken off to get it smooth. I used a small hobby knife to remove any of the old glue that was attached to the edge.
I played around with Inkscape to come up with a suitable alternative, which was then printed in various sizes to to test for correctness. Once happy, I then printed to a transparent sticky backed page.
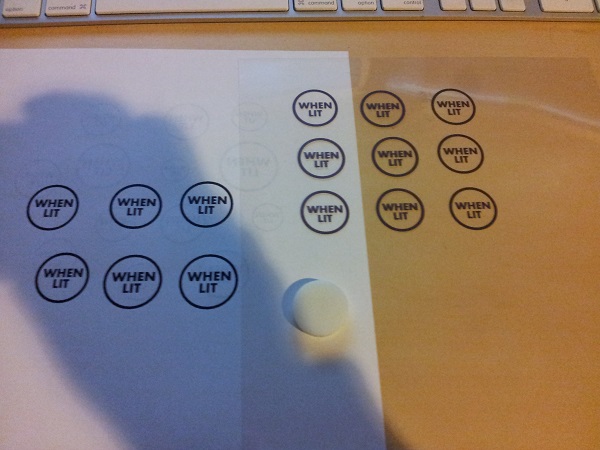
The print will most likely rub off reasonably quickly when the ball rolls over it a few times. To counter this I put some contact over the top to protect it. I then cut out one of the printed decals and attached it to the insert. It’s now ready to go back into the machine.
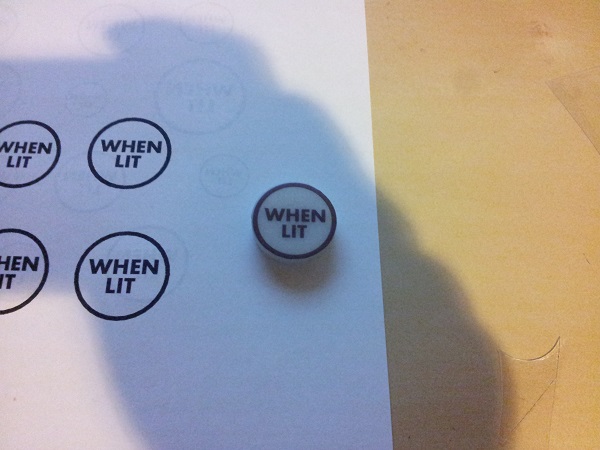
The insert hole was cleaned out with my Dremel tool. I didn’t want to make the hole bigger, only to remove the old glue still stuck to the sides. If you leave the old glue there, it can prevent the insert from pushing into the hole and being flat with the playfield. Super glue was applied to the walls of the hole and the insert pressed back into place and level with the playfield. The decal isn’t as dark as the originals, but it’s the budget option. It looks much better then what was there 15 minutes earlier though, which was the goal of the exercise. If I was doing a restore it would be better to have pay and have the decal properly printed with better ink.
Another update comes to it’s conclusion. Although the playfield touch ups weren’t a disaster, I’m far from comfortable doing them. That sort of task I’d prefer to leave to the few expects who excel in that area. For this playfield, it’s not too much of an issue. The bare patches around the bonus lamps are a far greater concern. So it has acted as an interesting (and valuable) exercise. Older playfields with simpler designs might be less of an issue.
The mylar removal was a success and it’s allowed me to really clean the playfield up nicely. It’s looking really bright and polished under the lights. I’m really happy with how the project is progressing.
