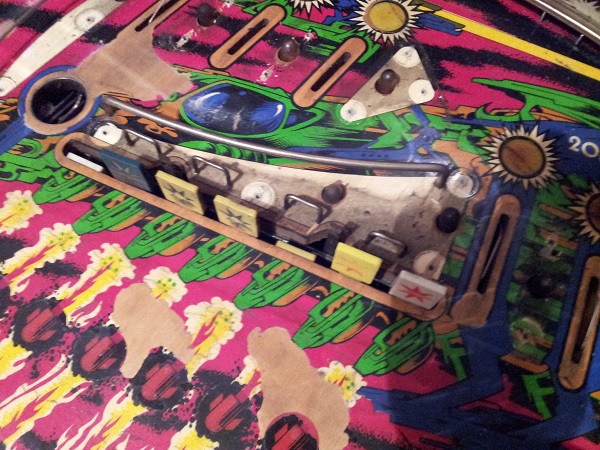
The drop target bank has waited, or more accurately, been put off for, long enough. Time to pull the assembly to pieces and clean it all. When I first got the machine home, the 6th and 7th yellow drop targets were broken. I replaced these back in update #2 so I could start a game and test out the switches. At this point, the drop target bank functions correctly. That includes all switches. So this is a good starting point. If I mess anything up in rebuilding the assembly, I’ll know it’s my fault. The plastic, posts and old rubber had been removed awhile back. This photo is also from awhile ago too as you can see all the areas around the drop targets are incomplete (but have since been finished in previous updates).
Since the playfield side was cleared off, time to get under the playfield and check out the assembly. It’s quite large – unsurprising I guess since it houses 7 targets. There are two switches attached to each drop target. The first is closed when the target is up. Once the target is dropped, the first switch opens and the second switch closes. Two large coils drive the reset arm that is used to push the targets to their up position. The best way to work on this assembly will be to remove it from the machine. It’s attached to the playfield via 4 screws. Removal will take place in a few steps as I need to detach a few things from the frame first.
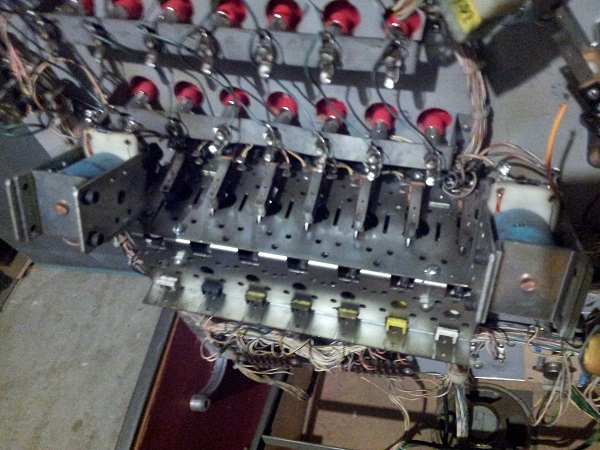
Along with the 7 pairs of switches on the front panel, two switches are attached to the rear panel. These stick up above the playfield and can be activated by the ball once the targets are dropped. These will need to be removed to get the assembly out of the machine.
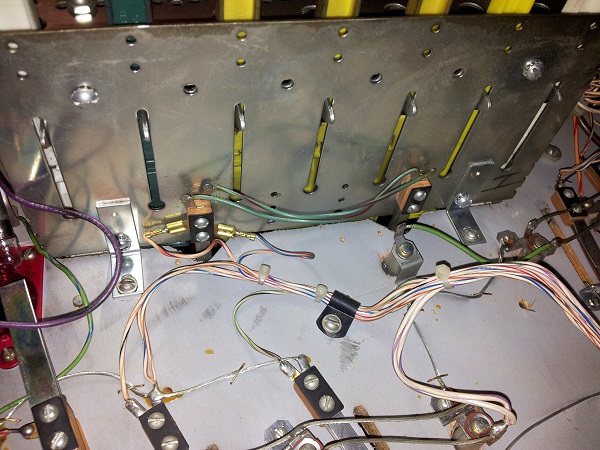
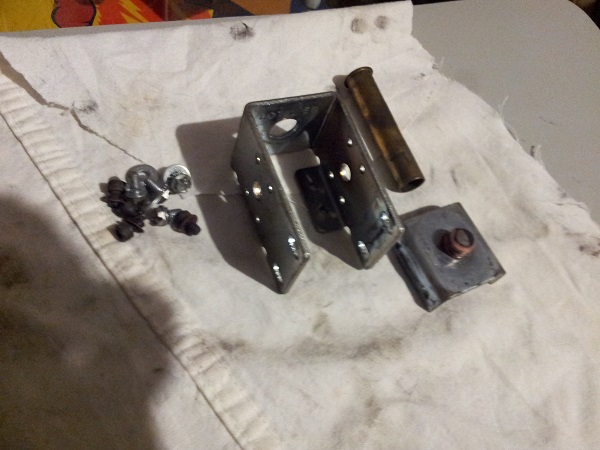
First step is to detach the coils from the target bank. The coil stops are held in by 4 cap screws. With these removed, the coil stop can come out, along with the coil and sleeve. The small metal frame the coil rests in can also be removed from the target bank via 4 screws below it.
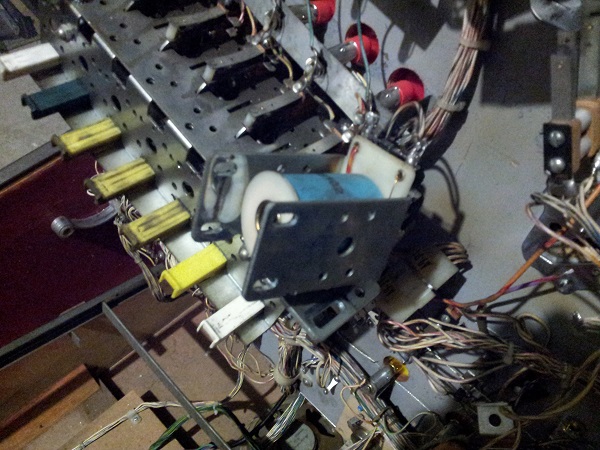
The small frame, coil stop, sleeve and screws were all set aside for cleaning. The same process was repeated for the second large coil on the opposite end of the target bank. Steel wool will clean most of the crap off these. The old brass sleeve will be replaced with a new nylon one.
The next step is to remove the series of switches attached to the front panel of the assembly. These are a bit tricky as the screws are mostly covered by the first bank of missile target lamps. Because of this, I decided to unscrew the lamp bank and then unscrew the switches. At that point, I could remove the 4 screws holding the drop target bank to the playfield.
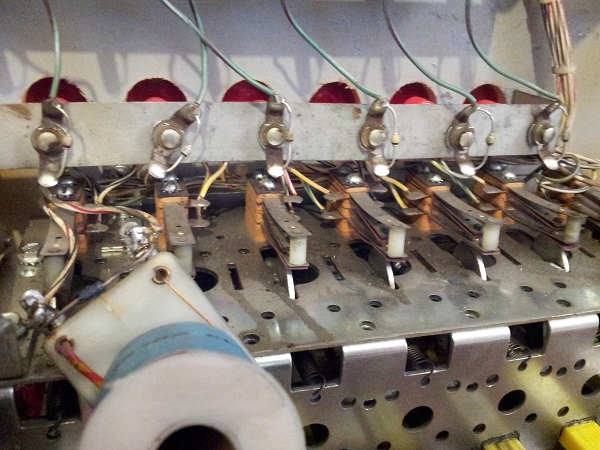
The target bank contains 7 small coils to individually control each of the drop targets. These hook up to the playfield by a molex connector. Naturally I forgot to unplug this before undoing the screws, so had fun trying to undo the connector one handed while balancing the now detached target assembly in my other hand. Eventually it came loose and the drop target bank is now out, ready to be pulled apart and cleaned.
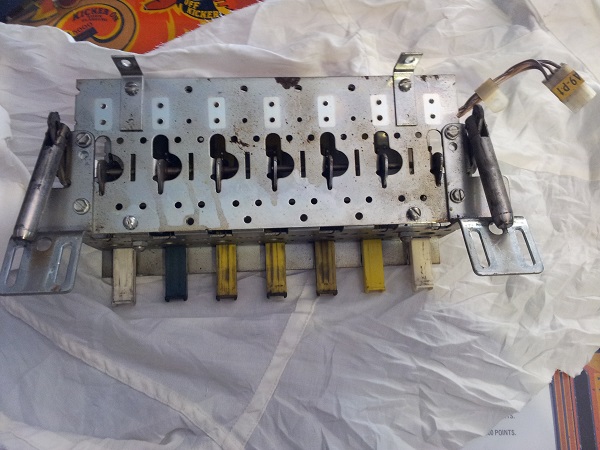
On the base panel, there are 2 screws which act as a resting point for the reset arm (inside the assembly).
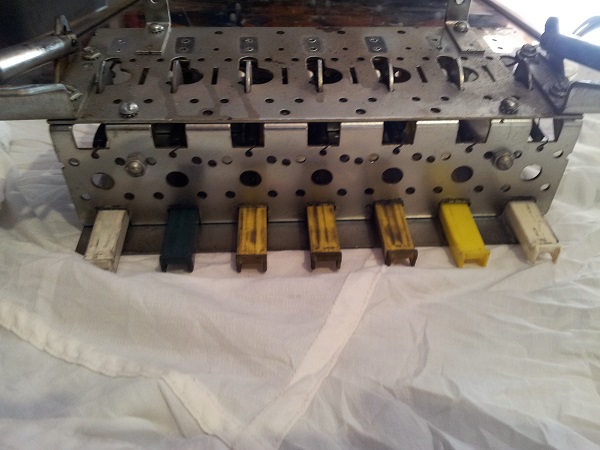
On the top we can see each of the 7 small coils used to control the drop targets. These coils let the game drop individual targets based on the game rules. The game uses these to restore the state of the targets between players and balls. It’s a neat feature as it basically saves your progress for your next turn. It also allows certain switches on the playfield to drop individual targets when activated.
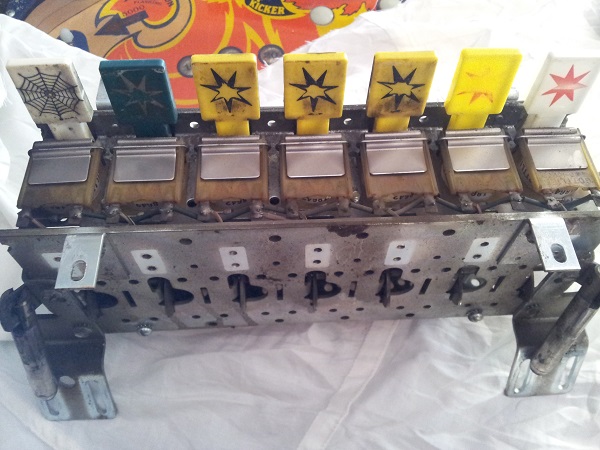
The coils control these small metal flaps. So when the target is up (like the white target in the photo), the metal flap is up.
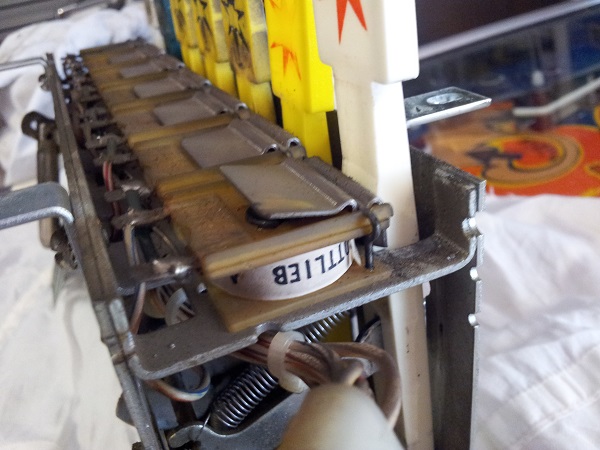
When the game needs to drop one of the targets (without the player hitting it), the coil charges and pulls that small flap in, which results in the drop target being pushed back and causes it to fall.
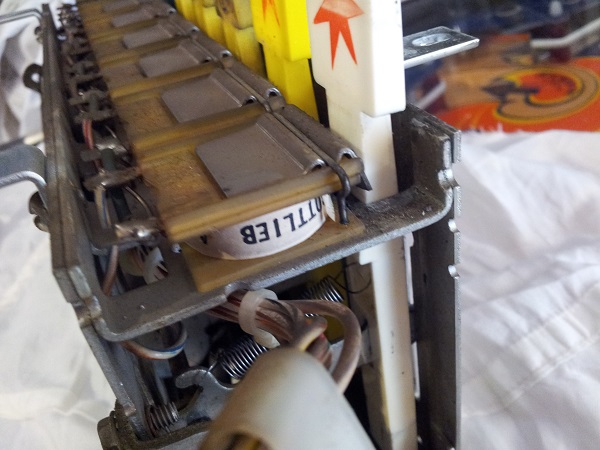
Time for some cleaning. First part to come off is the base panel. This is attached via 4 screws. Two from the back and the others from the base. There are 7 springs, one per arm that is inserted into each drop target. I suspect these are going to be much harder to put back on than removing. The panel was wiped down with steel wool and the cleaned with isopropyl alcohol and a cloth. The springs were also sprayed with isopropyl alcohol and wiped down to clean off the gunk that had collected on them.
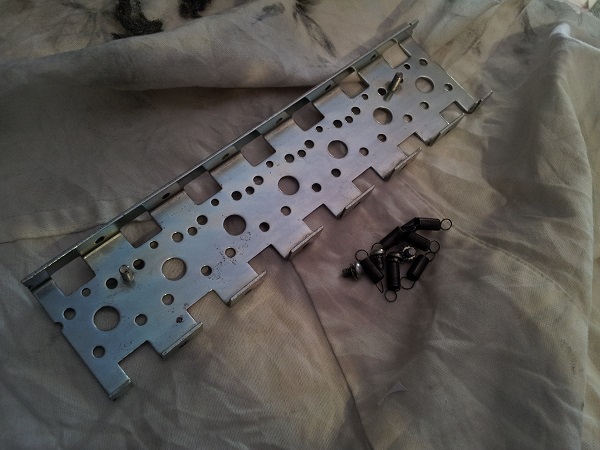
With the base panel removed, I could now access the inside of the assembly. The drop targets were detached from their arms and the reset arm moved out of the way.
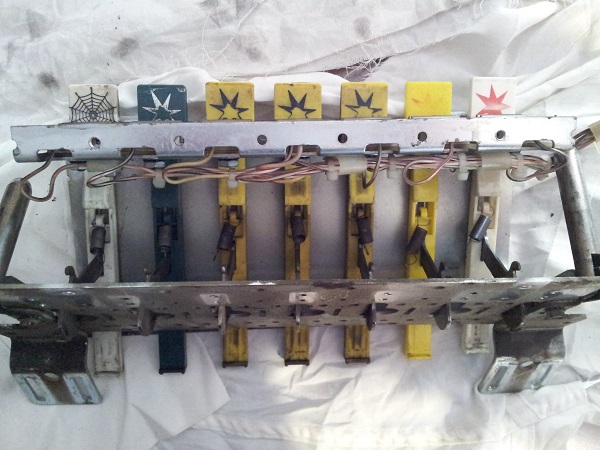
I then removed the rear panel, along with the drop targets and their springs. This left the drop target assembly in 2 major pieces. I set the targets aside for cleaning, along with their springs.
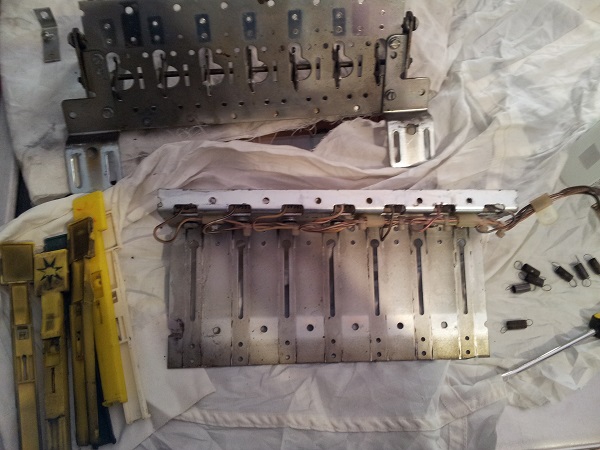
Something cool I noticed on the frame was each of the 4 brackets used to attach the assembly to the playfield have a small plug. This fits into a hole on the frame below the larger hole above it (which is used to screw it to the frame). This means there is no real way to get their position wrong when reassembling and you won’t have to spend time making adjustments to get the position right either.
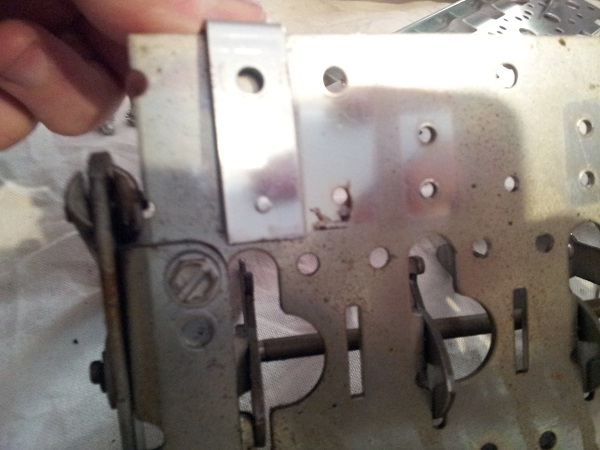
The top and rear plates were then separated. It’s going to need a good clean. This is the easier of the two halves to work on.
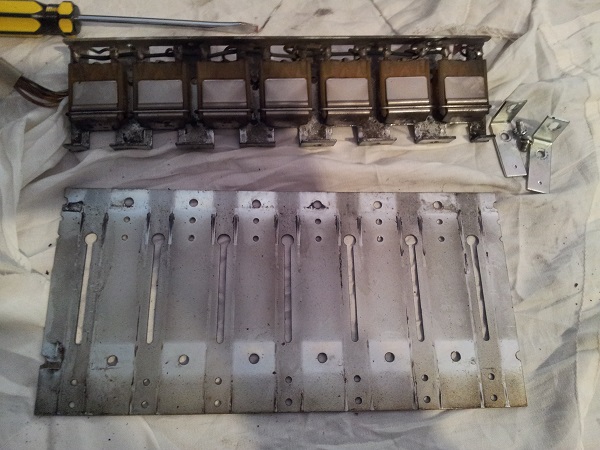
Each coil is attached to the frame by a small bolt. They can’t be removed completely though due to the wiring. I had no intention of desoldering anything, so I’ll have to clean around them. The spots where the coils have sat for the last 36 years are very clean, with lots of crap collected in the other areas.
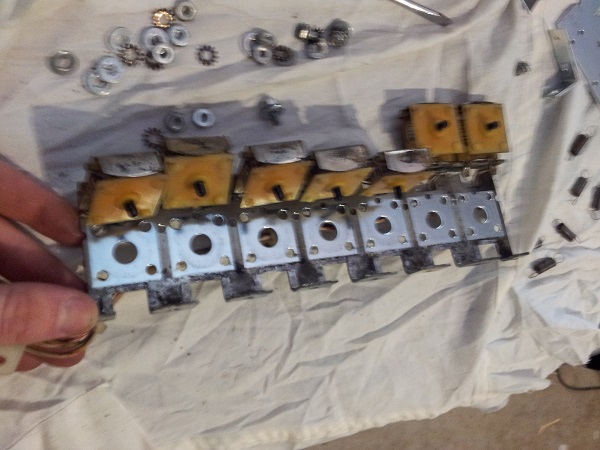
Now to look at the more difficult half. I say more difficult because it breaks down into more pieces and there is a greater chance of getting something wrong on reassembly here if I’m not careful. It’s really filthy and lots of sticky crap has collected and built up around this.
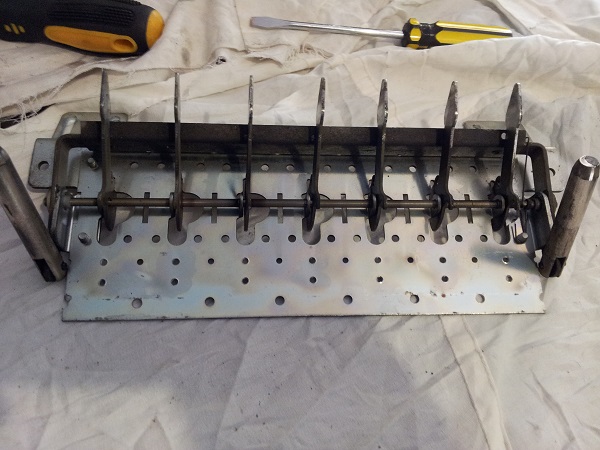
Firstly I wanted to remove the reset arm. To do that I had to remove an e clip and small bushing from either end. I could then take off the metal arms that the coils attach to and then reset arm. This was set aside for cleaning.
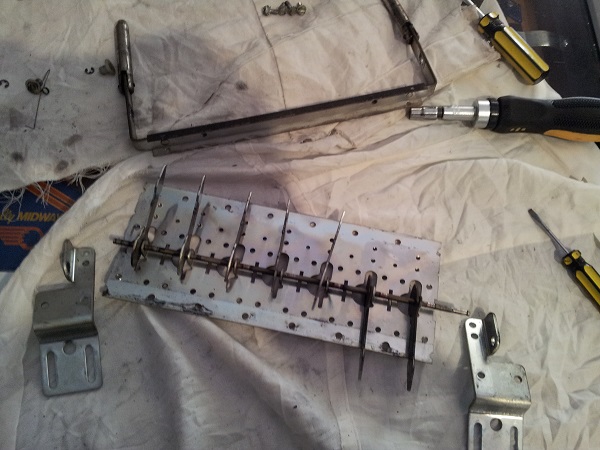
The metal reset arm is so dirty. The important thing though is it’s not broken. You can still buy new ones thoughfor about $10 US if required.
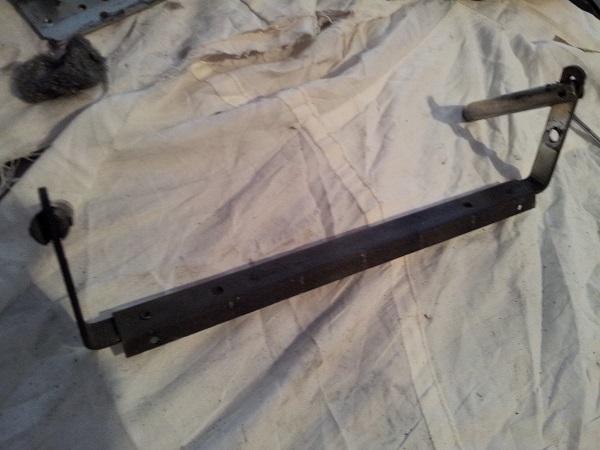
After a clean though, it looks far better! There are small marks along one side of the arm where it’s hit the smaller metal arms during reset. Because the frame is the same on both sides, I can swap this around when reassembling.
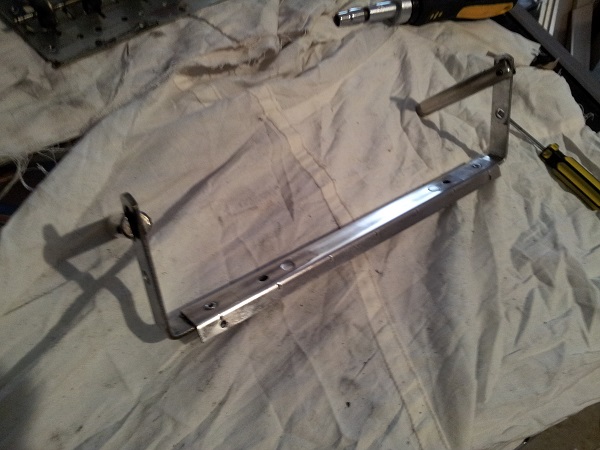
Now to clean up the other part. Again, filthy and in need for a good clean. I’d say these parts haven’t been split like this since they went together at the factory.
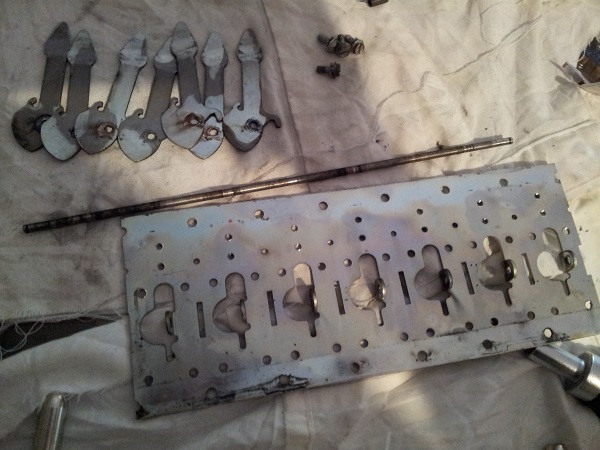
With a bit of time, steel wool, isopropyl alcohol and a cloth, everything was cleaned up. Lots of parts here – thankfully I took lots of photos along the way.
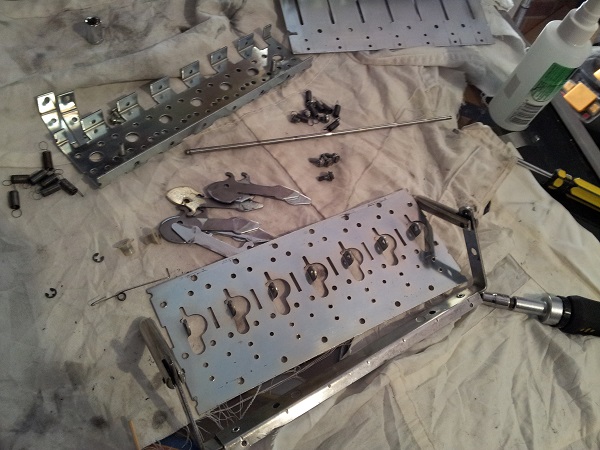
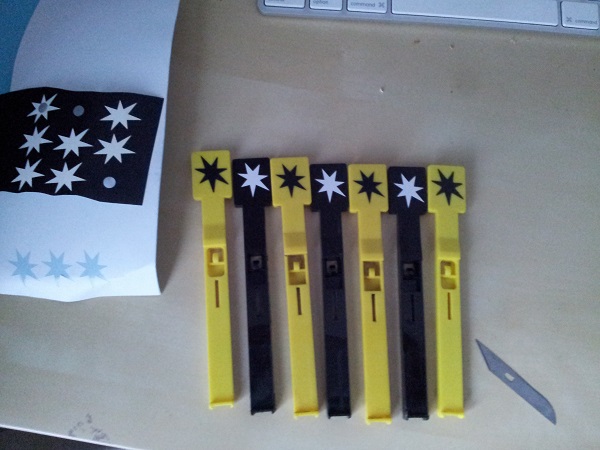
At this point I went inside and cleaned my hands off. Time to check out those drop targets. They had been left to soak in warm soapy water. They were removed, wiped down and given a further clean to remove the remaining dirt. I wanted to organise the colours a little better that the current mash up of yellow, white and green. I had some spare black targets that would suit and enough that I could alternate between yellow and black. I had wanted to put yellow star decals on black targets (to be the inverse of the yellow targets with black stars), but I didn’t have any yellow vinyl. Instead I went with white. This the budget version of replacing the targets. You can buy them new for $7 USD each. The sheet of decals cost me maybe $1 to make and are based off the original pattern (I covered their creation in an earlier update – these are the same decals used for the round targets).
The top and rear panels were attached together once more. The drop targets were inserted into the target bank and their springs attached. The springs were cleaned earlier.
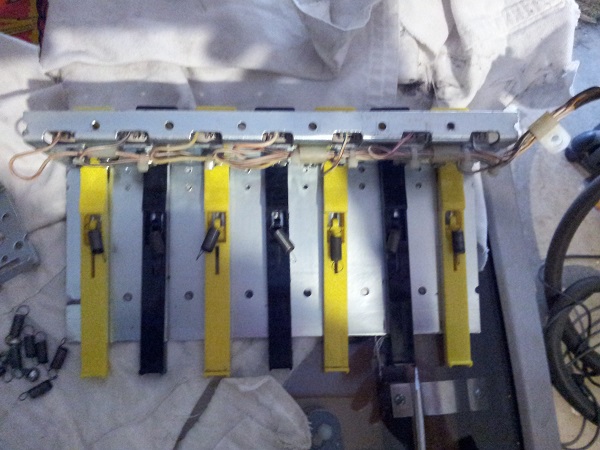
Slowly I worked in reverse, rebuilding the drop target bank. The tricky bit was the second set of springs that attach the metal arm (on each target) to the base plate. But once done, the assembly was looking great. So much cleaner now and should function even better.
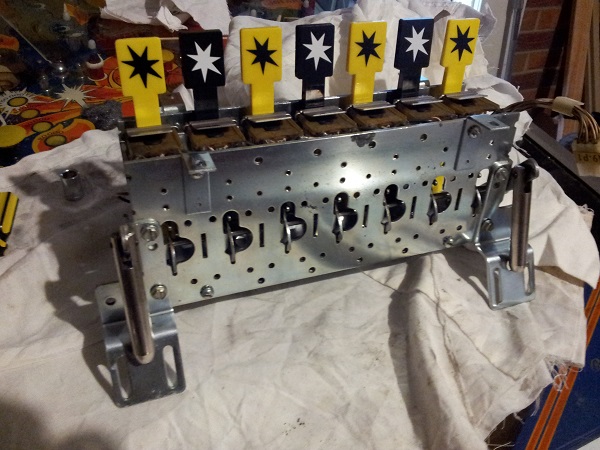
The drop target assembly was then installed back under the playfield. The switches were installed first, then the bank was screwed back onto the playfield. The bank of lamps for the inserts were then screwed back into place. The coils were installed again, with a new sleeve each. Top side the posts were installed, along with a new rubber and lane guard. The whole area had been wiped down and polished.
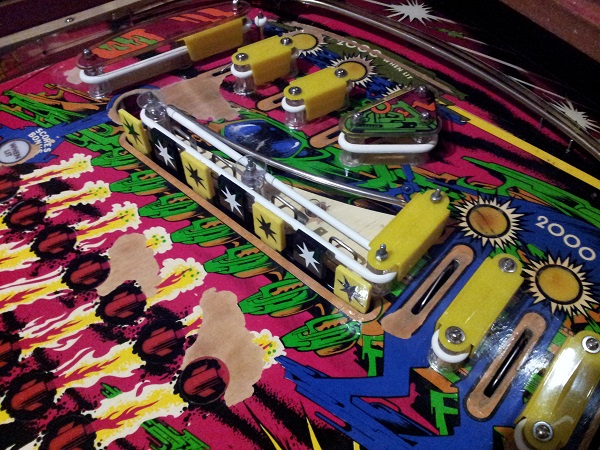
Finally, the plastic was installed again and the polished metal caps added to complete the rebuild of the drop target area. It’s looking so much better now than when I started. Looking back at the first photo (which as I mentioned, is an older photo), it’s great to see how much better everything around the drop target bank has improved too over time. I don’t notice it as much as I’m going, working on individual sections. But a before and after shot like these shows how well these machines clean up with some attention.
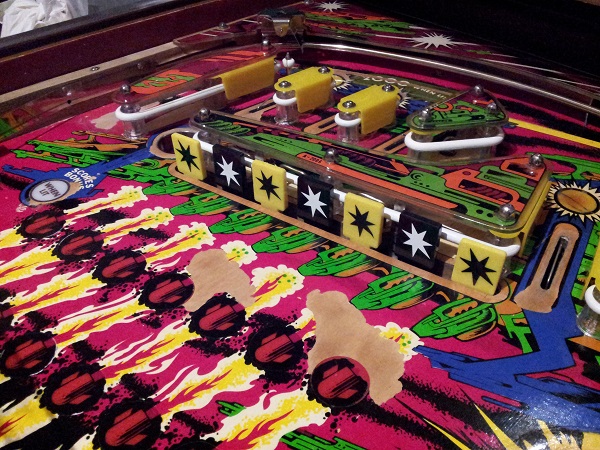
There is one last thing to rebuild on the playfield and that’s the lower flippers. After that I need to clean the legs up and actually set it up for a proper play test. It really isn’t far off being done now!
