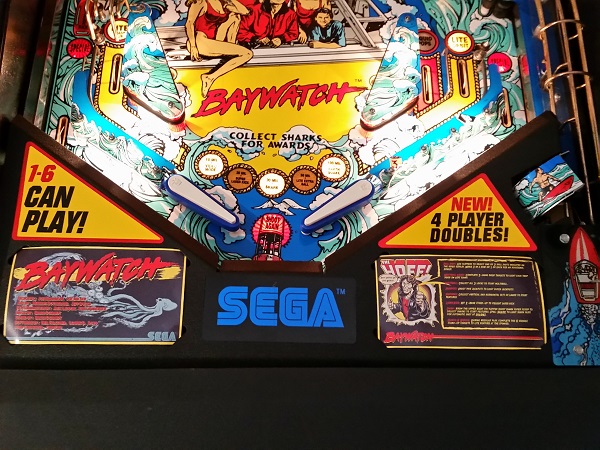
As mentioned in my previous update, progress has been moving pretty smoothly so far on the Baywatch overhaul. Part of the reason for this is due to working on a few things at the same time. I had been waiting on a couple of parts to arrive for the flippers in the previous update, so started work on the apron area. That way I kept making progress and it ended up being completed around the same time. It doesn’t always work out that way, but I like to keep things moving forward as much as possible so the owner isn’t without their machine for too long. As a result, you’ll see some photos in this update which contain progress from the flippers and slingshots in the previous update 🙂 Anyway – this update is solely focused on the apron area. This includes the ball trough, ball serve, shooter, up kicker and ball save assemblies. There is one problem I need to look at too, which is the ball not being served to the shooter lane correctly. Often it takes 3+ attempts to get the ball into the shooter lane. The metal apron is in excellent condition, as are the decals. A few small scratches are present on the SEGA logo, but nothing worth worrying about. The old instruction card (in Italian) will be replaced by the time I’m done. Two very minor scratches on the metal (just to the right of the SEGA decal) will be touched up with a very small amount of satin black, so you’ll never see them.
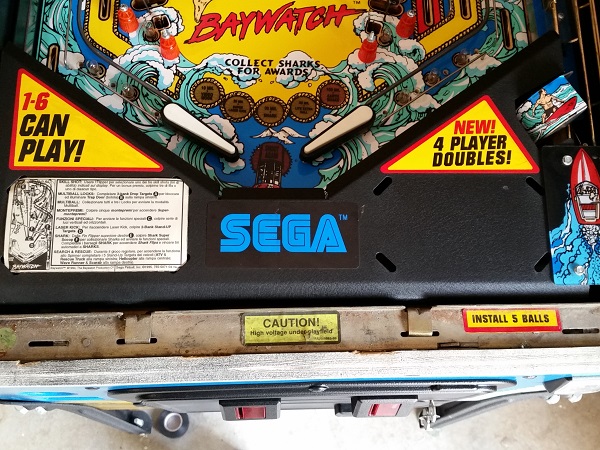
First step is to get the apron off the playfield, so I can access the various assemblies below. It’s a straight forward process as the apron is attached with two screws at the end of the playfield. This area is great for collecting filth and crap on any machine, although it’s not too bad on this one. It can certainly do with a clean, but I’ve seen far worse.
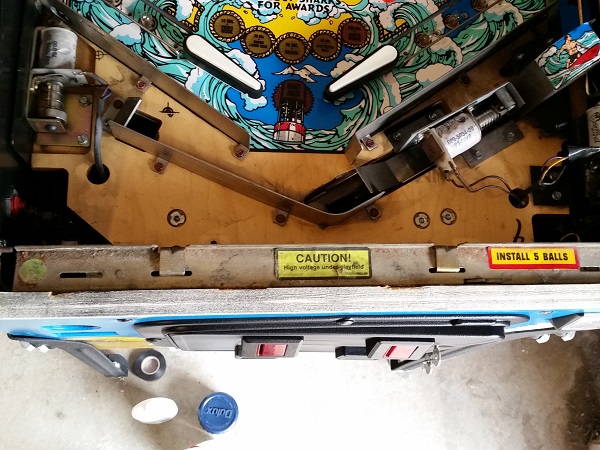
I proceeded to remove everything off the playfield in this area, so it could be cleaned and serviced. That includes all the ball guides and assemblies. The ball trough and ball return VUK will be removed later as they are attached on the underside of the playfield.
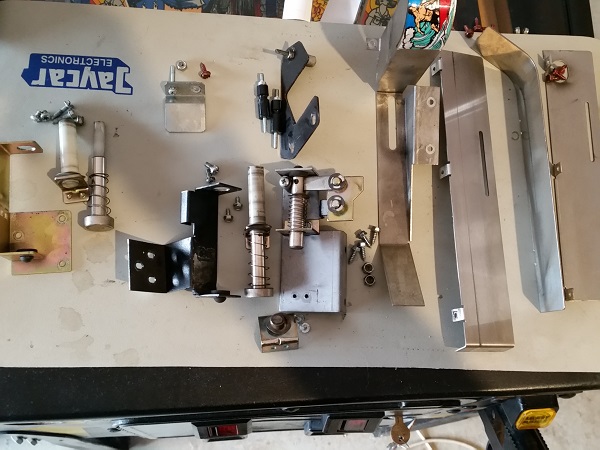
First assembly to get serviced was the ball save. This sits on the left out lane and kicks the ball back in to play when activated. The assembly was cleaned up and a new rubber grommet and coil sleeve were source to replace the old ones. Everything else cleaned up nicely and is fine to reuse.
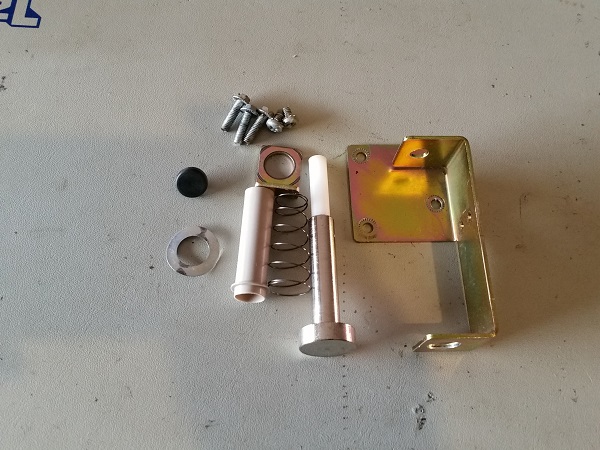
The next item to get my attention is the ball lock assembly. This guy is responsible for keeping the balls in the trough until one is needed to be served up. This too was disassembled and each part cleaned. A new rubber grommet and coil sleeve were sourced.
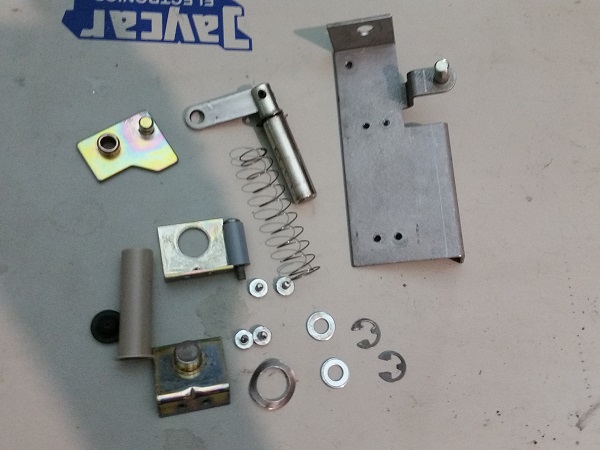
I then moved on to the ball shooter assembly. This too was given a clean, along with a new rubber grommet and coil sleeve.
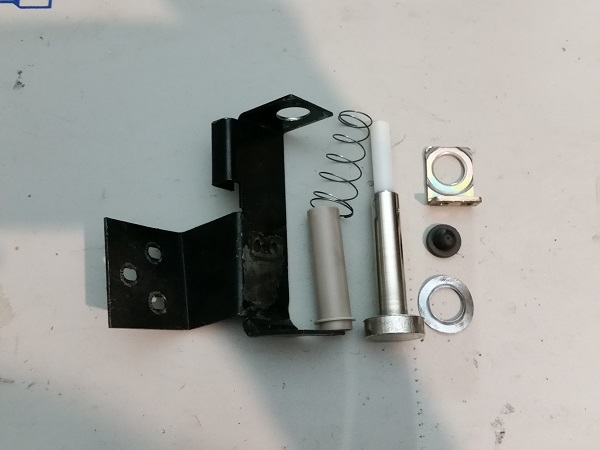
Now on to the ball trough. This is attached to the playfield from underneath. An IDC connector needs to be disconnected first, as this is what the coil and trough switches all run through. It’s good design since it allows the trough to be removed as a unit instead of having to remove all the switches and coil.
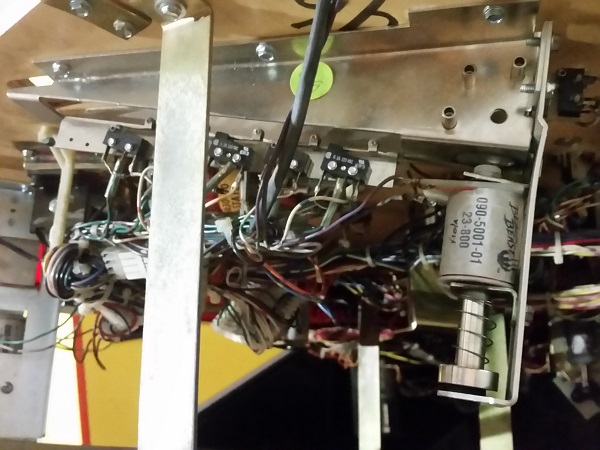
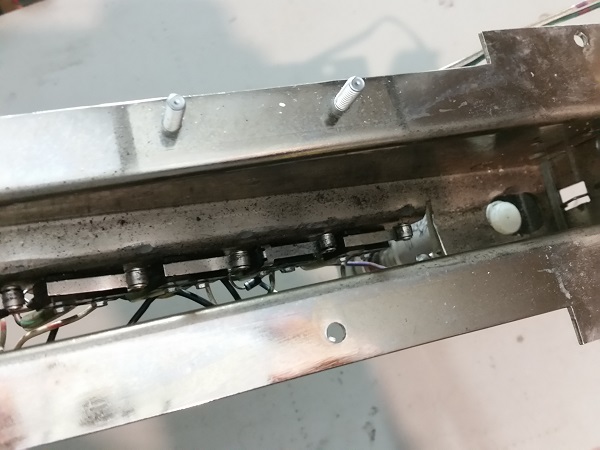
The base of the trough had collected a nice layer of filth over the years and will need to be cleaned. It’s not as bad as I was expecting though.
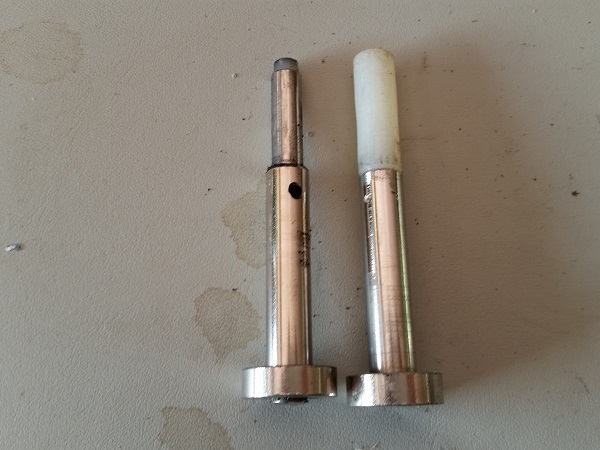
Since I had the trough out, it was time to look at the VUK which is part of the assembly. This coil and plunger are responsible for kicking the ball into the shooter lane to be played. The problem is it often takes 3+ attempts to get the ball out into the shooter lane. Looking at the plunger, I can see why. The plunger on the right is what I’d expect to see – the plunger on the left is what was there. It looks like the large nylon tip had come off, so this will be replaced. The broken plunger wobbles around inside the coil sleeve and as a result does not make good contact with the ball – hence why it requires repeated attempts to serve the ball up.
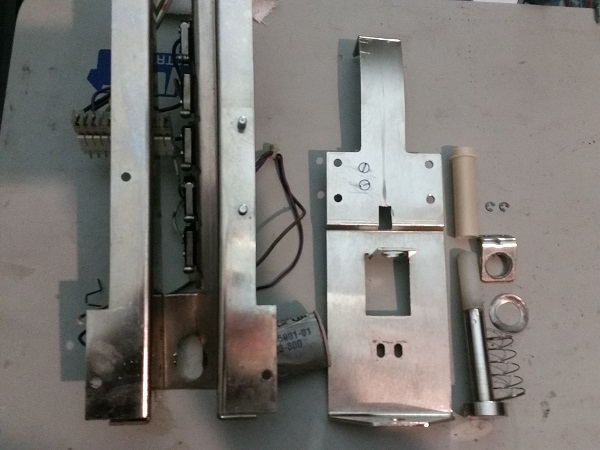
The ball trough and VUK assembly were cleaned up. Trough switch #5 was loose and it’s screws tightened so it sat in place correctly.
The last apron assembly to look at is the VUK that lives at the end of the red tube, returning the ball from the tower to the trough.
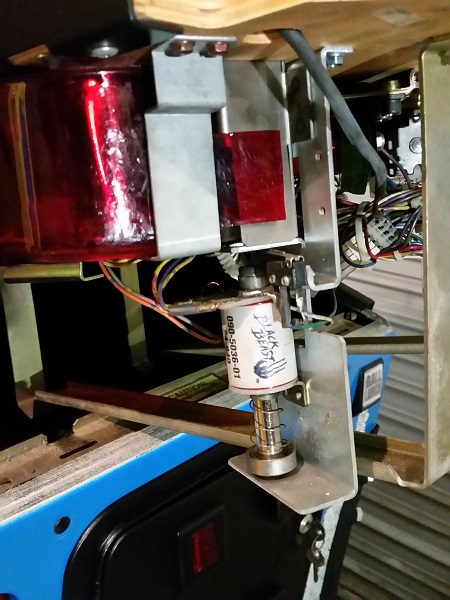
It was removed from the playfield for cleaning. Part of the coil sleeve broke in my fingers as I removed it. Not a problem though as it was headed for the bin anyway.
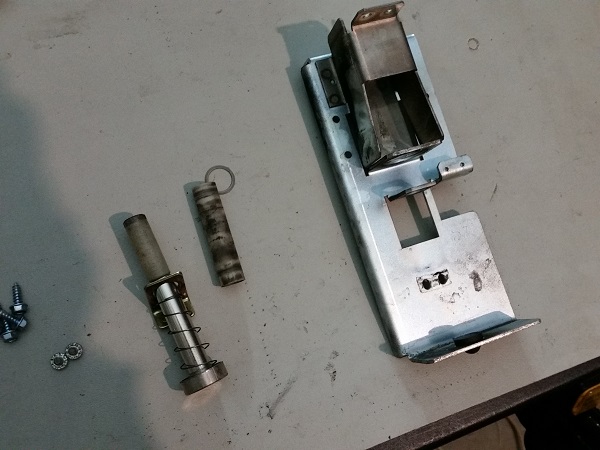
The assembly components were cleaned up and a new rubber grommet and coil sleeve will be installed as it’s reassembled. Note also the thick tip on this VUK plunger – this can be seen on the other VUK plungers across the machine. Which is why I believe the replacement plunger for the ball serve will eliminate the multiple attempts to serve it up.
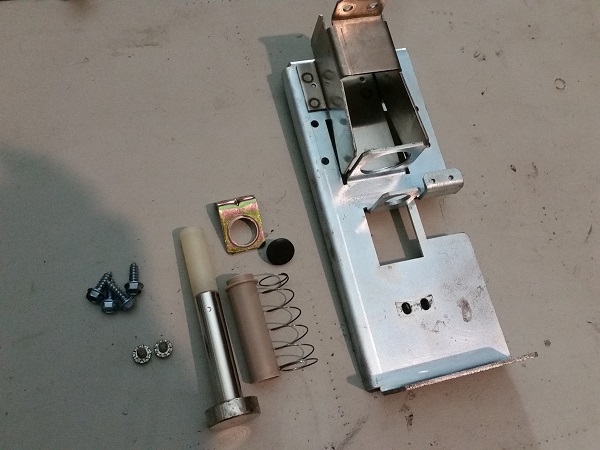
I wasn’t yet ready to get everything back onto the playfield as it still need to be cleaned up. It actually looks a lot filthier with all the assemblies off the playfield. Note that this photo was taken before the trough has been removed for cleaning above.
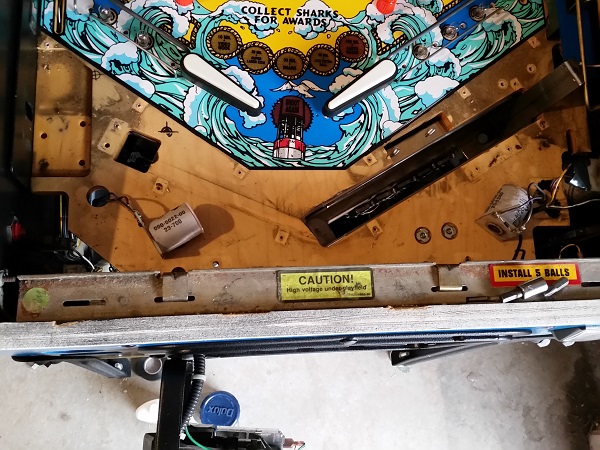
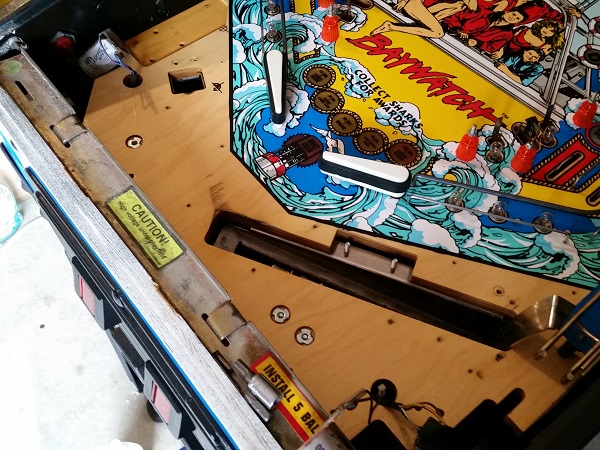
The playfield in the apron area was cleaned up and then polished. All the filth came up except for a small patch just before the ball trough. This bit has been ground strongly in to the playfield.
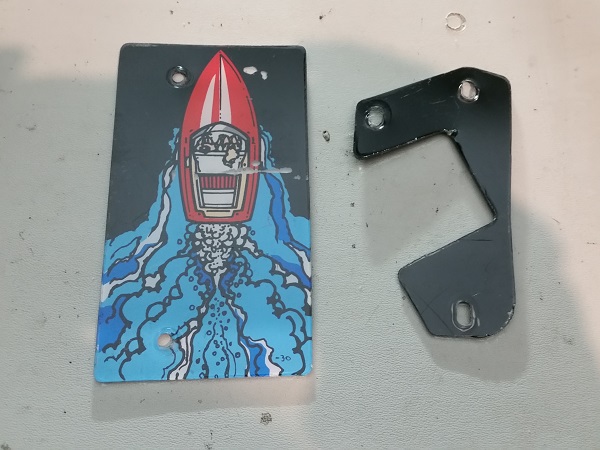
Before reassembling the last of the apron area, the two plastics were cleaned up and polished. The flat black piece sits around the ball serve chute and isn’t really visible during play. The art piece sits above the shooter assembly and is attached directly to the metal apron.
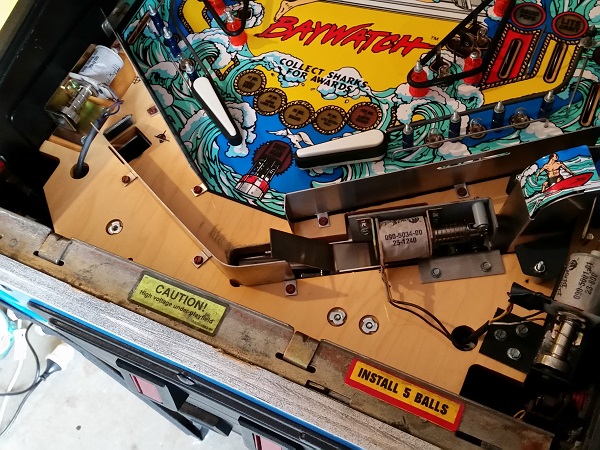
I gave the remaining swirl patch another clean, which removed some more of it. The ball guides were installed, along with the various assemblies. The area was now looking much cleaner than when I started.
The apron itself was cleaned up and new apron cards installed. I printed out some custom apron cards from www.pinballcards.com. I don’t like these as much as the other custom cards they have made because they don’t feel “baywatchy” enough. But it’s better than the old Italian one and generic cards you can print off. I also used a small dab of satin black on the two scratches on the apron to cover them up. The ball serve was tested across a few games and now the ball is put into the shooter lane first time, every time. Which is great as that was annoying when playing – especially during multi ball and you’ve got 3 – 4 ball sitting in the trough struggling to be served up.
That concludes another progress update on Baywatch. The lower playfield area is now looking clean and lights up nice and bright – thanks in part to the work done in the previous update. It’s a great improvement and I can’t wait to get the rest of the playfield spruced up. Next up i’ll be doing the two upper flippers, two vertical up kickers, drop target bank and knocker. That will finish up all the assemblies I can access under the playfield (excluding the pop bumpers – which i’ll do once the playfield is stripped). After that i’ll be stripping the playfield, servicing the remaining assemblies that live on top of the playfield, cleaning everything and putting it all back together. Still some way to go – but moving forward 🙂
