With the apron area completed in the previous update, it’s time to move up the playfield and service some more of the assemblies that make up the game. Shifting my focus about 3cm higher than the apron, the first feature to look at in this update is the “up post”. This feature is pretty cool in game and a welcome addition given the lack of in lanes beside the sling shots. I’ve covered it slightly in previous updates where I sorted out some issues with it not functioning correctly, but this time i’ll be pulling it to pieces for a good clean.
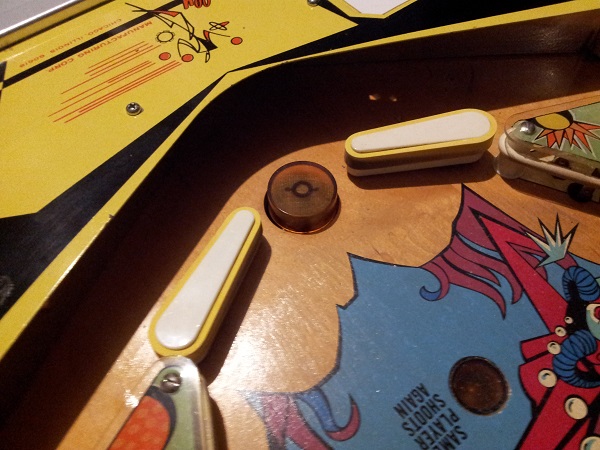
Below the playfield, it’s a simple coil which charges to pull the post down. It’s default position is down, so would spend a decent amount of time charged. I’m surprised there isn’t more burn or wear on the coil. Inside the square metal frame, there are two lamps to light the post. These only come on when the post is raised. I noticed during my initial inspection that one of the bulbs was not functioning. Hopefully this will just be a dead globe.
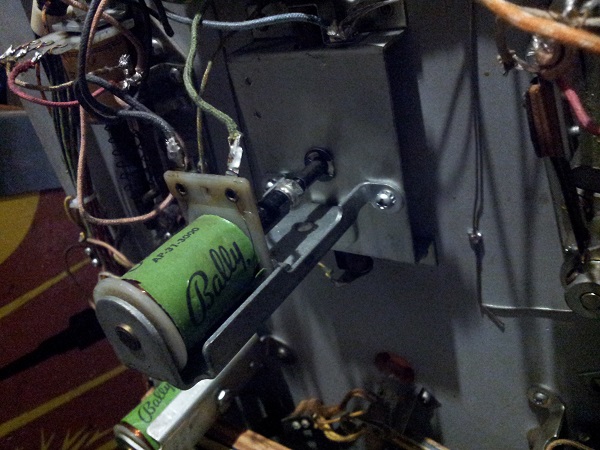
Removing the coil and its frame is the first step to getting the post assembly out of the machine. The frame is still good, although needs a good clean. This is so common on the machines I’ve worked on. The usual black crap built up which inhibits the movement of the plunger, although here it isn’t that bad. Thankfully it’s really easy to deal with and it’s amazing what sort of difference you can make to an assembly with a simple clean and fresh coil sleeve. You can always go further of course with new coil stop, plunger, link, etc when needed, but in many cases these aren’t required and a service is cheap and easy – just needs 30 – 40 minutes of your time. Another metal sleeve in use here and this will be replaced with a new nylon one.
Below the playfield, this left the plunger and post assembly. It is supposed to be held in place by 4 screws, but two were missing. I should be able to locate two suitable replacements in my parts somewhere.
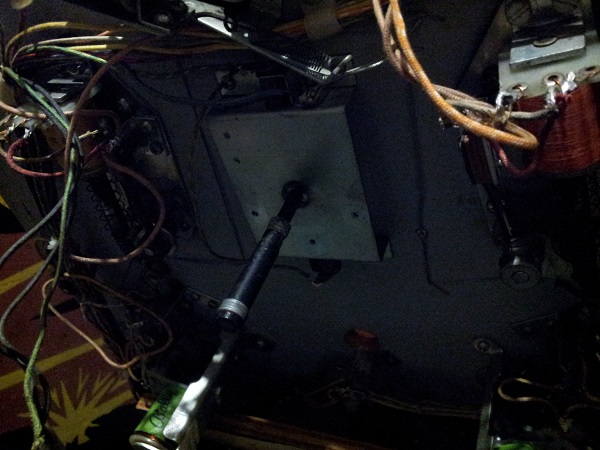
With the assembly removed, I was ready to get to work on cleaning it. Quite a bit of crap has collected on the metal frame sitting below the playfield.
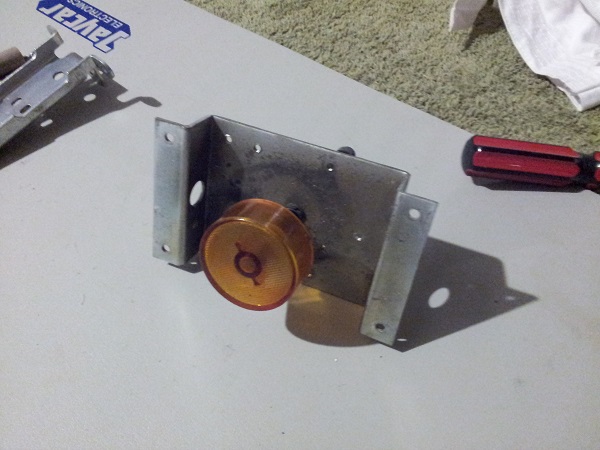
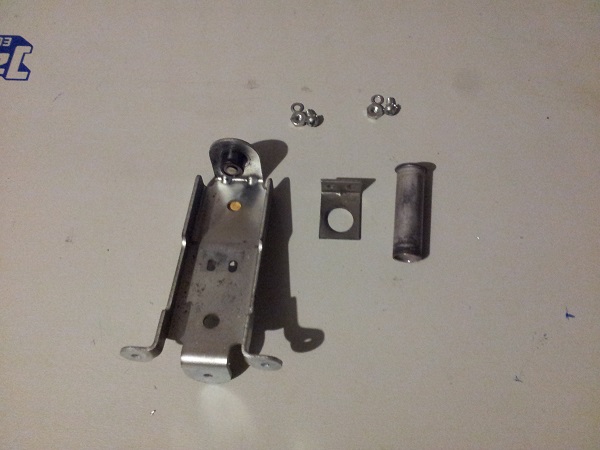
The post was then disassembled to its individual parts for cleaning. You can buy new plastic housing, but this one is still in good shape. There are some scratch marks around the sides where the ball has hit it over the years, but overall not bad and something I’m happy to live with. There is a small nylon liner at the centre of the metal plate and i’ll remove this for a clean too.
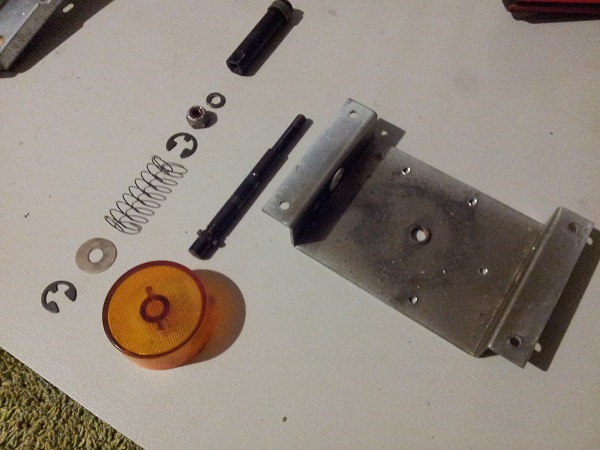
Each part was cleaned thoroughly and the post unit reassembled. The coil frame and parts were also given the same cleaning treatment. The orange plastic housing was polished with novus to remove some small scratches and have it shine again. It was now time to put everything back into the machine. I manually pressed and released the post and was happy with the result. It’s easy to tell when an assembly has been cleaned – it’s movement feels sweet and makes a nice clean sound when it connects with the coil stop.
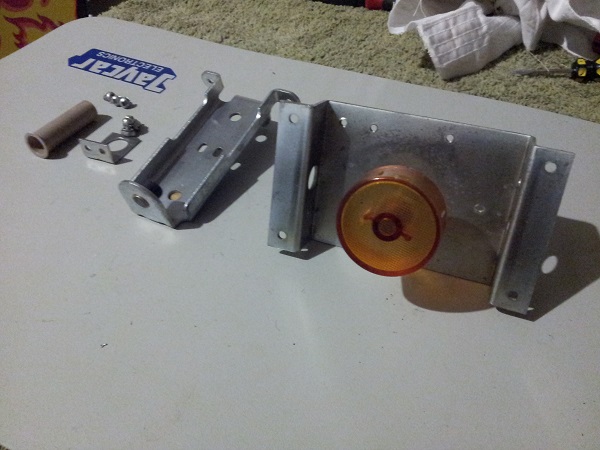
I replaced the lamps with new #47’s and also gave them orange covers to give the post housing a fuller colour. With the assembly back in the machine, I took a few moment to test it – all looking (and working) good.
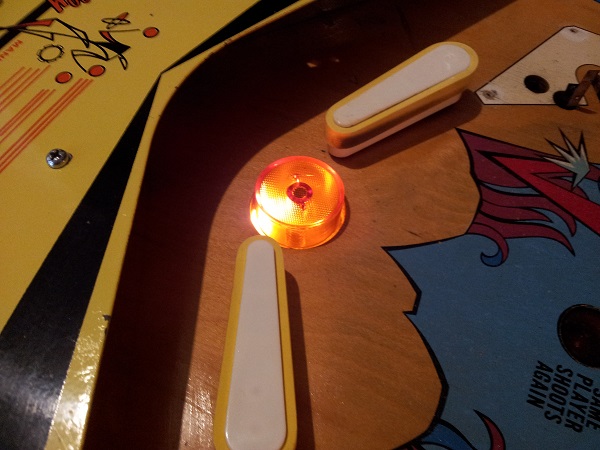
Another assembly located just above the apron is the return gate. This is also a welcome feature to the playfield in the absence of in lanes, as the gate allows the ball to be returned to the shooter lane. It can only be activated via one of the stand up targets (when lit), making it more challenging to activate compared with the up post. From testing, I know the gate functions correctly, opening when the lit target is hit, and then closing once the switch in the shooter lane is pressed.
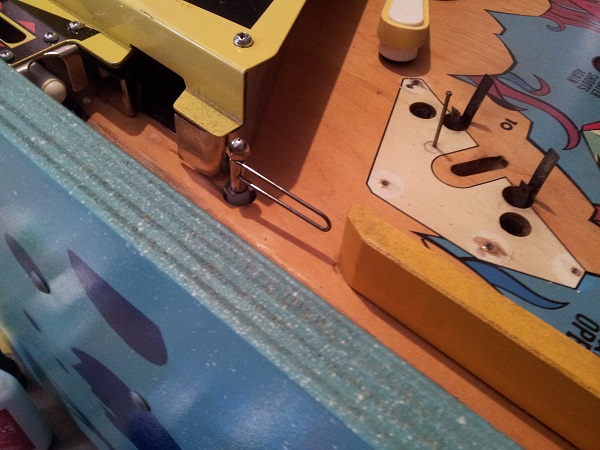
Looking at the assembly below the playfield, it looks similar to the two flipper assemblies. In fact, it uses the same base plate and parts and has a small switch stack to ensure the gate remains open without burning up the coil. This is a bit different to the return gate on the Bally Fireball Classic, which uses a very small coil (and simpler assembly) to open the gate. Although there is about 14 years gap between those machines, allowing for some design improvements along the way.
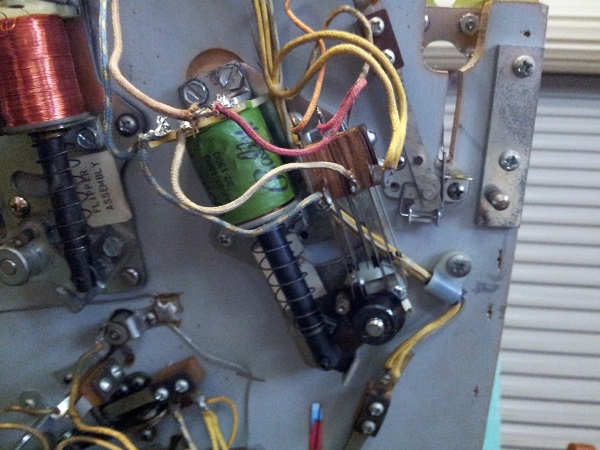
The gate assembly was removed from the machine for cleaning. The coil stop is well used and will be replaced. I wonder if it has actually been transplanted from another coil elsewhere on the machine during a previous service as the gate isn’t a coil that would be firing a lot per game. This is the first nylon sleeve I’ve come across in the machine so far, which again makes me think the assembly has been looked at not too far back. Just like with the up post, the area around the base plate where crap can collect from the playfield is dirty.
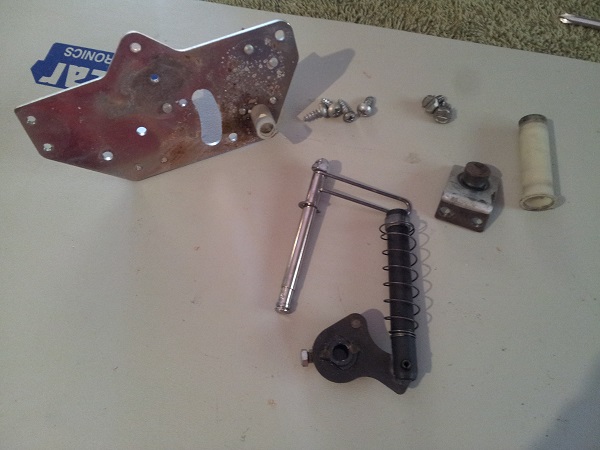
I pulled all parts off the rear side of the base plate for cleaning. One of the small metal pieces used to guide the plunger is bent. I went through my spare parts pile and found an identical one that could replace it. It had gone through the tumbler some time back, so was already cleaned and ready to go.
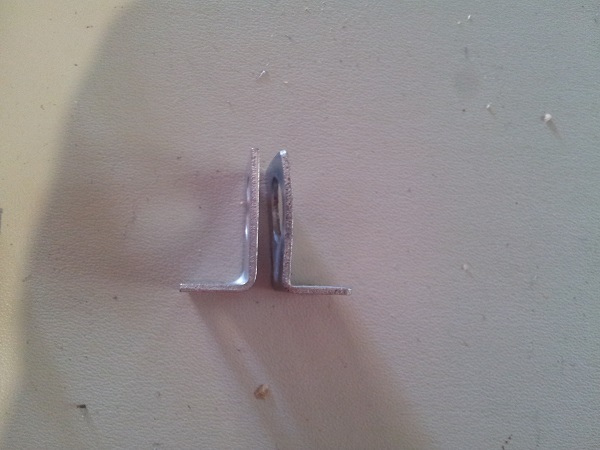
Every part of the return gate assembly was cleaned up. The old post cap was replaced and a new coil stop and coil sleeve were added. The nylon bushing cleaned up fine so could be reused.
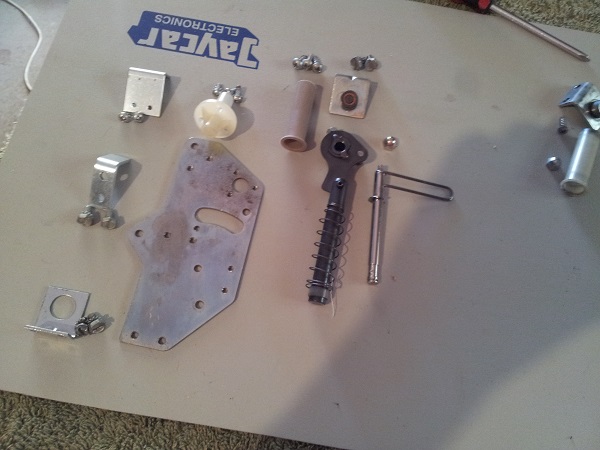
The return gate assembly was rebuilt and installed back into the machine. Another feature of the game now serviced, ready for the next several years of play.
That’s it for this update. Next up will be the two sling shot assemblies, along with rebuilding the flippers. I want to look at the bonus kicker shortly too and the stand up targets on either side of the playfield. I’m not too worried about cleaning the playfield and plastics at this point – i’ll be doing this once all features on the playfield have been serviced.
