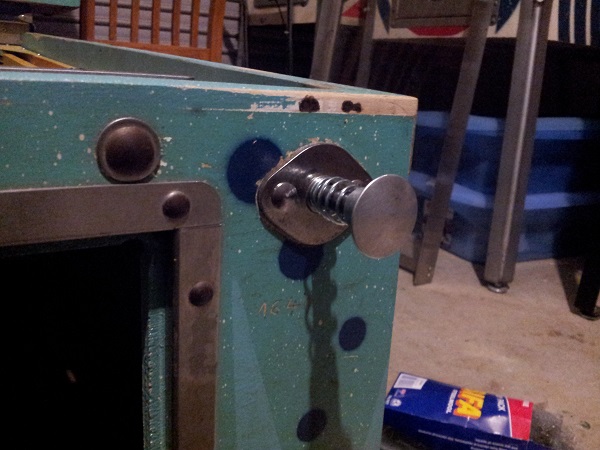
Time to report in with the progress made on servicing the Mariner. It’s a been a little slow lately with other things taking priority, but I’m getting back into the swing of it now. First on the hit list for this update is the shooter rod. It’s in dire need of a clean as the rod sticks when pulled back, preventing it from returning to it’s normal position and applying any force to the ball. I’m keen to reuse as many of the parts as possible after servicing it since I’m not performing a restore. It doesn’t have to look “as new” since the cabinet is not being repainted – I’ll be happy with it cleaned and operating correctly.
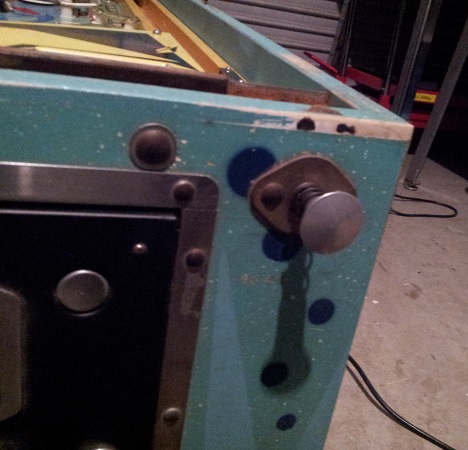
The assembly is attached to a backing plate inside the machine by two bolts. These were removed, which allowed the rod to be slid out and away from the cabinet. The backing plate was also removed for cleaning.
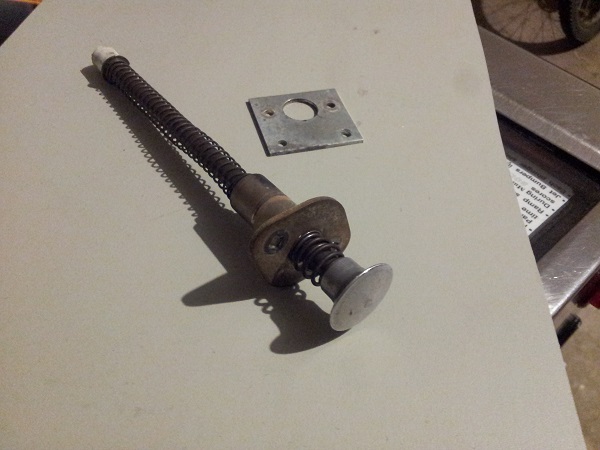
Before I could disassemble the parts making up the shooter assembly, I needed to deal with some mushrooming that had occurred at the tip of the shooter rod. The pushed back metal of the rod made it’s diameter slightly larger, preventing the removal of all parts. This isn’t anywhere near as bad as the state of the rod I saw on Pinbot and Counterforce, so the rod should be fine to reuse.
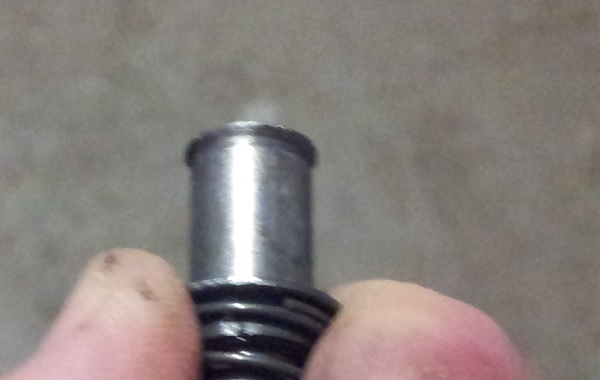
The tip of the rod was put to the grinder and the raised edge cleaned up so all parts could be removed. Most of what’s here will be fine for reuse after a clean. The only parts I won’t be reusing are the rubber tip (obviously) and the broken barrel spring. The rest will clean up fine. Interestingly there is no nylon sleeve that sits inside the housing. There isn’t even room for one.
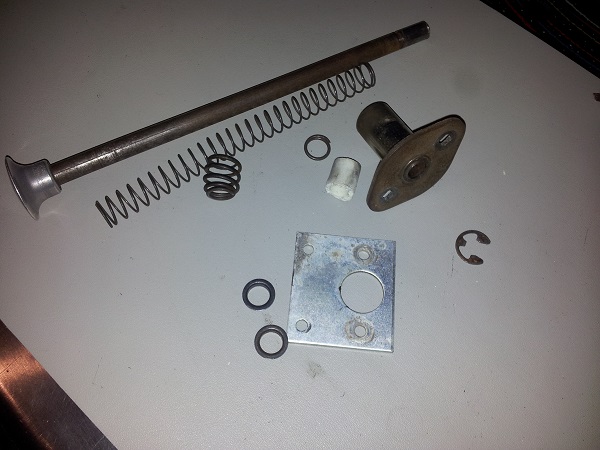
Each part was thoroughly cleaned up and the assembly rebuilt. The shooter rod was installed back into the machine and tested. The rod now had free movement and no longer stuck, allowing for proper operation. I will return to the shooter rod at a later time to make any final adjustments on its position to fine tune the contact it makes with the ball. Given it’s your first interaction with each ball, I think it’s important to have this right.
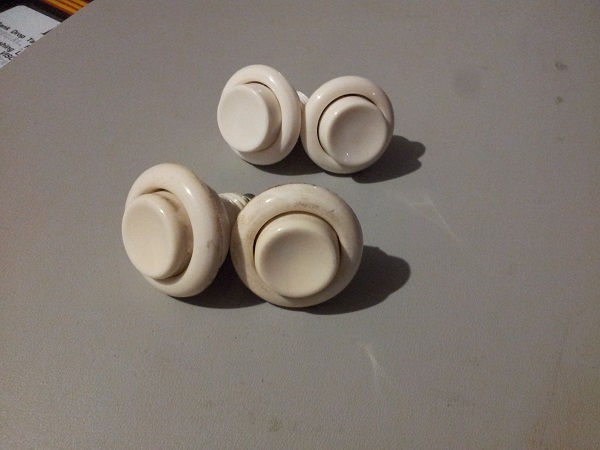
While I had the shooter rod out, I decided to swap the two flipper buttons over. These old ones have had a good life and could go on for longer after a clean. But I love the feel of new flipper buttons at my finger tips when playing – so the old ones can go into my spare parts piles and new buttons added in their place.
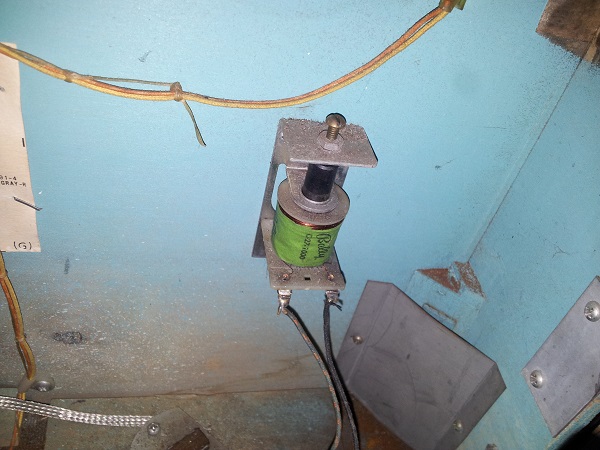
Next up is the knocker. This is located just below the right flipper button and shooter rod.
The knocker can be removed very easily from the game as it’s connected via a 2 prong Jones plug just to the side where the coin box would sit. I noticed that the coin chute settings had been wired up to the knocker, so when you put a coin in, it would trigger the knocker for each credit added. The white wire is an after market mod done in the past to achieve this. The correct wire that should be soldered to the female jones tab was hanging loose to the right.
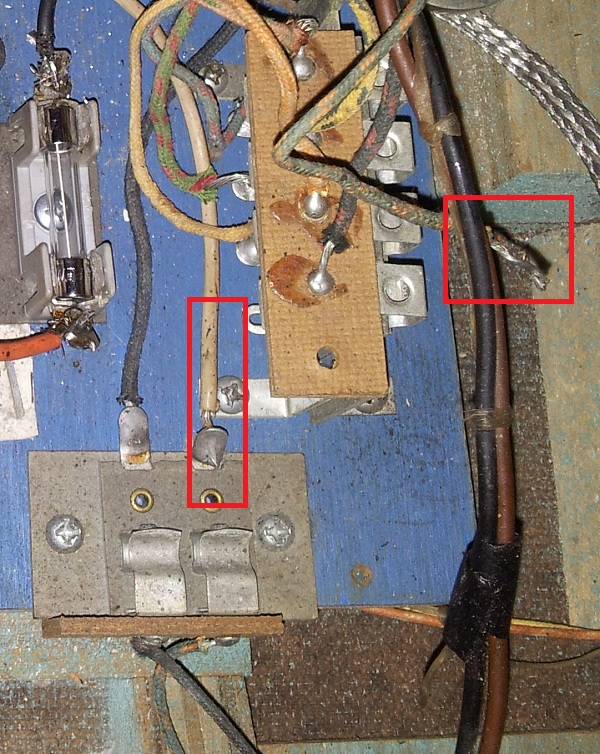
The wiring was fixed up so the knocker would correctly fire when a free game / extra ball was awarded for a high score. The high score feature of the game is configured via a bank of jones plugs in the top corner of the headbox.
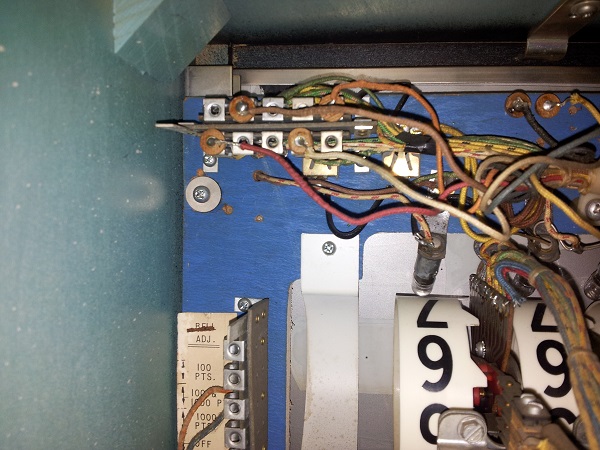
I configured the high score setting to test and then achieved the score by manually hitting targets on the playfield. The knocker correctly fired and awarded a free game. The game can be configured to award a free game or extra ball for this (via a jones plug just inside the coin door). Happy the feature worked and the knocker was working, I removed the assembly for a clean.
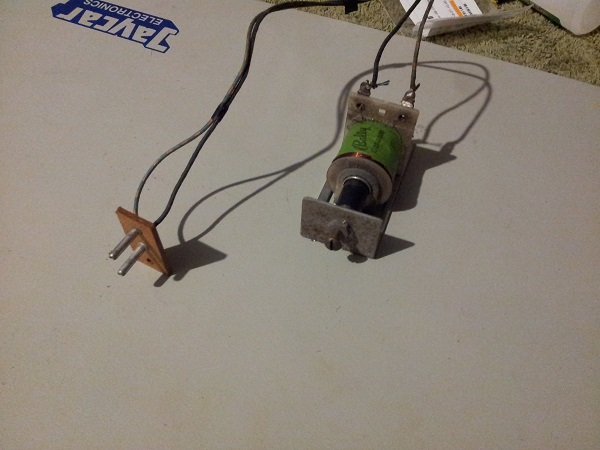
The knocker was disassembled and all parts cleaned. The old metal coil sleeve was stuck tight in the coil, which was a bit surprising as the coil did not show signs of melting or burn up. I did manage to get it out eventually, although it was destroyed in the process. The new nylon sleeve slides in very easily though.
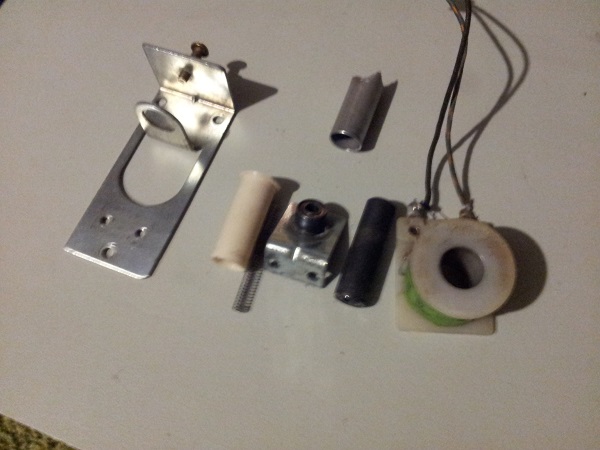
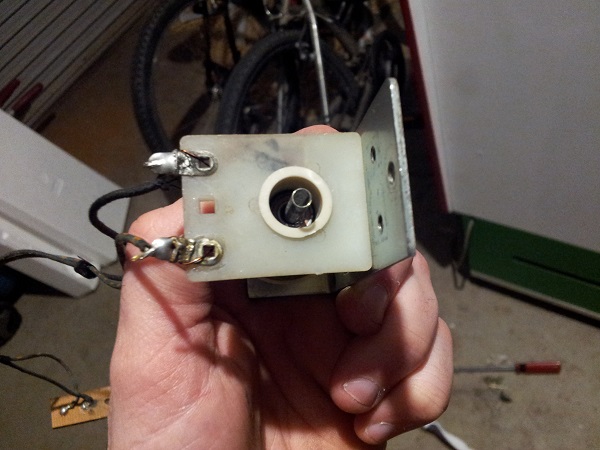
I found something interesting on this knocker I had not seen before, so wanted to make a point of sharing it. It has a spring that sits inside the coil stop and extends into the plunger. On other machines I’ve word on, the knocker is either sitting horizontally, with the coil pulling the plunger in to strike a metal plate. In other cases the knocker is vertical, but the coil will pull the plunger up to strike a plate. On this one, the the plunger gets pulled down, hits the coil stop and then released, with the spring pushing it back against an adjustable screw to sound the knocker.
For sound, the Mariner relies on two bells and both of these are missing from my machine. The first bell, which rings for 10 points has been sourced and I’m keen to get it installed for testing. It’s an old one and in average condition with some rust. But should do the trick.
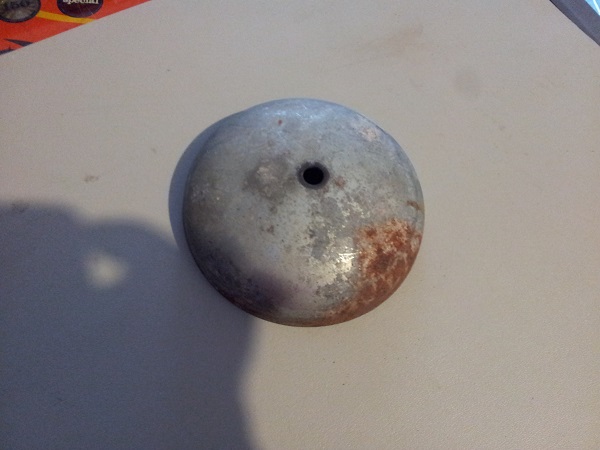
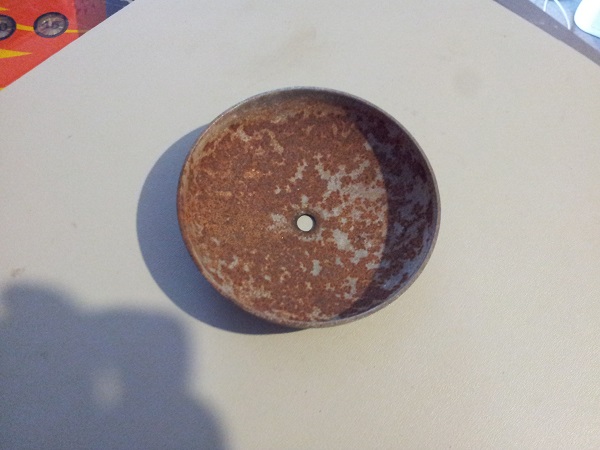
Before installing it into the machine, I wanted to clean it up and deal with the rust. The inner and outer surfaces were first sanded back to remove as much of the rust as possible. From there the two surfaces were treated with rust product from Bunnings. While the presentation of the bell doesn’t matter (since it’s locked away in the headbox), I wanted to give it some dignity for it to live out its days with. Both surfaces were primed, spray painted and clear coated. The bell was in much better shape now. A new rubber grommet was purchased and installed to replaced the old hardened one too.
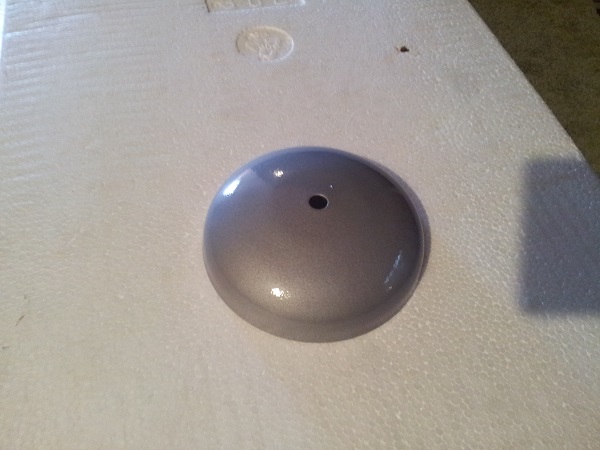
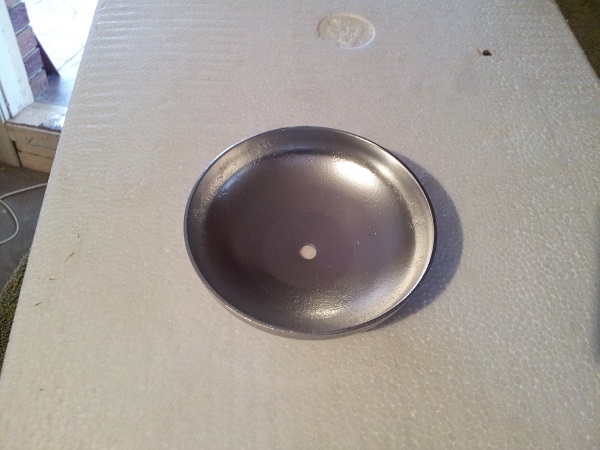
The bell attaches to the base of the 0-90 (continuous) stepper unit in the headbox. Everytime a 10 point target is hit, this stepper unit advances and also causes a small metal arm to trike the bell. The frame is already there for it to bolt to, and the arm used to strike the bell is also there.
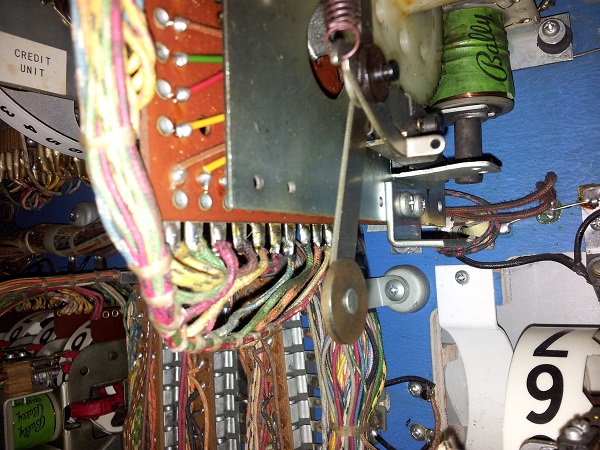
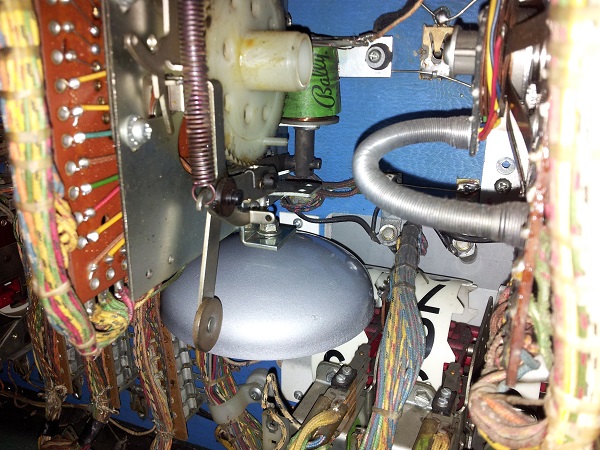
I found a bolt that would fit and installed the bell on to the stepper unit. There is some room for adjustment to position how far the bell sits from the striking arm. This required some trial and error to find a nice sweet spot where the bell would make a nice ring sound when struck. I manually advanced the stepper unit to ensure the bell received a nice striker per step, and movement of the unit was not impeded. The bell sounded good and the stepper was functioning properly. So that’s one half of the sound sorted. I still need to source a unit for the 100/1000 point scoring bell however.
Time to give some attention to the assemblies that make up the playfield. I like to start from the base of the playfield and work my way up – so i’ll begin with the apron and what lurks beneath. The apron itself is in reasonable condition. Foreign instruction and pricing cards currently reside there and these will be replaced with new ones. There is a metal panel located at the base of the playfield – this rests on top of the lockdown bar receiver – and will be removed for cleaning.
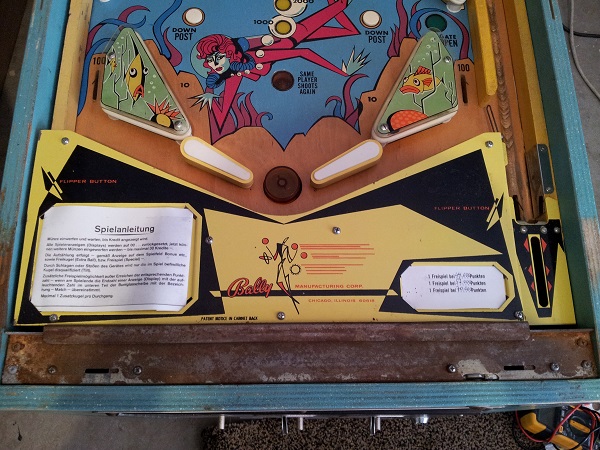
The apron is attached using several screws on top. This is a bit different to previous machines I’ve worked on where they are screwed into place with just 2 screws at the rear. It’s certainly not the dirtiest apron area I’ve seen – actually – it’s pretty good considering the games age. Perhaps it’s received a wipe down over the years.
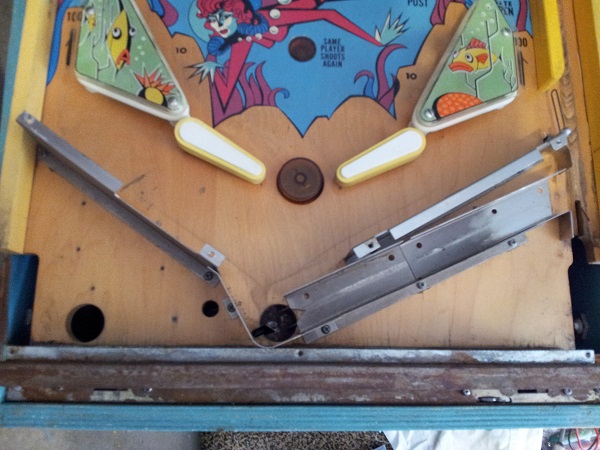
There is a metal panel at the base of the playfield. This it screwed into the playfield from below and forms part of the support for the apron. It’s rusty, so I plan to clean it off and treat it to protect against further damage.
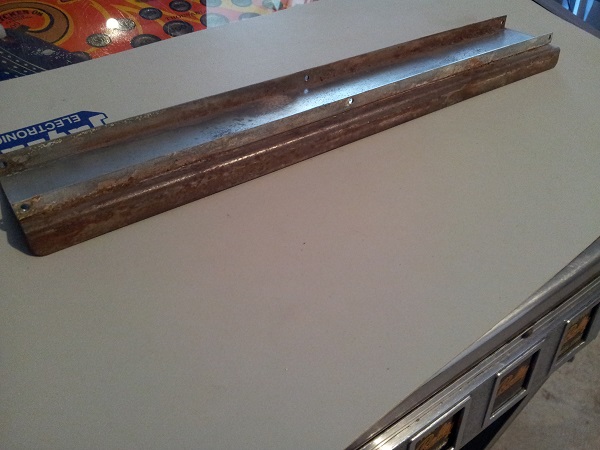
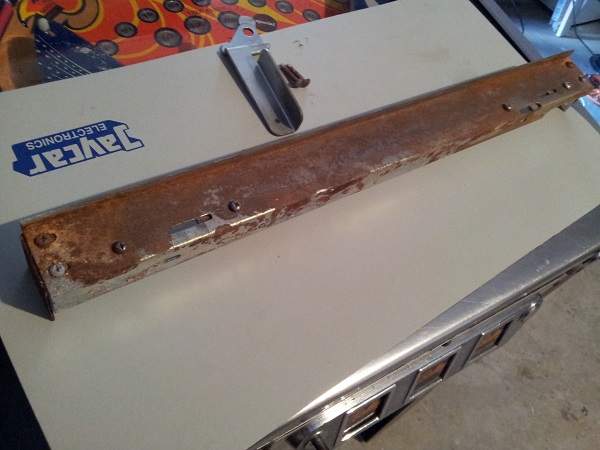
The lockdown bar receiver is also quite rusty and will be removed for cleaning and treatment to minimise further decay.
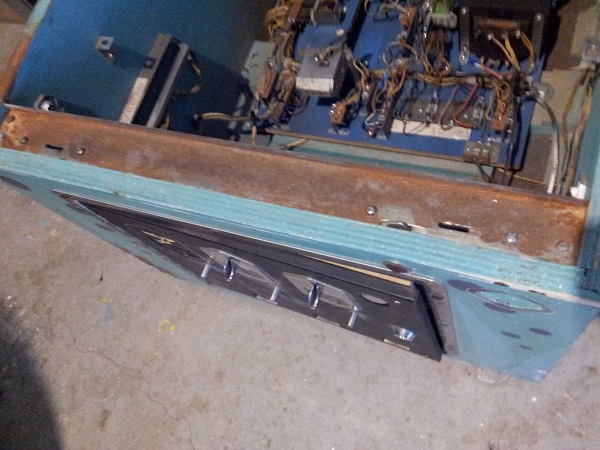
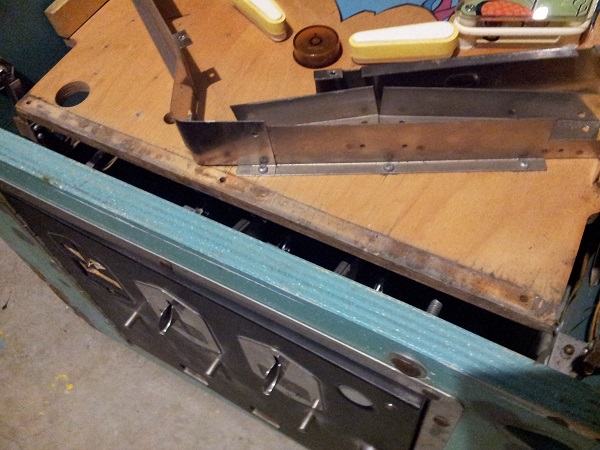
The drain hole is filled with crap from over the years. I’m looking forward to removing this assembly for a good clean.
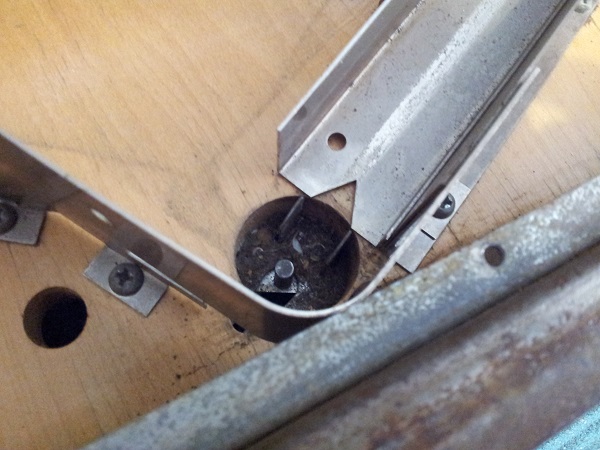
The ball drain / serve guides and rails were all removed, leaving an empty apron area ready to be cleaned.
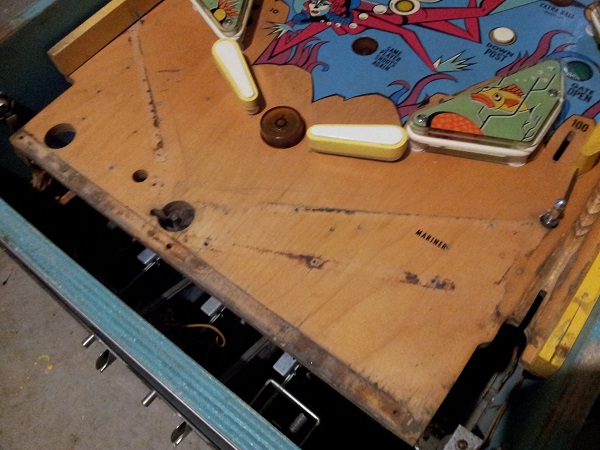
The area was cleaned with isopropyl alcohol and eucalyptus oil for the most part. A magic eraser was used on some of the caked on crap to help lift it. This was then followed up with Novus to polish the playfield, leaving the area looking much nicer.
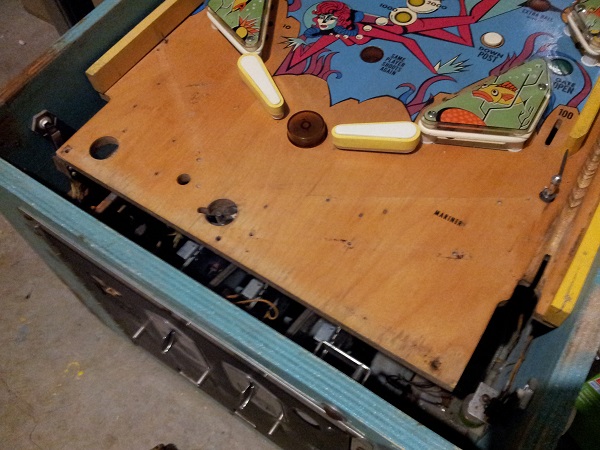
With the area now cleaned, I wanted to deal with the ball serve assembly. It’s a basic set up with a coil to fire a kicker arm and a switch to activate it. From my initial testing of the machine, I know it works, so it shouldn’t need much more than a clean and a new coil sleeve.
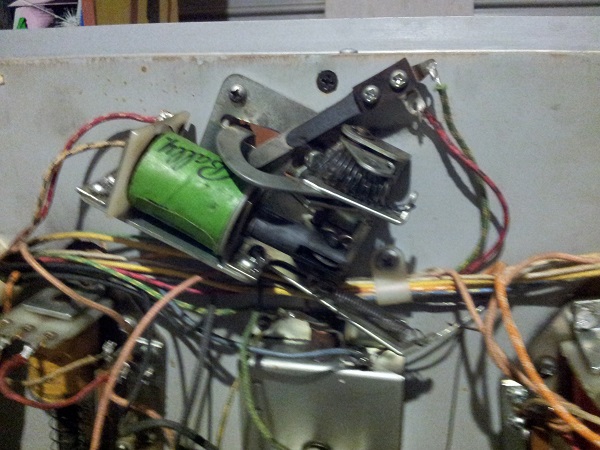
The assembly was removed from the playfield for cleaning.
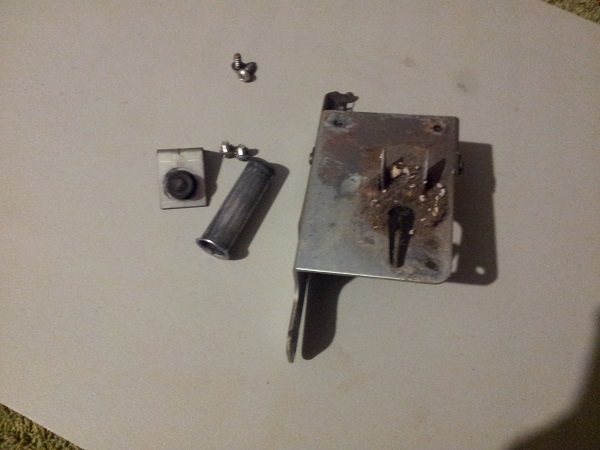
Terrible image, but the assembly was cleaned up on both sides and put back together. A lot of crap wiped off and the more stubborn stuff came off with steel wool. The coil stop was still in reasonably good condition too so can be reused.
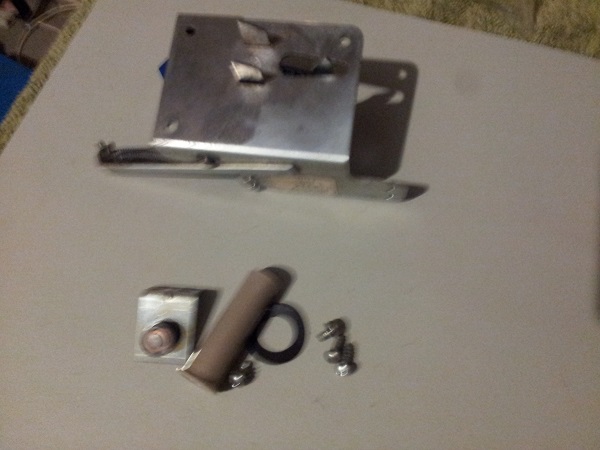
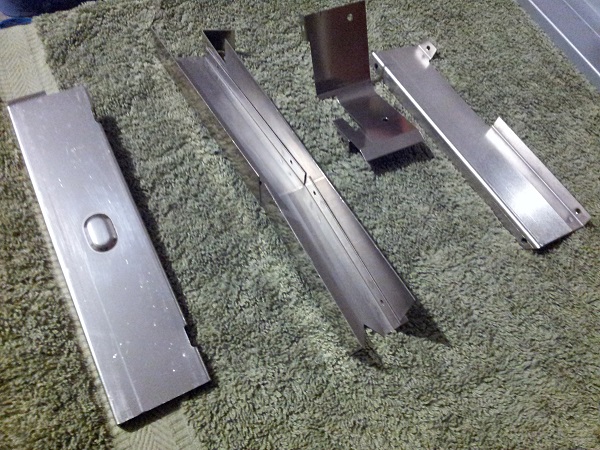
The assembly was then installed back into the machine and the switch cleaned. Now that the ball serve assembly was done, I could begin putting the apron area back together. The metal rails and ramp were cleaned with steel wool, isopropyl alcohol and a cloth. They weren’t too bad to begin with and only had some surface crap to remove. Getting rid of that surface crap is important as the ball travels through / along these every game and can spread it to the rest of the playfield, assemblies, rubbers, etc.
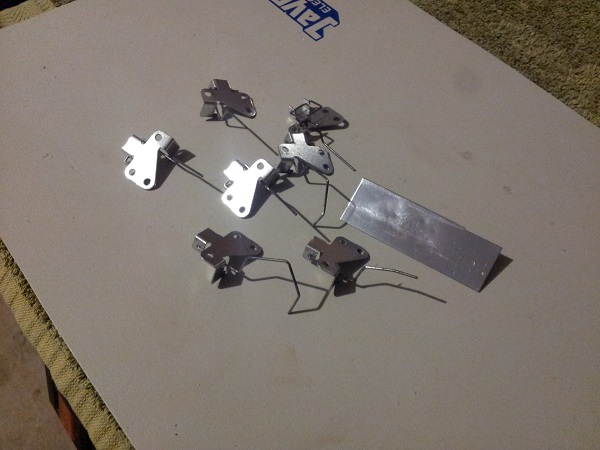
I also threw the switches and shooter lane guard into the tumbler for a clean. The lane guard has seen some action and I was tempted to replace it. But it’s not broken and should continue to live on for awhile yet.
The lock down bar receiver and metal panel at the base of the apron had been sanded and treated with a product to deal with the rest. They were then sprayed and clear coated. All the parts were now ready to go back into the machine.
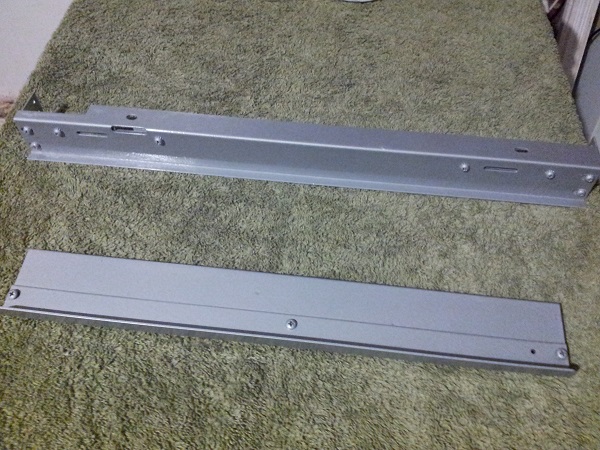
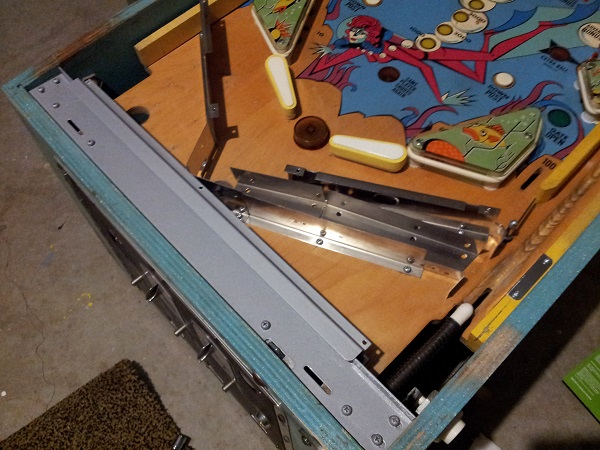
The apron area was rebuilt with all the rails put back into place, along with the base of the apron and lockdown bar receiver.
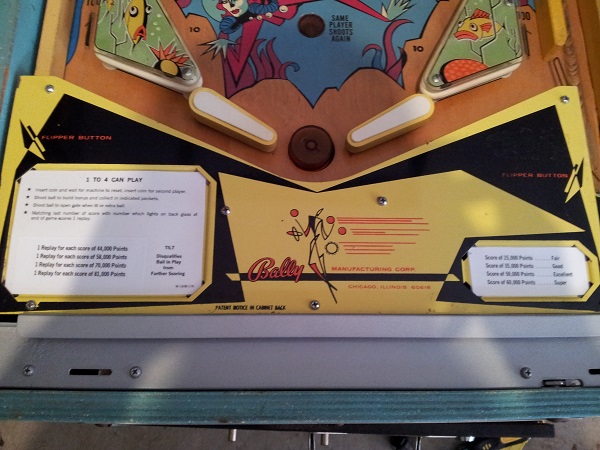
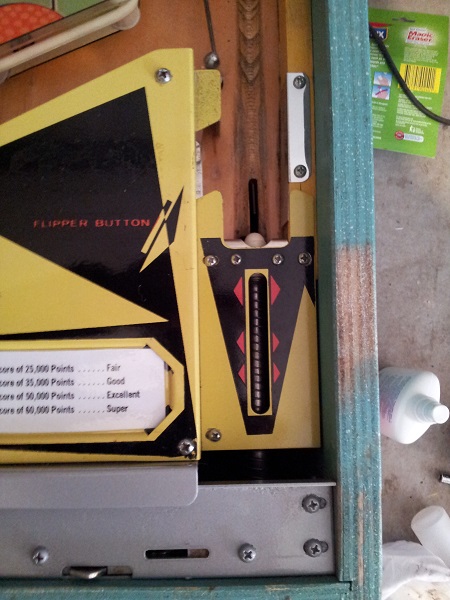
I printed up some new instruction cards for the apron and laminated them. The screws used to attach the apron had been through the tumbler to clean them up a bit. The apron and shooter cover were then installed back onto the machine to complete my work on it. I’ve taken a bit of a guess as to what score levels I want the high score awards to be at. If I decide to alter these once I start playing the game I’ll just print up and laminate some new instruction cards.
I’ll now continue to work my way up the playfield, with the ball save post, flippers and return gate next on my hit list. Sling shots won’t be far behind that lot either. I’m still awhile off playing it, but already looking forward to putting some games into the machine.

It’s so great that you took the time to document how you did some repairs on your pinball machine. My brother has a few of these machines from a long time ago but none of them are working. I’m not very DIY oriented so maybe for his birthday, I’ll get a professional over to his place to fix those games up.