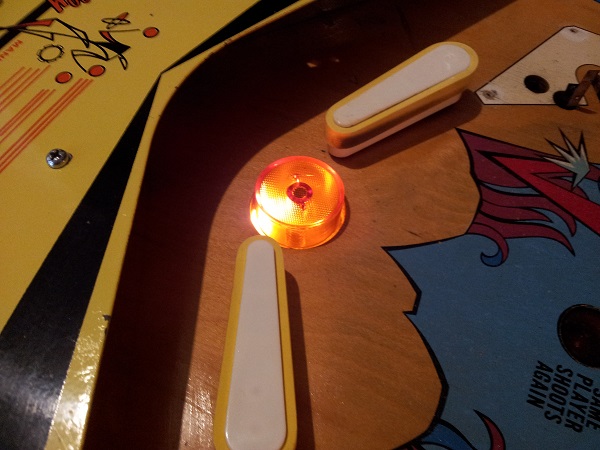
With some more progress made on Mariner, it’s time to drop past with another update showing off which assemblies have been pulled apart, serviced and cleaned. First up on the list this time are the flippers. Both flippers work, which is always a nice starting point to have. Unlike other old machines I’ve worked on, the rubber here isn’t hard and cracking (same for the rest of the playfield rubbers actually). The flipper bats are still reasonably white too. So I think the machine has been looked after over the years and likely to have had some replacement parts put in along the way.
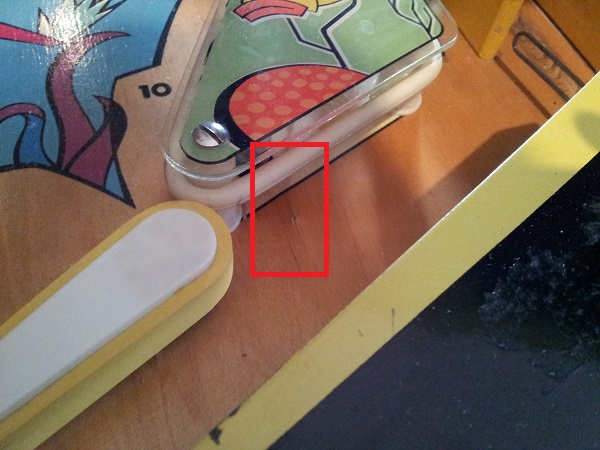
Below the playfield, the flipper assemblies are pretty much what you’d expect to see. The only points of note here are the coil wrapper missing from the right flipper coil and incorrect screws used on attaching the right assembly to the playfield. This is actually the cause of a screw tip poking through the top of the playfield in 1 section (noted in an earlier update). There are 4 different types of screws someone decided to use here, three of which are too long so it’s “lucky” only 1 found it’s way through the playfield. I’ve got suitable replacement screws I can replace them with. I’ll also look at printing up a replacement coil wrapper.
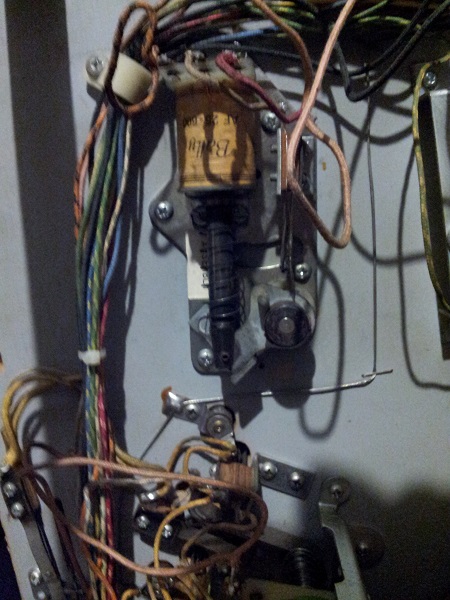
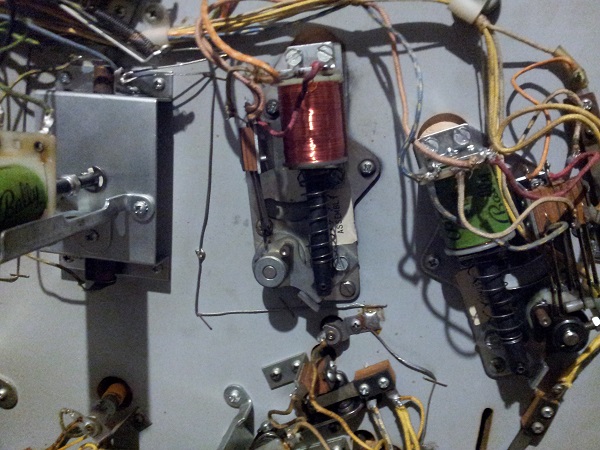
I started with the right flipper for rebuilding. The assembly was removed from the playfield. The coil stop was hammered and will be tossed, along with the metal sleeve.
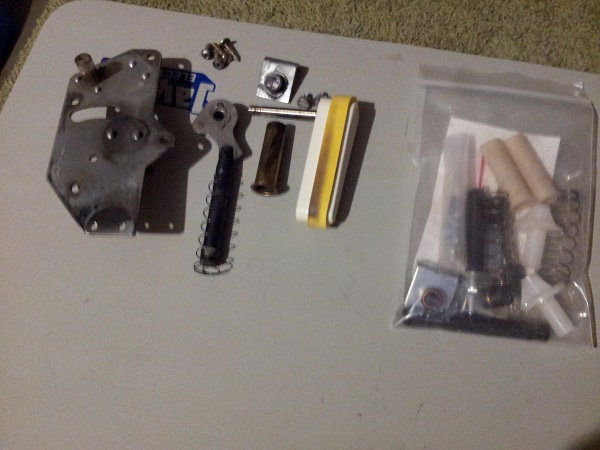
The assembly was then split down into all its parts for cleaning. I found that I had some new flipper bats sitting on my shelf. I recall purchasing them at some point in the past, but they did not suit the machine I was looking at (pretty sure it was the FBC – the flipper bats attached to the shaft differently to these). Anyway – the old flipper bats here were not too bad, but why not use new ones that were sitting here gathering dust!? I also had blue flipper rubber which I’ll try out on the machine. By default it shipped with yellow, but blue should suit the colour scheme nicely. Everything cleaned up nicely and the old worn parts replaced with those in the kit.
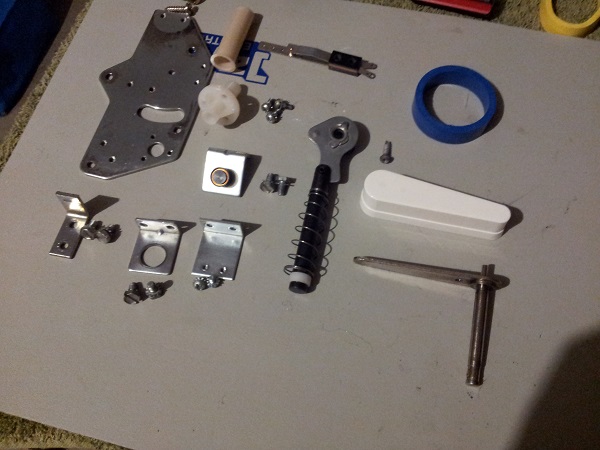
The right assembly was then rebuilt and installed back into the machine. I repeated the process with the left flipper. It was exactly the same, so won’t repeat the images. The exact same work was done. A good clean and rebuild will see these flippers operate strong for a long time to come. Something I didn’t do (and I’m undecided on yet), is replacing the two cabinet switches. I have been in the habit of replacing these on other machines, but I’ll see how the game holds together first. Swapping them over can be done at any stage in the future easily enough.
Next on my hit list are the two sling shots. When I start dealing with assemblies like these, normally I will also attend to the star posts, rubber(s) and plastic that sit top side of the playfield at the same time. But this time around, I’m going to do things a little different. For now, i’ll be focusing only on cleaning and servicing the assemblies. The playfield parts will be removed and stored safely, but i’ll come back at a later time to clean the playfield and reassemble them to finish it off. The sling shot assembly under the playfield is much like any other. It’s dirty and movement a little sticky. That should prove no problem to deal with.
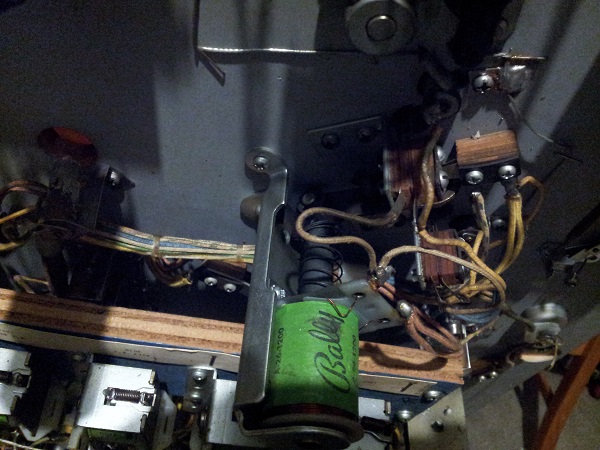
First step was to get the coil bracket removed from the playfield, which then gave me access to the plunger and switch. The switch will need to be removed before I can remove the plunger and arm. The switch is normally open and only closes once the sling is activated and the plunger pulled in. It’s a little dirty so I will take this opportunity to clean it.
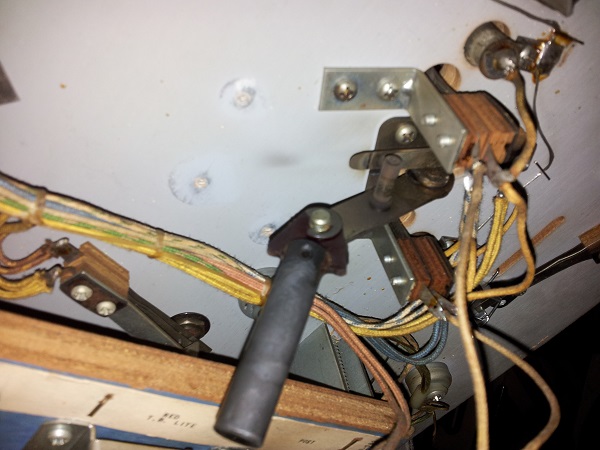
With the switch out of the way, the arm and plunger were also removed for cleaning. I removed the e-clip to get the plunger off the arm assembly. Another metal coil sleeve was in use here, so it’s going to be replaced with a new nylon one. The rest of the parts are all still good for reuse after a little clean.
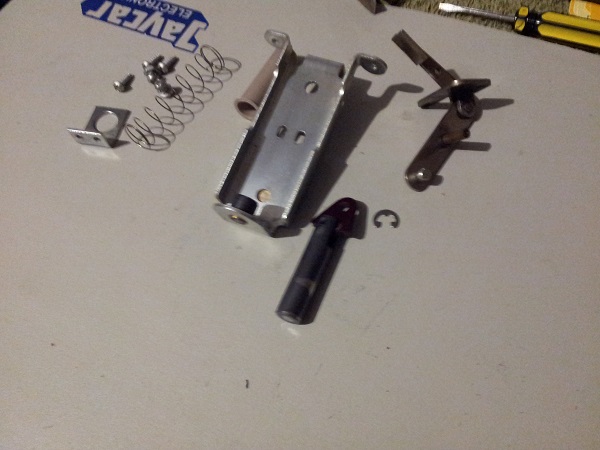
These sling shot arms do not allow for their fulcrum plate to be removed (other version of this assembly have the arm connected to the fulcrum with an e clip). Much of the stickiness I could feel in the arms movement was from a build up of crap in this joint. It makes cleaning it a little more challenging and getting it to operate at an optimum level. But with some effort it’s movement is so much better now.
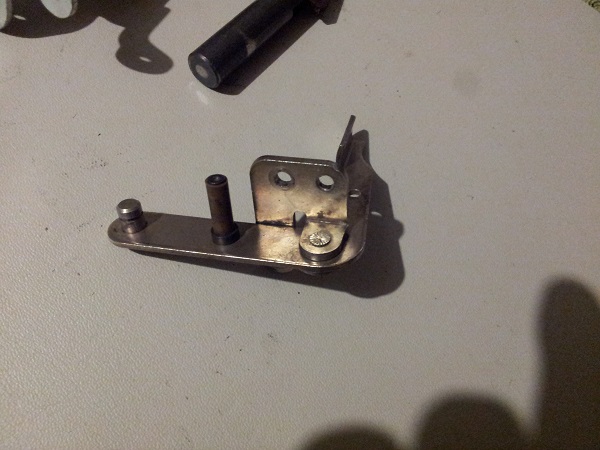
With the assembly cleaned, I put everything back together and installed into the machine. Both sling shots were serviced at the same time. I did take photos of the left side too, but it was exactly the same. As with the flippers, it’s just repeating the process. No real surprises here. Later on I will return to clean the playfield and then do the standard finishing (new rubber, new globes, polish plastics, etc).
The next assembly I wanted to deal with is the bonus collect kicker. On the right of the playfield is a small lane where you can trap the ball to collect the current bonus amount. If you manage to trap the ball there, it will activate a switch to kick start the bonus collect. Once complete, there is an arm that will kick the ball back into play.
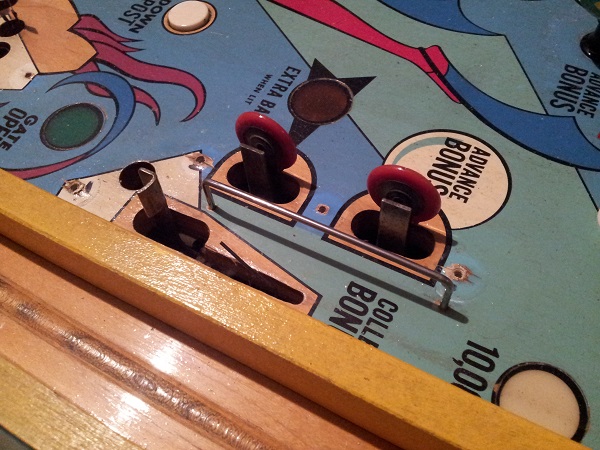
Below the playfield, the assembly is quite a simple one and not much different from the sling shots. It’s operation is fine, but like everything else, needs a good clean. The switch arm was cleaned in an earlier update after a visit to the tumbler.
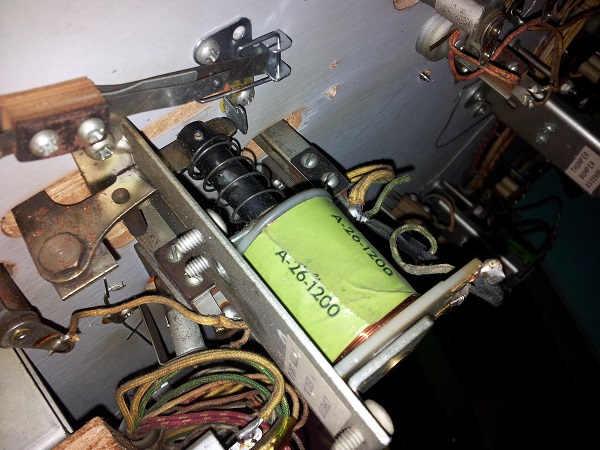
The assembly was removed from the machine and disassembled into it’s various parts for cleaning. Once cleaned it was ready to be rebuilt and installed back into the machine. The old metal coil sleeve was thrown out and replaced with a new nylon one. The coil stop was still in really good condition, although I’ve replaced it with a new one and will keep the old as a spare.
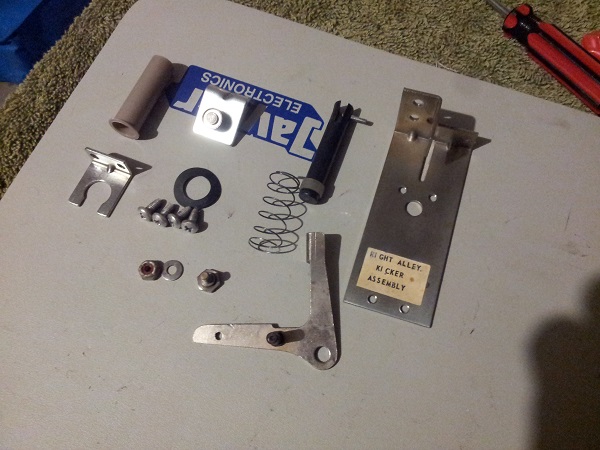
A lot of gunk was removed from the pivot points and the arm has much better movement and action against the ball. With the assembly back in the machine, I could consider it complete and able to continue my sweep up the playfield.
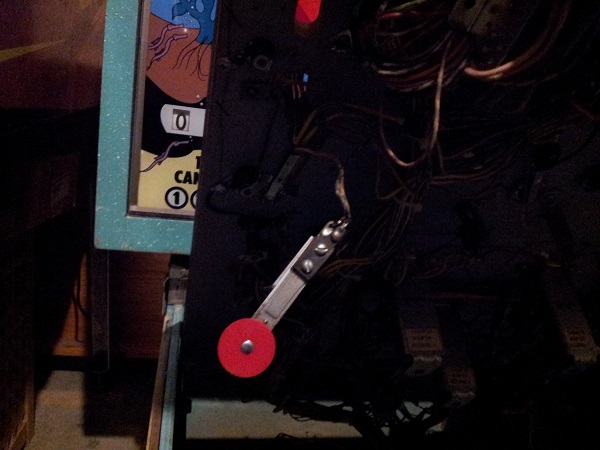
The last thing to look at for this update are the 4 stand up targets in the lower section of the playfield. There are two on each side, which advance or collect bonus features of the game. All 4 targets have been tested and work, but they could do with a clean. Easiest way to clean them was to undo the 2 screws from below the playfield and pull the target down. Each target face was cleaned with isopropyl alcohol and a soft cloth followed by being polished with novus. This is a small amount of wear across the target face, but not bad considering the age.
That’s all for this update. Next up i’ll be looking at the two small buttons that activate the post down, the 3 small mushroom bumpers and also the saucer at the top of the playfield. That will just leave the pop bumpers to do. I need to start thinking about sourcing legs for the machine too as right now I have none.
