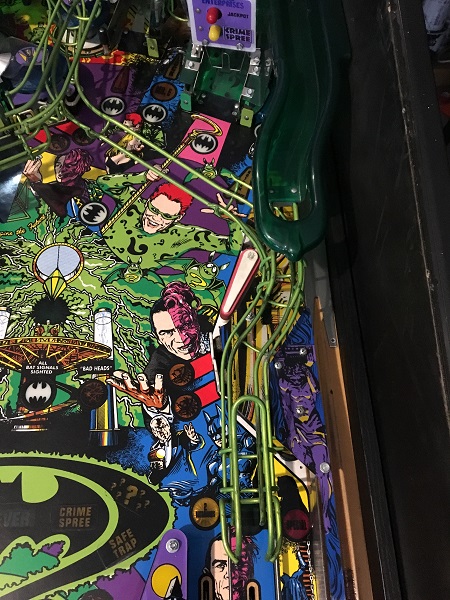
It’s time for the third installment on the Batman Forever rebuild. I’ve been a little slower than I’d like getting this update posted, but it’s been a busy time of year (and getting busier as we race towards Christmas). Having worked through the lower playfield areas in previous updates, I’m now going to focus on the middle playfield sections. This area is home to an upper flipper, some stand up targets and also a 4 bank of drop targets. There is an orbit shot which I want to remove the parts from and clean too as the rails are attached under some of the middle playfield plastics – so it’s easier to deal with that now than have to remove plastics again to remove the orbit rails at a later time. To start with though, I’ll need to remove various rails and ramps to get access to the playfield parts below. I’ll start with the right side.
kicker
All posts tagged kicker
With some more progress made on Mariner, it’s time to drop past with another update showing off which assemblies have been pulled apart, serviced and cleaned. First up on the list this time are the flippers. Both flippers work, which is always a nice starting point to have. Unlike other old machines I’ve worked on, the rubber here isn’t hard and cracking (same for the rest of the playfield rubbers actually). The flipper bats are still reasonably white too. So I think the machine has been looked after over the years and likely to have had some replacement parts put in along the way.
Time to get my hands dirty and do some rebuilding on Pinbot. Funds have dried up a little for now with the recent purchase of a CPR gold Pinbot playfield. I had not planned to purchase a new playfield, but couldn’t resist. Pinbot is a keeper so I will have it for a long time to come, making the extra outlay worth it in the long run.
Since I had the machine powered up successfully, the language sorted out and battery save mod completed – it was time to start pulling a section of the machine to bits and rebuilding it. I decided to work in a similar fashion to how I did on my Fireball Classic – start from the bottom up and work through areas of the machine until complete. So, time to lift the apron and see what lurks beneath.
I’ve put the top right plastic issues to the side once again as I haven’t managed to get anywhere with it.
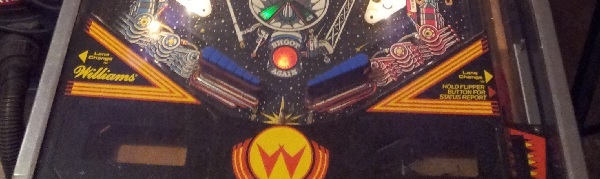
I decided instead to install the clear plastic in the top right and fire the game up to actually play it! I haven’t had the machine in a playable state since the first few nights it came home. Once I started to clean parts, I didn’t want to play it and spread all the dirt, dust and goo around the cleaned areas – so have held off playing.
It was great to actually -finally- play it. The small play session doubled as a good shakedown on the machine to see what sort of issues still remained and what required some fine tuning.
A few things turned up.
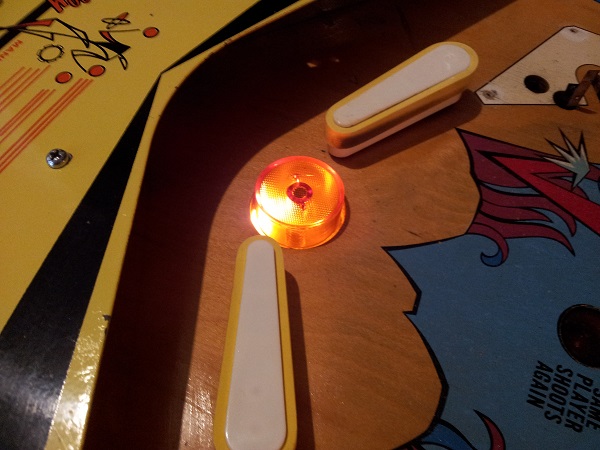
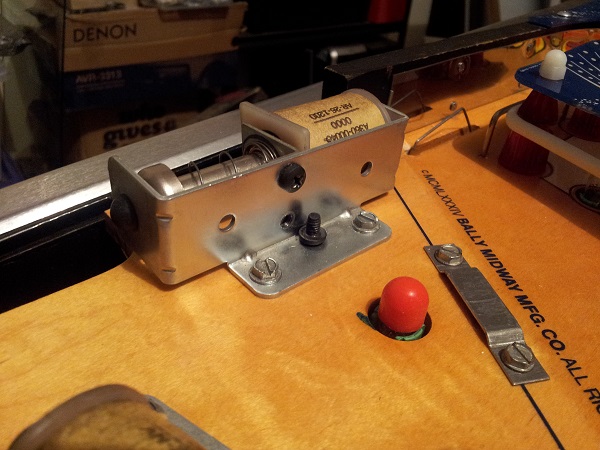
Firstly the ball save kicker was unreliable. Sometimes it would save the ball, other times it would kick out, but not make good contact with the ball. My first thought was the switch – perhaps not being sensitive enough. So I tested the switch, but that came up fine and was very sensitive. I removed the apron to have a look at the assembly. I found the coil was actually loose. The reason for this is there are two small screws which to the coil bracket and lock it in place. I had made the mistake of putting these on the outside when I reinstalled it after servicing it. The screws should sit inside. There is no thread on small metal bracket – only on the large assembly frame, so they have to be screwed in from the inside. Thankfully this was a nice easy fix.
With the sound issue issue covered, and the ball serve issue to look at, I wanted a bit of a break from problem solving to exploring the different assemblies on the machine and giving them a clean. The problem was – where do I begin? I want to cover the entire machine. In the end I figured I start from the bottom of the play field and work my way up.
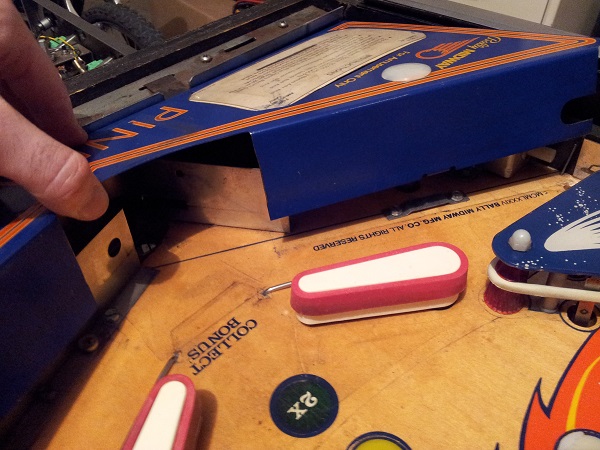
So to begin with, I’d remove the apron and see what lurks below.
The apron on these early Bally machines are secured by two small metal brackets at the front and two screws at the back. The last person to work on the machine didn’t secure the apron to the brackets at the front and as a result it was lose (which isn’t good when you go to lift the play field by it…)
I have to say the two screws at the back don’t feel like the most sturdy attachment for the apron. I may be that due to age, it has just seen better days – but I don’t trust lifting the play field via the apron like I do on my Nugent and Space Orbit machines..