I’ve put the top right plastic issues to the side once again as I haven’t managed to get anywhere with it.
I decided instead to install the clear plastic in the top right and fire the game up to actually play it! I haven’t had the machine in a playable state since the first few nights it came home. Once I started to clean parts, I didn’t want to play it and spread all the dirt, dust and goo around the cleaned areas – so have held off playing.
It was great to actually -finally- play it. The small play session doubled as a good shakedown on the machine to see what sort of issues still remained and what required some fine tuning.
A few things turned up.
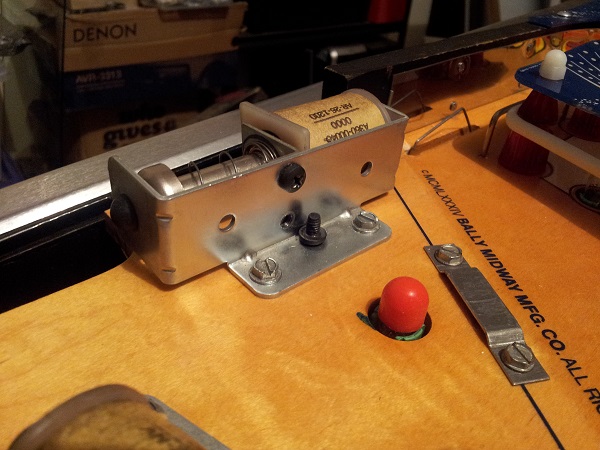
Firstly the ball save kicker was unreliable. Sometimes it would save the ball, other times it would kick out, but not make good contact with the ball. My first thought was the switch – perhaps not being sensitive enough. So I tested the switch, but that came up fine and was very sensitive. I removed the apron to have a look at the assembly. I found the coil was actually loose. The reason for this is there are two small screws which to the coil bracket and lock it in place. I had made the mistake of putting these on the outside when I reinstalled it after servicing it. The screws should sit inside. There is no thread on small metal bracket – only on the large assembly frame, so they have to be screwed in from the inside. Thankfully this was a nice easy fix.
I noticed also that the left side of the apron was loose at the front. This was due to one of the feet at the base of the apron being bent slightly the wrong way. Using some pliers I gently bent it back to match the right foot. After reinstalling the apron, it felt much more solid and had no movement.
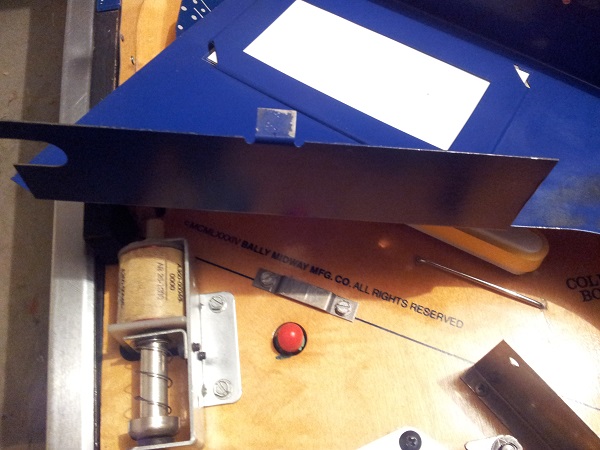
During the play session I noticed a few switches that required adjustment. One of the pop bumpers had a massive dead spot around the back area. This was simply the switch alignment under the play field. I find adjusting these to take some time as it’s easy to get them oversensitive in some areas while others there are dead spots. With some care and taking it slow I’ve managed to get them at a nice balanced sensitivity.
In a recent MarcoSpec order, I purchased a wire bending jig to fix up the missing gate wire at the top of the play field. I doubt this will be the last gate wire I need to create, so spending $7 on the tool was an easy decision.
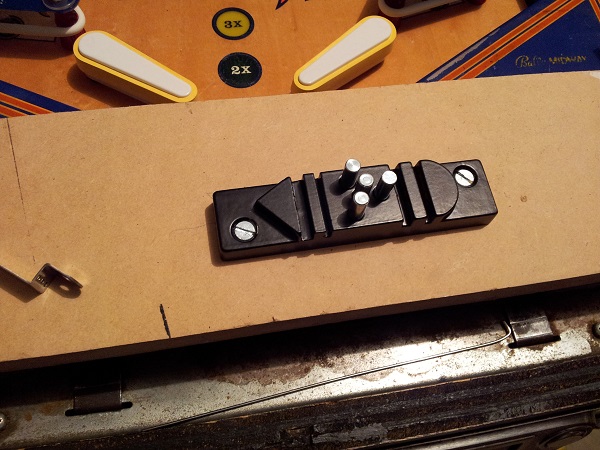
I modeled the gate shape on the original.
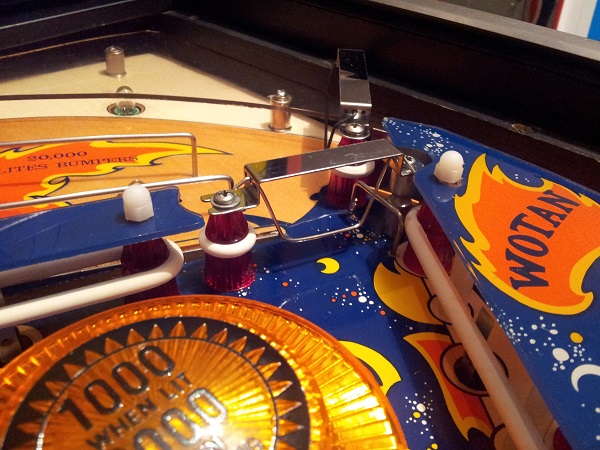
Another thing that has been on my to do list for awhile was adjust the shooter rod. It was sitting too far to the right, so the rubber tip was within 1mm of rubbing against the shooter housing on the apron. Luckily this was an easy fix as there is some room to move the shooter position vertically and horizontally once the nuts have been loosened on the inside. Before part of the outer metal plate was sitting over the red t moulding, but now it’s in a much nicer position and make better contact with the ball in the shooter lane.
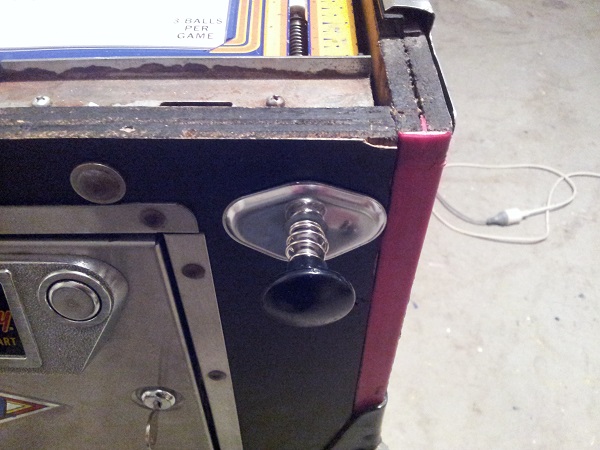
I spent some time going over the visible screws and unifying the heads to be the same. Yeah yeah, anal I know – no one will ever look close enough to notice (or care) but it gives a very subtle “finished” effect and a nice finish. What can I say – I love my machines 🙂
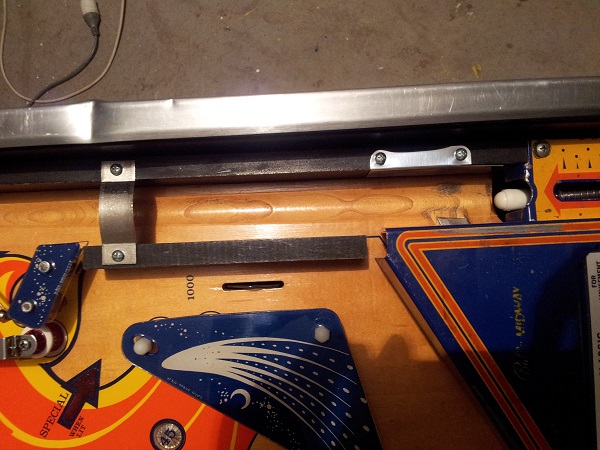
Another small thing I’ve done is to replace the old metal washers under the plastics with clear Lexan washers.
Apart from that, the last thing to do after the shake down was tighten the flippers up as they became loose after a few games.
Here it is after all the work so far. I’ve added 4 new bling balls too (1 for the messenger ball and the other 3 in the trough)
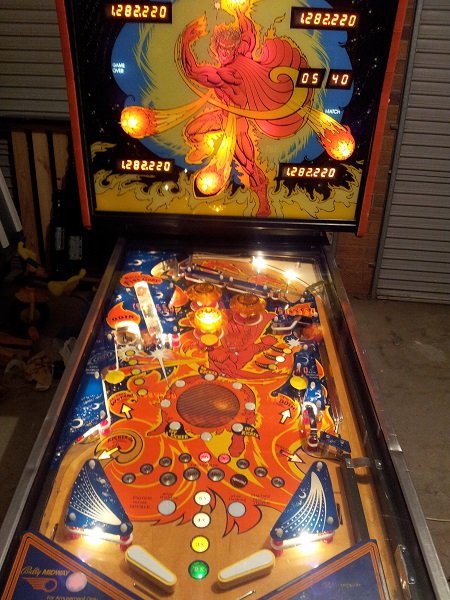
It’s already looking so much better than when It came home. Still, more work to do. I need to touch up the paint around the spinning disk a little and also replace the switch below the middle yellow mushroom bumper. I tried using the switch from the stationary target, but the metal leaf switch is not suited for this. There is the side art to finish and get printed. Then I can fix up the side panels and install the new side rails. Legs to respray (going to try it myself first) and new t-moulding to install.
Then of course there is still the issue with the top right plastic to solve…
