Time to get my hands dirty and do some rebuilding on Pinbot. Funds have dried up a little for now with the recent purchase of a CPR gold Pinbot playfield. I had not planned to purchase a new playfield, but couldn’t resist. Pinbot is a keeper so I will have it for a long time to come, making the extra outlay worth it in the long run.
Since I had the machine powered up successfully, the language sorted out and battery save mod completed – it was time to start pulling a section of the machine to bits and rebuilding it. I decided to work in a similar fashion to how I did on my Fireball Classic – start from the bottom up and work through areas of the machine until complete. So, time to lift the apron and see what lurks beneath.

The first thing I came across on the apron was a missing screw which attached the left side to the playfield. No big deal as I had spares from the parts box I purchased with the machine. From memory I had a similar issue with the Fireball. I then found the screw attaching the apron on the right was not the correct size, so this too was replaced.
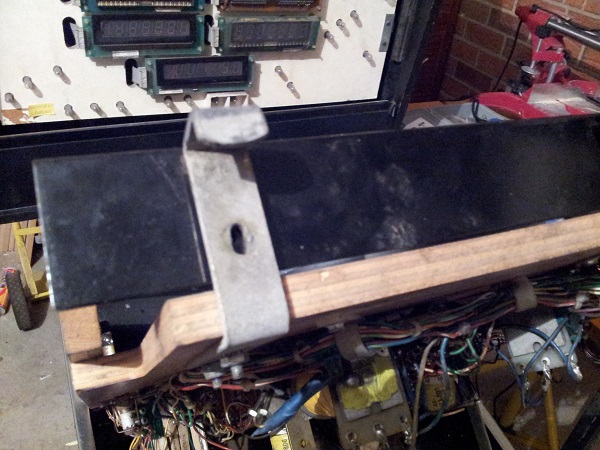
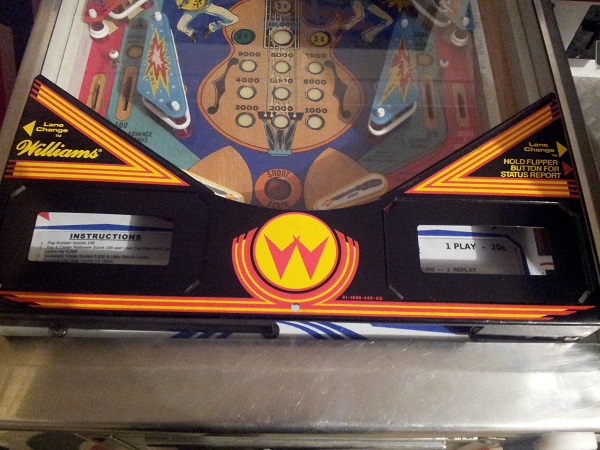
After removing the I took the apron off the playfield, I give it a gentle clean. The condition of the apron isn’t too bad. There are some marks and scratches, but overall I’m pretty happy with it. I have seen decal sets available, but I won’t bother with that. I will however print up some new instruction cards though.
As expected, a lot of dirt and gunk had built up under the apron over time. The content of the area under the apron was pretty much what I was expecting. Like on the Fireball Classic, there is a spot for the ball to drain and then get kicked up a ramp and into a ball trough. There are two switches for the balls to activate.
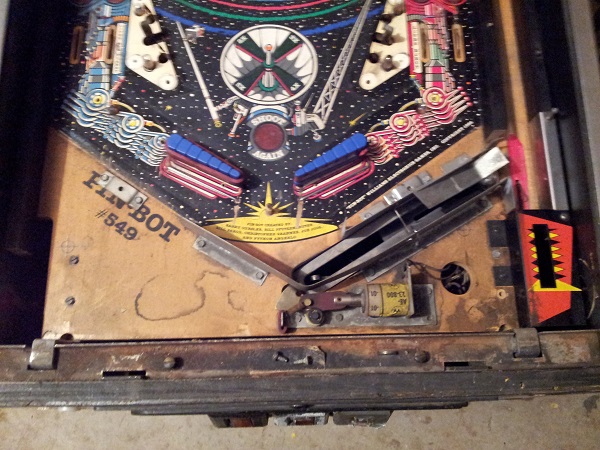
From another angle you can see more dirt and crap that needs to be cleaned up. One cool thing here that was not present on the Fireball Classic is the small 1 way gate which prevents a ball from coming back after it’s shot into the ball trough. I don’t understand why Bally didn’t add this on the Fireball (especially considering I was having issues with the ball bouncing back down the ramp). Here you can better see the state inside the trough. Dirty.
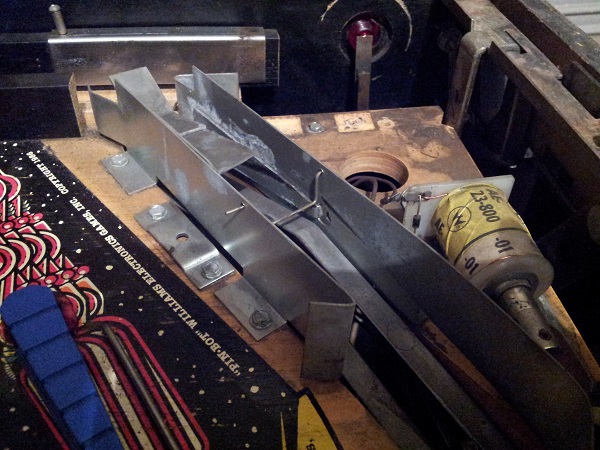
First part on the machine to be stripped and cleaned is the ball serve kicker. Easy enough to remove from the machine with 3 screws. Interestingly there is a pre drilled spot on the playfield for a 4th screw (bottom right) but it was never used. Not sure if that’s unique to my machine or if other pinbot machines also did not use the 4th screw hole. It’s pretty obvious this assembly needs some love as it’s quite dirty and some nice rust build up on the spring.
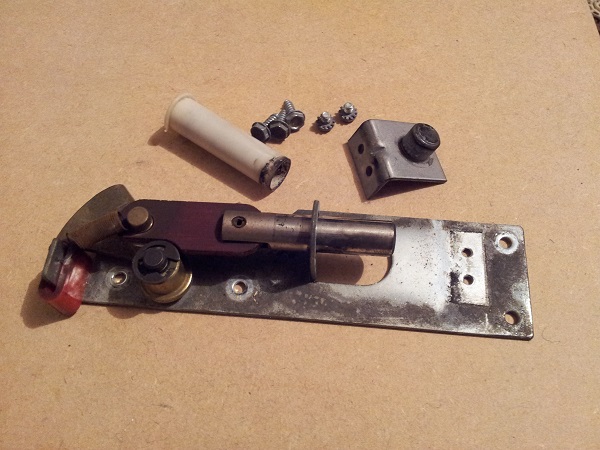
Pulling the assembly to pieces is quite simple. Remove the clip and spring – everything just comes apart from there – ready for cleaning.
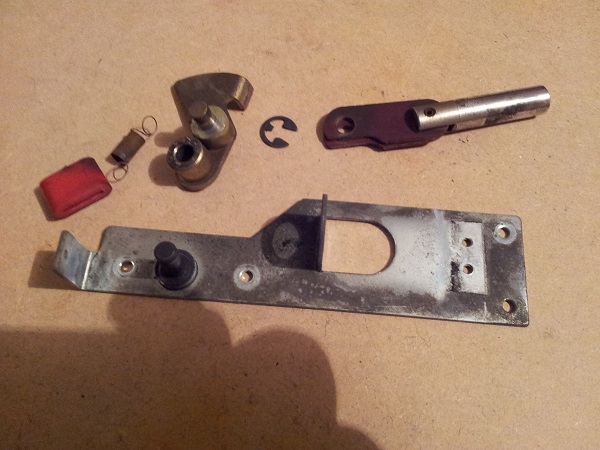
All parts were given a good clean, even the screws. A new coil sleeve was sourced, along with a new red striker ring and new spring. Not sure why I has new striker rings handy, but since they are there I decided to use one. Looking a lot better now.
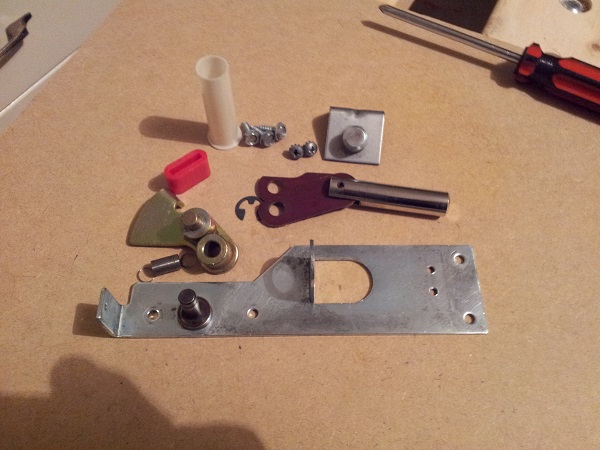
Reassembled and lined up next to a spare ball kicker assembly I had in my parts box. The spare one I had was actually a bit cleaner than how this one started, but you can see the difference 15 minutes can make.
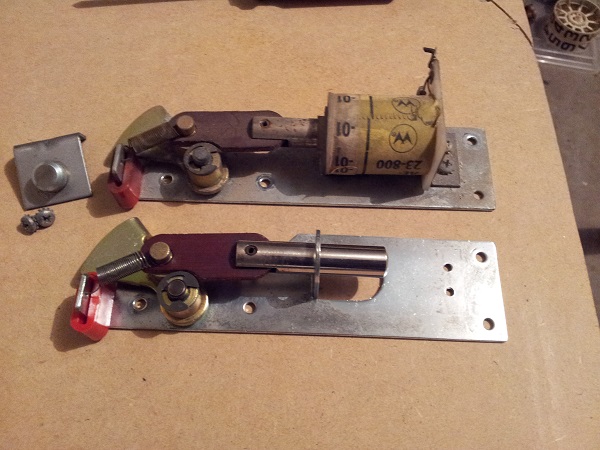
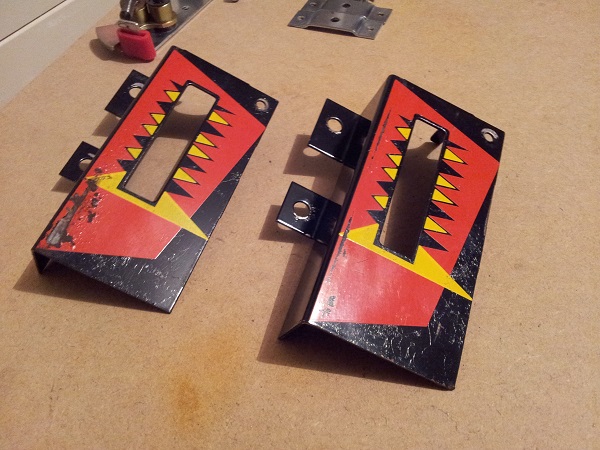
Since I had the apron up, I may as well look at the shooter housing too. Currently the shooter has been removed from the machine. It’s been set aside for some attention shortly. For now though, I had a decision to make. I had a spare housing in the parts box. The one of the left is from my machine while the one of the right is the spare one. Neither is perfect and both have issues. But the spare one is slightly better, so will go with that. The other one can go into the parts box.
With the shooter housing removed, I had access to the lane guard. This could do with a clean, but is otherwise OK.
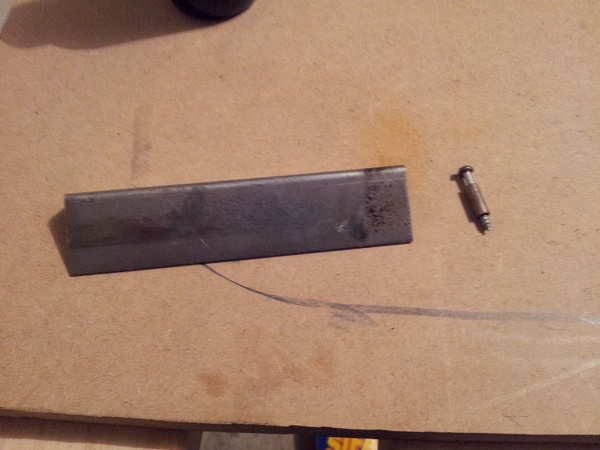
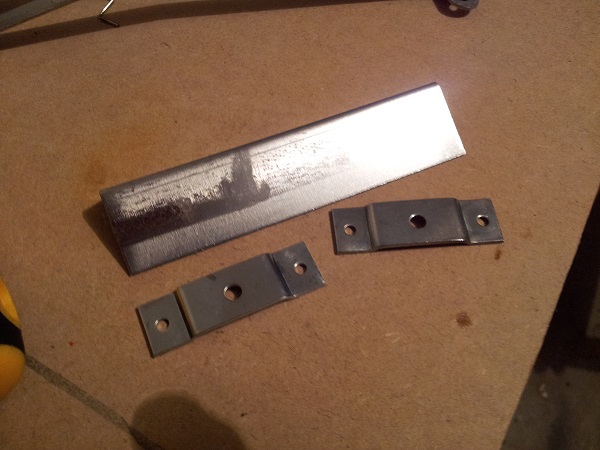
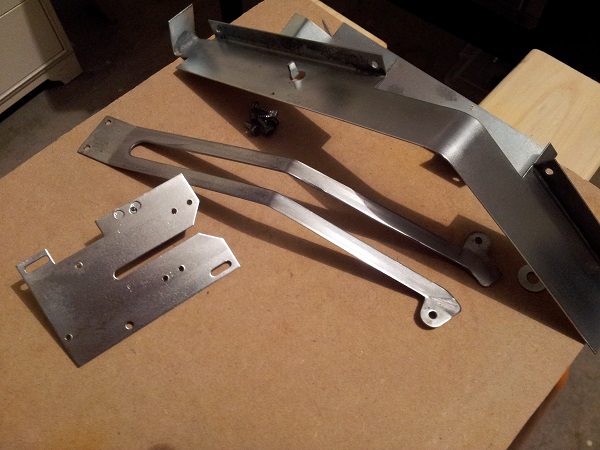
With a bit of love it cleaned up nicely. There are still some marks where it’s been hit with the ball time and time again over the years. But I’m not too worried about these. It’s barely noticeable when installed and the goal right now is to clean this thing up to minimise the spread of dirt and crap through the machine to help it operate as best as possible. The two small metal plates are what the apron clips into. These have also cleaned up nicely.
Before I removed more of the apron parts, I gave a small section a light clean. It started to come up nice, but will need more work. But it’s good to see there is a playfield beneath the build up.
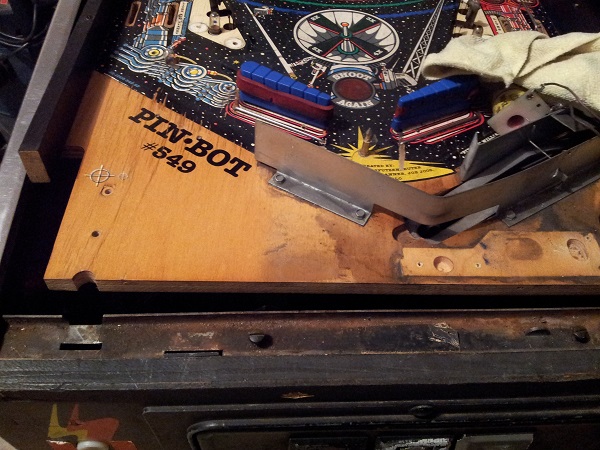
Next step was to remove the remaining parts so I could properly clean the playfield and also remove as much gunk from the ball trough. As you can see, there is a lot of dust and gunk on the playfield and the ramp. I really want to clean this up as much as possible since the ball(s) go through this area every game and I don’t want this spread through the machine. The ramp no longer shines 🙁
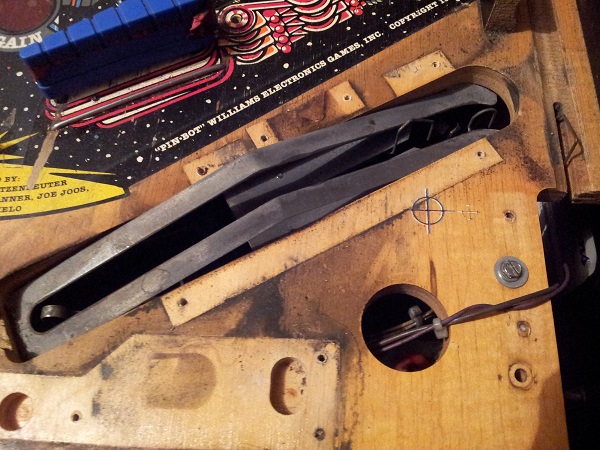
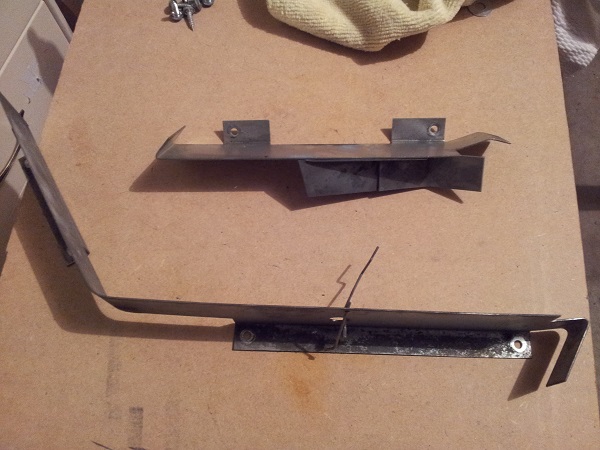
With the ball guides removed, the last part was the ramp. There are two switches located at the base of the ramp which are enabled when the balls are in the trough. I imagine this is pretty standard across multiball games.
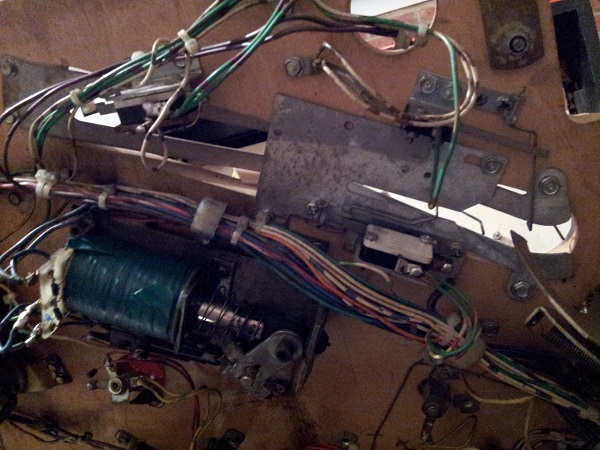
Everything here was pretty easy to remove and it’s amazing how simple some of it really is. The ball ramp was filthy along with the base plate of the ball trough.
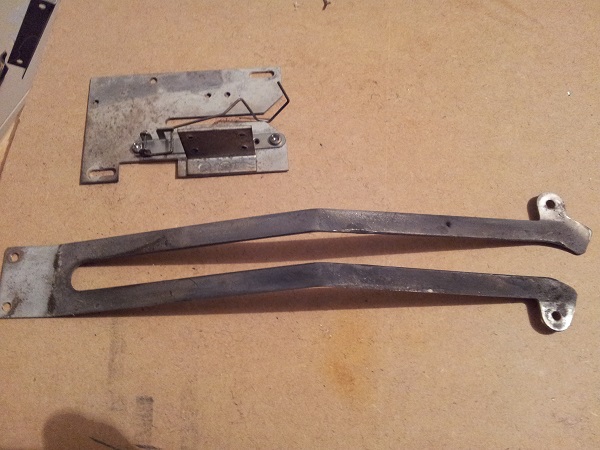
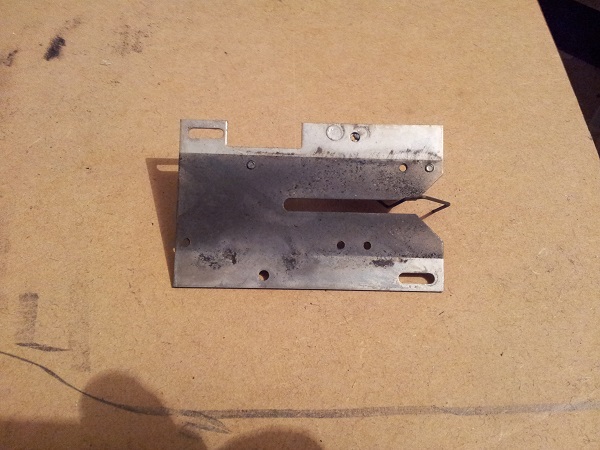
Now it was time to get to some serious cleaning. It was a team effort with isopropyl alcohol, eucalyptus oil, steel wool, brasso, a few rags and some passion. The parts came up looking great. I also cleaned the wire gate and arms on the trough switches.
With all the parts from under the apron removed, I was able to give the playfield area a really good clean. Isopropyl alcohol, eucalyptus oil, magic eraser and Novus 1 & 2 all came into use here. The shooter lane needs some more attention, but it’s quite difficult to get to with the wood rails attached, so for now I’m going to only give it a small amount of cleaning. Once I do the playfield swap, I’ll give it a much better clean.
When you look back at the photos, you can see how it advanced in stages.
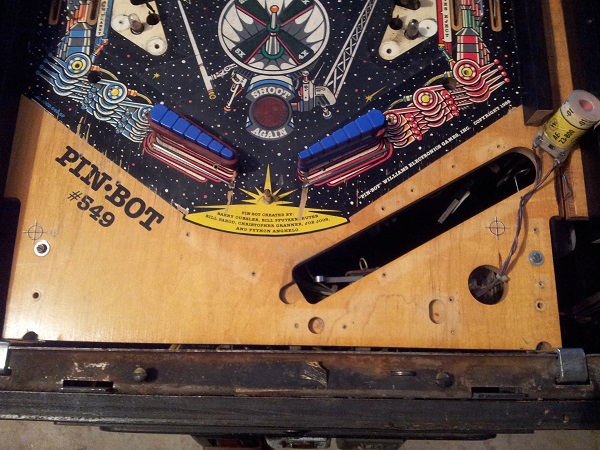
With the playfield area cleaned (along with the switches), it was time to start putting the parts back onto the playfield. This included the shooter housing and shooter lane guard. I also sourced a few new bolts for the playfield handles as it originally only had 2 (and yes, I took the extra time to make sure they lined up, even though no one will ever see them :))
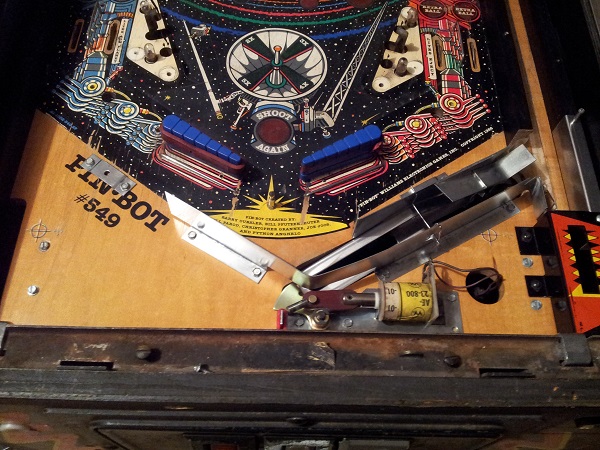
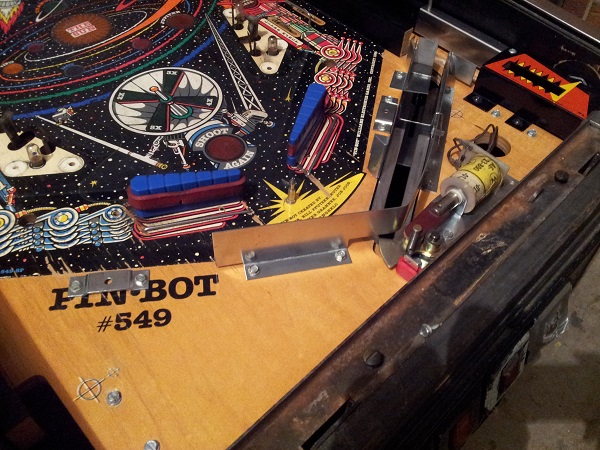
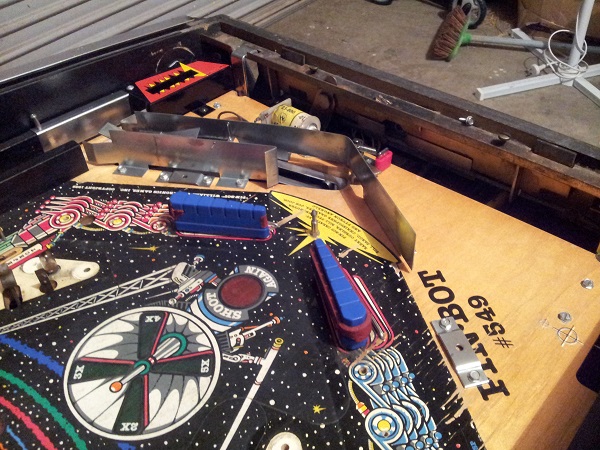
Still to do – the ball eject assembly and printing up new instruction cards to go on the apron.
