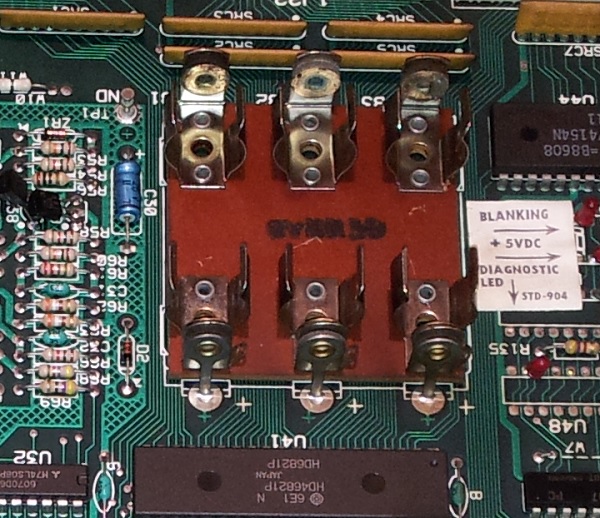
Earlier in the week I had planned to “fix” the battery holder on the MPU board. My initial thought was to rip the 3 x AA holder off the board and replace it with either a lithium holder + button battery, or install a remote AA battery holder to avoid any possible acid damage in the future.

I held off on the task for a few days to consider a few different options I had. As I mentioned in my last brief update, the main board is in excellent condition. No acid damage front or back and the battery holder is in excellent shape. My first thought though – get the battery holder off the board and replace it. Why? Seems to be what everyone does to avoid battery damage. I’ve read many posts from people across the interwebs saying this is what they do. Wanting to learn from others mistakes and avoid the risk of ruining a board seems like a smart move.
A suggestion was given to me to leave the battery holder on the board. Don’t modify it. Just service the machine regularly. Regular servicing of the machine should (although not guaranteed) avoid any battery issues. No board mods needed. My machine won’t be going into storage and I’m smart enough that if it was to, I’d remove the battery. Use the battery holder on the board and service regularly – the simplest solution and one I’m capable of given how I dote over my machines.
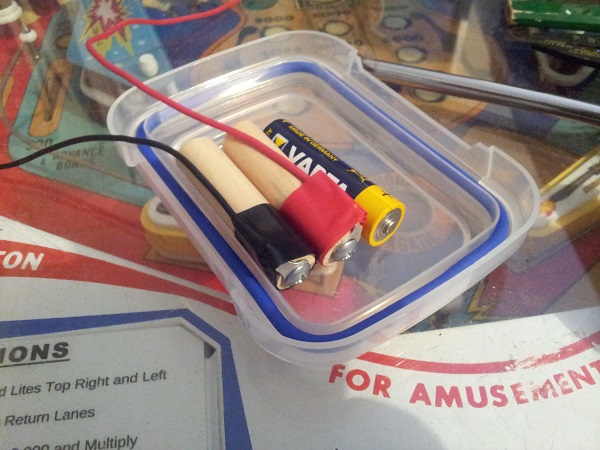
A slight variation on that – a remote battery pack hooked up with some wooden dowel. This is a nice solution too as it leaves the board 100% unmodified AND the battery mod can be removed as simple as removing AA batteries. Again, regular servicing required to ensure the batteries are taken care of to avoid damage. The best part here is that -IF- damage did occur, then I’m out $1 for the battery holder and not a few hundred for a board replacement. There is a little more work involved in this method as I need to create the mod, but at a cost of $5 and about 15 minutes it’s hardly an issue.
The more I thought about this, the more I realised that it was wrong to just rip the AA battery holder off a good board because I perceived this as “the thing to do” and in this case it really is not needed. Being able to create a remote battery that plugged straight into the board with minimal effort and no modification to the board felt like the right thing to do.
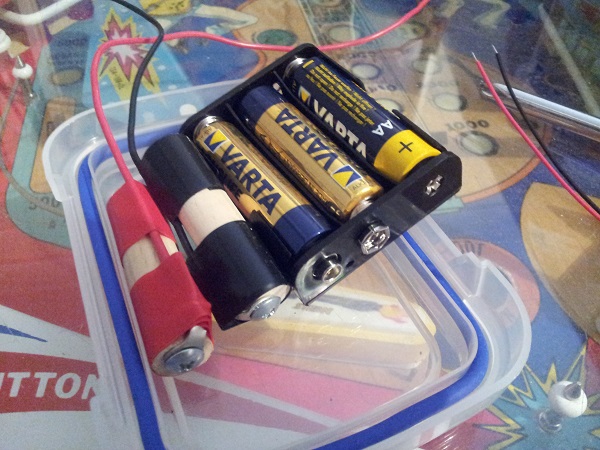
So, I headed out to a components store today and picked up a few parts and then to Bunnings for some dowel. I cut up the dowel into pieces the size of an AA battery and added a screw to one end. I added an eye terminal below the screw to one end of each piece – colour coded red and black (positive and negative).

From there I hooked it up to the battery pack connector. At this point I tested the voltage, which came in at a healthy 4.44 volts.

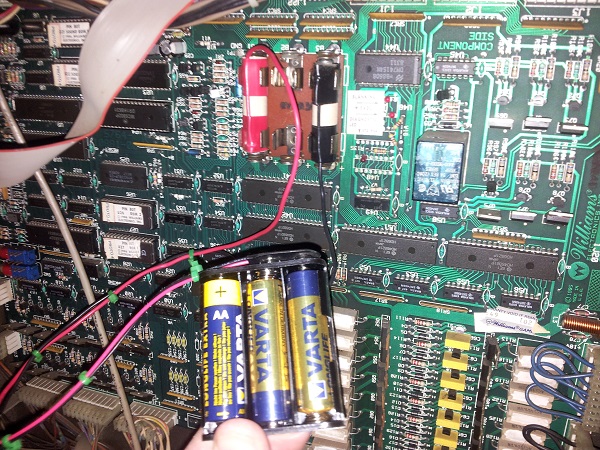
Then it was simply a matter of plugging it into the machine.

There are two small screw holes at the back of the black battery pack, which I’ll use to screw it to one of the panels inside the head. That way it won’t move around when the head is lowered or raised.
I’ve made more progress this week, but will post about that in the coming days. Really happy with how this battery mod came out and glad to have put some extra thinking into it and implementing a good solution 🙂
