With the sound issue issue covered, and the ball serve issue to look at, I wanted a bit of a break from problem solving to exploring the different assemblies on the machine and giving them a clean. The problem was – where do I begin? I want to cover the entire machine. In the end I figured I start from the bottom of the play field and work my way up.
So to begin with, I’d remove the apron and see what lurks below.
The apron on these early Bally machines are secured by two small metal brackets at the front and two screws at the back. The last person to work on the machine didn’t secure the apron to the brackets at the front and as a result it was lose (which isn’t good when you go to lift the play field by it…)
I have to say the two screws at the back don’t feel like the most sturdy attachment for the apron. I may be that due to age, it has just seen better days – but I don’t trust lifting the play field via the apron like I do on my Nugent and Space Orbit machines..
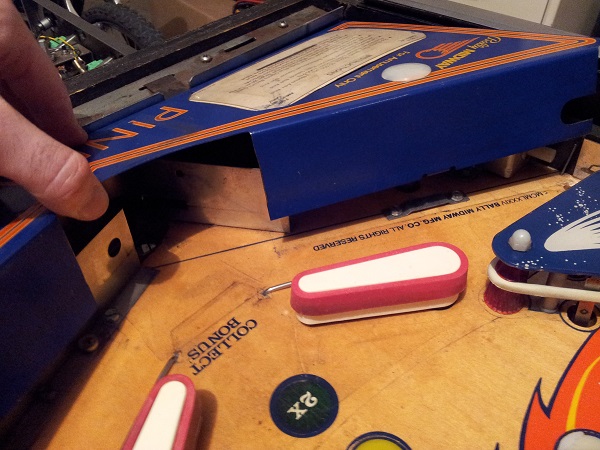
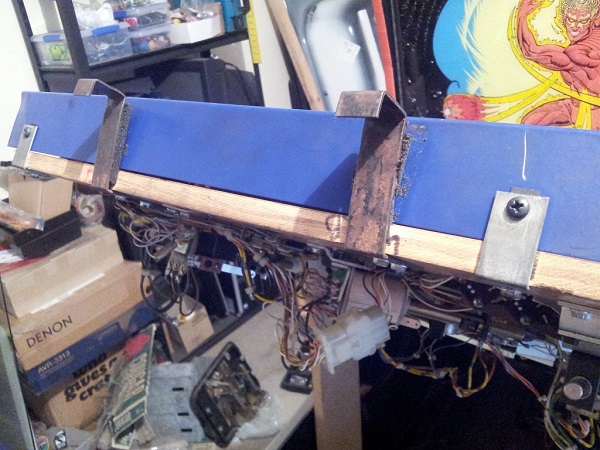
With the apron removed, I now had access to a few assemblies that were going to need some attention. There was quite a bit of dirt and crap built up on them and on the play field itself. It had been some time since this machine last received some TLC.
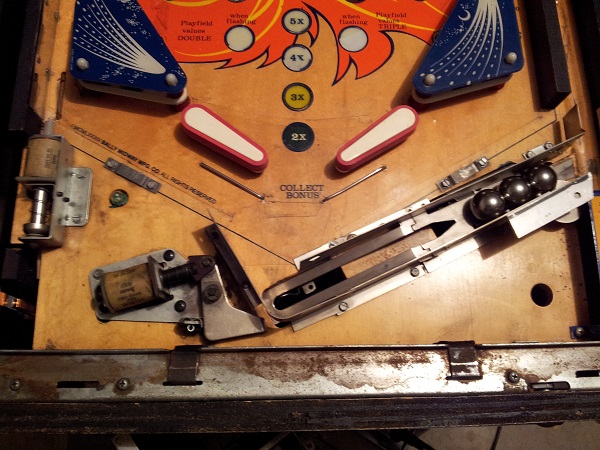
The first assembly to get my attention on the fireball was the ball save assembly.
This is a very simple assembly. It’s activated by the roll over switch just above it when certain game conditions are met. Rolling over the switch causes the coil to charge and shaft to fire up, preventing the ball from draining. I love this feature in pinball machines and it’s one of the reasons the fireball got a big tick from me. You can see all the dirt built up on the play field too. The lamp shown is the credit lamp, used to light the credit window on the apron.
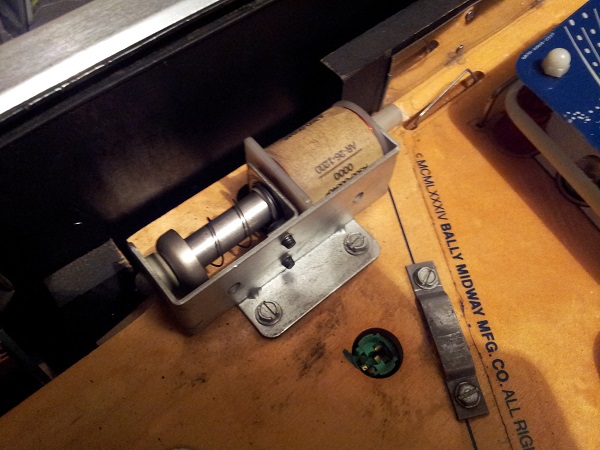
Removing the assembly wasn’t too difficult and it actually reminds me of a knocker (I guess it’s the same thing really). I pulled each of the parts off the assembly and it was now ready for a clean.
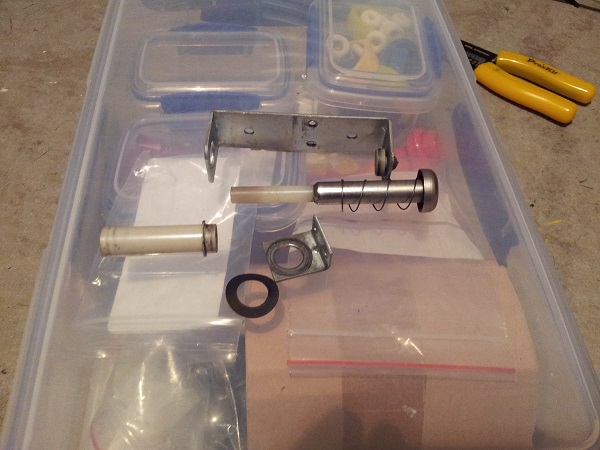
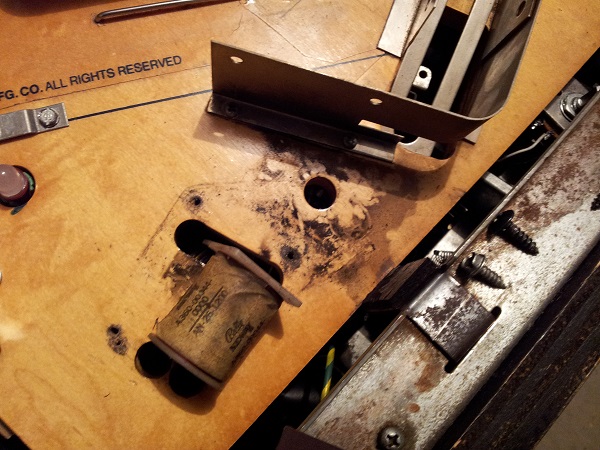
With the assembly off the play field, it was much easier to see all the dirt build up.
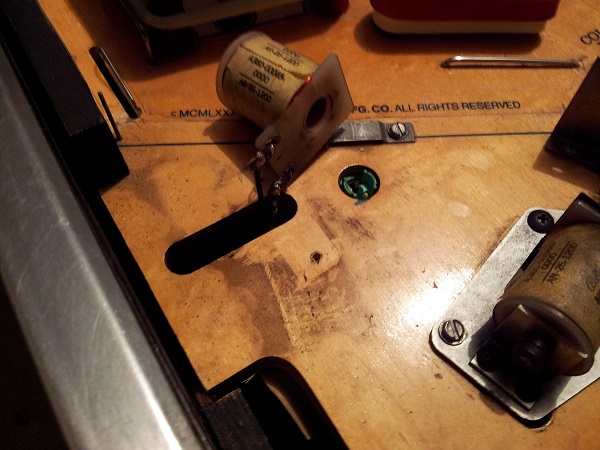
I gave this a solid clean and it’s already looking much better. You can see a layer of mylar which ends right where the apron sits. It’s started to collect dirt around the edges. I’ll be slowly removing the mylar as I go about the restoration process.
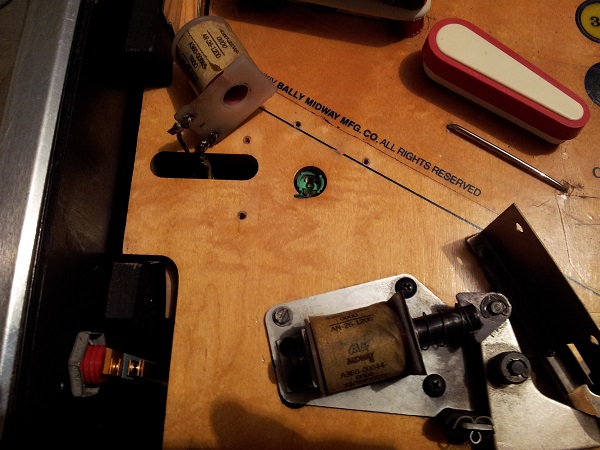
Next up was the kicker. The kicker is activated by a switch that sits inside the drain hole. When a ball drains and lands on the switch, this coil charges up and causes the ball to be kicked up into the ball trough. The interesting thing here is this will trigger even when a game is not active. This will come in handy when diagnosing and testing the ball trough issue. There was quite a bit of dirt build up on this assembly too, so a good clean is in order.
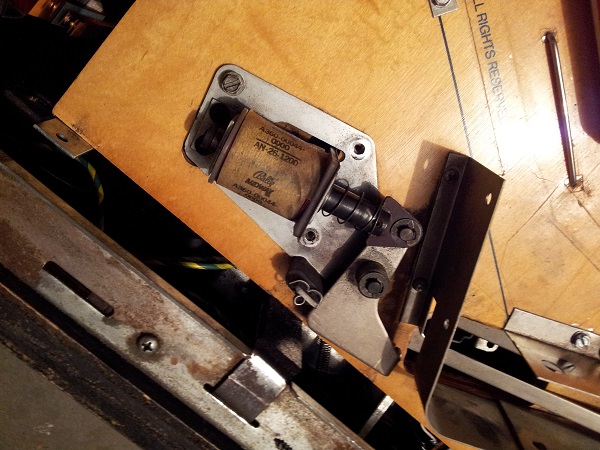
With the assembly removed, it really shows just how much dirt has built up here over the years. The assembly itself is covered in filth and you could be forgiven for thinking some parts are meant to be black.
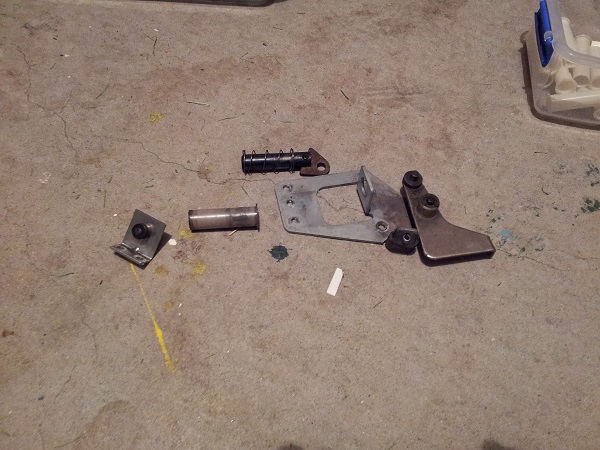
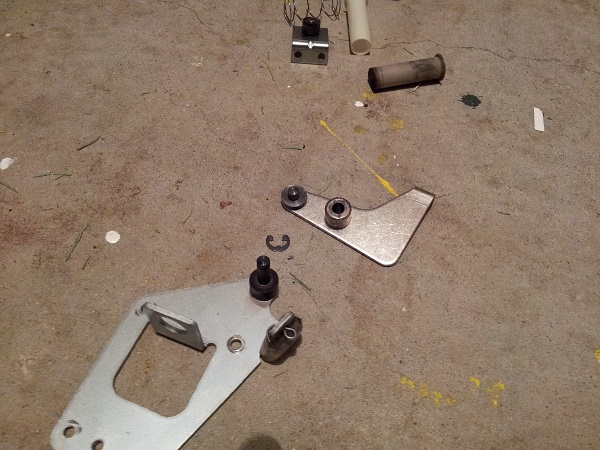
A solid clean has done them the world of good. I’ll also be replacing the old coil sleeve (I did that same for the ball save coil too). I find it best to pull these assemblies apart as much as possible to get to all the areas when cleaning. I didn’t bother replacing the coil stop here. I may do that in the future, but for now it’s OK.
With the assembly off, I gave the play field a good wipe down in that area.
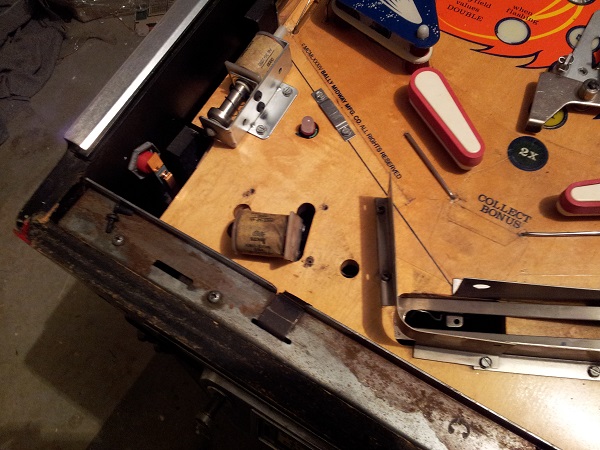
Then to finish it off, everything was put back together. Now the ball save and kicker are looking much better.
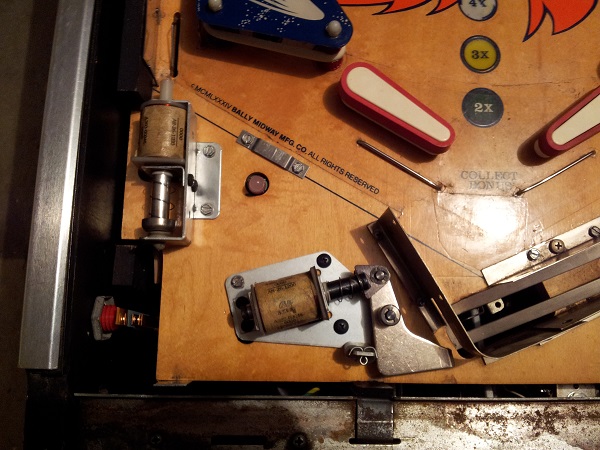
With both assemblies back on, I fired the machine up and did a few tests to make sure they functions correctly. Everything was good 🙂
Next up will be the ball eject and ball trough.
